How to Choose Resin Polishing Tools: Golden Rules for Gem-Like Clarity in Japanese Resin Crafts
yassy
Crafters!

Hello, crafters! It's Yassy from Crafters! (・∀・)
Have you ever experienced the heartbreak of your favorite resin piece suddenly refusing to pop out of its mold, or coming out with a cloudy, rough, frosted surface?
The more you love a particular mold, the more frequently you use it—and before you know it, demolding becomes increasingly difficult. The reality is that silicone molds are not permanent tools; they are consumables. The more you cast with them, the more they naturally degrade over time.
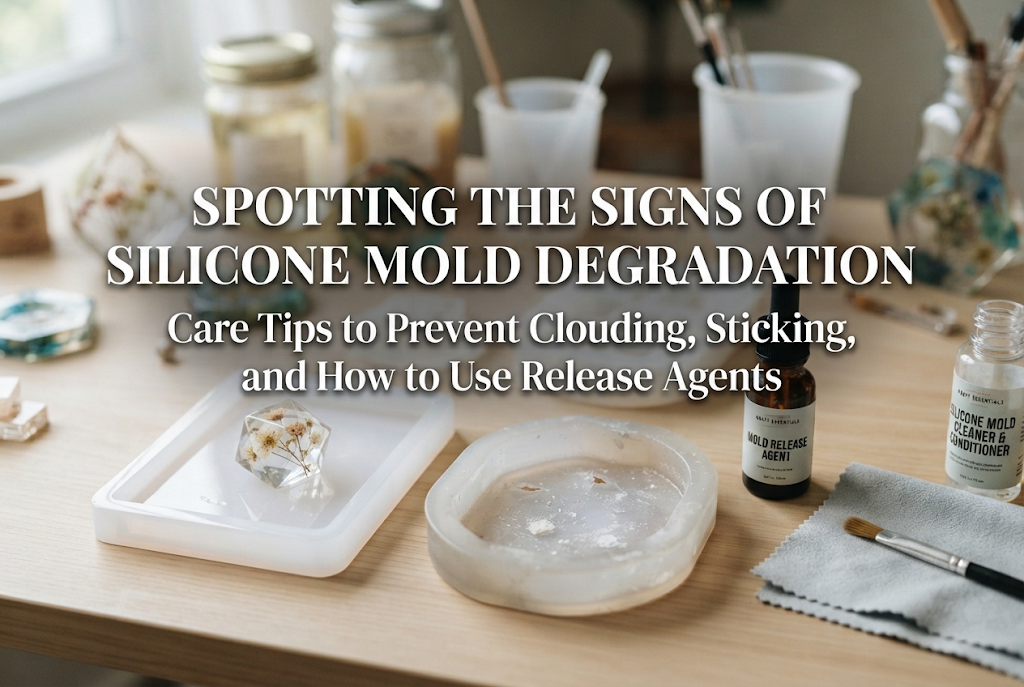
However, once you understand why molds break down and learn to recognize the early signs of wear, you can dramatically extend their lifespan through proper maintenance and smart use of release agents. In this guide, I will thoroughly explain the warning signs of mold degradation, step-by-step care routines to restore smooth demolding, and foolproof techniques for applying mold release agents!
Before diving into maintenance, it is crucial to understand the fundamental reasons why silicone deteriorates when exposed to resin. Understanding the "why" will completely change how you handle your molds on a daily basis.
Brand-new commercial silicone molds feel slick, smooth, and highly flexible because the cured silicone rubber naturally contains an optimal amount of internal silicone oil.
Every time you pour and cure resin in a mold, however, chemical components in the liquid resin absorb and strip away these internal oils. Deprived of its essential oils, the silicone loses elasticity, dries out, becomes stiff, and develops a dry, rough texture on the surface.
UV-LED resin cures via a chemical chain reaction triggered when photoinitiators absorb ultraviolet light, generating rapid heat in the process. Depending on the size and thickness of your piece, this curing heat (exothermic reaction) can easily reach 80°C to nearly 100°C (176°F to 212°F).
While silicone itself is heat-resistant, prolonged exposure to high temperatures combined with direct, intense UV light gradually breaks down the molecular bonds within the silicone rubber. This continuous stress robs the mold of its resilience, turning it brittle over time.
As resin cures, an aggressive molecular bonding process known as free-radical polymerization takes place inside the fluid. If this reaction occurs against an already compromised, microscopically degraded silicone surface, the curing resin can seep into tiny crevices and chemically cross-link with the silicone molecules.
This chemical reaction is the true cause of that sudden nightmare where resin permanently fuses to the mold. Because the two materials have chemically bonded rather than merely stuck together with adhesive, pulling with force will inevitably tear the silicone lining right out with the cured piece.
Silicone molds do not fail overnight; they show clear symptoms in progressive stages. Catching these early warnings before reaching the point of no return is the surest way to prevent ruined projects.
The clearest early symptom is whitening or clouding. A mold that was once clear or translucent gradually turns milky, hazy, or chalky, usually starting along the bottom and inside corners.
This haze occurs because the microscopic surface of the silicone has roughened, causing light to scatter unevenly. It is also direct evidence that oils have leached out and the material has altered. At this stage, you can still easily revive and protect the mold with proper conditioning and release agents.
Casting in a new mold yields a crystal-clear, mirror-smooth gloss right out of the form. After repeated uses, however, you may notice that finished pieces emerge with a dull, matte, or frosted appearance.
Try gently running the pad of your finger along the mold's interior. If it lacks that effortless glide and instead feels squeaky, grippy, or slightly coarse, the mold's factory-polished mirror finish has already worn away.
Under normal conditions, a fully cured resin piece should slip out effortlessly with a light flex of the edges as air seeps underneath.
If flexing the mold no longer lets air between the surfaces, and peeling it back produces a sticky, tearing sound reminiscent of pulling off heavy packing tape, you have entered the danger zone. The silicone and resin are beginning to grab onto each other at a microscopic level. Continuing to cast in this condition will almost certainly cause total fusion on your next pour.
In an effort to keep molds clean, many crafters unintentionally subject their silicone to fatal damage. Let's review the most common maintenance pitfalls.
When uncured resin spills onto a mold, wiping it away with isopropyl alcohol spray or acetone (nail polish remover) is a common reflex. However, high-concentration ethanol and solvents aggressively strip away the delicate oils inside the silicone.
Repeated solvent cleanings rapidly dehydrate silicone, speeding up surface roughening and chalky whitening. Unless you are dealing with an unavoidable emergency cleanup of sticky uncured resin, avoid using solvents on your molds as routine maintenance.
Have you ever tried digging out tiny dust specks or cured resin flash from the bottom of a mold using metal tweezers, dental picks, or toothpicks?
The interior surface of a mold is exceptionally delicate. Even a microscopic scratch from a hard metal tip creates an entryway for liquid resin to penetrate, sparking tears and severe sticking. Never scrape mold interiors with hard, sharp tools.
Because silicone is heat-resistant, some assume boiling it is an effective way to sanitize and remove stubborn residue. However, submerging a mold in boiling water causes temporary material expansion, which can lead to permanent warping as it cools down.
Furthermore, sudden thermal shock accelerates material fatigue. Always wash your molds using lukewarm or room-temperature water.
Here is a practical care routine designed to soothe and restore molds that have begun to turn white or show early signs of sticking.
First, remove accumulated resin sanding dust, skin oils, and airborne debris. Add a few drops of mild, neutral liquid dish soap to lukewarm water and work it into a gentle lather.
Wash the mold interior using only the soft pad of your finger in gentle circular motions. Never scrub with abrasive sponges—or even the soft side of regular dish sponges—as the friction can introduce fine surface scratches. Using only your bare fingertips is an absolute rule.
Once rinsed, shake off excess water. Never dry the inside with kitchen towels or facial tissues, as they shed countless microscopic lint fibers onto the tacky silicone.
Instead, lay down a fresh paper towel on a clean kitchen tray, place your mold face-down, and let it air-dry completely. If any stray lint remains once fully dry, wrap a strip of low-tack masking tape or washi tape around your finger with the sticky side out, then gently dab the surface to lift off the particles.
To restore a dry, chalky mold, replenish the lost oils from the outside. Use a solvent-free, high-viscosity silicone oil or a specialized mold conditioning liquid.
Apply a tiny amount of silicone oil to a cotton swab and spread a very thin, even layer across the entire cavity. Let the mold rest for half a day to a full day (12–24 hours). This downtime allows the oil to gradually soak deep into the microscopic matrix of the silicone rubber.
Just before using the mold again, gently wipe away any excess residual oil sitting on the surface using a dry, soft cotton swab or a clean, soft brush. The reconditioned silicone will regain a noticeable degree of flexibility and suppleness, reducing white discoloration and dramatically improving release properties.
Alongside conditioning, mold release agent is your ultimate defense against resin bonding. A release agent forms an ultra-thin barrier between the silicone and liquid resin, preventing direct molecular contact. However, improper application can ruin your finished pieces.
There are three main types of release agents commonly used in crafting. Choose the one that best suits your project style:
The single most frequent mistake made with mold release is spraying too heavily, leading to pooling in corners and details.
If you spray excessively in hopes of guaranteeing a smooth release and pour resin over puddles of liquid release agent, the resin will mix with the unevaporated carrier oils. This interferes with polymerization, leaving the cured piece with tacky spots, crater-like dimples, or an uneven, wavy surface texture.
Here is my reliable method for ensuring maximum release protection without compromising clarity or surface quality:
Taking that extra moment to smooth out the layer and allow full drying will entirely prevent cloudy surfaces, dimpling, and tacky curing failures.
Even with meticulous care and regular use of release agents, silicone molds have a finite physical lifespan. Knowing the exact boundary between a salvageable mold and one that needs replacement saves both materials and effort.
If your mold only displays surface whitening, minor haziness, or a slight grip when demolding, applying silicone oil and using a release agent will keep it in active service.
Even if a mold has lost its glossy finish and now produces pieces with a frosted, matte look, you don't necessarily have to throw it away. You can embrace the texture for satin-finish designs, or simply paint a thin coat of clear UV resin onto the finished piece and cure it again to instantly restore glossy, glass-like clarity.
If you encounter any of the following conditions, the mold has reached the end of its life and should be replaced:
Pouring resin into a cracked or torn mold is disastrous: the heat and shrinkage during curing will tear the fissure wide open, permanently fusing the resin to the silicone and sending the entire piece straight into the trash. When severe damage appears, let the mold go and start fresh with a new one.
A few mindful habits in your regular routine can significantly slow the aging process of your molds. Here are the core rules I strictly follow in my own workshop:
Avoid blasting a piece inside its mold under UV lamps for 5 or 10 minutes out of worry that it might be uncured. Excess ultraviolet radiation degrades silicone at an accelerated pace.
Instead, cure under the lamp only for the standard time required to solidify the core and shape (typically 1 to 2 minutes), then gently pop the piece out of the mold. Finish by curing the exposed piece alone from the back and sides. This two-stage curing routine cuts the mold's direct UV exposure by more than half.
Molds fresh out from under a curing lamp remain hot to the touch due to exothermic reaction heat. In this warmed state, silicone molecules are relaxed, making the rubber exceptionally soft, stretchy, and vulnerable to tearing.
Yanking a piece out while the mold is still hot stretches the silicone out of shape and risks tearing micro-layers off the interior walls. Once removed from the UV lamp, let the mold sit undisturbed for at least 2 to 3 minutes until it completely returns to room temperature before gently demolding.
Do you leave molds resting out on your worktable? Ambient room sunlight and even fluorescent lighting emit low levels of UV rays that steadily degrade silicone over months of exposure.
Store your clean molds flat inside an opaque storage box or drawer in a cool, dark location away from direct sunlight. Stacking heavy objects on top of molds can cause permanent warping and distortion, so always store them flat in a single layer whenever possible.
In this guide, we explored the mechanics of silicone mold degradation, the key warning signs to watch for, step-by-step restoration practices, and proper application techniques for mold release agents.
While silicone molds are inevitably consumable items, their working lifespan can be extended many times over with the right handling habits. Conditioning chalky molds with silicone oil, applying release agents thinly and letting them dry, and waiting for molds to cool before demolding are small, simple habits that safeguard your tools.
Keep your favorite molds in top condition, and enjoy smooth, stress-free resin crafting!
If you found this guide helpful, sharing it with your fellow crafters on social media would mean the world to me and keep me motivated!
Until next time, happy crafting! This was Yassy from Crafters!



For example, if you are looking for articles about mizuhiki, try searching for "mizuhiki"; if you are interested in tools, try keywords like "nippers" or "pliers."
