Fabric Paint vs. Acrylic Paint: A Japanese Crafter’s Guide to Permanent, Washable Fabric Painting
yassy
Crafters!
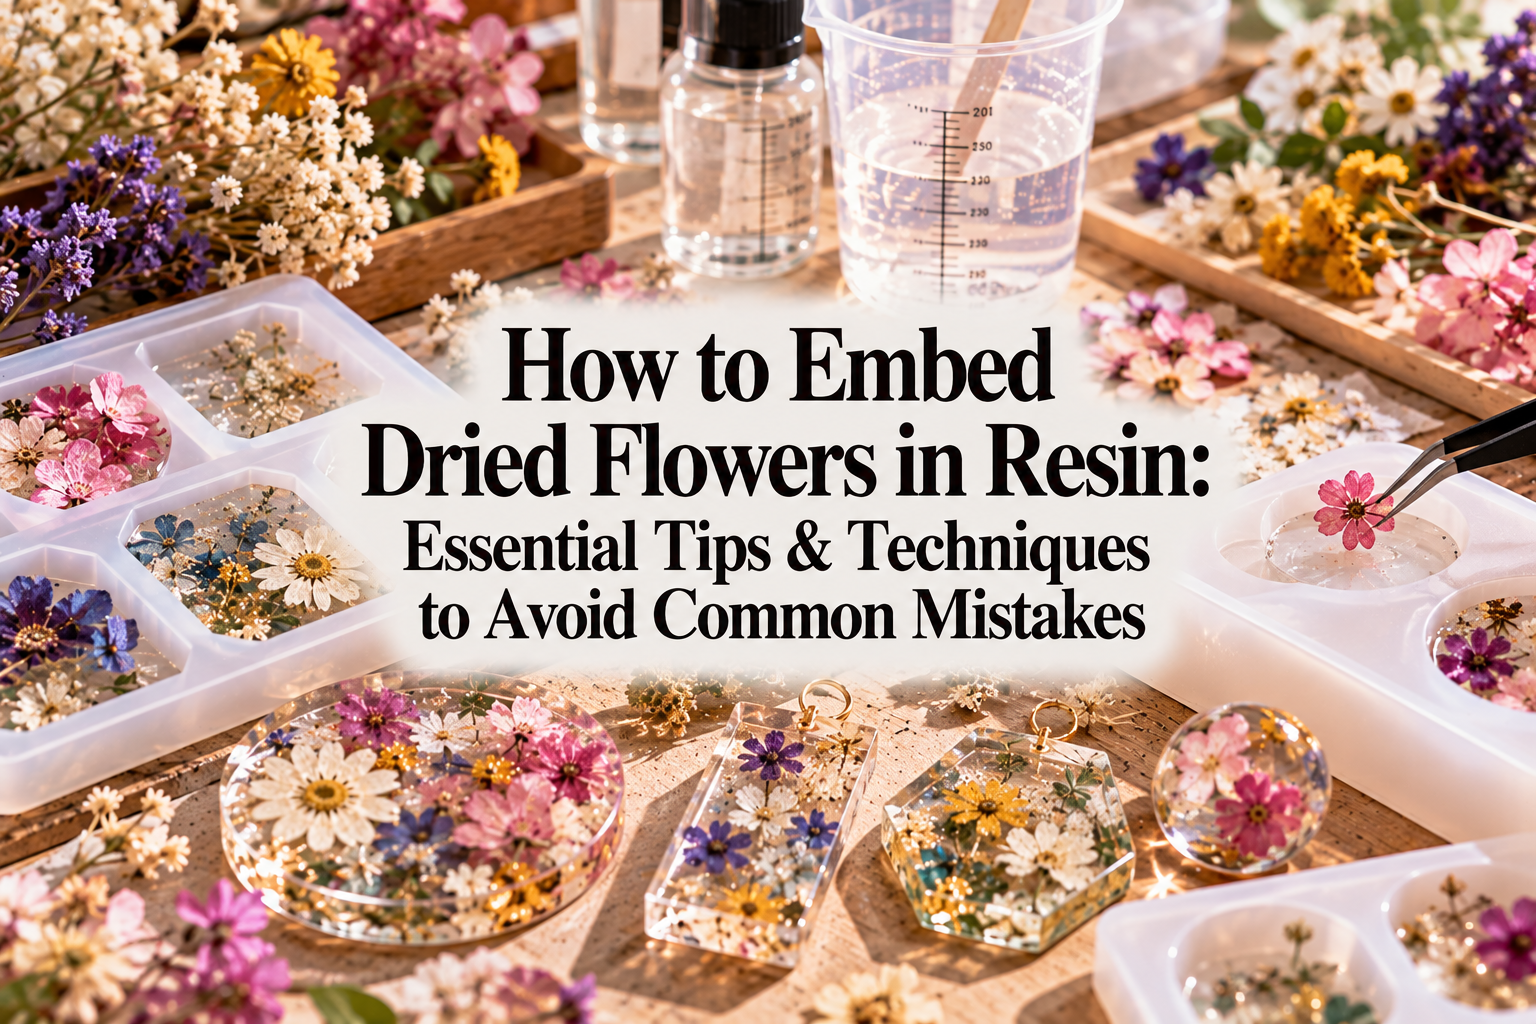

Hello, everyone! It's Yassy from Crafters! (・∀・)
There is something truly captivating about botanical resin craft—capturing delicate dried flowers suspended in crystal-clear resin to create stunning jewelry and home decor. Not only do I love making these pieces myself, but whenever I spot beautiful floral resin items at handmade craft markets, I can rarely resist taking them home!
However, embedding dried botanicals into resin is full of hidden pitfalls. If you simply drop a dry blossom into liquid resin and cure it, you will likely encounter ruined projects: flowers turning murky brown, endless bubbles erupting around petals, or worse, the resin failing to cure and remaining sticky.
In this guide, I will walk you through the essential precautions, preparation techniques, and a foolproof step-by-step process so beginners can succeed every time. I'm sharing all the reliable methods I've refined through countless rounds of trial and error in my own workshop.
Most resin casting failures with dried flowers stem from predictable factors. Understanding the underlying causes is the fastest shortcut to preventing ruined crafts.
Here are the four major trouble spots crafters encounter when working without proper preparation:
The most frequent issue is color alteration. A vibrant pink or yellow bloom can turn a muddy brown after curing, or the petals become completely translucent, losing their visual impact.
This occurs because liquid resin rapidly soaks into microscopic gaps and cell structures within the petals. Furthermore, the exothermic reaction (heat generated as the resin cures) literally cooks delicate plant matter, causing thermal discoloration.
Everything might look pristine when you pour the resin, but once you place it under a UV lamp or let it rest, a cloud of tiny bubbles appears clingy around the blossom. No matter how many bubbles you pop, new ones keep rising from underneath.
This happens because air trapped inside the intricate nooks, stamens, and layered petals is displaced and forced out by the denser resin liquid. Highly dimensional, layered blossoms are especially prone to this issue.
Sometimes, even after following the recommended curing times, the resin stays tacky or soft in the center. The culprits here are residual moisture or oils inside the flower.
Any remaining moisture interferes with the chemical curing process. UV/LED resin is particularly sensitive to moisture; even slight humidity trapped in a petal can prevent the resin from fully polymerizing.
You carefully set a blossom at the bottom of your silicone mold, but as soon as you pour the resin, it bobs to the surface or drifts off-center, leaving parts of the petal protruding out of the finished piece.
Dried flowers are extremely light and contain air pockets, giving them natural buoyancy. Without specific techniques to anchor them, keeping them precisely where you want them is nearly impossible.
Your first step toward flawless floral resin work starts with choosing the proper botanical material. Just because a flower was bought at a craft shop does not mean it is instantly ready for resin.
Flowers used for resin must be bone-dry, with practically zero moisture content. If a petal feels even slightly supple, soft, or cool to the touch, do not use it.
Air-dried botanicals (hanging method) often absorb ambient humidity from the room. For reliable results, opt for flowers dried using silica gel crystals. Silica-dried flowers retain their vibrant colors, delicate shapes, and are completely moisture-free.
If you plan to use air-dried flowers, place them in an airtight container packed with desiccant silica gel for several days before crafting to draw out any lingering moisture.
A very common mix-up among beginners is confusing dried flowers with preserved flowers. Preserved flowers are treated with glycerin, oils, and specialized liquids to keep them feeling soft and fresh. In other words, they are not actually dry.
If you embed oil-laden preserved flowers directly into resin, the colored oils leach out into the resin, causing cloudiness, bleeding, and severe curing failure.
Always verify that your material is clearly labeled as "dried flower." If you must work with preserved florals, they require specialized degreasing treatments (such as soaking in ethanol) or protective sealants prior to use.
Some botanical varieties hold their color brilliantly inside resin, while others fade quickly. If you want your creations to look vibrant over time, choose hearty varieties at the supply stage.
Flowers that pair exceptionally well with resin include statice, globe amaranth (gomphrena), strawflower (helichrysum), mimosa, and laceflower (queen anne's lace). Their pigments are stable and resist fading inside clear mediums.
In contrast, thin rose petals and delicate hydrangea petals easily turn transparent as resin permeates them, and they fade faster under UV exposure. Use these only if you want an ethereal, translucent look, or ensure you seal them thoroughly beforehand.
Placing an untreated dried flower straight into a pool of resin is an absolute beginner misstep. You should always perform a preparation step called "pre-coating." Spending a few minutes on this single task eliminates about 90% of all common failures.
Pre-coating simply means brushing a micro-thin layer of resin or sealer over the entire dried bloom and fully curing it before placing it into your final project.
Here is my reliable pre-coating technique. You will need a flat craft brush, low-viscosity (runny) UV/LED resin, and a silicone craft mat.
With your pre-coated flowers ready, it's time to assemble your piece in a silicone mold or open bezel frame. Work patiently in layers rather than pouring everything at once.
Never place your flower onto the bare bottom of an empty mold. Pour a thin foundation layer of clear resin into the mold—about 1 to 2 mm deep is sufficient. Cure this foundation completely under your lamp. This base ensures petals won't poke through the front face of your finished piece.
Place a small drop of liquid resin onto the cured base layer to act as craft glue. Using tweezers, position your pre-coated flower precisely where you want it. Press down gently, then flash-cure with your UV light for 5 to 10 seconds. This "tack cure" locks the flower firmly into place so it cannot shift or float when you pour the bulk resin.
Slowly pour your main resin into the mold up to the brim. To minimize bubble formation, let the liquid run down the inner wall of the mold rather than dumping it directly onto the flower. Inspect the piece from the top and sides for any stray bubbles, removing them with a toothpick. Finally, run a full curing cycle according to your resin manufacturer's instructions. If the piece is thick, flip the mold and cure from the underside as well.
Your flower preparation differs slightly depending on whether you are using UV/LED resin or two-part epoxy resin.
Ideal for smaller crafts like earrings, pendants, and hair accessories. UV/LED resin cures in minutes, but you must watch out for two specific factors:
Used for larger, thicker creations such as paperweights, coasters, and home decor items. Epoxy resin remains liquid for hours before solidifying:
Because real botanicals are organic materials, completely stopping gradual aging is impossible. However, proper finishing and storage will preserve their vivid charm for years.
Ultraviolet radiation is the primary enemy of botanical pigments. Applying a UV-filtering top coat resin or specialized sealant over your finished work dramatically slows down sun-induced fading. Look for craft sealants with UV-blocking additives at major online craft retailers or specialty craft stores.
Here is my exact, personal workflow for embedding flowers without fail:
Pro Tip: I always check the room humidity before starting. If it's a rainy day with humidity above 70%, dry flowers absorb moisture from the air rapidly, so my personal golden rule is to pause resin crafting until conditions dry out.
Following this precise procedure yields crystal-clear, bubble-free botanical pieces with vibrant colors that stay beautiful over time.
Review this checklist before starting your next pour:
Eliminating these common mistakes will instantly elevate your botanical resin work to a professional standard.
While encapsulating real flowers in resin might seem tricky at first, virtually every failure boils down to four elements: moisture/oil, trapped air, curing heat, and buoyancy.
By selecting properly dried botanicals, sealing them with a thorough pre-coat, and building your design layer by layer, anyone can craft breathtaking botanical resin pieces. Capturing real blossoms inside glass-like resin is such a rewarding craft experience—I hope these tips inspire you to create your next stunning piece with confidence!
If you found this guide helpful, please share it with your fellow crafting friends on social media! See you in the next post—this was Yassy from Crafters! (・∀・)

For example, if you are looking for articles about mizuhiki, try searching for "mizuhiki"; if you are interested in tools, try keywords like "nippers" or "pliers."
