How to Set Shipping Rates for Handmade Crafts in Japan: Avoid Costly Mistakes with This Seller’s Guide
yassy
Crafters!

Hello! This is Yassy from Crafters! (・∀・)
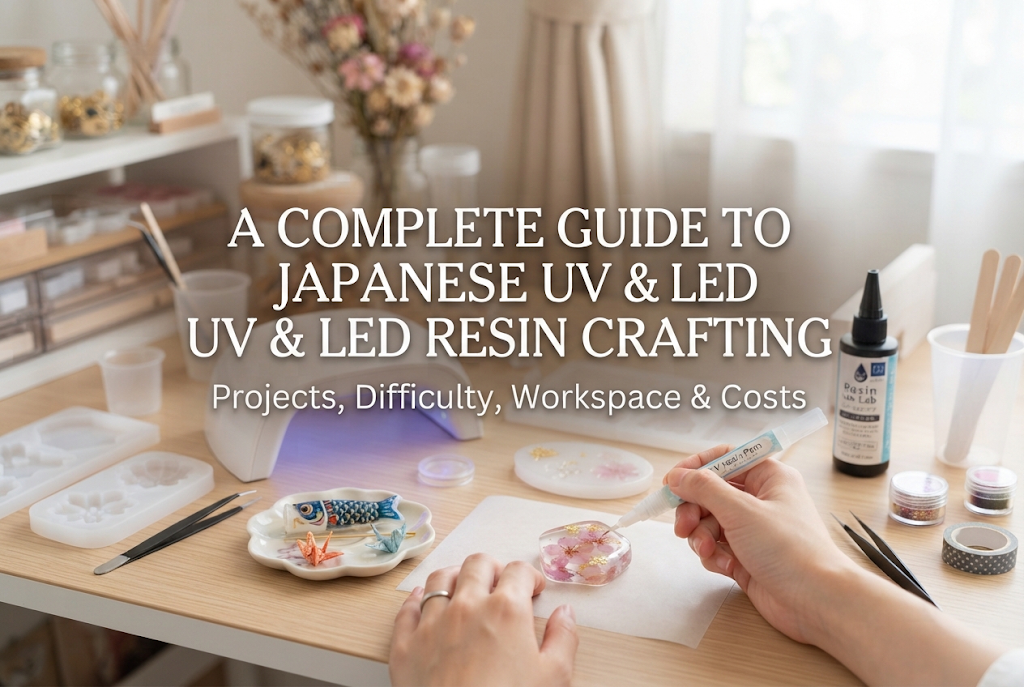
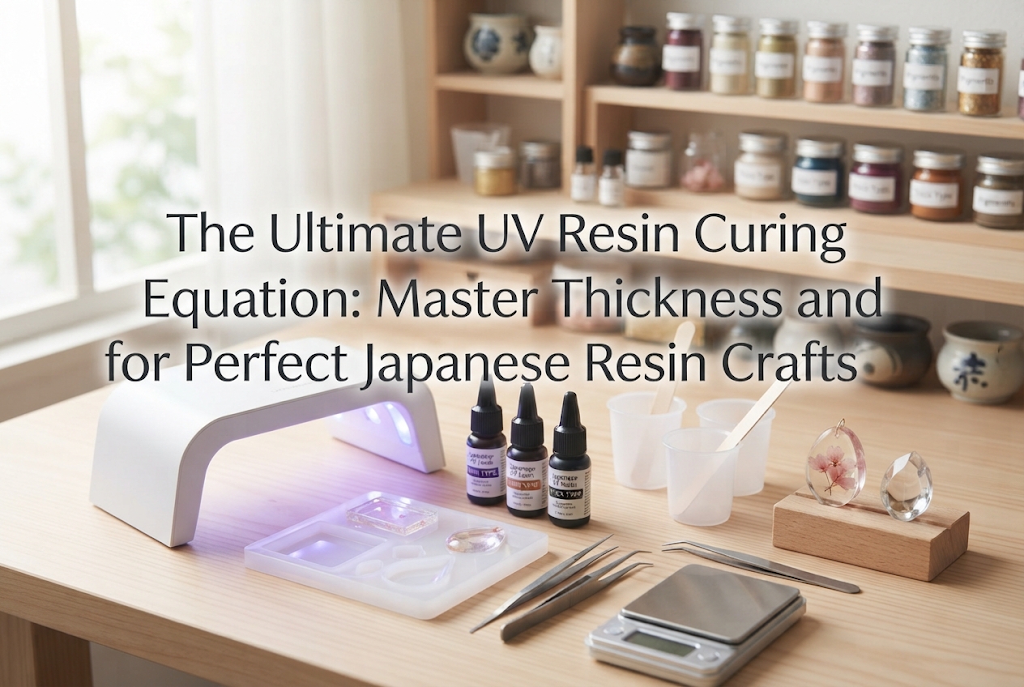
Filled with crystal clarity and sparkling like glass or precious gems, "UV & LED resin" allows you to craft magical creations with your own hands. Seeing the plump, adorable accessories in craft shops or online marketplace sites makes so many people think, "I want to try making that myself!"
I personally love making resin pieces, admiring other artists' works on social media and at craft events, and collecting lovely charms and findings. No matter how many years pass, I remain fascinated by the endless possibilities and fun that resin offers.
However, I often hear concerns from beginners who want to get started: "It looks difficult to handle and I'm scared of failing," "Don't I need a special machine or a huge craft room?" or "The initial costs seem high."
To put it simply: as long as you grasp a few key points, UV & LED resin is the absolute best craft genre for beginners to experience immediate success. In this article, I will share all my knowledge to give you a complete guide—covering everything from basic UV & LED resin facts, specific items you can make, difficulty levels, workspace setup, and realistic budget expectations.
The word "resin" simply means "synthetic or natural resin material." In the craft world, when we say resin, we are referring to liquid resin that hardens into a solid state when exposed to light or specific chemicals.
Today, "UV & LED resin" is the main standard in the Japanese craft scene. First, let's make sure you understand how this material cures and how it differs fundamentally from other types of resin.
UV & LED resin is a special liquid resin that undergoes a chemical reaction when exposed to specific wavelengths of light (ultraviolet or visible light rays), transforming from liquid to solid in a matter of seconds to minutes. "UV" stands for Ultraviolet, and "LED" stands for Light Emitting Diode.
In the past, traditional "UV resin" that only reacted to ultraviolet light was dominant. Today, however, "UV-LED resin"—which reacts to both specific LED light wavelengths and UV rays—is the industry standard. When you use this modern resin fluid, it cures completely solid in just 30 seconds to 2 minutes under a dedicated craft lamp.
There is no need to wait for natural air-drying. The incredible speed of completing a project right on the spot is the single greatest feature and charm of UV & LED resin.
There is another major resin type called "epoxy resin" (or two-part resin). Confusing these two at the beginner stage leads to big mistakes in tool selection and project execution, so let's clarify the differences.
Epoxy resin works by precisely measuring and mixing two separate liquids: a main resin base and a hardener. This triggers a chemical reaction that cures the mixture over 24 to 48 hours. While it takes longer to set, it generates less sudden heat and resists deformation, making it perfect for thick, large-scale projects like river tables or deep castings.
On the other hand, UV & LED resin requires no mixing. You squeeze it directly from the bottle and cure it instantly with light. However, because light cannot reach deep into thick molds, it is specialized for small-scale projects ranging from a few millimeters to a couple of centimeters thick.
If you want to easily and beautifully create accessories, keychains, and small charms, UV & LED resin is overwhelmingly the better choice.
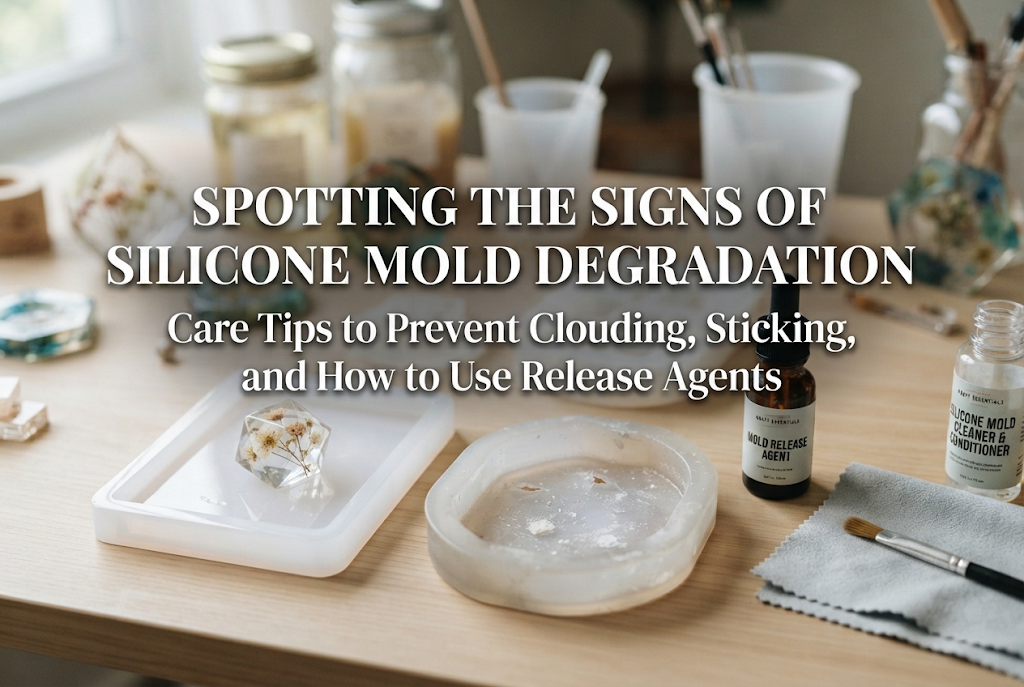
The greatest strength of UV & LED resin lies in its shaping freedom and high transparency. Just by changing silicone molds or altering the embedded items (inclusions) inside, you can create infinite designs.
Here are some representative categories of what you can craft:
Accessories are the most popular and widely created items in UV & LED resin crafting. By combining resin pieces with metal findings, you can create genuine, store-quality jewelry.
By pouring resin tinted with your favorite colorings, you can craft one-of-a-kind original jewelry.
Hair items also pair wonderfully with resin. Adhering resin pieces onto flat metal hair hardware creates charming items perfect for daily wear.
Hair items look fantastic with larger designs, making them ideal for embedding dried flowers, gold leaf, or pearls for a gorgeous statement piece.
Shaker keychains (known as "shakers" or "shaka-shaka" in Japan) are a massive sensation among both kids and adults. Using a hollow silicone mold, you construct a resin frame and trap tiny beads, sequins, or printed film inside.
When shaken, the interior pieces rattle and move around playfully. Furthermore, by filling the chamber with specialized craft oil, you can create a "herbarium shaker" where the elements float gracefully inside liquid.
Even these complex-looking pieces can be crafted flawlessly at home using UV & LED resin.
Beyond wearables, resin works beautifully for items that decorate your desk or room:
These practical items make wonderful gifts and are easy to make with just resin fluid and a mold.
Resin isn't just for standalone molds; it serves as an ultimate top-coating agent for other craft materials.
For instance, applying UV & LED resin over shrink plastic illustrations and curing it gives the piece a plump, glossy, high-end dome finish. Applied over polymer clay or resin clay miniature sweets, it acts as a glossy varnish or realistic dessert sauce substitute.
For crafters involved in other handmade disciplines, UV & LED resin is a fantastic partner that dramatically upgrades work quality.
Many people assume resin is difficult, but the actual task difficulty is "Beginner." You don't need clay-sculpting skills or complex pattern-knitting knowledge. You simply pour liquid into a mold and shine light on it to freeze it into the desired shape.
However, "anyone can cure it easily" is different from "making it beautifully without mistakes." Beginners tend to trip over the same few points. Below, I break down the three most common beginner mistakes and how to prevent them completely.
This happens when you shine light on the resin, but the surface remains tacky, fingerprints stick to it, or the inside stays soft and squishy. This incomplete curing is resin's biggest failure mode.
The three main causes are:
The golden rule to prevent this is "layering"—apply thin layers of 2mm to 3mm at a time, curing between each layer. Rather than trying to finish in one pour, apply a little, cure, add inclusions, and cure again. Following this method will prevent incomplete curing 100% of the time.
This failure occurs when unwanted air gets trapped inside the piece, hardening into tiny pockmarks or bubbles. In resin where high transparency is key, unintentional bubbles ruin the final beauty.
Here is the procedure for zero air bubbles:
Doing a thorough "bubble check" before pushing the lamp switch is an absolute requirement for creating professional, smooth-as-glass work.
When removing a piece from a silicone mold, you might notice the back side caving in or the entire piece warping into a curve. This is caused by "curing shrinkage," a natural property of resin shrinking slightly as it turns from liquid to solid.
Here are three techniques to prevent warping:
Next, let's cover setting up your workspace at home. You do not need a special craft room or a massive desk. However, you must follow basic safety and efficiency rules.
People often misunderstand and think large equipment is necessary, but UV & LED resin requires a very compact setup. A space measuring roughly 50cm wide by 40cm deep (about two sheets of A4 paper side-by-side) is more than enough. You can start immediately on a corner of a standard desk or dining table.
Set up your workspace with the following arrangement:
The main hazard in your working environment is sunlight. UV & LED resin reacts strongly to UV rays in natural sunlight and will cure rapidly.
If you craft near a window with direct sunlight, resin poured from the bottle or on your mixing palette will start curing mid-process, turning gloopy and unusable. Set up your craft area like this:
As a craft writer, the point I want to emphasize most is resin allergy prevention. Uncured liquid resin is a chemical compound. Repeated direct skin contact or inhaling vaporized compounds over time can trigger sudden allergic reactions like skin redness, itching, or rashes.
Once an allergy develops, you may no longer be able to enjoy resin crafting. Please follow these safety steps right from day one:
When starting a new hobby, total cost is a top concern. Here is a breakdown of realistic budgets ranging from minimal testing to a full-fledged hobby setup.
This setup is for those who think, "I'm not sure if this suits me yet, so I want the cheapest option possible." Today, Japanese 100-yen shops (dollar stores) carry resin fluid, simple mini lamps, silicone molds, and decorative glitters.
Estimated breakdown:
Reality Check & Caution: You can create basic shapes with 100-yen shop supplies, but resin quantities are small, and clarity, cure speed, and resistance to yellowing over time are limited. It works for a quick trial, but might cause frustration if you want professional-looking results.
This is the budget tier I confidently recommend if you want to make gorgeous, gift- or sale-worthy pieces right away without stress. It focuses on sourcing reliable tools from established craft manufacturers.
Estimated breakdown:
With this setup, you won't suffer from uncured stickiness, and you'll complete stunning pieces right from your first try. Ultimately, this avoids wasted materials and time, making it the most cost-effective path.
To keep you from overbuying unnecessary items, here is a priority breakdown:
Must-Have Essential Tools from Day One:
Tools That Can Wait Until Later:
Once your tools are ready, it's time for your first creation! The best foolproof project for beginners is a simple plump keychain charm or a clear silicone mold pendant.
Here is my step-by-step process for guaranteed success:
Lay down your silicone mat and plug in your lamp. Put on your nitrile gloves and keep tissues or lint-free wipes nearby. Only open your resin bottle cap when all prep work is finished.
Gently squeeze resin fluid into the bottom of the mold to a depth of about 1 to 2 mm. Squeeze slowly to prevent air from entering.
Use the tip of a toothpick to guide resin into the tiny corners and fine grooves of the mold. If you spot bubbles, poke and burst them with your toothpick.
Gently place dried flowers, glitter, or foil using tweezers. Air easily gets trapped under inclusions, so press them down softly from above to push air bubbles out.
Turn on your UV-LED lamp and shine light for 10 to 30 seconds to lock the placed elements in position so they don't drift during the next pour.
Pour the second layer of resin up to the rim of the mold, or slightly domed above it. Check carefully from every angle to ensure no air bubbles are trapped on top.
Place under the lamp and cure the top surface for about 2 minutes. Once finished, flip the silicone mold over and cure the underside for another 2 minutes. Curing the back guarantees zero tackiness and prevents warping.
Remove from under the lamp and resist the urge to touch it immediately. Let it rest for 2 to 3 minutes. Once completely cool, gently peel back the silicone mold to pop your work out.
A beautifully clear, plump resin piece is complete in your hand! Once you experience the joy of this moment, you'll be hooked.
In this guide, we explored everything from basic UV & LED resin knowledge to project ideas, difficulty levels, workspace setup, safety, and budget expectations.
Resin crafting is neither overly difficult nor dangerous as long as you follow basic rules and safety precautions. Rather, it is the ultimate creative tool for bringing your favorite cute and sparkly ideas to life in the shortest amount of time.
Let's review the key takeaways:
The moment your first piece pops smoothly out of its mold, glittering with high clarity in the light, you will fall in love with this craft. The joy of creating, viewing, wearing, and gifting resin pieces is truly wonderful.
Don't waste time hesitating! Gather the right tools for your budget and step into the exciting world of handmade resin craft.
If you found this article helpful, sharing it with friends on social media would mean the world to me! See you in the next article! This was Yassy from Crafters!

For example, if you are looking for articles about mizuhiki, try searching for "mizuhiki"; if you are interested in tools, try keywords like "nippers" or "pliers."
