Level Up Your Pottery: The Essential Order for Upgrading Beyond Your Starter Kit
yassy
Crafters!

Hello everyone, this is Yassy from Crafters! (・∀・)
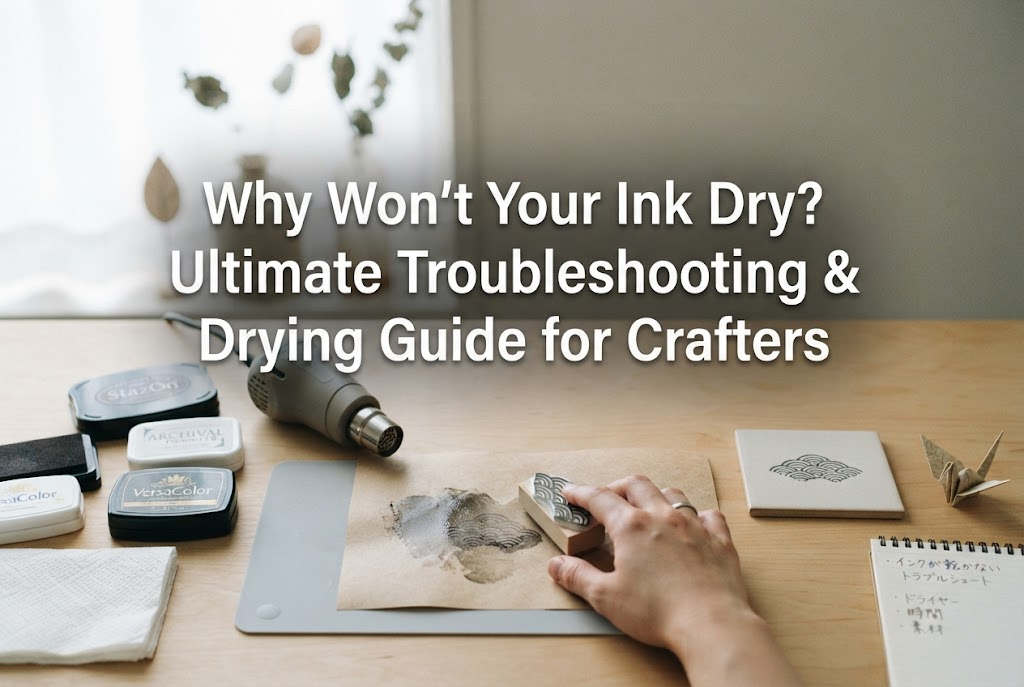
Have you ever stamped a design on your handmade project or colored a surface with ink, only to face a agonizing disaster where hours later the ink still sticks to your hands or feels uncomfortably tacky, with zero signs of drying?
I personally love making, buying, and looking at all kinds of handmade crafts. But in my own journey, I have lost count of the times when an ink drying failure at the very final stage ruined my project, forcing me to cry and start all over again from scratch.
There is nothing more frustrating than having a favorite piece—one you spent hours carefully crafting—ruined by a single ink drying mishap.
But don't worry! There is always a clear chemical or physical reason why ink fails to dry. Once you understand the reason, fixing it is surprisingly easy.
In this comprehensive guide, I will share my complete knowledge and experience: from the root causes to check when ink won't dry, to key checkpoints for each material, professional quick-drying techniques, and emergency recovery tricks if you accidentally smudge your work.
By reading this article to the end, you will be completely freed from ink drying troubles and learn how to fix ink beautifully and quickly on any material!
When ink applied to your project refuses to dry, do not panic and touch it repeatedly with your fingers. The more you touch it, the more the ink will smudge and ruin your work.
Your top priority is to stay calm and identify which of the three root causes is responsible. About 99% of ink drying problems are caused by one of these three factors, or a combination of them.
The biggest reason ink fails to dry is that the nature of the base material does not match the ink's drying mechanism.
Inks generally dry through one of two mechanisms: absorption drying (soaking in) or evaporation/fixation drying (components evaporating and hardening).
If you use an absorption-type ink on non-porous materials like smooth plastic or metal, the ink will simply never dry. The ink resting on the surface remains liquid indefinitely, staying wet to the touch no matter how many days you leave it.
Another very common culprit is applying far too much ink when stamping or brushing.
If you press a stamp too hard onto an ink pad, excessive ink accumulates in the grooves of the design. Pressing that onto your material applies far more ink than necessary.
When the layer of ink is too thick, even if a faint film forms on the very top, air cannot reach the ink underneath, causing the drying speed to plummet. Thickly applied pigment or oil-based inks with high viscosity can easily take over a full day to dry completely.
A factor that is surprisingly easy to overlook is your working environment.
For the moisture or solvents inside ink to evaporate, suitable temperature and humidity are essential.
On rainy days or during humid seasons when relative humidity exceeds 70%, high moisture in the air severely slows down the evaporation of water-based inks. Similarly, in an extremely cold room during winter, molecular movement slows down, significantly delaying the drying reaction.
Handmade crafts utilize a wide variety of materials—paper, fabric, plastic, leather, wood, and more. The reason ink won't dry and the steps to fix it vary greatly depending on what you are working with.
Standard copy paper or sketchbook paper absorbs ink quickly, so drying issues are rare. However, specialty papers with treated surfaces require caution.
Glossy paper, photo paper, commercial coated paper, and smooth tracing paper have coatings that block ink absorption. Using water-based dye ink or standard water-based pigment ink on these will prevent absorption, leaving the ink repelled on the surface.
When stamping or coloring fabric items, you might find the ink remaining half-dry indefinitely. Many dedicated fabric inks (such as VersaCraft) do not dry or fix completely just by being exposed to air. Furthermore, synthetic fibers like polyester or nylon are water-repellent, frequently repelling ink and preventing it from setting.
These are completely non-porous materials that absorb zero water or oil. If you use water-based ink or regular paper ink here, it will not dry 100% of the time, even if left for weeks.
In addition, if natural skin oils or grease are present on the smooth surface, the ink will be repelled unevenly, delaying drying even further.
Using ink on leather goods comes with unique complications. Genuine leather contains oils from the tanning process; oil-rich leathers (like pull-up or oiled leather) repel ink solvents, leaving behind sticky, wet ink. For synthetic leathers (PU or PVC), the surface resin layer can react with ink components and dissolve slightly, creating a permanently tacky surface.
Wood, dried craft clay, and Jesmonite have high absorbency. However, ink may fail to dry due to internal moisture, natural wood sap, or incomplete drying of the clay itself. Applying ink over damp materials seals the path for moisture evaporation, leaving surface ink half-dried.
There are many types of craft inks. Because the drying mechanism and required time differ entirely depending on the ink, understanding these characteristics is vital to preventing repeated drying failures.
Formulated with water-soluble dyes, this ink has a thin, fluid texture that seeps into the gaps between paper fibers to dry. It dries extremely fast on standard porous paper (a few seconds to tens of seconds). However, because it relies on absorption, its main weakness is that it will never dry on non-porous surfaces like plastic or coated paper.
This ink contains fine pigment particles dispersed in water, creating a vibrant layer on top of paper. It offers richer color, superior lightfastness, and better water resistance than dye ink. However, it is more viscous and tends to settle on the surface, taking longer to dry—several minutes to 10 minutes on regular paper, and over 30 minutes if applied thickly.
Formulated with an oil or solvent base, many of these inks are designed to adhere to smooth materials as well as paper. Drying occurs as the solvent evaporates into the air. While drying speed is relatively fast, the ink pad itself dries out easily, so leaving the cap open while working can ruin the pad.
Represented by brands like StazOn, these use special organic solvents that adhere to non-porous surfaces including metal, plastic, glass, resin, plastic wrap, and leather. Because the solvent evaporates at high speed upon contact with air, it dries completely in seconds to a few minutes. While it is the ultimate weapon for non-porous materials, its extreme drying speed means it also dries quickly on the stamp face, making immediate cleaning with a dedicated cleaner mandatory.
These specialized inks are deliberately engineered to dry extremely slowly (e.g., embossing inks and certain color pigment inks). Designed to remain tacky for several minutes so embossing powder can stick before being melted with a heat tool, this ink will not dry naturally without heat-setting. Feeling anxious that it won't dry is simply a misunderstanding of its intended design!
If you face an emergency—like accidentally applying too much ink or running out of time before a craft market—here are my go-to fast-drying tricks that work far better and cleaner than just waiting around.
An embossing heat gun is the ultimate tool to speed up ink drying. Unlike a standard hair dryer, it delivers high heat with low airflow. A hairdryer's powerful blast can blow wet ink across your work or smudge it. A heat gun quiet delivers pinpoint, intense heat (over 200°C / 400°F), rapidly evaporating water and solvents in the ink.
How to use it correctly: Hold the heat gun 15–20 cm (6–8 inches) away from the surface and move it in small circular motions to avoid scorching or warping the material. For plastic or resin, heat in 5-second bursts to prevent heat deformation.
If pigment or oil-based ink remains stubborn and sticky, baby powder works wonders. Applying ultra-fine, colorless or white powder over the ink physically coats the surface to eliminate tackiness.
In just moments, the sticky surface turns silky smooth. Note that on dark or black inks, standard powder can leave a whitish haze, so use translucent baby powder or clear craft-setting powder.
When ink on paper crafts, illustrations, or wood takes too long to dry, applying a light coat of workable fixative or matte clear spray (commonly used for pastel or pencil art) is highly effective. It forms a rapid, transparent protective film over the ink surface, making it dry to the touch immediately.
Caution: Spraying too close or too heavily will dissolve the ink and cause severe smudging. Always hold the can at least 30 cm (12 inches) away and mist it lightly in multiple thin layers.
If you touched your work to check if it was dry and ended up smudging the ink, don't throw your project in the trash just yet! Depending on the material, you can restore it completely.
Mistakes on smooth materials are the easiest to recover from because the ink hasn't penetrated the surface.
Ink absorbed into paper fibers cannot be wiped away with water, but you still have options:
If you smudged un-heat-set fabric ink before ironing, you still have a chance to wash it out.
The shortest path to avoiding ink drying disasters is thorough preparation and proper stamping technique before you start working.
Oils from hands, dust, or factory mold-release agents on surfaces will repel ink and hinder drying.
When applying ink to a stamp, never crush the stamp into the ink pad! Pressing hard forces excessive ink into the recessed areas of the stamp design, leading to heavy application on your material—the leading cause of slow drying.
The correct technique is to hold the stamp face up and gently tap the ink pad over it in a light, rhythmic motion. Creating a thin, uniform coat of ink on only the raised surfaces of the stamp is the secret to crisp, fast-drying impressions.
Stamping directly onto your finished project without testing is risky. Assuming "this ink should work on this paper" is how mishaps happen.
Whenever I work on a project, I keep scrap pieces of the exact same material (paper scraps, leather cutoffs, plastic pieces) nearby to test stamp first. Testing how many minutes it takes to dry and checking for bleeding or repelling ensures zero surprises on the final piece.
Having created countless handmade pieces and observed the work of many fellow artisans, I can state one thing with absolute certainty: projects crafted with attention to ink fixation and drying speed show a vast difference in durability and premium feel.
Ink that remains half-dry can rub off onto a customer's clothes or bag after purchase, or smudge off a shop card onto someone's hands—creating an unpleasant experience.
Whenever I make items or packaging materials, I adhere strictly to two personal rules: never cut corners by using one ink for all materials, and always perform the complete fixation process.
Even if I have many beautiful water-based ink pads, I never force them onto ribbons or plastic packaging bags. Investing in dedicated solvent or fabric inks, and allowing proper heat-setting and drying time, is an uncompromising standard for me as a professional maker and craft enthusiast.
In this guide, we explored everything you need to check when ink won't dry—from diagnosing root causes to material-specific fixes and pro quick-drying tricks.
Let's do a quick recap of the key points:
Once you match the right ink to your material and respect its drying process, the stress of slow-drying ink disappears completely!
If you found this guide helpful, please share it with your crafting friends on social media! Until next time, this was Yassy from Crafters! Happy crafting!


For example, if you are looking for articles about mizuhiki, try searching for "mizuhiki"; if you are interested in tools, try keywords like "nippers" or "pliers."
