Master Bead Hole Sizes: The Golden Rule for Choosing Stringing Materials Without Mistakes
yassy
Crafters!

Hello, everyone! It’s Yassy from Crafters! (・∀・)
Punching yarn into primary backing cloth with a tufting gun is such an exhilarating and joyful experience! Watching bright, colorful yarns turn into a dimensional piece of art right before your eyes gets everyone excited. I enjoy making and buying various handmade crafts myself, but tufting has a unique charm thanks to its fluffy, tactile presence.
However, after finishing the tufting on the front side, do you tend to rush through or neglect the backing process? Let me state this clearly: about 80% of a tufted rug’s quality, durability, and final beauty is determined by how you handle the backing!
No matter how adorable your design is or how neatly you tufted the yarn, a rug with poor backing will start losing yarn loops within months, warp out of shape, and ultimately end up in the trash. On the flip side, if you master the backing process, you can craft robust, stunning rugs that rival high-end commercial products. In this guide, I’ll walk you through the entire step-by-step rug backing process, along with professional tips to prevent common mistakes!
To understand why backing is so critical, it helps to look at the structural side of tufting. The tufting process simply pushes folded yarn loops through the weave of the primary cloth. Because no knots are tied, yarn pulls out easily if the back isn't secured with glue.
The backing process serves three vital purposes:
Only when all three roles are satisfied is a rug truly complete. Shift your mindset away from "it's just the back, nobody sees it." The backing is actually the single most critical step deciding your rug's lifespan and value.
Before getting started, prepare all your tools. Starting with inadequate supplies can cause adhesive to dry mid-process or result in an uneven finish. Here is a breakdown of essential supplies I have tested and proven effective:
This is the most critical glue used to secure the yarn roots. Always use tufting-specific latex or rubber-based rug adhesive. Never substitute standard PVA/wood glue. PVA glue dries hard and brittle, destroying the rug's flexibility and causing it to crack whenever bent.
Dedicated latex adhesive remains appropriately rubbery and flexible after curing. This ensures a supple, durable rug that won't crack under foot traffic. A water-based synthetic latex adhesive is the absolute best choice for ease of use and strength.
This covers and conceals the backside. Generally, crafters use a secondary mesh backing combined with a non-slip felt fabric for the final touch. For home interior rugs, non-woven felt fabric with non-slip dots is the easiest to work with and gives the cleanest result.
This tape wraps around the outer perimeter for a clean edge. Prepare a thick cotton tape or bias tape about 3 cm to 5 cm (1.2 to 2 inches) wide. It completely prevents fraying along the edges and adds a commercial, high-end feel.
Prepare a sturdy plastic or metal scraper/spatula and a stiff brush to spread the glue. For cutting, you will need sharp fabric shears and small craft scissors for precise snips.
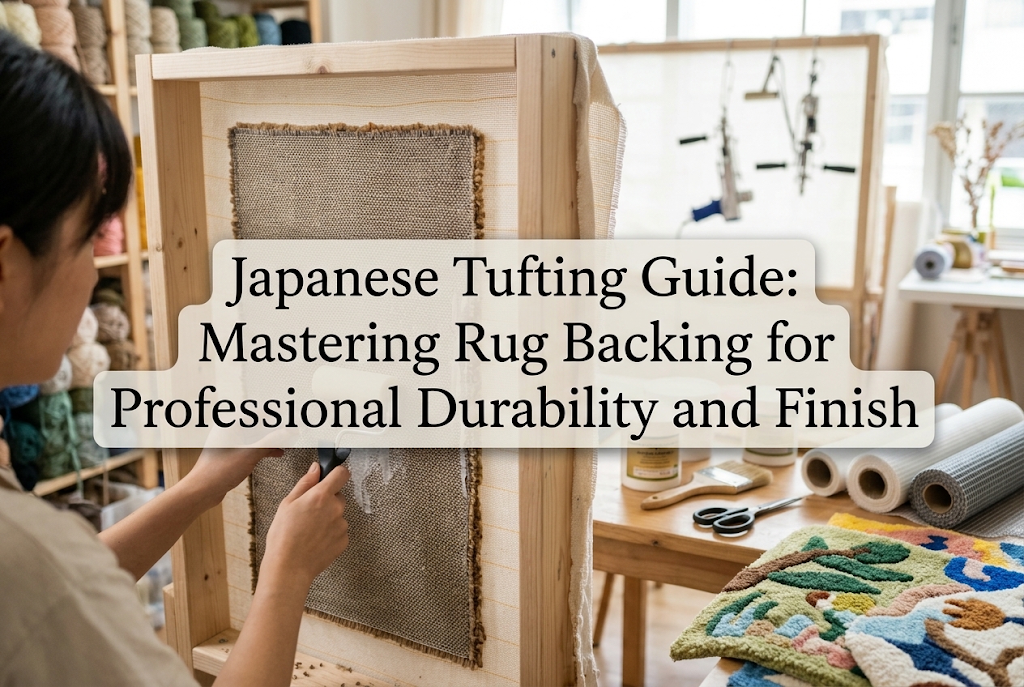
Now, let's dive into the actual process. The first step is applying the primary latex while the backing fabric is still stretched tight on the tufting frame. Never take the fabric off the frame before gluing!
If you remove the fabric first and apply latex, the contraction of the adhesive as it dries will severely warp the fabric, making it impossible to lay flat again. Keeping tension on the frame while applying glue is an absolute rule for a flat rug.
Pour the latex adhesive onto the back of the rug and spread it with a scraper. Simply spreading it thinly on top is not enough. Hold the scraper at a slight angle and firmly push the glue deep into the gaps between yarns and into the weave of the cloth.
Pay special attention to color boundaries and densely tufted areas, as density changes can create hidden gaps. If glue isn't worked in thoroughly here, yarns will pull out along those boundaries later. Using a stiff brush in circular motions is a great technique to work the glue right into the yarn bases.
The golden rule for glue quantity is "neither too thin nor too thick." Aim for a uniform layer about 1 mm to 2 mm thick, fully covering the white background of the primary cloth.
If applied too thickly, adhesive will bleed through the primary cloth onto the front pile. Once latex bleeds to the front, your plush yarn pile becomes hard and crusty. Check carefully with your scraper to ensure there are no poolings of excess glue.
Once applied, leave the piece on the frame to dry completely. At a room temperature around 20°C (68°F), drying takes a minimum of 12 to 24 hours. Do not unmount the frame until the glue is completely non-tacky and cured.
Rushing this step while the glue is half-wet will weaken adhesion and warp your rug. Latex has a distinct rubber scent, so ensure proper room ventilation during application and drying.
Once the primary latex is completely dry, remove the fabric carefully from the frame's tack strips and lay it out flat on a wide workstation.
Never cut right along the outline of your rug design! Always leave a 2 cm to 3 cm (approx. 1 inch / 2.5 cm) margin of primary backing cloth around the entire shape. This extra border will be folded over to form sturdy edges.
If the margin is too narrow, there won't be enough surface area to glue down, causing edges to lift. If it's too wide, the folded section will feel bulky. Aiming for 2.5 cm measured with a ruler gives the best results.
Straight lines fold over easily, but curves and sharp corners will bunch up if folded as-is. Use scissors to snip slits into the margin fabric:
Taking time on these snips dramatically improves the crispness of your rug's silhouette.
With the margins trimmed and slit, move on to the secondary adhesive step: attaching the backing cloth and neatly securing the margins.
Fold the margin fabric inward onto the latex-coated back of the rug. Use a heavy-duty spray adhesive or quick-drying multi-purpose craft glue.
Press the folded edges down firmly with your fingers, checking the front periodically to confirm the outline stays straight or curves smoothly. Make sure no pile fibers get trapped under the fold. Use craft clips or weights temporarily to hold edges down firmly while drying.
Cut your backing felt to match the rug's shape, making it slightly smaller (about 1 mm to 2 mm inside the outer edge) than the rug itself. If felt extends past the rug edge, it looks messy.
Apply spray adhesive uniformly over the backing surface (or spread a thin coat of latex), then press the felt down from the center outward, smoothing away air bubbles. Once attached, place a flat board and heavy weights (such as heavy books) over the rug for several hours. Skipping this pressing step can cause the felt to peel off over time.
While adding felt backing creates a usable rug, adding an edge binding (piping or binding tape) elevates your work to commercial quality. Binding completely hides raw cut edges of the cloth and backing, giving an exceptionally neat appearance.
You can attach edge tape with adhesive alone or hand-sew it. In my experience, combining both gives the most durable and attractive result:
Hand sewing might sound tedious, but binding a single rug usually takes under an hour. This extra step guarantees the edges will never unravel, no matter how hard the rug is used.
Here are typical backing pitfalls beginners face, along with solutions to prevent material waste and frustration:
Cause: Removing fabric from the frame before the primary latex dried completely, or applying latex unevenly.
Fix: Always let latex cure completely on the frame. If curling has already occurred, lightly mist the back with water, place it face-down on a flat floor, cover it with flat boards, and stack heavy weights evenly on top for 2 to 3 days to re-flatten.
Cause: Applying too much latex or pressing too hard with the scraper, forcing glue through the primary cloth weave to the front side.
Fix: Glide the scraper gently across the back to seal the cloth surface rather than gouging into it. Also, keep your primary backing stretched drum-tight before tufting so glue doesn't pool in loose areas.
Cause: Too little latex adhesive, or glue that was too thick to penetrate yarn roots.
Fix: Work latex thoroughly into the roots with a stiff brush during application. If the adhesive is too viscous, mix in a tiny splash of water to improve penetration before applying.
Cause: Using cheap industrial construction adhesives not intended for tufting, or drying in high-humidity conditions.
Fix: Always use water-based latex or acrylic adhesives formulated specifically for tufting and rugs. Investing in high-quality craft materials avoids ruined projects and damaged flooring.
Here is my reliable 3-day schedule to ensure flawless backing results without rushing:
Taking three days allows proper curing and weight-pressing times. Patience is the secret weapon for professional-grade tufting!
Choose the right backing combination based on your project size and intended use:
Compared to the excitement of tufting yarn onto a frame, backing can feel like a quiet, meticulous task. However, holding a finished rug backed with care and attention creates an unbeatable sense of pride.
The substantial weight, clean borders, and incredible durability that keeps yarns locked in place for years are all proof of your craftsmanship. By selecting the right tools, following a steady schedule, and paying attention to detail, you can turn your tufted projects into lifelong treasures!
If you found this guide helpful, please share it with your fellow crafting friends. Until next time, happy tufting from Yassy at Crafters!






For example, if you are looking for articles about mizuhiki, try searching for "mizuhiki"; if you are interested in tools, try keywords like "nippers" or "pliers."
