The Golden Rules of Heating Resin: A Japanese Crafter’s Guide to Viscosity, Bubble Removal, and Safety
yassy
Crafters!

Hello everyone, it's Yassy from Crafters! (・∀・)
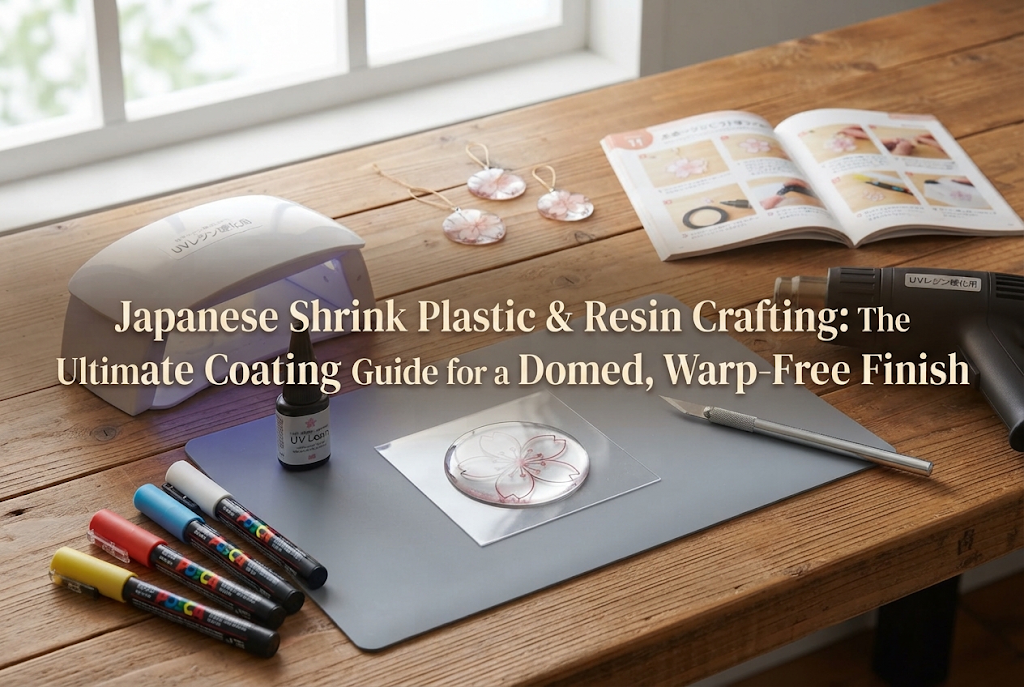
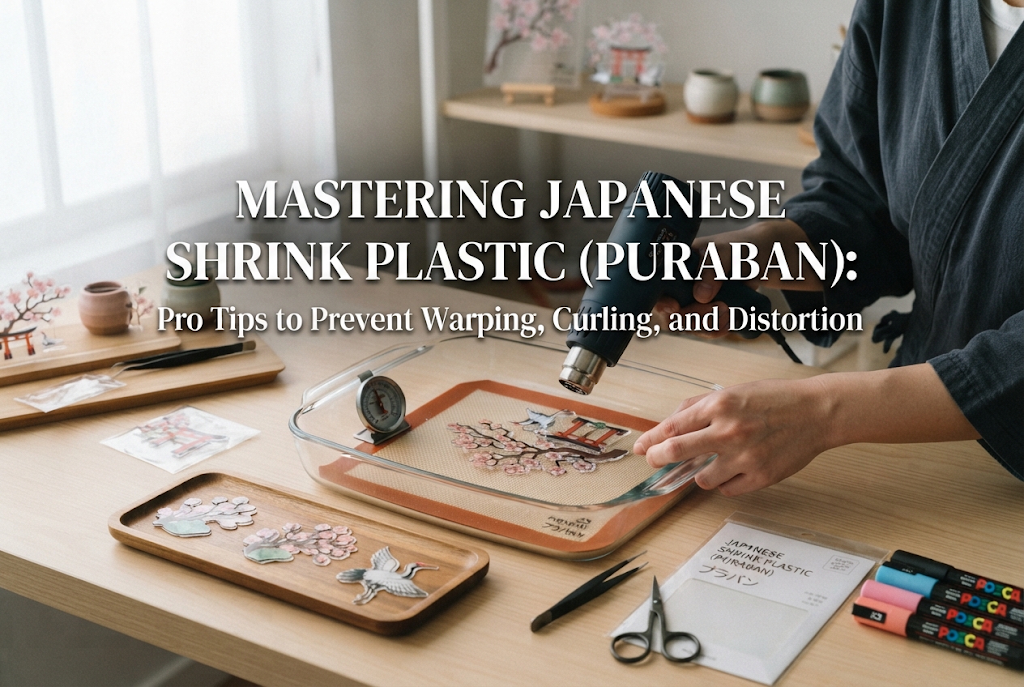
When you apply resin over a baked shrink plastic motif, it transforms into something truly special—gaining a beautiful gloss and a plump, domed finish reminiscent of commercial acrylic charms or high-end glass crafts. I personally love combining shrink plastic with resin, and I have coated countless pieces over the years.
However, coating shrink plastic with resin isn't as simple as squeezing out liquid and curing it under a UV light. Beginners often face several pitfalls: colors bleeding and ruining the design, resin overflowing down the edges, or the entire plastic piece warping and bending due to heat and curing shrinkage.
It is heartbreaking to ruin a piece you carefully drew and shrank right at the final coating stage. In this article, I will share the exact expert knowledge and practical techniques required to achieve flawless resin coatings on shrink plastic every single time. Instead of vague advice, I will walk you through the correct step-by-step procedures based on crafting logic. Be sure to read until the end to elevate your handmade projects!
There are clear reasons why we don't stop at just shrinking plastic in an oven and instead go the extra mile to apply resin. Resin doesn't just improve the appearance; it is an essential process that lifts the durability and overall quality of your artwork to a professional standard.
Here are four main reasons why coating shrink plastic with resin is worth the effort:
The most common failure in shrink plastic resin coating is when colors dissolve and bleed upon applying resin. This happens due to chemical interactions between components in the coloring media and the liquid resin.
Compatibility varies greatly depending on the coloring material you use. To avoid failure, it is crucial to understand these characteristics and perform the necessary pre-treatment.
Here is how major coloring materials interact with resin. Please distinguish between those that can be coated directly and those that require pre-treatment:
If you are using materials that react with resin—such as oil-based pens, pastels, or alcohol markers—you must create a clear "barrier layer" before applying resin.
The most effective and foolproof tool for this barrier is a clear water-based multi-purpose acrylic varnish.
Apply a thin coat of clear water-based varnish (available at craft stores or hardware shops) over the colored side of your shrink plastic. As it dries, it forms a clear protective film that prevents the resin from directly touching the pigment.
Follow these rules when applying water-based varnish:
Using a spray-type clear acrylic varnish is also extremely effective. Sprays eliminate brush friction entirely, perfectly protecting delicate pastel drawings and oil-based marker illustrations.
Once pre-treatment is complete, you are ready for the main coating process.
Here is the step-by-step technique to maximize surface tension for a gorgeous domed look while preventing resin from spilling over the edges.
Dust and airborne fibers are the greatest enemies of resin craft. Clean your work table thoroughly before starting to minimize static electricity.
Remove static dust and tiny debris from the shrink plastic by gently pressing masking tape against its surface. Avoid touching the face directly with bare fingers, as natural skin oils can cause resin to repel; wear disposable nitrile gloves or use tweezers.
Place your shrink plastic piece on a flat silicone craft sheet. Rolled-up masking tape placed underneath the shrink plastic will elevate it slightly above the silicone mat, dramatically improving usability.
Slightly elevating the piece ensures that even if a small drop spills down the side, your shrink plastic won't accidentally glue itself to the work surface.
Dispense a moderate amount of resin into the center of the shrink plastic. It is best to start with slightly less resin than you think you need.
Choose a medium-to-high viscosity UV/LED resin. Low-viscosity (runny) resin flows too quickly off the edges and is not suited for surface coating.
Using a silicone stick or a toothpick, gently spread the resin outward from the center.
Keep the shape "thicker in the center, tapering gently toward the edges." Surface tension will pull the resin naturally into a smooth, plump dome.
Guide the resin toward the outer border of the shrink plastic. Using the tip of a toothpick, pull the surface tension of the resin until it sits about 1 millimeter away from the actual edge.
Once distributed, lower your eye level to view the piece from the side. Check whether the resin has spread evenly into a soft curve.
If the liquid looks ready to spill over the rim, use a clean toothpick tip to gently scoop away the excess resin.
Before curing under the light, clear away every single air bubble. On clear shrink plastic, trapped bubbles significantly reduce the refined feel of your piece.
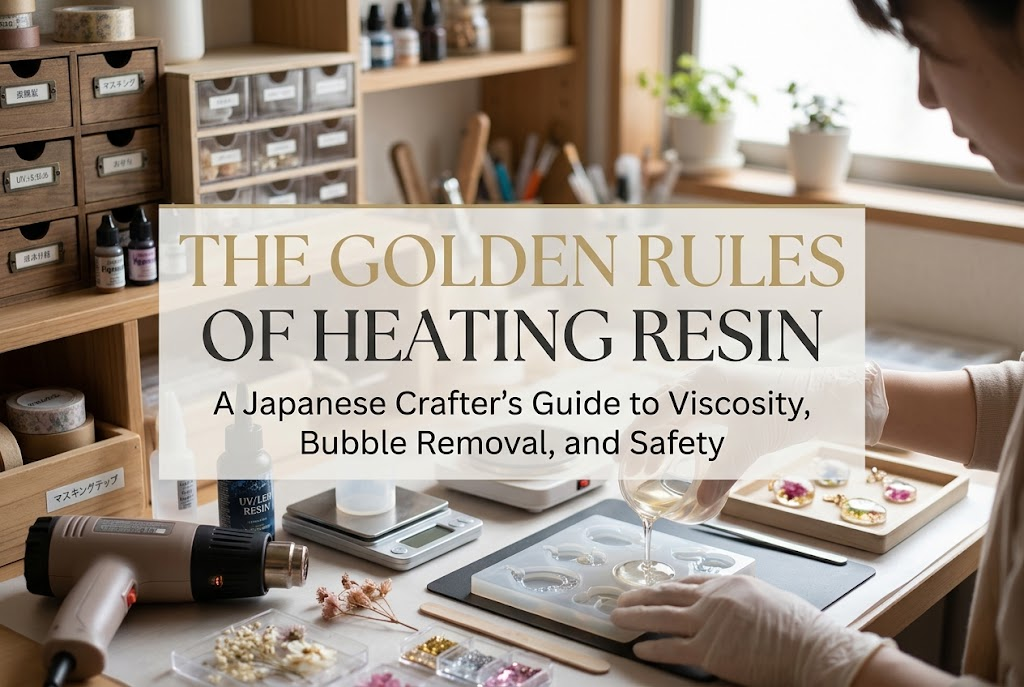
Pop or drag out large bubbles using a toothpick tip. For micro-bubbles, hold an heat tool briefly at a distance, or pass a lighter flame quickly a few centimeters above the resin surface. The gentle heat lowers surface tension, popping bubbles instantly.
Once clear, cover the piece with a clear inverted container for about one minute. This allows the resin to self-level into a sleek, glass-like surface.
One of the most common issues beginners encounter is shrink plastic bending or warping upward as soon as it is cured under a light.
This bowing effect has clear physical causes. Once you understand the mechanism, warping can be 100% avoided.
When UV/LED resin transitions from liquid to solid under UV light, it undergoes volumetric shrinkage.
If resin is applied to only one side of thin shrink plastic and blasted with continuous light, the shrinking top layer pulls the plastic upward into a curve. Additionally, the exothermic reaction (heat generated during polymerization) temporarily softens the plastic, worsening the warp.
To disperse shrinkage stress and eliminate warping, use the professional "staged curing" method:
By alternating short bursts of light with brief rest intervals, you suppress rapid shrinkage stress and heat buildup. Once stabilized, cure the piece fully for the recommended duration (1 to 2 minutes).
Coating only one side leaves the piece susceptible to uneven surface tension over time.
For ultimate durability and flatness, cure the front, then apply a thin layer of resin to the back side and cure it as well.
Creating resin layers on both sides creates equal opposing tension, resulting in a strong piece that stays flat indefinitely.
Here are four typical problems encountered during resin coating, along with their root causes and quick fixes:
Cause: Finger oils, factory mold release agents, or fine dust from sanding remain on the plastic surface, disrupting surface tension.
Solution: Wipe the plastic thoroughly with rubbing alcohol or anhydrous ethanol before coating. Removing oils ensures smooth resin adhesion. Lightly sanding the surface beforehand with ultra-fine sandpaper (2000 grit or higher) also creates micro-grooves that improve grip.
Cause: Dispensing too much resin at once or using a low-viscosity, runny resin.
Solution: Uncured resin drips can be cleaned easily using a cotton swab dipped in alcohol.
To prevent drips entirely, use a two-step coating method: first, trace the outer rim with a high-viscosity or dedicated coating resin and flash-cure it to form a thin border wall. Then, fill the center with resin—it will not overflow past the wall.
Cause: Poor adhesion to the ultra-smooth plastic surface. Unsealed edges allow air or moisture underneath upon impact, causing the layer to peel off like film.
Solution: Extend the resin application to wrap over the cut edges (side profiles) of the shrink plastic. Wrapping the sides seals the piece completely, protecting it from peeling over time.
Cause: Brushing resin directly over pastels, colored pencils, or markers on the back side scrapes the delicate pigment layer.
Solution: Spray the colored back side with clear acrylic varnish prior to resin application. Once hard-sealed by spray varnish, brushing resin over it will not damage the artwork. Alternatively, finishing the back side with a double coat of matte varnish is another technique widely used by craft pros.
Once you've mastered basic coating, try these advanced techniques to refine your work further:
Holes punched into shrink plastic for keyrings or earring findings often get filled with resin due to surface tension. Re-drilling filled holes later with a hand drill can crack the resin or turn it cloudy.
To prevent this, insert a silicone pin, thin straw, or toothpick into the hole before curing. Wrap masking tape around the tip of a toothpick so it fits snugly inside the hole, apply resin, and cure under light. Pulling out the toothpick afterward leaves a clean, perfectly formed hole.
In addition to high-viscosity resin for doming, keep a bottle of brush-on coating resin (UV/LED resin with a brush cap) on hand for final topcoats.
Coating-specific resins are thin, highly self-leveling, and cure with exceptional clarity and zero sticky residue.
This two-stage approach erases brush marks and minor unevenness, leaving a smooth surface resembling polished cast acrylic.
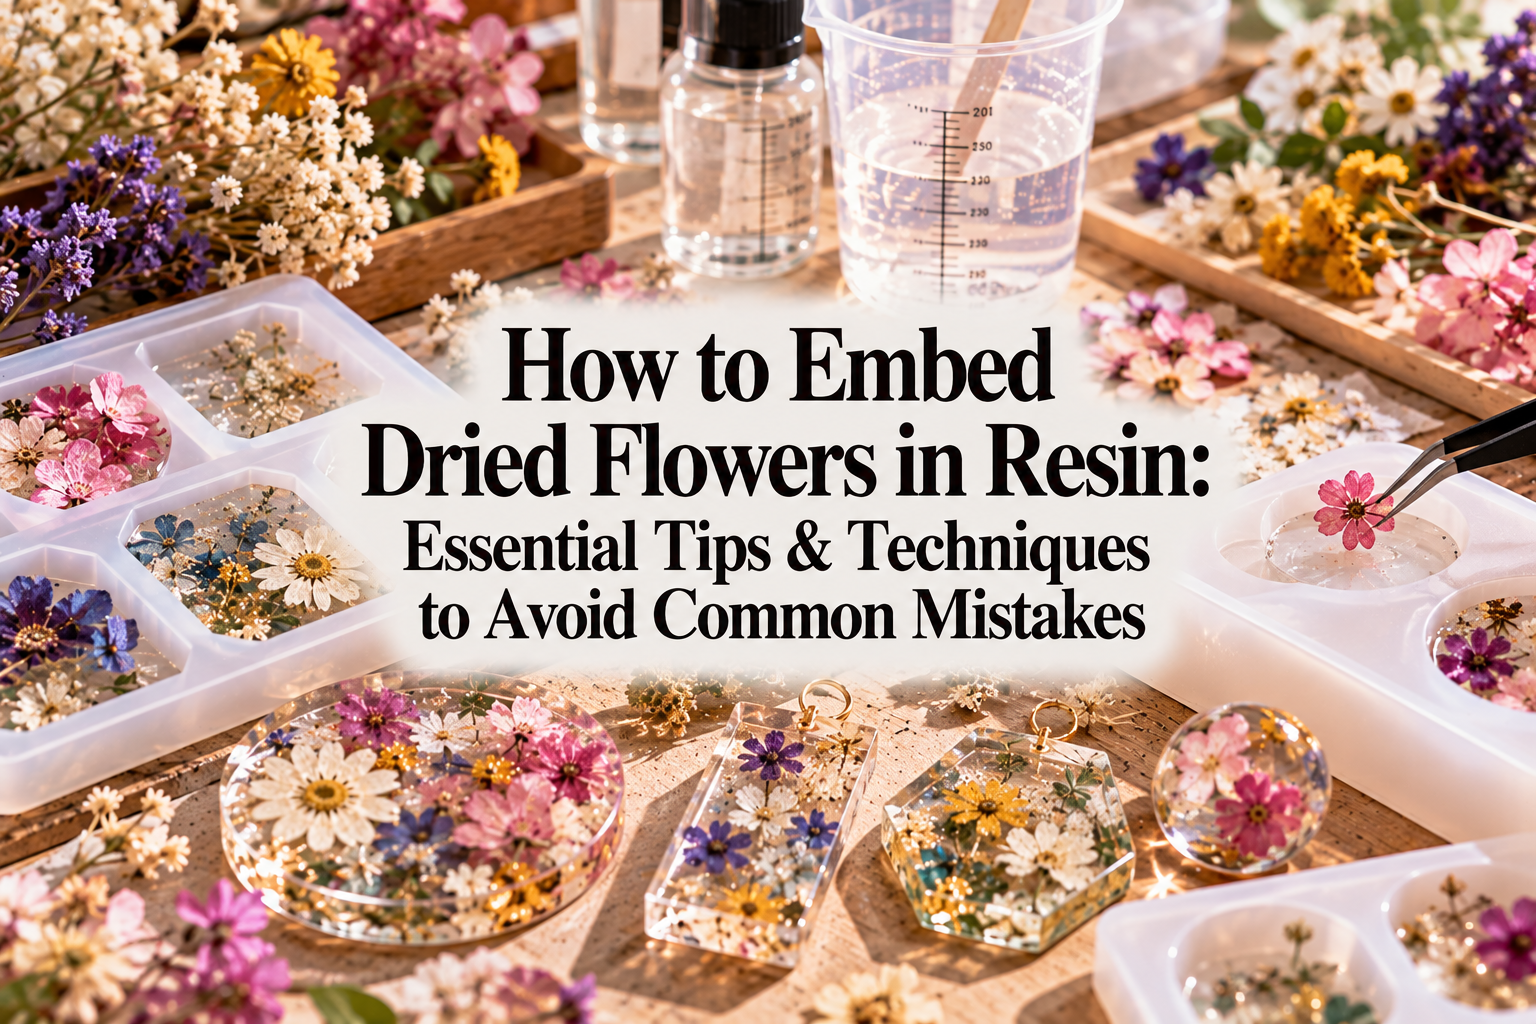
Leverage the transparency of shrink plastic by trapping glitter, micro-holograms, or dried flowers between resin layers:
This physical gap between the shrink plastic art and the top glitter layer traps light and casts subtle shadows inside, creating a sense of depth that flat plastic artwork cannot match.
Coating Japanese shrink plastic crafts with resin is easy once you understand the basic mechanics and steps. Let's recap the key points:
When the flexible design options of shrink plastic meet the jewel-like clarity of resin, the possibilities for craft creations become limitless.
If you've had frustrating experiences with smeared art or warped pieces in the past, try applying these practical techniques one by one. You will be amazed at the professional quality you can achieve! Enjoy crafting your unique shrink plastic and resin creations!
If you found this guide helpful, please share it with your fellow crafter friends on social media! See you in the next craft article! This was Yassy from Crafters!






For example, if you are looking for articles about mizuhiki, try searching for "mizuhiki"; if you are interested in tools, try keywords like "nippers" or "pliers."
