A Complete Guide to Authentic Japanese Leathercraft: Projects, Difficulty, Workspace, and Costs
yassy
Crafters!

Hello everyone, Yassy from Crafters here! (・∀・)
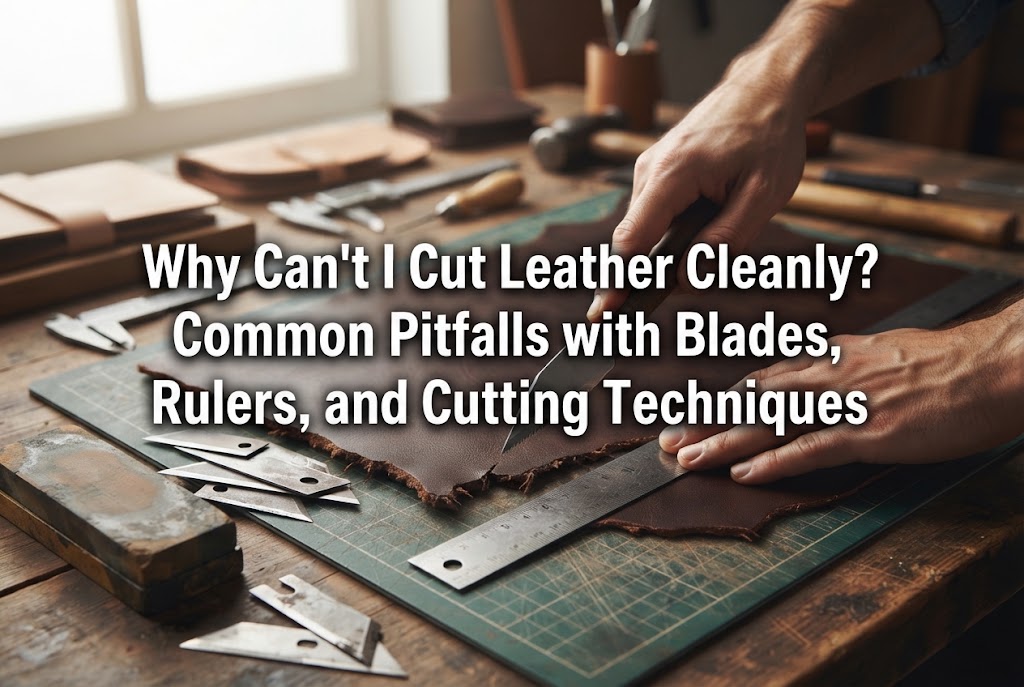
One of the first major hurdles every beginner encounters in leathercraft is struggling to cut leather cleanly. Have you ever cut along a pattern only to find your lines warped, your cut edges fuzzy and jagged, or the blade getting stuck halfway through—forcing you to tear the leather by brute force?
If you apply the same technique you use for cutting paper or fabric to leather, you are almost guaranteed to fail. Leather has a distinct thickness and a unique fibrous structure, meaning it requires a specific mindset and technique to cut properly. When leather doesn't cut cleanly, there is always a clear, underlying cause.
In this article, I will unpack these root causes one by one. From blade condition and cutting posture to mat and ruler selection, I'll explain the common pitfalls beginners fall into and provide concrete solutions. Let's dive in!
Before looking into the causes, let's categorize what "failing to cut cleanly" actually looks like. Identifying which pattern matches your issue will help you instantly spot what needs improvement.
Even if the cut looks straight from above, looking at the cross-section reveals that the blade entered at an angle, creating a trapezoidal shape. When this happens, assembling parts creates uneven steps on the edges, making it impossible to achieve a smooth finish no matter how much you burnish the edge (koba).
This occurs when the leather stretches and gets pulled as you advance the blade, turning what should be a straight line into a wavy distortion. Additionally, if the dense fibers on the flesh side (tokomae or back side) are not sliced cleanly, they get torn apart, leaving a lot of fuzzy fibers sticking out along the cut.
This happens when the blade fails to slice all the way through at the end of the stroke (at corners or edges), leaving a few millimeters of leather connected. If you panic and try to tear it apart by hand, the grain side (ginmen or top layer) will peel off, ruining your hard work.
The single biggest reason leather fails to cut cleanly lies in the condition and choice of your cutting tool. Blades are the most critical tool for determining the final finish of your leathercraft project.
When using a standard utility knife or cutter, the blade tip dulls much faster than you might think. Leather is a dense bundle of tough natural fibers. While a blade might easily cut multiple sheets of paper, slicing through just a few inches of thick leather can dull the fine edge drastically.
Using a dull blade causes it to press and crush the leather rather than slice through it. As a result, the leather shifts, stretches, and skews the cut line. Continuing to use a blade without snapping off a fresh segment simply to avoid wasting it is the leading cause of messy cuts.
The same applies if you are using traditional tools like a Kawabocho (Japanese leather knife) or a Bettachi (a specialized utility blade holder used in Japanese leathercraft). Even brand-new Japanese leather knives often lack a razor-sharp edge right out of the box and require initial honing to achieve the extreme sharpness needed for smooth cuts.
Leather knives must be maintained regularly with whetstones and green polishing compound (aobou or chromium oxide paste) until the bevel shines like a mirror. Neglecting maintenance inevitably leads to rough, jagged cuts.
Trying to cut thick leather over 3mm (approx. 1/8 inch) with a thin 9mm utility knife is another common mistake. If the blade is too thin, it flexes under pressure, causing the cut cross-section to slope. When working with heavy leather, opt for a heavy-duty cutter (18mm wide blade or larger) or a stout leather knife.
Even with a razor-sharp blade, incorrect body positioning and cutting technique will ruin the cut. Misunderstanding how much force to apply is the most frequent trap for beginners.
Do you feel you must slice through the leather completely in a single pass? In leathercraft, this is something you should avoid at all costs.
Trying to cut in one pass forces you to put heavy body weight onto the knife. Excess pressure causes your hand to wobble and crushes the leather underneath, deforming it as the blade moves. Because the blade passes through distorted leather, once the material snaps back to shape, the edge ends up crooked and wavy.
If you tilt the blade forward or backward while pulling it toward you, the resistance changes mid-cut, creating step-like ridges on the sliced surface.
Furthermore, failing to hold the blade perpendicular to the cutting mat will directly result in a slanted cut edge. Keep your wrist and elbow locked steadily, maintaining a precise vertical angle as you glide the blade.
When cutting straight lines, the guide ruler plays an essential role. Incorrect ruler handling means you won't get a straight cut no matter how sharp your knife is.
Using a standard clear plastic or acrylic stationery ruler to cut leather is a major mistake. Plastic is soft, so the blade can easily gouge into the edge or ride up onto the ruler itself.
Once the ruler's guide edge gets nicked or shaved, future cuts will follow those bumps, resulting in crooked lines. Worse, the blade might jump over the ruler and injure your fingers, making this very dangerous.
The surface of leather—especially oiled or smooth leathers—can be quite slick. Even if you think you are holding the ruler down firmly, the pulling pressure of the blade can cause the ruler to shift slightly toward the end of the stroke.
Even a microscopic shift of 0.5mm will manifest as a noticeable misalignment once you assemble the leather piece.
When cutting leather, your eyes tend to focus on the blade and the leather, but what sits underneath plays a massive role in the final quality.
A well-worn cutting mat is full of deep cut marks from past projects. When you place leather over these grooves and attempt to cut, the knife tip drops into the old tracks and gets pulled off course.
Even if you guide the knife strictly along a ruler, the blade tip beneath will follow the mat's grooves, causing jagged lines or snagging the back of the leather.
Using newspaper or thin cardboard as a cutting base is a recipe for failure. If the base is too soft, the leather sinks under the blade, distorting the entry angle. Conversely, cutting on extremely hard surfaces like glass or metal ruins the blade edge almost instantly.
Unlike industrial plastic or paper, leather is a natural material crafted from animal hide. Its characteristics vary greatly depending on the section of the hide and the tanning method.
Firm, resilient vegetable-tanned leather (often called Nume leather in Japan) is relatively easy to cut cleanly. However, chrome-tanned leather and shrink leather used for clothing or bags are very soft and elastic.
If you stretch soft leather while cutting with the same force used for vegetable-tanned leather, it will stretch like rubber. Once you finish the cut and the leather relaxes, the straight edge turns into a wavy, irregular line.
Even within a single hide, the back (bend) area features tight, dense fibers, whereas the belly (flank) area has loose, sponge-like fibers.
When cutting loose fiber areas, you must use an exceptionally sharp blade. Otherwise, the fibers on the flesh side will catch on the blade and tear, creating excessive fuzziness.
Now that we've covered why leather fails to cut cleanly, how can you improve your results during actual work? Here are specific cutting techniques and tool hacks that I personally practice!
When cutting leather with a utility knife, I never hesitate to snap off the blade segment the moment I feel even slight resistance. It might feel wasteful, but compared to the risk of ruining expensive leather, replacing blades frequently is far more economical.
I strongly recommend using black utility blades (often sold as extra-sharp or heavy-duty black blades). They feature a more acute bevel angle designed for high sharpness, entering the leather with far less effort than standard silver blades.
Never try to slice through leather in a single stroke. For a piece of 2mm thick leather, perform a multi-pass cut, running the blade lightly across the line 3 to 4 times.
By creating a faint shallow track on the first pass, that track acts as a rail to keep the blade from straying on subsequent passes, even without heavy pressure. Pulling the blade lightly multiple times is the secret to a beautifully clean cross-section.
Always use a stainless steel metal ruler, preferably one with non-slip backing. To take it a step further, I stick thin masking tape or dedicated non-slip rubber pads on the underside of my steel ruler.
This simple trick ensures the ruler stays locked onto the leather with minimal downward pressure, completely preventing slipping mid-cut.
If you want professional results, I highly recommend replacing hard stationery cutting mats with a thick PVC cutting board designed specifically for leathercraft (commonly known in Japan as Viny-Ply).
These resilient PVC mats offer the ideal balance of firmness and give. They protect your blade tip from dulling quickly while allowing the knife edge to glide smoothly without bouncing.
Cutting soft or thin leather requires an extra touch. Since downward pressure from a ruler can stretch the material sideways, try this trick:
Apply masking tape onto the flesh side (back) of the cutting line to temporarily eliminate elasticity. The tape adds temporary rigidity, allowing the blade to pass through cleanly without dragging the leather. Once cut, gently peel off the masking tape without damaging the fibers.
Alternatively, using a rotary cutter is extremely effective for soft leathers. Because a rotary cutter applies downward rolling pressure instead of dragging across the surface, it cuts cleanly through stretchy leathers without snagging.
Failing to cut leather cleanly isn't caused by a lack of natural talent or technique. In almost all cases, it comes down to basic factors: a dull blade, forcing the cut in one stroke, or using unsuited tools.
By switching to fresh black blades, backing your steel ruler with non-slip tape, and gently making 3 light passes, you'll be amazed at how straight and clean your edges become.
When your cut pieces align perfectly, every subsequent step—stitching, edge finishing, and burnishing—becomes so much more enjoyable, raising the quality of your finished project to a professional level. Try starting your next project with a fresh, newly snapped blade!
If you found this helpful, sharing this article with your fellow crafters on social media would mean the world to me!
Until next time, happy crafting! This was Yassy from Crafters!


For example, if you are looking for articles about mizuhiki, try searching for "mizuhiki"; if you are interested in tools, try keywords like "nippers" or "pliers."
