The Ultimate Guide to Craft Fair Booth Setup: Preparation, Layout, and Display Techniques
yassy
Crafters!

Hello! I'm Yassy from Crafters! (・∀・)
I love making various handmade items, browsing craft shops, and buying my favorite handmade pieces. But whenever I look at a piece of leathercraft, there is one specific detail I check first: the finish of the cut edge, known in leatherworking as the koba (edge).
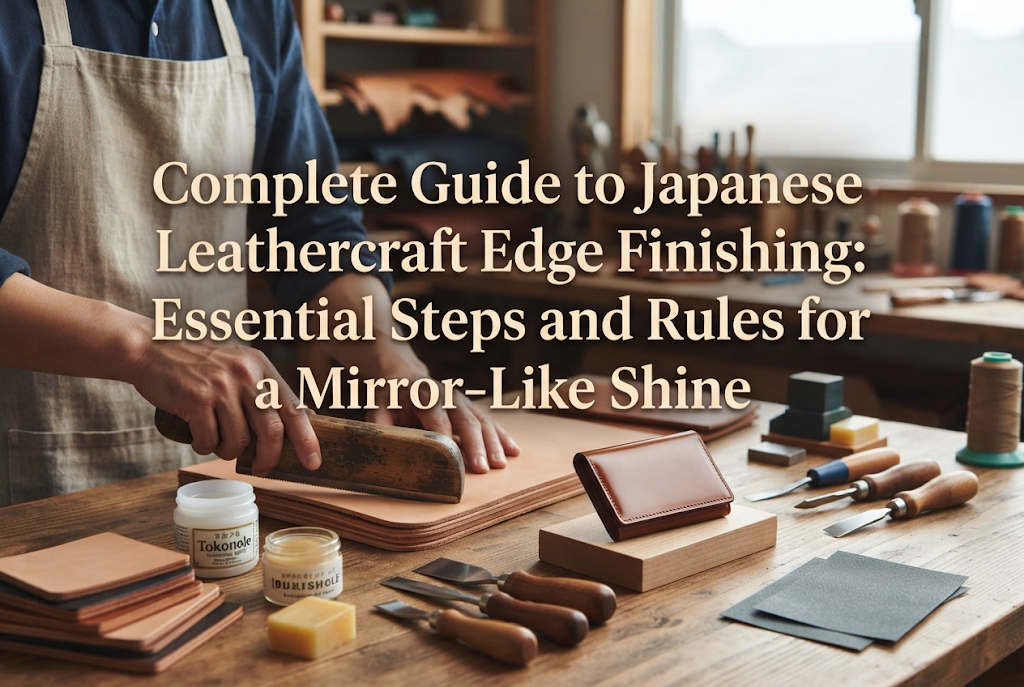
The key factor that determines the level of perfection and luxury in a leather piece is, without a doubt, the edge finishing. No matter how perfectly aligned your stitching is, if the edges of the leather are fuzzy, rough, or uneven, the piece immediately looks amateurish and DIY-made. On the other hand, a item with smooth, slicked, and beautifully glowing edges radiates a commanding presence and professional quality all by itself.
Beginners in leathercraft almost always hit a wall with problems like: "The edges won't harden," "I rub and rub, but there's no shine," or "The finishing agent spilled and stained the leather surface." In this complete guide, I will walk you through everything from basic knowledge for cleaning up leather edges, to absolute rules for creating professional-level gloss, to troubleshooting common mistakes. Follow these exact steps, and your leather projects will undergo a dramatic transformation!
When you cut leather, the exposed cross-section reveals raw, open fibers. In Japanese leathercraft terminology, this cut section is called the koba. If you neglect edge finishing and leave the cut cross-section bare, not only does it look unrefined, but the lifespan of your creation will be drastically shortened.
There are three main purposes for finishing leather edges:
To enjoy your handmade leather goods for a long time, edge finishing is a crucial process you should never skip.
Before starting edge work, there is a fundamental rule you must know: the edge finishing method you can use depends entirely on the type of leather you are working with. If you don't understand this distinction, you could spend hours slicking an edge without ever getting a shine.
Leather is broadly categorized into two main types: vegetable-tanned leather and chrome-tanned leather. The approach you should take changes completely depending on which type you hold in your hand.
Leather tanned with plant-derived tannins is the ideal material for burnishing. The fibers of vegetable-tanned leather are dense and firm. When friction heat is applied, the tannins and proteins react, hardening the leather and creating a natural gloss. Applying a finishing agent and slicking it creates a smooth, beautifully polished finish with an amber-like sheen. Classic burnished edge finishing (migaki koba) is designed specifically for vegetable-tanned leather.
Leather tanned with chemical chromium compounds is soft, elastic, and vibrant in color. However, its fibers are soft and will not harden from friction heat. Therefore, no matter how much finishing agent you apply or how hard you rub with an edge slicker, the fibers won't lie down and no shine will form. When finishing edges on chrome-tanned leather, the golden rule is to apply liquid resin paint to coat and cover the edge (edge painting / coated edge finish) rather than trying to burnish it.
Always verify your leather type first! Use burnishing for firm leathers like stiff vegetable-tanned leather, and edge painting for soft colored leathers or materials similar to commercial handbag leather.
To create beautiful edges, you need to select the right tools and supplies. You don't need an overwhelming toolset, but make sure to prepare these essential items:
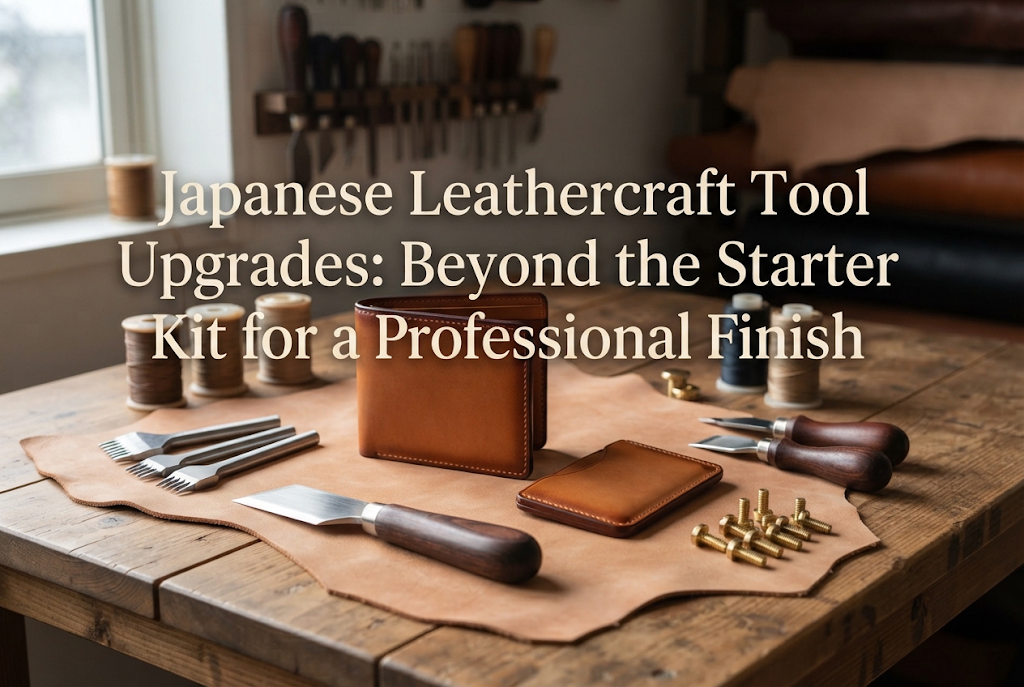
A specialized tool used to slice off the sharp corners of the leather edge at an angle. Blade widths vary according to leather thickness, but for standard small leather items (around 1.5mm to 2.5mm thick), a No. 1 edge beveler (blade width around 1.0mm) is the ideal choice. If you polish without rounding the corners first, pressure during burnishing will crush the edges outward, causing a messy flare.
Used to level uneven cut layers and smooth the surface. Instead of using just one grit, prepare three stages: coarse, medium, and fine. A tried-and-true combination is 240 or 320 grit (coarse), 600 grit (medium), and 1000 to 1200 grit (fine finish).
A liquid or paste designed to lay down raw fibers and harden the edge. Clear, water-soluble resin liquids or jelly-like pastes are standard. A clear formula is extremely versatile because it works on any color of vegetable-tanned leather. While traditional carboxymethyl cellulose (CMC) powder dissolved in water can be used, beginners will have the most success with ready-to-use commercial edge finishing pastes (such as Tokonole).
Tools used to apply friction heat to the treated edge. A wooden slicker—a round wooden stick cut with grooves of various sizes—is classic. You select the groove that fits your leather thickness and slide it back and forth. Small pieces of heavy canvas cloth also make incredible polishing tools! I personally use a wooden slicker for straight edges and canvas cloth for tight corners and curves.
Once your tools are ready, it's time to begin. 70% of edge finishing success is determined by the preparation before burnishing. If this foundation is done carelessly, no amount of polishing will produce a clean finish.
First comes cutting the leather. Always snap off a fresh, sharp blade on your utility knife before starting. A dull blade tears the leather fibers, leaving a jagged edge that is difficult to correct later. Hold the blade perpendicular to the leather surface and make light, repeated passes rather than trying to slice through in one heavy motion.
When gluing two or more layers together, gluing first and then trimming off a couple of millimeters along a ruler creates a pristine, perfectly unified cross-section right from the start.
After cutting, bevel the sharp edges on both the grain side (top) and flesh side (bottom) of the leather. Place the beveler at the corner and push smoothly away from you from front to back.
Maintain a 45-degree angle. If the angle wobbles, the corner becomes uneven. You know you've succeeded when a single, continuous string-like ribbon of leather shaves off cleanly. Rounding the corners beforehand ensures that polishing pressure concentrates evenly in the center, completely preventing the edge from mushrooming outward.
With preparation complete, move on to sanding and application. Executing these steps carefully generates a smooth, plastic-like lustre.
Start with 320-grit sandpaper to level out any bumps or unevenness between glued layers. Always wrap your sandpaper around a small wooden block. If you press down with just your finger, uneven pressure will round off and distort the flat cross-section.
The golden rule for sanding is moving in one direction only. Sanding back and forth pulls up fibers that were starting to lie down, making them fuzzy again. Always stroke smoothly in a single direction, such as top-to-bottom or left-to-right.
Once the edge is smooth, apply the edge finishing agent. The most common beginner mistake here is applying way too much product. Scooping agent out of the tub directly with your finger almost guarantees it will spill onto the leather surface (grain side). Edge agent on the surface can cause dark spots or uneven oil absorption later.
Use a cotton swab or a wooden stick (such as a bamboo skewer with a flattened tip) for precise application. Pick up a small amount of agent and spread it thinly and evenly along the edge width. An amount that feels "is this enough?" is usually plenty. Aim for a lightly moist finish across the edge surface.
Once the agent is applied, it's time to polish. Success here relies on a clear principle of physics.
The secret behind burnishing shine is friction heat, not brute force. Pressing down hard crushes the leather edge, pushing it outward into a misshapen profile.
The correct technique is light pressure combined with fast movement. Lightly rest the edge inside the matching groove of your wooden slicker and slide it back and forth rapidly. Fast movement generates friction heat, causing the agent and leather fibers to react and set instantly.
Timing is equally critical. Polishing while the edge is dripping wet will just cause slicker slippage without generating shine. Wait a few seconds after application until the surface is slightly tacky—this semi-dry state is the golden window for maximum gloss.
Check the edge after your first round of polishing. You will likely still see subtle fuzziness. Don't panic! Edge burnishing reaches perfection through a step-by-step cycle of sanding, applying, and burnishing.
Here is the golden cycle for a mirror finish:
Finishing with a heavy canvas cloth is my top professional trick! After establishing a firm base with the wooden slicker, buffing rapidly with stiff canvas creates an ultra-smooth, mirror-like gloss that a slicker alone cannot achieve. When the edge feels as glass-smooth as polished plastic, your burnishing is complete.
Now let's cover edge finishing for non-vegetable tanned materials like chrome-tanned leather and synthetic leather. For leathers that do not harden through burnishing, we coat the cut edge with specialized pigmented edge paint (resin coating).
The key technique when using edge paint is to float a bead of paint using surface tension, rather than brushing it on like watercolor.
First, apply a base sealer to control loose fibers. Once dry, sand lightly with 600-grit paper until smooth. This prep work stops the topcoat from soaking in unevenly and ensures vibrant, uniform color.
Next, pick up edge paint on the tip of an awl or wooden stick, and gently drop a rounded bead onto the edge surface. Trying to apply one thick layer all at once causes drips. Instead, apply a thin coat, let it dry completely, sand lightly to flatten, and repeat 2 to 3 times. Building thin layers over time results in a plump, beautiful edge like those found on luxury designer bags.
Pigmented paint stains leather surfaces much more noticeably than dye. If you want a zero-risk setup, apply masking tape along the exact line of the edge to protect the leather surface. That way, even if your hand slips, your project stays clean.
If paint accidentally lands on the leather face, wipe it away immediately with a damp cotton swab before it dries. If it dries completely, you can sometimes peel it off gently with a fingernail or wooden skewer, but prevention with masking tape is far safer.
Here is a troubleshooting breakdown of frequent beginner mistakes, their root causes, and how to fix them right away:
Cause: Skipping sandpaper grits or sanding back and forth.Fix: Fine sandpaper alone cannot remove deep fuzz. Always start with a coarse grit (240–320), level the surface completely, and work your way up. Always sand in a single direction.
Cause: Skipping edge beveling or applying too much downward pressure while polishing.Fix: Always bevel top and bottom corners before polishing. When burnishing, reduce downward pressure and focus on hand speed (friction heat). The tool should lightly skim the edge.
Cause: Applying agent with fingers or using too much product.Fix: Stop using fingers! Use a cotton swab or wooden stick, scrape off excess liquid, and apply lightly. If accidental contact happens, wipe it off instantly with a tightly wrung damp cloth.
In leathercraft, I love tailoring the edge finishing method to match the style and purpose of the piece. Here are my favorite combinations used in my own work:
For items where you want to enjoy the raw beauty and patina of natural leather, choose a clear edge agent + canvas polish finish. As you use the item over time, the edge turns a deep amber tone along with the rest of the leather.
To create a sharp, formal look, use a matching color edge agent (or dye the edge first) + burnished finish. Adding color to the edge crisply outlines the product's silhouette, giving it a sophisticated, formal appearance.
For bright, fun accessories, choose a plump edge paint finish using matching or contrasting colors. For example, placing white edge paint on pink leather adds a stunning design accent that boosts the item's custom look!
We've covered everything from fundamental knowledge to professional techniques for leather edge finishing.
While edge work might seem time-consuming and subtle at first glance, the amount of care and attention you pour into this step ultimately defines the final quality of your work. By sticking to the golden sequence—Cut ➔ Bevel ➔ Coarse Sand ➔ Thinly Apply Agent ➔ Friction Burnish ➔ Fine Sand & Polish—anyone can achieve a glass-smooth edge.
It takes a little practice to get used to the right sanding pressure and slicking speed, but with repeated practice, you'll experience that thrilling moment when a rough cut suddenly turns glossy right in your hands. Once you taste that satisfaction, edge burnishing will easily become your favorite part of leatherworking!
Try out these techniques on your next project and create beautifully finished leather goods that people can't help but reach out and touch!
If you enjoyed this guide, sharing it with your crafting friends on social media or chat apps would mean the world to me! Until next time, happy crafting! This was Yassy from Crafters!




For example, if you are looking for articles about mizuhiki, try searching for "mizuhiki"; if you are interested in tools, try keywords like "nippers" or "pliers."
