How to Finish the Flesh Side of Leather: Steps and Pro Tips for a Sleek, Smooth Finish
yassy
Crafters!

Hello, craft lovers! Yassy here from Crafters! (・∀・)
Genuine leather items that gain character and develop a unique patina the more you use them are truly wonderful to admire, buy, and make yourself! How amazing would it be to craft high-quality leather goods right in your own home that look like they came from a high-end boutique?
However, when people hear "authentic leathercraft," many feel hesitant, thinking: "It sounds difficult and requires so many specialized tools," "Isn't it too noisy to do at home?" or "The initial costs must be really high."
Let me state the conclusion right away: As long as you have the right knowledge and follow the proper steps, even complete beginners can safely create professional-quality leather goods at home!
In this guide, I will share everything I know—from what you can create with authentic leathercraft techniques to difficulty levels, necessary workspace setups, estimated costs, noise-reduction tricks, and mindset tips to avoid failure. By the time you finish reading, you'll know exactly what to prepare and how to start today!
Leathercraft generally falls into two categories: "Light Leathercraft" and "Authentic Leathercraft." Confusing these two can lead to frustration and giving up halfway through because the process isn't what you expected. First, let's look at the crucial differences.
Light leathercraft involves using pre-punched kits, assembling items using only metal hardware like rivets or snaps, or relying mainly on leather adhesive. Its main appeal is that you can form shapes quickly without special tools.
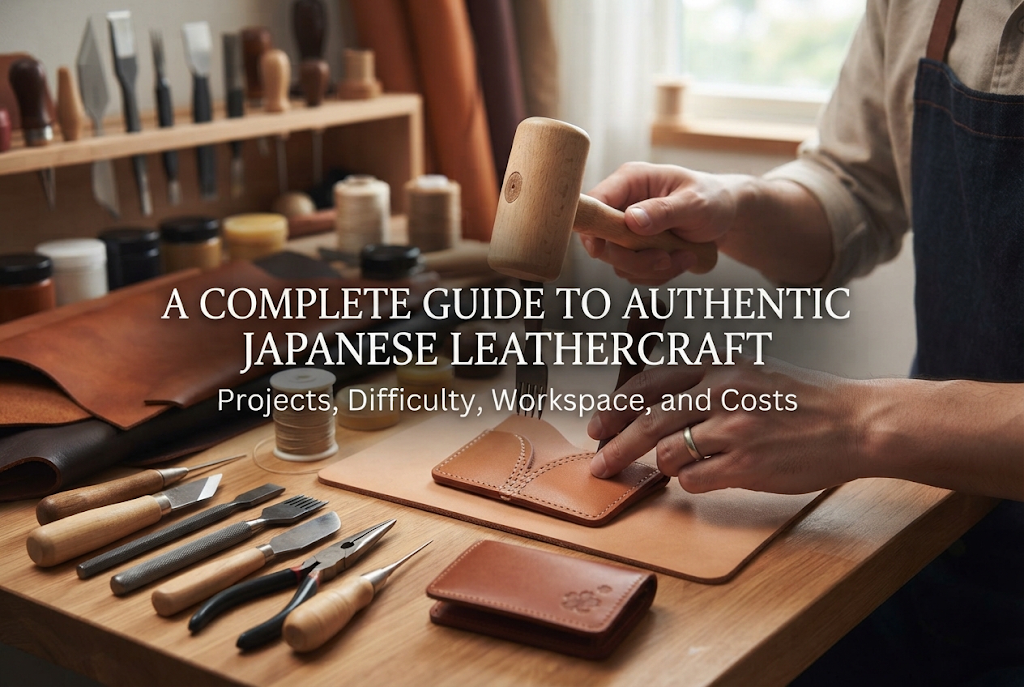
On the other hand, "authentic leathercraft"—the method we are aiming for—refers to cutting parts out from a single sheet of genuine leather (mostly vegetable-tanned leather), punching stitching holes with specialized pricking irons called hishime-uchi (diamond chisels), hand-sewing with two needles using a saddle stitch, and thoroughly burnishing the raw edges (known in Japan as koba) to achieve a smooth, beautiful finish.
The greatest charm of authentic leathercraft lies in its incredible durability and premium feel. Hand-stitched leather is far less likely to unravel than machine-stitched items. With proper care, you can create heirloom-quality pieces that last for decades. Furthermore, polishing the cut edges until they shine gives your work a polished look indistinguishable from store-bought items.
Once you master authentic techniques, the range of projects you can tackle becomes endless. Here are representative items categorized by difficulty level.
Start with small flat items that teach you the fundamentals: straight cutting, basic hand stitching, and edge polishing (koba-migaki).
These items require few parts and have simple structures. They are ideal for learning proper hand-sewing posture, tension control, and the feel of edge burnishing. They also make fantastic gifts!
Once you are comfortable with basic steps, move on to three-dimensional projects incorporating gussets (depth) and snap fasteners.
These projects require leather skiving (shaving down leather thickness), hardware installation, and curved hand stitching. Once you can make these, leathercraft becomes immensely fun!
These ambitious projects require meticulously assembling dozens of components and showcase the true depth of leathercraft.
Some of these items involve over 20 individual parts, requiring millimeter-level precision. However, holding a genuine leather wallet or bag that you crafted by hand over many hours offers a sense of fulfillment that no other craft can match.
You might think, "Leather seems stiff and hard to manage…" Let's break down the realistic difficulty level for each phase of the crafting process.
To cut leather, you use a utility knife or a traditional Japanese leather knife called a kawabouchi. Rather than using scissors like you would for fabric, you hold a ruler firmly and glide the blade along it.
At first, the blade might wobble if you try to force it through thick leather. However, instead of cutting through in one go, simply pass the blade through light strokes multiple times. Even beginners can make clean, straight cuts this way. It is not a difficult task at all!
Needles cannot pass through leather directly. Therefore, you place fork-like tools called hishime-uchi (diamond chisels) onto the leather and strike them with a mallet to punch diamond-shaped sewing holes.
It takes a bit of practice to punch holes straight and vertically, but as long as you scribe a guide line on the leather beforehand, you won't stray off course. While it looks like heavy work, using the right tools allows anyone to punch holes easily regardless of physical strength.
Hand sewing in authentic leathercraft is done using a double-needle saddle stitch. You attach a needle to both ends of a single thread and cross them inside the same hole from opposite sides.
Although it sounds complex, the pattern is completely consistent. Once you get into a rhythm, you can stitch mindfully, making it a very enjoyable step. Maintaining even thread tension is the single secret to creating beautiful, uniform stitches.
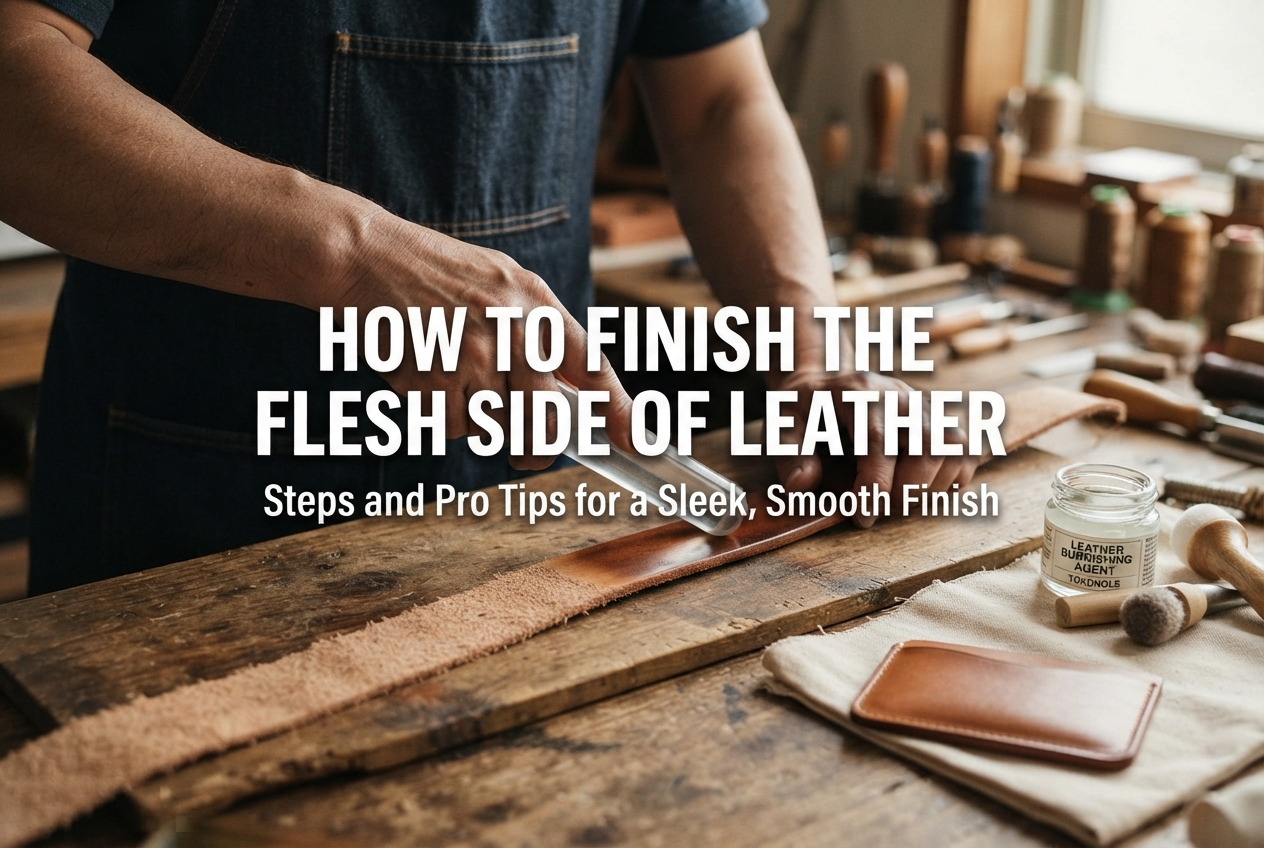
This process involves applying a specialized edge-burnishing agent, such as Tokonole, to the cut edges (koba) and rubbing them vigorously with a wooden slicker to produce a smooth, glossy shine.
While the action itself is simple, it requires patience because it directly impacts the final refinement of your piece. The more you rub, the glossier it becomes, making it one of the most rewarding steps in authentic leathercraft!
When starting leathercraft, two common hurdles people face are space and the sound or vibration from hammering. Here is how to solve both issues!
You might think a large workbench is required, but a desk measuring about 80 cm wide by 50 cm deep is plenty of room for wallets and small goods. A kitchen table or folding desk works completely fine.
To protect your table when cutting or punching holes, always use a thick cutting mat along with a rubber punching pad beneath your leather.
The thumping noise and vibration caused by hammering chisels can disturb neighbors. If you plan to work at night or live in an apartment, use these effective soundproofing steps:
Leathercraft often has a reputation for being expensive. Let's look at the actual budget required.
Starter tool sets containing all basic items (utility knife, diamond chisels, rubber mallet, rubber punching pad, needles, thread, Tokonole burnishing gum, edge slicker, etc.) are available online.
Rather than buying low-quality cheap items piece by piece, buying a trusted starter kit for around 10,000 to 12,000 JPY is the most economical way to avoid mistakes. Add a stone slab for vibration damping (about 2,000 JPY), and your setup is complete!
In Japan, genuine leather pricing is measured in desi (a 10 cm x 10 cm unit).
Starting with pre-cut leather scraps or A4-sized cut leather panels allows you to start cheaply without waste. Even when using top-grade genuine leather, crafting your own items is far less expensive than buying commercial leather products, yet results in a luxurious feel!
Beginners who give up on leathercraft often fall into the exact same traps. Knowing these beforehand will help you avoid failure 100% of the time!
A classic beginner mistake is trying to push a needle directly through leather as if it were regular fabric. No matter how thin the needle is, pushing it through leather by hand is impossible.
The rule is to punch your holes completely through with diamond chisels beforehand. Once you confirm the holes go all the way to the backside, needles will glide through effortlessly. If sewing feels tough, your holes weren't punched deeply enough.
Thinking that soft leather will be easier to sew and choosing soft garment leather or synthetic (faux) leather is a huge misstep.
Soft leather stretches during cutting and is tricky to punch cleanly, making it surprisingly difficult for beginners. Furthermore, faux leather cannot be polished to a shine, meaning you cannot perform authentic edge burnishing.
Beginners should unhesitatingly pick vegetable-tanned leather (nume leather) with a thickness of 1.5 mm to 2.0 mm. It has optimal stiffness, making it the easiest to cut, punch, and polish beautifully.
Unlike fabric, leather doesn't stretch or shrink easily, and punched holes cannot be undone. A millimeter off in your pattern will cause major distortion when assembling.
The ultimate secret to professional results is tracing and cutting your leather with extreme precision. Spend the most time on pattern making and cutting!
If I were starting leathercraft today with zero prior knowledge, this is the exact roadmap I would follow to improve quickly without wasting money.
Buy a highly-rated basic leathercraft tool kit online (approx. 10,000 JPY) along with a sheet of 1.5 mm thick natural vegetable-tanned leather in A4 size (approx. 1,500 JPY).
Don't jump into complex structures right away. Cut a simple rectangle of leather (approx. 2 cm wide by 15 cm long), fold it over, set a rivet, stitch the open edge, and polish the sides.
This single project covers all fundamental elements: straight cutting, setting hardware, straight hand stitching, and edge burnishing!
Next, make a simple pass case by gluing two panels together and sewing around three edges. You'll master curved cutting and stitching along a rectangle's perimeter.
Challenge yourself by incorporating side gussets. You will experience the joy of 3D assembly and refine your accuracy in placing snap fasteners. Once you complete this, you have officially graduated from beginner status!
While authentic leathercraft might seem daunting at first glance, anyone can reliably create gorgeous leather items by gathering the right tools and following proper steps.
The sense of accomplishment when cutting a piece of leather with your own hands, stitching it stitch-by-stitch with care, and buffing the edges to a sleek sheen is an unmatched joy. And as you use your piece over time, it will soften to your touch and age into a rich golden amber hue—becoming a personal treasure made just by you.
Get your tools ready and take that first step with a small key fob or card holder! A wonderful handmade life surrounded by the texture and aroma of real leather awaits you!
If you enjoyed this article, sharing it with friends on social media would mean the world to me and keep me motivated!
See you in the next post! This was Yassy from Crafters!



For example, if you are looking for articles about mizuhiki, try searching for "mizuhiki"; if you are interested in tools, try keywords like "nippers" or "pliers."
