Japanese Chokuto vs. Nomi: A Complete Guide to Carving Tools and Chisels for Crafters
yassy
Crafters!
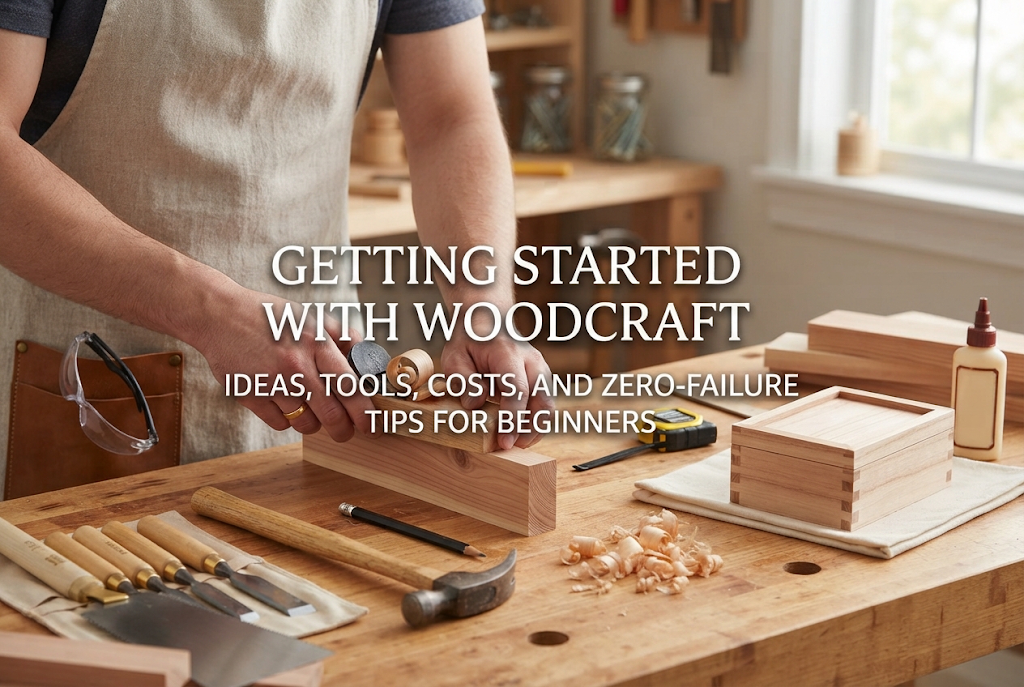

Hello everyone! This is Yassy from Crafters! (・∀・)
Welcome to the wonderful world of woodcraft, where you can feel the natural warmth of timber, enjoy its soothing tactile texture, and watch your creations develop a rich patina over time.
Whenever I see wooden trinkets in a shop, I instinctively pick them up to admire their smooth finish. I absolutely love carving small items from my favorite timber pieces, as well as displaying beautiful wooden works made by talented artisans around my home.
Many people assume that woodcraft is difficult or that it requires a spacious garage equipped with heavy-duty power tools. However, that is a big misconception! Even without a dedicated workshop, you can safely create charming, high-quality wooden items right inside an apartment using just a tiny desk space.
In this guide, I will share everything a beginner needs to know: what you can make, essential care and handling tips, difficulty levels, setting up your workspace, budget considerations, and secret techniques to avoid common mistakes. Read on to get your clear roadmap to starting woodcraft today!
Woodcraft is a genre of handmade art where wood serves as the primary material. Through processes like carving, cutting, assembling, and sanding, crafters create beautiful accessories, home decor, and everyday utensils.
While often confused with general DIY or home carpentry—which usually involves building larger furniture—woodcraft is more delicate. It places a strong emphasis on artistic design, tactile appeal, and highlighting the natural texture of the wood.
The greatest charm of woodcraft is that no two pieces are ever identical. Even within the exact same species of wood, every grain pattern, color nuance, and knot is unique. The moment you carve into wood and reveal an unexpected, breathtaking grain pattern, you will fall in love with the medium.
Additionally, wood ages gracefully. Over time, its colors shift and deepen, offering a long-term appreciation that few other materials can match. The natural warmth under your fingertips and the refreshing scent released while carving provide a deeply soothing experience for your mind.
Woodcraft offers a wide spectrum of items, ranging from daily accessories to decorative home accents. Here are three highly recommended categories that are approachable for beginners and deliver satisfying, professional-looking results.
Wooden jewelry and accessories are ideal starting points for beginners. You can make earrings, brooches, hair elastic charms, and keychains out of small offcuts or scrap wood. These projects require minimal physical strength and can be finished in a short time.
Because wood is lightweight, wooden jewelry is incredibly comfortable to wear. You can also pair wood with complementary materials such as metal findings, UV resin, or dried flowers to create sophisticated, modern designs.
Kitchen items are immensely practical and make wonderful gifts. Popular choices include butter knives, spoons, forks, coasters, trivets, and small cutting boards.
Butter knives and coasters are especially great for practice because they focus on basic straight and gently curved carving techniques. Eating a meal with a spoon you carved yourself brings a unique sense of joy and connection.
Wooden accents instantly add a stylish, cozy atmosphere to any room. You can craft single-stem vase stands, smartphone docks, trinket trays, candle holders, or miniature wooden houses and wall shelves.
Simply shaping a wooden block, sanding it smooth, and applying a natural oil finish can produce an elegant decor item that looks like it came from a high-end boutique.
People often say that "wood is a living material" and worry that it might be difficult to care for. Because wood reacts to environmental humidity and temperature by absorbing and releasing moisture, improper care can lead to warping, cracking, or mold.
However, once you understand the basic rules of handling wood, you can prevent these issues entirely!
Never leave unworked wood or finished creations in direct sunlight or directly in the draft of an air conditioner. Rapid moisture loss puts immense stress on the timber, leading to cracks and warping.
Likewise, never leave washed wooden cutlery soaking in water or sitting wet. After washing, immediately wipe away moisture with a dry cloth and allow the item to dry thoroughly in a well-ventilated, shaded spot.
Protective finishes make caring for wood significantly easier. Raw, untreated wood easily absorbs moisture, oils, and dirt from hands.
Applying an oil finish (such as beeswax wax or plant-based oils) or a urethane coating creates a protective layer on the surface, shielding the wood from dirt, dryness, and moisture. Reapplying oil periodically will keep your work beautiful for years or even decades.
On a scale of 1 to 5, woodcraft generally sits at a Level 2 to 3 (Beginner to Intermediate). While making large furniture or intricate joinery requires professional skills, crafting small wooden goods allows complete beginners to complete a delightful piece on their very first day.
Here are three reasons why beginners rarely get frustrated with woodcraft:
When starting woodcraft, many people worry about space and working conditions. The truth is, a space as small as a single sheet of newspaper on a desk is more than enough!
However, working indoors does require simple measures to handle wood dust and sound.
Carving and sanding generate fine wood dust. To keep your room clean, place a deep tray or a shallow cardboard box on your desk and work inside it. The box catches shavings and dust, making cleanup as simple as emptying the contents into the trash. Wearing protective goggles and a non-woven dust mask is also recommended to protect your eyes and lungs.
Sawing wood or using a coping saw can cause vibrations that travel through furniture and floors. To minimize sound, lay a thick felt pad or a noise-dampening rubber mat on your table before setting up your workspace. This absorbs vibrations and keeps your working environment surprisingly quiet. As a courtesy to neighbors, try to do your crafting during daytime hours.
Woodcraft is one of the most budget-friendly crafts to start and maintain.
Here is a starter checklist for basic tools:
You can get a complete set of authentic woodcraft tools for a very modest budget. Expensive power tools, such as scroll saws or electric sanders, can easily wait until you decide to scale up your production later on.
Compared to materials like epoxy resin, genuine leather, or semi-precious stones, wood materials are remarkably inexpensive. Small scrap wood bundles or small boards of Agathis or Pine can be purchased at home improvement stores or online for very little cost. Once you have your basic tools, you can enjoy crafting to your heart's content with minimal running costs.
Most beginner setbacks in woodcraft come down to a few predictable mistakes. Here is how you can avoid them 100% of the time:
Cause: Carving against the wood grain. Wood fibers run in a specific direction. Cutting along the direction of the fibers is called carving "with the grain," while cutting against them causes the blade to catch and split the wood.Solution: If you feel resistance or notice a rough, torn surface, immediately reverse your carving direction. Always look for the direction where the blade slides smoothly through the wood.
Cause: Skipping sandpaper grits or omitting the "grain-raising" (water-raising) step.Solution: Always sand progressively from coarse to fine grits (e.g., #120 coarse → #240 medium → #400 fine). Skipping grits leaves deep scratches behind. After sanding with #240 grit, lightly dampen the wood surface with a wrung-out wet cloth and let it dry. This raises dormant wood fibers. Sanding them off with #400 grit will leave you with an incredibly smooth, baby-soft finish.
Cause: Applying excessive force or placing your off-hand in the path of the blade.Solution: Dull blades require extra force and slip easily. Always use sharp blades, and control the knife by pushing the spine of the blade with your thumb rather than forcing it with your whole arm. Always wear a cut-resistant glove on the hand holding the wood to eliminate injury risks.
Cause: Fine wood dust or oil from your hands remaining on the surface before applying the finish.Solution: Wipe the piece thoroughly with a damp cloth or blow away dust using compressed air right before coating. Apply thin coats of oil and wipe away excess, repeating the process twice for a professional, even finish.
Cause: Coating only one side of the wood or drying it while damp.Solution: Wood warps when moisture is absorbed or released unevenly between its front and back sides. Always apply oil or varnish evenly to all surfaces—top, bottom, and edges. Never coat just one side!
Wood species are broadly categorized into softwoods (conifers) and hardwoods (broadleaf trees). Understanding their characteristics helps you choose the best timber for your project.
Applying the final finish is one of the most rewarding parts of woodcraft. Choose your coating based on how the item will be used:
For spoons and items that come into contact with food, use non-toxic, food-safe finishes. 100% natural beeswax wax (made from beeswax and pure plant oils) is ideal. Pure walnut oil, linseed oil, or perilla oil are also wonderful options.Note: Avoid non-drying culinary oils like standard olive oil or vegetable oil, as they remain sticky and can turn rancid over time.
For items that won’t get wet, penetrating Danish oils (like Watco oil) highlight the depth of the wood grain and add an elegant vintage luster. If you prefer a protective coat without shine, a matte water-based urethane varnish preserves the natural wooden texture while offering high durability.
If I were starting over today as a complete beginner, here is the exact 4-step path I would follow to succeed without detour:
Woodcraft isn't just for seasoned artisans with professional workshops. With a tiny spot on your desk, a few basic tools, and a piece of timber, anyone can step into the relaxing world of woodworking today.
Surrounding yourself with the natural scent of wood while quietly shaping and polishing a piece with your hands offers a wonderful, soothing break from busy daily life.
Pick up a small piece of wood today and take your very first step! If you enjoyed this article, please share it with your friends on social media or messaging apps—it truly means a lot to me. See you in the next article! This was Yassy from Crafters!







For example, if you are looking for articles about mizuhiki, try searching for "mizuhiki"; if you are interested in tools, try keywords like "nippers" or "pliers."
