What Is Wool Felting? A Complete Beginner’s Guide to Projects, Difficulty, Workspace, and Costs
yassy
Crafters!

Hello, everyone! It’s Yassy from Crafters! (・∀・)
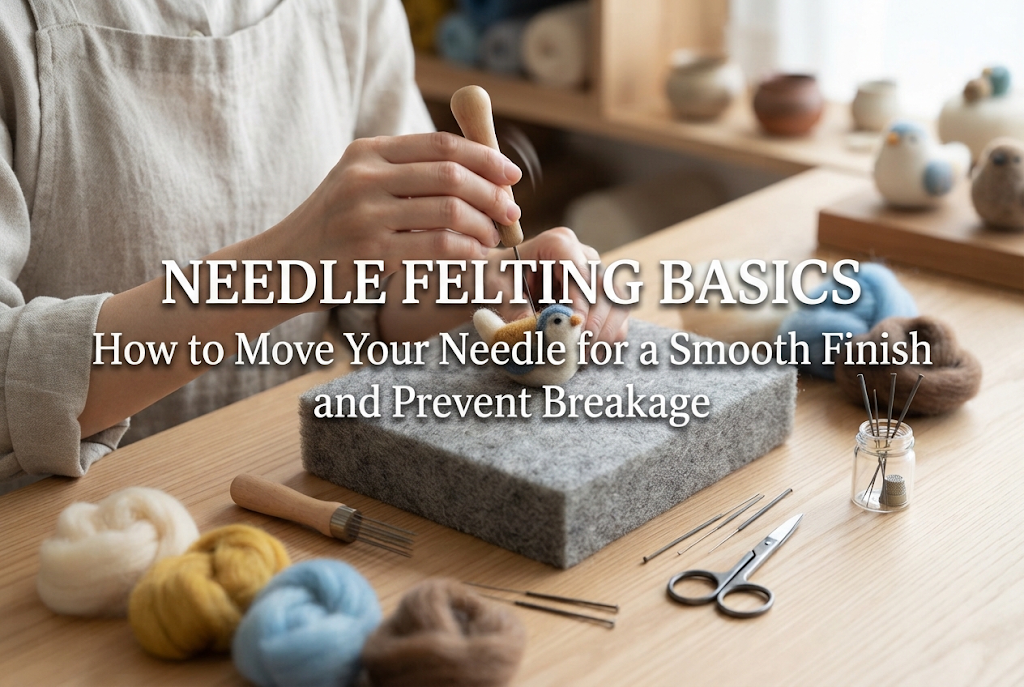
Needle felting is wonderful because it allows you to transform fluffy wool into adorable animals and charming miniature items. It has become immensely popular as an approachable, relaxing craft. However, many beginners run into the same frustrating hurdles: "Why does the surface end up so fuzzy and uneven?" or "Why do my needles keep snapping halfway through?"
The secret is simple: the final finish and ease of needle felting come down to one fundamental skill—how you handle the felting needle. Once you master the correct posture and needle movements, you will be able to sculpt firm, durable pieces with beautifully smooth surfaces.
In this guide, I will walk you through the essential needle felting mechanics, how to shape your wool cleanly, and how to avoid the most common beginner pitfalls.
Before you begin, understanding the physical mechanism behind how a barbed needle hardens loose wool is the first step toward improving your craft.
Near the tip of a felting needle, there are tiny, almost microscopic notches called "barbs."
When you push the needle into the wool, these barbs catch individual fibers and force them inward. As you repeatedly insert and pull the needle, the tangled fibers lock tightly together, gradually compacting into a dense, solid form.
In other words, you are not simply crushing the wool with the needle; you are weaving and interlocking the fibers with the tiny barbs. Keeping this mechanism in mind changes how you view your needle movements, helping you work without applying unnecessary brute force.
Before punching away at the wool, make sure your tools and workspace are properly set up. Using the wrong tools or working in a poor environment can cause needles to snap and lead to accidental injuries, no matter how good your technique is.
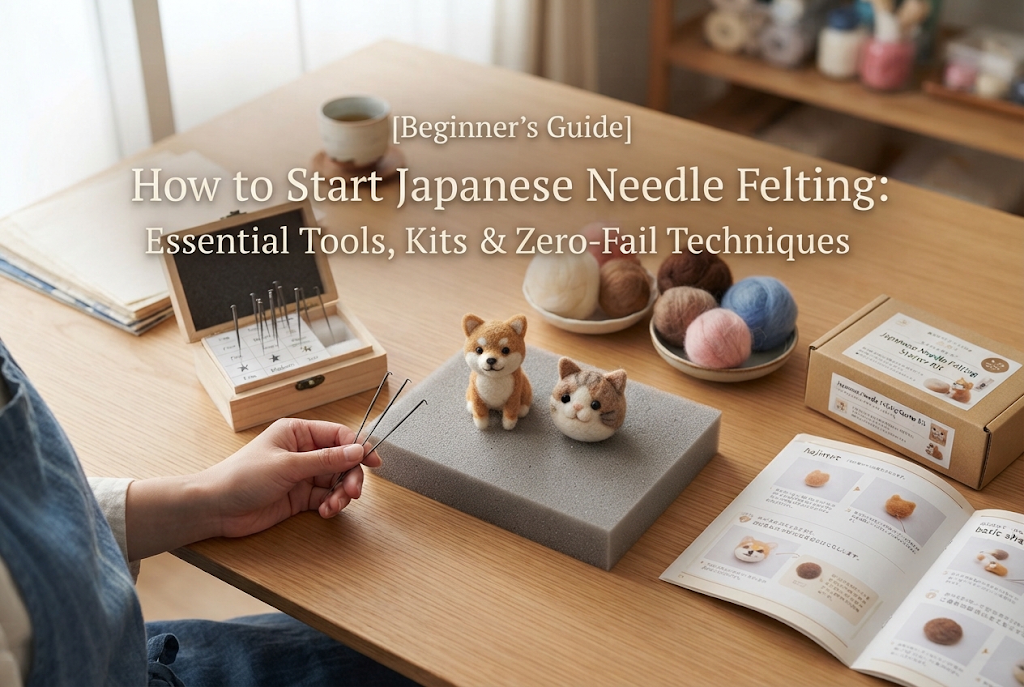
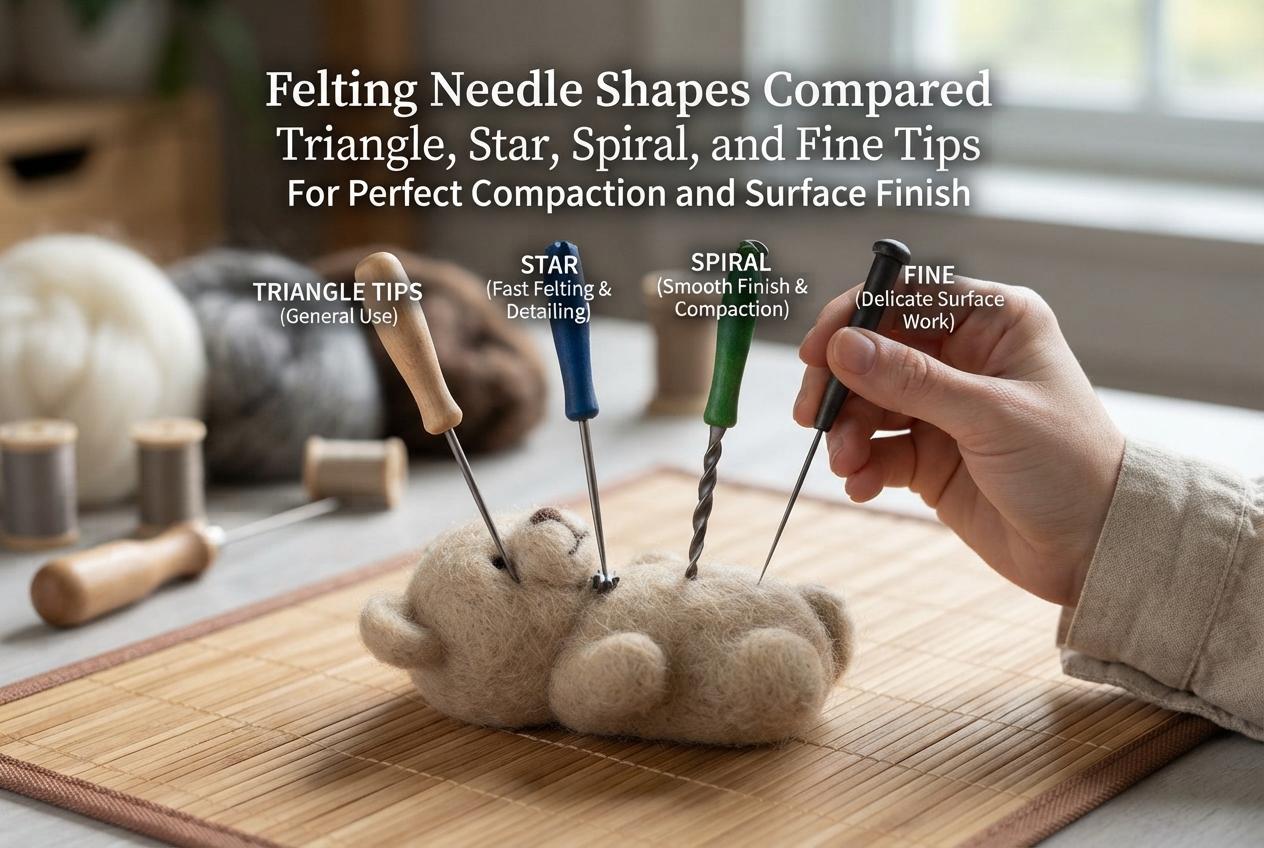
Felting needles generally fall into two main categories: regular needles (coarse to medium gauge) and fine needles (finishing gauge). While you can rough out a shape using only a regular needle, having both types on hand is essential for achieving a polished finish.
If you are just starting out, picking up a beginner set that includes both gauges is the safest choice.
A reliable felting mat is another indispensable tool. If you poke your needle without a proper base, the tip will strike your worktable and break instantly.
Standard foam or urethane mats work well, but over time, the center will indent, and loose wool fibers may become embedded in the foam and cling to your project.
My personal recommendation is to place a dedicated felting mat cover or a plain piece of cotton fabric over your foam pad. This simple step prevents foam debris from mixing into your wool and significantly reduces surface fuzz on the underside of your piece.
Felting needles are extremely sharp, and because of the barbs, catching your finger with one hurts considerably.
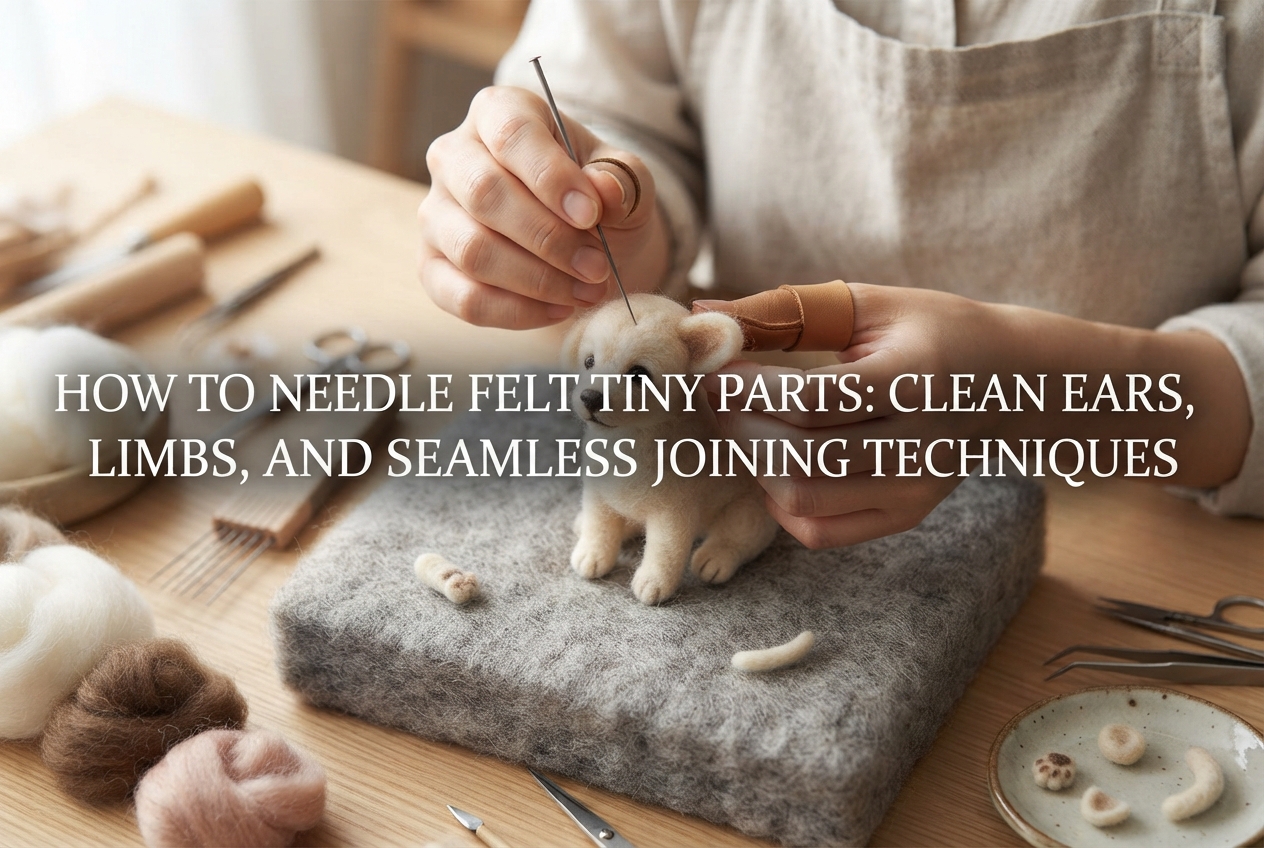
Especially while you are still building muscle memory, wear leather finger guards on the thumb and index finger of your non-dominant hand (the hand holding the wool). This minimizes the risk of injury and lets you focus on felting with confidence.
Once your workspace is ready, let's look at the correct felting motion. Needle felting requires strict adherence to specific angles and movements.
The single most important rule in needle felting is to pull the needle out along the exact same straight line it entered.
A common beginner habit is to insert the needle at an angle and then instinctively straighten the wrist to pull it straight up. Doing this bends the ultra-fine needle tip while it is trapped inside dense wool, causing it to snap immediately.
Visualize rewinding a video clip: pull the needle back out along the identical trajectory. If you pierce straight down, pull straight up. If you enter at a 30-degree angle, withdraw at that exact 30-degree angle.
Pounding the needle aggressively will not speed up the felting process. Tensing up causes your hand to wobble, which twists the needle inside the wool and snaps the shaft.
Instead, keep your shoulders, elbows, and wrists relaxed. Hold the needle lightly between your fingertips and let its own weight guide a rhythmic, light tapping motion.
You should not plunge the needle deeply throughout the entire process. Vary your depth based on your current step:
When making a basic sphere or base component, stabbing aimlessly will leave your shape lumpy. Follow this sequence for clean, controlled sculpting:
Never place loose, unrolled wool directly onto the mat to start stabbing. First, use your fingers to roll and compress the wool into your intended rough shape (such as a tight ball) as firmly as you can.
By pressing out excess air with your hands, you reduce the required needle pokes by more than half. If your initial roll is loose, the wool will stay soft and spongy no matter how much you stab it.
Target the loose end (the trailing edge) of your tightly wound wool bundle first.
Stab this flap deeply several times to anchor it into the roll. Once the edge is pinned, the roll will not unravel, allowing you to proceed stably with both hands controlled.
Focusing your needle strikes on a single spot creates a localized dent, warping your shape.
Stab a few times, rotate the piece 90 degrees with your fingers, stab a few more times, and rotate again. Continuously turning the piece in your hands ensures even compression.
When forming a sphere, inserting the needle uniformly from the top, bottom, and all sides is the ultimate secret to achieving a neat, symmetrical ball.
Beginners often wonder: "How do I know when a piece is firm enough?"
As a rule of thumb, when you squeeze the piece firmly between your fingers, it should feel like a dense rubber bouncy ball—slightly yielding, yet firm enough to hold its shape completely without collapsing.
If you press your thumb into the piece and the indentation remains, it still needs more felting. Under-felted pieces will lose their shape over time, and attached limbs or details can easily pull apart.
Here are typical trouble spots you might encounter, along with their root causes and practical solutions.
About 99% of broken needles result from prying—changing the needle's angle while the tip is buried inside the wool.
For instance, if you insert the needle diagonally and twist your wrist to change directions before pulling it out, the tip will snap instantly.
Whenever you want to change direction, pull the needle completely out of the wool first, then re-enter at the new angle.
Another common cause is forcing a thick, coarse needle into a piece that has already hardened. Once your piece becomes dense, switch to a finer needle to reduce resistance.
If your piece is firm inside but covered in wild, unruly halo fibers, you need to adjust your finishing approach.
In the final phase, switch to a fine needle and perform shallow felting at a low, grazing angle. Use the needle tip to catch the stray hairs and gently guide them just below the surface.
Think of it as skimming the surface rather than plunging down. Light, rapid shallow pokes will leave the exterior smooth and sleek. For stubborn hairs that refuse to tuck in, carefully trim them away with fine embroidery scissors rather than over-stabbing the wool.
If you have been felting for a long time and the wool refuses to compact or shrink, your needle gauge might be mismatched to the current stage.
If you use a fine finishing needle from the very beginning, its barbs are too small to catch enough fibers, making the process extraordinarily slow.
Always use a regular (coarser) needle during the initial shaping phase. Matching your needle size to the work stage dramatically increases your felting speed.
Here are two specialized habits I practice in my own needle felting workflow to elevate the overall quality of my creations:
I divide my sculpting process into three clear phases and switch needles accordingly:
Resist the urge to finish an entire project with just one needle. Adapting your tool to each phase dramatically improves both efficiency and your finished results.
When sculpting ears, muzzles, or limbs to attach to a body, leave the wool at the joint end unworked and loose like a fluffy cloud.
Press this loose fluff directly against the main body and stab down through it. The loose fibers will drive into the body core like tiny anchors, creating an unbreakable bond.
If you felt a limb into a hard little block before attaching it, the fibers will have no way to interlock with the body, and the piece will easily tear off later.
Creating clean, polished needle felted pieces does not require innate dexterity; it simply requires respecting the basic rules of needle control.
Keeping these fundamentals in mind will eliminate broken needles and yield smooth, beautifully shaped creations you can be proud of.
Start by crafting a simple round ball to get comfortable with the rhythm and depth. Relax, take your time, and enjoy the soothing tapping rhythm of needle felting!
If you found this guide helpful, please share it with your fellow crafting friends on social media—it means the world to me!
Until next time, happy crafting! This was Yassy from Crafters!




For example, if you are looking for articles about mizuhiki, try searching for "mizuhiki"; if you are interested in tools, try keywords like "nippers" or "pliers."
