Felting Needle Shapes Compared: Triangle, Star, Spiral, and Fine Tips for Perfect Compaction and Surface Finish
yassy
Crafters!

Hello, everyone! It’s Yassy from Crafters! (・∀・)
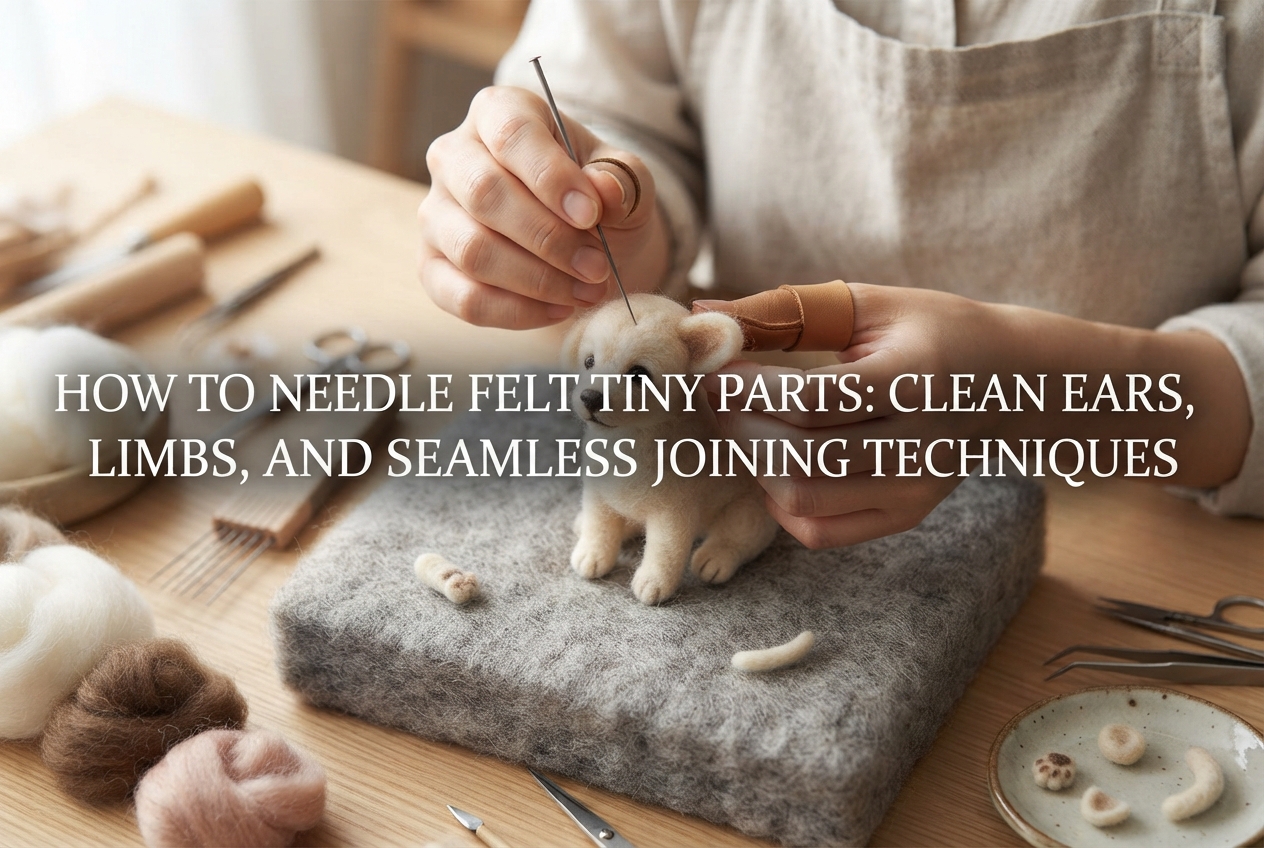
When making adorable wool felt animals and mascots, there is a common hurdle that almost every crafter runs into: crafting tiny components. Whether it is a pair of miniature ears, delicate little paws, or tiny noses and facial markings, working on a micro scale can be surprisingly tricky.
You might find yourself thinking, “I’m terrified of poking my fingers, so I can’t felt it firmly,” “The wool just tears apart and won’t hold its shape,” or “The more I poke it, the flatter it gets, and the left and right sides end up completely different sizes!”
In needle felting, it is actually the precision of these small details that defines the finished quality and expressive charm of your piece. Having crisp, well-proportioned features instantly elevates a project, giving it a refined, professional look.
In this guide, I will share practical techniques and step-by-step methods for felting tiny parts safely and shaping them exactly as you envision. I have packed in the practical tricks I use in my everyday work, along with key mindsets to help you avoid common beginner pitfalls. Once you master these tips, crafting even the tiniest details will become completely stress-free and fun!
Before jumping into the tutorials, let’s break down why small parts feel so difficult in the first place. When you understand the root causes, the solutions make much more sense, helping you avoid unnecessary tension and mistakes during your work.
Most struggles with tiny parts come down to these three factors:
When working on large core shapes, you can cradle the piece securely in your hand and stab firmly with confidence. However, when pinching an ear or paw that is less than a centimeter across, the risk of poking your fingers skyrockets.
As a result, crafters tend to poke timidly and shallowly, leaving the wool in a soft, under-felted state. An under-felted part easily squishes and deforms the moment you try to attach it to the main body.
Furthermore, miniature parts react intensely to needle depth and angle. Forcing the needle in too deep can anchor the wool fibers directly into your mat so they cannot be pulled out cleanly, or tear the delicate shape apart. Fortunately, choosing the right tools and following proper steps completely resolves these issues.
The fastest shortcut to mastering tiny details is letting your tools do the heavy lifting. Using the same bulky tools you use for large core shapes will lower your efficiency and increase the risk of poked fingers.
Here are the essential items you should prepare when felting tiny components:
Here are detailed walk-throughs for three common features: thin animal ears, slender limbs/tails, and miniature facial dots or markings.
Ears for bears, rabbits, or cats require both thinness and clean outlines. Rather than stabbing randomly on the mat, start with careful wool prep.
Crucial Tip: Leave the base of the ear—the edge that will connect to the head—completely unfelted and fluffy. If you felt this section firm, you will not be able to attach it seamlessly to the body later.
For slender legs, tails, or bean-shaped paws, the secret to success lies in wrapping the wool tightly before you ever touch it with a needle.
For dots measuring only a few millimeters across, such as a nose button or spotted pattern, you can either pre-felt a separate bead or felt directly onto the base.
For 3D raised noses: Roll a minuscule pinch of wool into a tight pellet between your fingers. Hold it with tweezers and use your ultra-fine needle to felt it into a firm little ball. If it is too small to grasp, use the tips of the tweezers to press the wool down onto the mat while shaping it.
For flat markings and fine eye contours: Felting directly onto the body gives the cleanest finish. Pick up a microscopic whisper of wool—just enough to catch on the tip of a toothpick—and position it where desired. Using only the very tip of an ultra-fine needle (just a couple of millimeters), make shallow pokes from the outside toward the center of the patch. If you stab too deeply, the wool will sink into the core and vanish, so keep your needlework strictly on the surface layer.
Here are a few personal strategies and mindsets I rely on in my own crafting to bypass the usual frustrations beginners face.
The single most common needle felting mistake is making parts too large. Wool fibers compress and shrink as you needle them, but if you start with too much material, no amount of stabbing will bring it down to the intended miniature scale.
When crafting tiny parts, start with half the amount of wool you think you need. If the piece turns out too small, you can easily add wisps of wool on top to build volume. However, once a part is over-sized and firmly felted, shrinking it down is virtually impossible.
When making sets of ears or limbs, finishing one completely before starting the second almost always results in mismatched shapes and sizes. I always work on pairs in tandem:
Working back and forth ensures matching volume, density, and balance across both pieces.
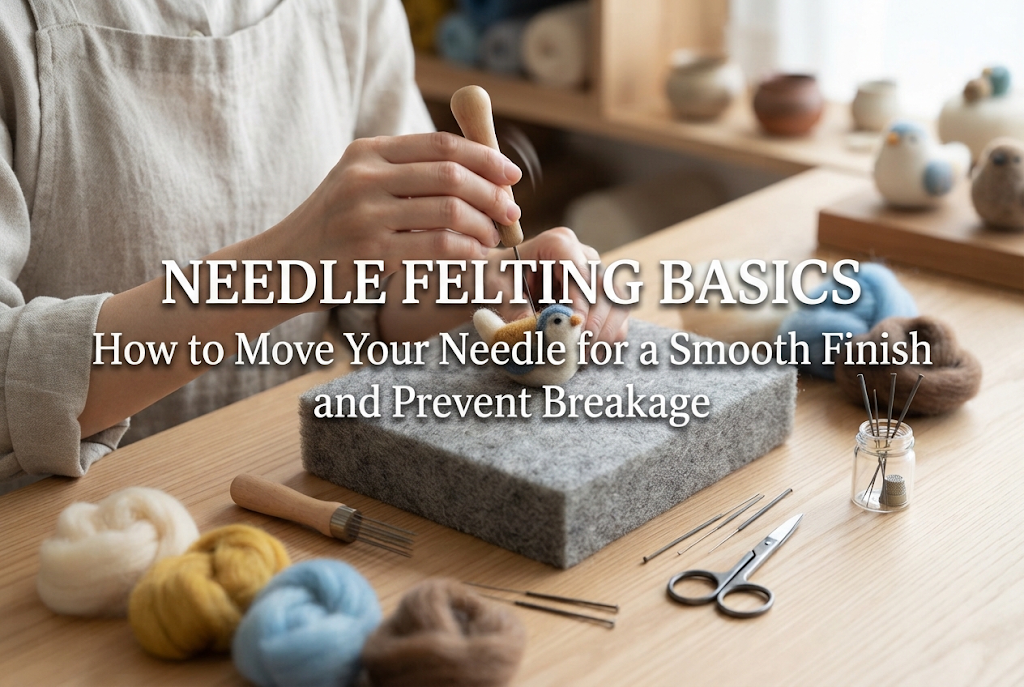
If you feel hesitation when needle felting small pieces, do not hesitate to reach for tweezers and leather finger guards. Hesitation creates tension in your hands, which causes your needle angle to wobble and leads to broken needles or slip-ups.
Grip the wool firmly with tweezers and work right alongside the metal edge. Even if your needle slips, it safely bounces off the metal. Pairing this with a leather guard on your non-dominant hand gives you complete control without worry. Using protective tools is a smart crafting habit, never a shortcut to be ashamed of!
Even if you sculpt a gorgeous little ear or arm, squishing it out of shape during assembly ruins all that hard work. Here is how to secure pieces firmly while keeping the joins clean and natural.
The secret to a successful join depends 80% on whether you preserved those loose, fluffy base fibers during shaping.
First, test the placement on your main piece. Spread the unfelted, fluffy base fibers out over the surface where you want to attach the part.
Next, poke the loose fibers into the core body at a 45-degree angle all the way around the base of the part.
Warning: Do not stab repeatedly into the finished shape of the ear or limb itself! Doing so will dent the sculpted form, making it shrink and warp. Only needle the fluffy fringe around the base into the body. Working your way around the entire seam line creates a rock-solid join without compromising the shape of the component.
If the seam line looks slightly obvious after attaching, pull a thin veil of matching wool (or the body color wool) and drape it lightly around the connection point. Gently tack it down with an ultra-fine needle. The joint will melt away completely, making it look as though the part grew naturally out of the body.
Finally, use a pair of small craft scissors to snip away any stray fuzz standing up on the surface. You will be left with a smooth, beautifully integrated detail!
Needle felting tiny parts may seem daunting at first, but with the right tools, proper steps, and a gentle touch, anyone can produce crisp, clean results.
Keep these core points in mind for your next project:
At first, sculpting a single miniature ear might take some time, but there is no need to rush. Use your tweezers to keep your fingers safe, and enjoy watching the tiny shapes firm up stroke by stroke.
Once you get the hang of clean miniature parts, your wool felt creations will burst with personality, and the variety of motifs you can tackle will expand dramatically! Be sure to try these techniques out during your next crafting session.
If you found this guide helpful, sharing it on social media with your fellow crafters is always deeply appreciated!
Until next time, happy crafting—this was Yassy from Crafters!



For example, if you are looking for articles about mizuhiki, try searching for "mizuhiki"; if you are interested in tools, try keywords like "nippers" or "pliers."
