The Ultimate Beginner’s Guide to Japanese Amigurumi: How to Start, Choose Kits, and Avoid Mistakes
yassy
Crafters!

Hello, craft lovers! It's Yassy from Crafters! (・∀・)
Glass Art is a wonderful craft where you apply vibrant colored films to glass or acrylic surfaces and decorate them with adhesive-backed lead lines. Every time I make a piece and hold it up to the light, I find myself captivated by its beautiful, luminous glow. Personally, I enjoy creating and collecting all kinds of handmade crafts, but the balance of transparency and solid presence in Glass Art holds a truly special charm for me.
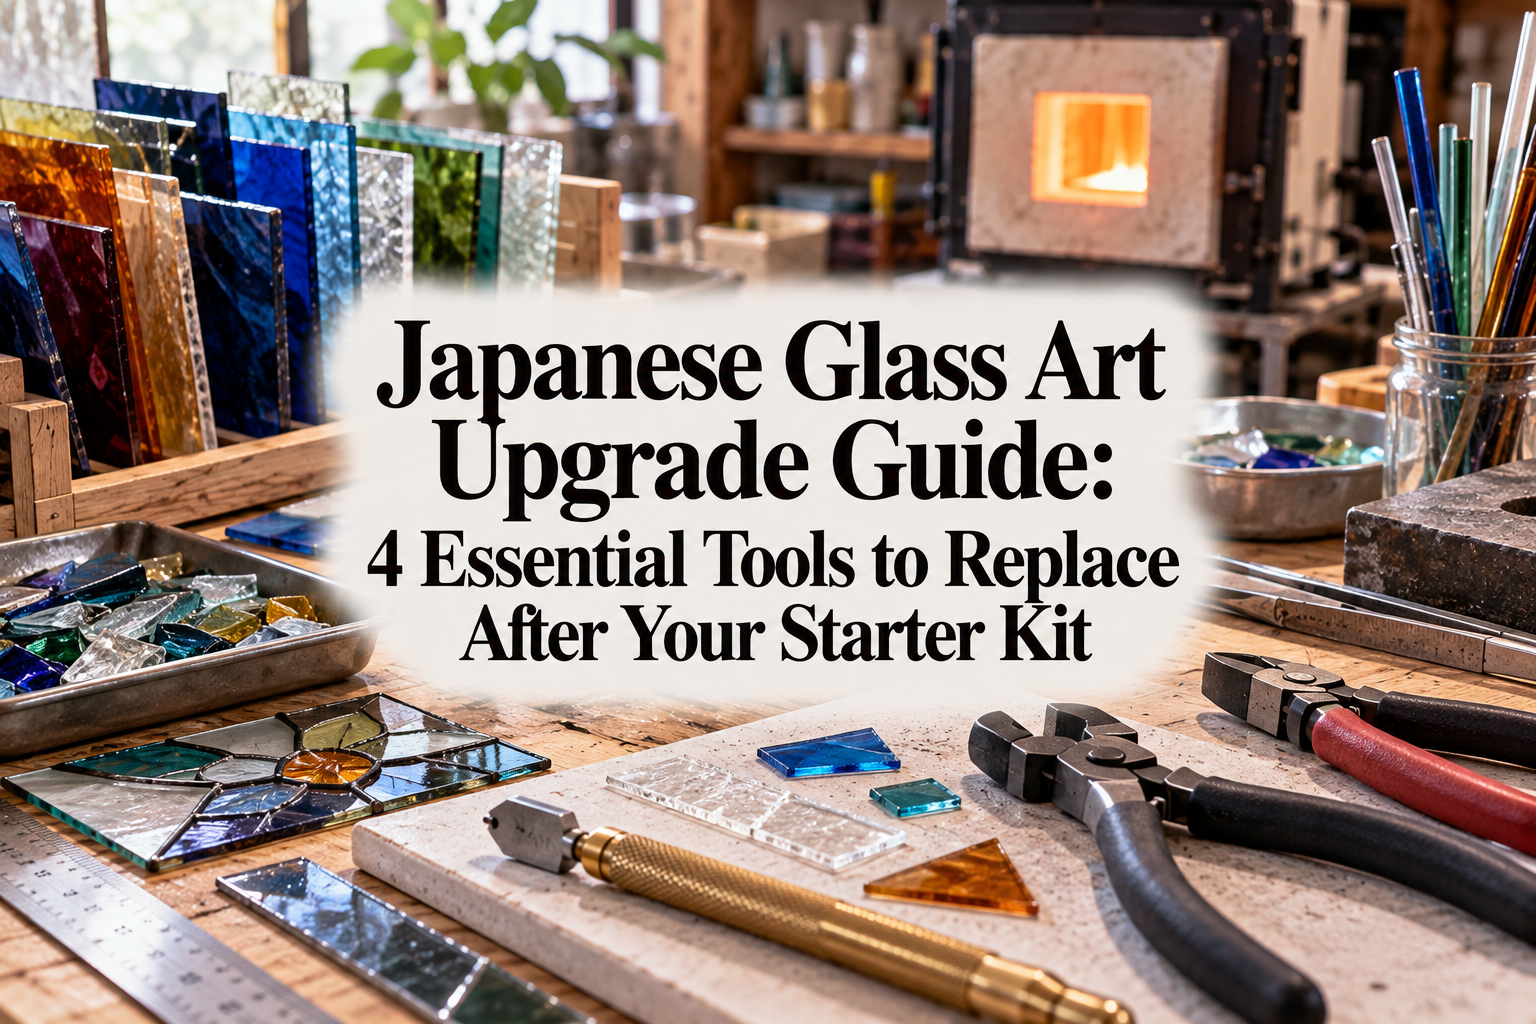
When you are just starting out with Glass Art, using a starter kit that contains all the basic tools is the safest and most reliable way to learn. However, after completing a few projects, have you ever run into frustrating issues like the ends of your lead lines lifting, the cut edges of the lead tape getting crushed and looking bulky, or the edges of your film turning out jagged?
If this is happening to you, it is not due to a lack of skill! The real cause lies in the introductory tools included in beginner starter kits. Tools designed for beginners prioritize safety and low cost, which means they naturally have limits when it comes to precision.
To take your artwork to the next level—moving beyond the beginner stage to achieve a truly professional finish—you need to switch to high-precision, professional-grade tools at the right time. Simply upgrading your equipment can make it surprisingly easy to create stunning, store-quality pieces.
In this guide, I will walk you through the absolute golden order for upgrading your Glass Art tools, along with specific selection criteria for each item. By investing wisely in tools that directly impact your finished work, you can create breathtaking Glass Art pieces that leave everyone amazed!
Glass Art is a craft with a remarkably simple foundation. You apply colored film onto a base material such as glass or acrylic, and then press down adhesive lead lines (lead tape) over top to define the artwork's outlines. Because it doesn't require soldering, it is completely safe and accessible. However, precisely because of its simplicity, details like clean cut surfaces and complete tape adhesion directly dictate the quality of your finished project.
Most starter kits contain tools designed to prevent accidental injuries. As a result, cutting edges are often dull, and the smoothing spatula—commonly called a suzy tool in Japan—is made of soft, flexible plastic.
If you continue relying on these basic introductory tools, you will inevitably encounter three major problems:
First, the ends of your lead lines will lift or peel over time. If your pressing tool lacks force, air and moisture will creep underneath, causing the lead tape to lift and, in severe cases, peeling the film off with it.
Second, joints where lead lines intersect will look noticeably bulky and uneven. When cut with dull scissors, the soft lead metal gets crushed flat rather than cleanly sliced. This creates awkward gaps and bumps where lines meet.
Third, film edges will become jagged. A dull utility knife pulls on the stretchy film as it cuts, leaving rough, uneven edges that stand out badly when light passes through the glass.
No matter how much you practice your technique, you cannot overcome the physical limitations of poor tools. Upgrading to high-quality equipment eliminates unnecessary stress and strain, instantly boosting the precision of every single line and cut edge in your project.
If there is one tool you should upgrade immediately, it is your pressing and smoothing tool (known in Japanese Glass Art as a suzy). Out of all the equipment in your kit, the tool you use for pressing has the greatest impact on both the appearance and long-term durability of your work.
Starter kits typically include a small, lightweight plastic spatula. Plastic pressers wear down quickly at the tip and flex under pressure, preventing you from transferring sufficient force to the lead line.
As a result, only the center of the lead line gets pressed down, leaving the outer edges weakly attached. A piece with lifted edges not only looks amateurish, but it will also loosen and peel away long after it's finished.
When choosing an upgraded smoothing tool, I highly recommend a Teflon tool, a natural bone folder (used in bookbinding), or a hard professional suzy designed specifically for Glass Art.
Teflon tools are especially fantastic because they have an extremely low friction coefficient. They glide smoothly over the surface of the lead line without scratching it while allowing you to apply firm pressure. Their solid weight and rigidity transmit the force from your fingers directly and evenly into the tape.
With a professional-grade smoothing tool, the edges of your lead lines will grip the glass tightly and lay completely flat. The lead merges seamlessly with the surface, creating an integrated look so convincing that people might mistake it for traditional stained glass made with molten metal.
Once you have a high-quality smoothing tool, make sure to refine your technique. After placing your lead line, position your tool lightly over the center, then glide it outward from the middle and downward from top to bottom to push out any trapped air.
The most critical step is using the angled edge of your smoothing tool to firmly burnish down both edges of the lead line. The absolute golden rule of Glass Art is to press the outer edges until they taper smoothly into the glass surface.
Using a high-end smoothing tool for this process can increase the durability of your work tenfold. It also sharpens the visual appeal dramatically, making it the absolute first tool you should invest in.
The second tool to upgrade is your cutting instrument for lead lines—specifically, high-precision craft scissors or dedicated lead line nippers.
When looking at a Glass Art piece up close or from a distance, the key detail that reveals a crafter's true skill is the joint work where lead lines cross. If there are gaps at the intersections or if the cut ends are smashed flat, the piece immediately loses its polished look and feels like an amateur craft project.
Standard household scissors or basic kit shears have thick blades that squeeze and crush the lead tape as they cut. Because lead is a soft metal, thick blades force the cut face wide, deforming the edge into a trapezoid shape.
Look for ultra-fine precision scissors made for delicate needlework or scale modeling, featuring extremely thin blades. Furthermore, select a pair with a fluorine or titanium coating to prevent the adhesive on the back of the lead tape from sticking to the blades and dulling their edge.
When you use razor-thin precision scissors, you can slice vertically through lead tape like butter without deforming its shape at all.
Because the cut face stays perfectly square, you can butt the end of a newly cut lead line directly against the side of an existing line with zero gap. Achieving these seamless joinings makes the entire line structure look like a continuous, single metal framework, elevating your work to professional heights.
If you want to take your accuracy even further, consider using single-bevel modeling nippers (such as thin-blade single-edge flush cutters).
Because a single-edge nipper cuts from only one side, it produces a perfectly straight cut through both the metal surface and adhesive backing. While scissors can sometimes introduce a slight angle due to the pivot of the blades, precision nippers guarantee a clean, 90-degree right-angle cut every time.
Upgrading your cutting tool transforms the beauty of line intersections. Make this your second priority right after the smoothing tool.
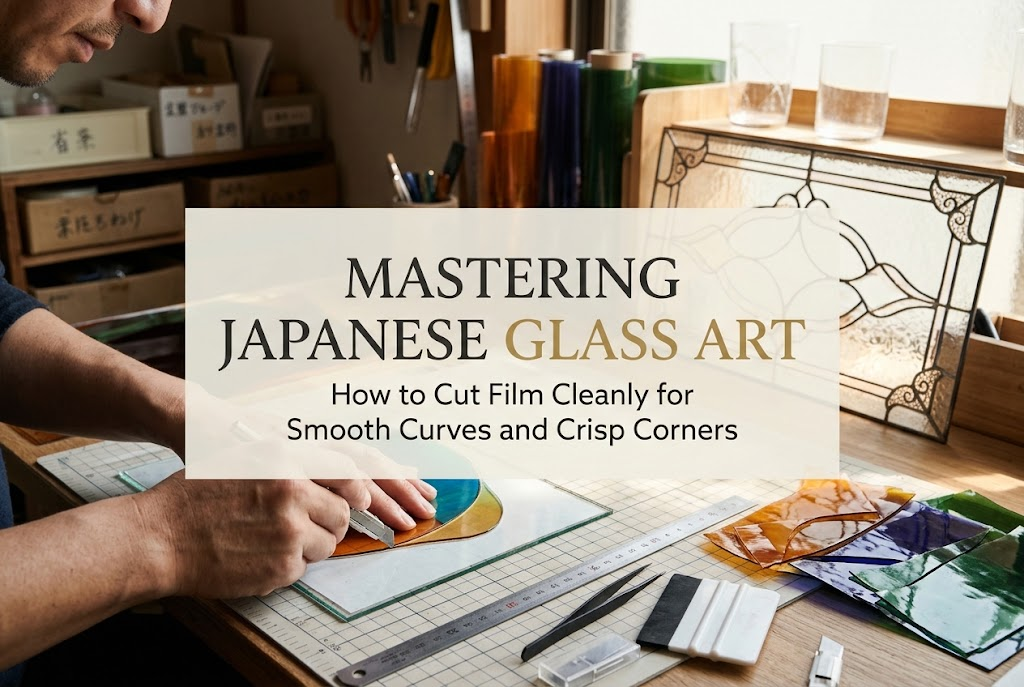
The third item to upgrade is your utility knife for cutting film, along with specialized 30-degree replacement blades.
Glass Art film is a specialty sheet material with moderate thickness and flexibility. If you try to cut it using a standard office utility knife, the thick blade and loose chuck mechanism will cause the blade to wobble, producing jagged, uneven cut lines.
Standard utility blades also feature a 45-degree angle. When cutting intricate curves in Glass Art, this angle obscures your view of the tip, forcing you to apply unnecessary pressure during delicate turns.
When selecting an upgraded craft knife, choose one with a heavy metal barrel and a robust collet mechanism that holds the blade firmly in place. Lightweight plastic handles wobble in your hand and compromise stability.
The most important element, however, is the blade itself: always install a 30-degree acute angle blade.
A 30-degree point gives you a clear view of your working area, much like holding a fine pen. It allows you to slice smoothly through tight curves and sharp corners in a single stroke. Because the tip is so sharp, it glides effortlessly through the film without pushing or pulling the material.
Upgrading to a high-quality craft knife enables you to master one of Glass Art's trickiest techniques: trimming excess film neatly along the edge of the lead lines.
When trimming film overhang, a dull blade can scratch the base glass or pull and peel the newly applied film. With a 30-degree blade on a solid craft knife, gentle pressure is all it takes to slice away unwanted film cleanly. Smooth cut edges ensure that light passes through the film borders uniformly, giving your art professional-grade clarity.
The final foundational tools to upgrade are your measurement and cutting surfaces: a non-slip stainless steel ruler and a thick grid cutting mat.
In Glass Art, you will frequently measure and cut multiple lead lines of equal length, or lay down long, straight sections of lead tape in a single pass.
Using a clear plastic ruler for this process is risky—the utility blade can shave off plastic from the ruler's edge, or the ruler might slip mid-cut, resulting in crooked lead lines. Slipping rulers lead to wasted materials and distorted designs.
Choose a stainless steel ruler that cannot be damaged by craft blades, and ensure it features a strong non-slip rubber backing.
A heavy-duty steel ruler with a non-slip grip stays locked in place on glass or cutting mats under light hand pressure. Because it won't budge a millimeter while cutting, you can produce perfectly straight lead lines in one single stroke.
Additionally, selecting a ruler with a "zero-start" scale (where the measurement begins right at the very edge) makes transferring dimensions from your pattern templates effortless.
Instead of small, thin kit mats, upgrade to a thick A3-sized cutting mat that covers your entire workspace.
High-quality cutting mats feature precise grid lines printed at 1 mm and 5 mm intervals, allowing you to visually verify 90-degree right angles and parallel lines constantly while working.
Their multi-layer self-healing construction also absorbs blade pressure smoothly without dulling your knife tips, extending the life of your 30-degree blades significantly. A spacious workspace lets you organize materials and drawings comfortably, boosting both efficiency and focus.
When upgrading your toolkit, it is easy to fall into a few common beginner traps. Keep these three precautions in mind to protect your investment:
Discount shops sell various cutters, scissors, and rulers, and many look decent at first glance. However, when it comes to cutting tools, never compromise on quality.
Inexpensive blades lack high metal hardness and precision sharpening, meaning they lose their edge almost instantly. In Glass Art, where you cut soft lead and flexible films, even microscopic blade dullness directly ruins your finish.
Blades from reputable specialized manufacturers (such as OLFA, NT Cutter, or established craft brands) cost only a few dollars more. Invest in trusted brands rather than cutting corners.
Even the most expensive craft knife uses consumable blades. Slicing through Glass Art films and sticky lead tape leaves invisible adhesive residue and micro-chipping on the blade edge.
Continuing to use the same blade across multiple projects just because "it still cuts" is a major mistake that degrades your quality.
If you feel even the slightest drag or notice fuzziness along a cut line, snap off the blade segment or replace the blade immediately. Replacing blades frequently is a secret habit shared by professional crafters to maintain flawless results.
The worst approach when upgrading is trying to buy every top-tier tool simultaneously before understanding your personal style.
If you change everything at once, you won't know which tool improved which aspect of your process. Furthermore, if you don't yet understand your own habits or which steps cause you the most difficulty, you risk buying tools that don't suit your hands.
Follow the golden upgrade order outlined in this guide (1. Smoothing tool → 2. Precision scissors → 3. Craft knife & 30° blades → 4. Ruler & mat) and upgrade step-by-step with each project. Enjoying the realization of how much your expression improves with each single upgrade is the fastest path to mastery!
Let me share a quick story from my own journey upgrading my Glass Art tools.
Like many of you, I started with a beginner kit. At first, I was thrilled, thinking, "Wow, it looks just like stained glass just by cutting and pasting!" But around my third project, while making a decorative photo frame, I ran into a major roadblock.
A week after displaying my finished frame near a sunny window, the lead line at the corner suddenly popped up with a visible gap! I was completely shocked. After researching the issue thoroughly, I realized that the lightweight plastic spatula from my starter kit hadn't applied enough force to seal the edge of the lead line flush against the glass.
That was when I purchased my first Teflon smoothing tool. When I tried it, the difference in tactile feedback gave me goosebumps!
When I applied pressure, the rigid tool didn't bend at all—every bit of force went straight into the lead tape's edge, flattening it until it looked almost embedded into the glass surface. Since that day, I haven't had a single lead line lift on any of my pieces.
My next struggle was achieving clean intersections where lines crossed. Cuts made with basic scissors left slightly crushed ends, making the joints look lumpy. To fix this, I picked up fine-point precision scissors with a fluorine coating.
The thin blades sliced cleanly at the exact spot I targeted without distorting the lead. The cut ends fitted seamlessly against adjacent lines without any gaps. Changing just these two tools transformed my work from a simple hobby craft into art worthy of display in a shop window!
Investing in good tools never betrays your effort. Pay attention to which step in your process causes you stress, and pick up a specialized tool designed to solve that exact problem.
Once you have superior tools in hand, you can tackle advanced Glass Art techniques with complete confidence. Here are two captivating techniques that become possible with upgraded tools:
While basic Glass Art applies lead lines only to the front surface of clear glass, applying an identical lead pattern on the back in perfect alignment replicates the heavy, authentic look of traditional stained glass came (lead framing).
This requires immaculate lead line cutting precision and powerful edge adhesion. With precision scissors and a top-quality smoothing tool, front and back lines align seamlessly for a flawless finish from any viewing angle.
By layering pieces of colored film on top of one another, you can create complex color blends and painterly gradients that single sheets cannot achieve.
The secret to successful layering is delicate pressure control—slicing the upper film layer with a 30-degree craft knife without scoring the film underneath. A high-precision knife with clear blade visibility lets you trim layered curves effortlessly, opening up a deep world of color expression.
In this guide, we explored the golden upgrade path for moving beyond starter kits and dramatically boosting your Glass Art project quality.
Let's review the recommended order one more time:
Glass Art is a rewarding craft where the precision of your tools directly translates into the beauty of your finished work. Take that step beyond beginner kits, upgrade your tools one by one, and watch your creations shine brighter than ever before!
When you feel the desire to make your work cleaner or aspire to produce store-quality art, that is your cue to upgrade. Grab the right tools and expand your Glass Art world to new horizons!
If you found this article helpful, please share it with your fellow craft lovers on social media! See you in the next post—this was Yassy from Crafters!


For example, if you are looking for articles about mizuhiki, try searching for "mizuhiki"; if you are interested in tools, try keywords like "nippers" or "pliers."
