Complete Leather Care Guide: How to Prevent Mold, Cracking, and Losing Shape for a Lifetime of Use
yassy
Crafters!

Hello, everyone! It’s Yassy from Crafters! (・∀・)
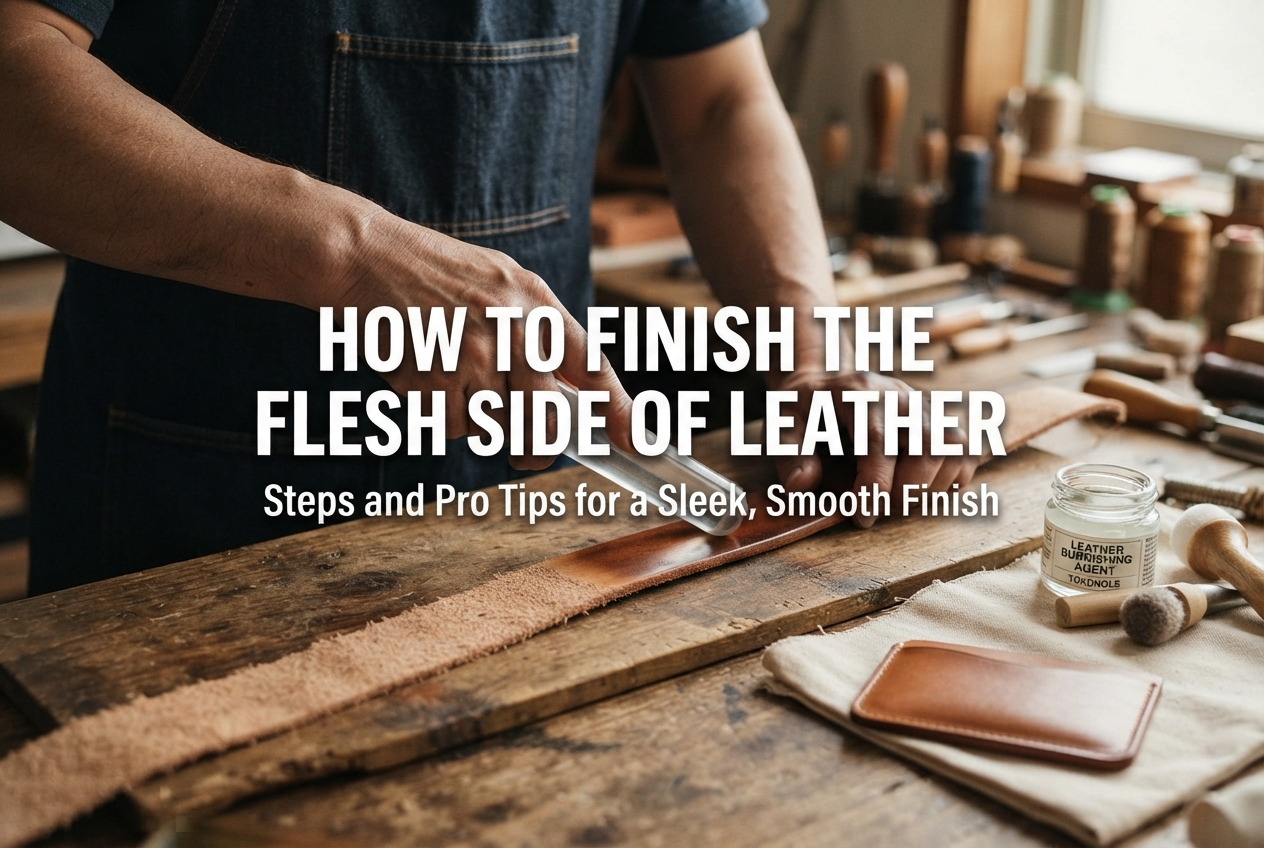
When making leathercraft items, it is easy to focus all your attention on the smooth grain side (the outer face, known as ginmen in Japan) or the precision of your cut edges. However, the step that truly determines the overall quality of your finished project is how well you treat the flesh side—known in Japanese leathercraft as tokomen (床面).
Freshly cut genuine leather often has a rough, fuzzy back with exposed fibers similar to raw suede, which can shed leather dust. The process of flattening these loose fibers to create a sleek, polished surface is called flesh-side finishing (tokomen-shori).
In this guide, I will walk you through the essential tools, step-by-step procedures, and practical tips to prevent common mistakes so you can achieve professional results at home!
Before diving into the steps, let’s look at why finishing the back of the leather is essential. Understanding the reasons behind the process will help you apply the right pressure and care throughout your work.
The flesh side consists of an interwoven network of natural animal fibers. Leaving it untreated can lead to several problems. Here are the three primary reasons to finish the flesh side:
You do not need an elaborate setup to finish the flesh side. A few basic, accessible tools are all it takes to achieve a clean finish.
This is a liquid or paste compound designed to bind and compact leather fibers.
Once the compound is applied, you need a tool to press and lay down the fibers.
A glass burnishing plate (glass slicker) is the gold standard for large flat areas. Its weight and flat surface allow you to apply even pressure across the panel. While wooden slickers or heavy canvas can be used, a glass plate is by far the most efficient tool for large flesh-side surfaces.
A plastic glue spreader allows you to spread the compound thinly and evenly without getting your hands messy. If you do not have one, a firm piece of sponge or even your fingertip works fine.
Take your time and follow these four steps carefully.
First, brush off any loose dust or leather shavings from the flesh side using a clean brush or dry cloth.
Next, gently stroke the surface with your hand to determine the fiber direction. When you rub in one direction, the fibers will flatten smoothly—this is the natural grain lay (jun-mou). If it feels rough and catches your fingers, you are going against the grain (saka-moku). You will want to burnish primarily in the smooth direction.
Place a small amount of Tokonole onto the center of the leather. As a general guideline, an amount roughly the size of a small coin is enough for a 10 cm × 10 cm (4" × 4") square area.
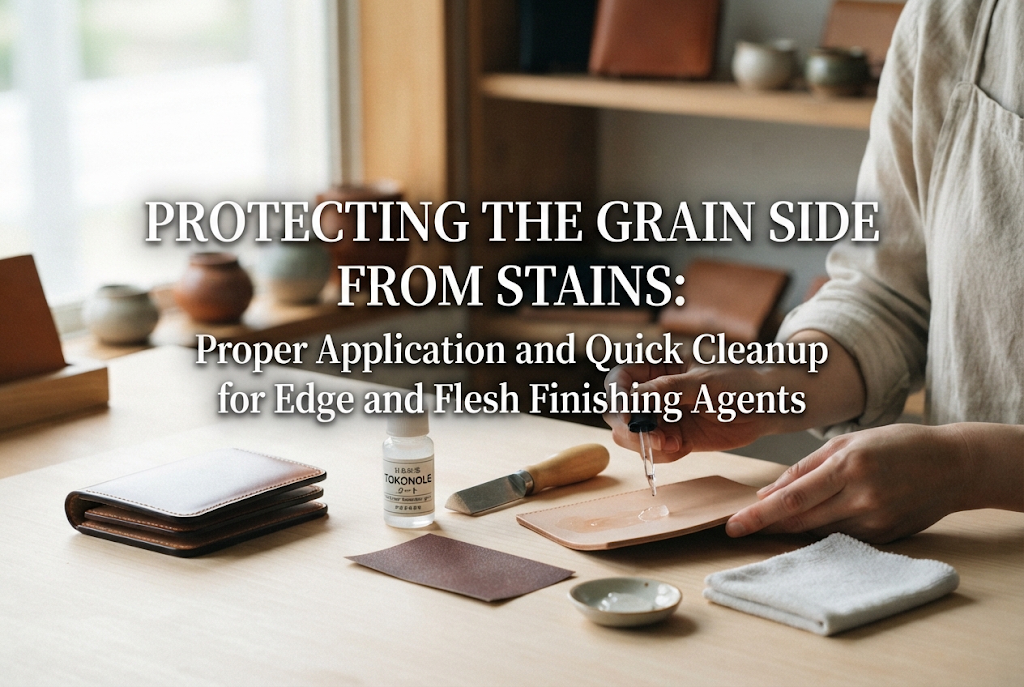
Using your spreader, quickly distribute the compound outward toward the edges. The key is to apply a thin, uniform layer rather than a thick coat. Be careful not to let any compound spill over onto the grain side (the front), as it can leave permanent stains.
Work quickly before the compound dries. Place the glass plate flat against the leather.
Applying moderate downward pressure, slide the glass plate in the direction of the fiber lay, or use tight circular motions. Be mindful not to push so hard sideways that you stretch or distort the leather. Focus on downward compaction combined with swift back-and-forth movement. You will see the fuzzy fibers flatten out into a smooth, consolidated layer.
Once the entire surface is smooth, leave the leather to dry thoroughly in a well-ventilated, shaded area. This usually takes 15 to 30 minutes.
After it dries completely, run your hand across the surface. If it feels sleek and free of fuzz, you are done! If some areas still feel rough, apply another very thin coat and burnish once more for a firmer, glossier result.
Cause: Spreading too close to the edges with excess compound, or touching the front with sticky fingers.Solution: If Tokonole gets on the front side, wipe it off immediately with a tightly wrung damp towel or a moist cotton swab before it dries. Once dry, it leaves a noticeable mark. To be safe, you can apply masking tape along the front edges before burnishing.
Cause: Either not enough compound was applied, not enough pressure was used with the glass plate, or the piece came from a softer, looser section of the hide (such as the belly).Solution: Do not try to fix it all in one heavy coat. Repeat the process with 2 to 3 thin coats, burnishing firmly between applications. Increasing the speed and downward pressure of the glass plate will help tamp down stubborn fibers.
Cause: Applying too much compound at once, causing it to penetrate deeply into the core of the leather and stiffen it.Solution: It is difficult to restore flexibility once the leather hardens, so prevention is key. Always apply burnishing agent in thin layers. For items that require flexibility (such as soft pouches or folding parts), keep the amount minimal.
Cause: The compound was unevenly spread, leaving thick pools in some spots and dry patches in others before burnishing.Solution: Spread the compound thoroughly with your spatula before burnishing. Make sure the dampness is completely uniform across the panel before putting the glass plate to work.
Not every type of leather reacts the same way to burnishing compounds:
Here are two handy approaches from my own workshop that can make your leathercraft projects much easier.
Beginners often ask whether they should finish the flesh side before or after cutting their pattern pieces. My strong recommendation is to finish large panels before cutting out individual parts.
Applying Tokonole and burnishing a large sheet in one go saves massive amounts of time. More importantly, burnishing small, cut pieces risks stretching their edges and ruining precise dimensions. To keep your pattern pieces accurate, treat the whole piece of leather first, allow it to dry, and then trace and cut your parts.
This is a critical rule: never burnish areas where you plan to apply glue or cement (such as seam allowances and overlapping pockets).
Once the flesh side is flattened and sealed with Tokonole, leather cement cannot penetrate the fibers, causing the bond to fail easily. If you accidentally burnish an area that needs gluing, you will have to rough it up again using a leather skiving knife or a leather rougher (rasp) before applying adhesive.
Finishing the flesh side might feel like an understated, labor-intensive task, but it is one of the quickest ways to elevate your handcrafted leather goods. It improves the look, tactile feel, and longevity of your work the moment someone opens your piece.
Remember the key takeaways:
Watching rough, fuzzy leather transform into a glassy, smooth surface under your own hands is one of the most satisfying moments in leathercraft. Give these techniques a try on your next project!
If you found this guide helpful, please share it with your fellow crafters on social media! See you in the next article—this was Yassy from Crafters!



For example, if you are looking for articles about mizuhiki, try searching for "mizuhiki"; if you are interested in tools, try keywords like "nippers" or "pliers."
