What is Light Leather Craft? A Complete Beginner’s Guide to Japanese-Style Leatherworking
yassy
Crafters!

Hello everyone! This is Yassy from Crafters! (・∀・)
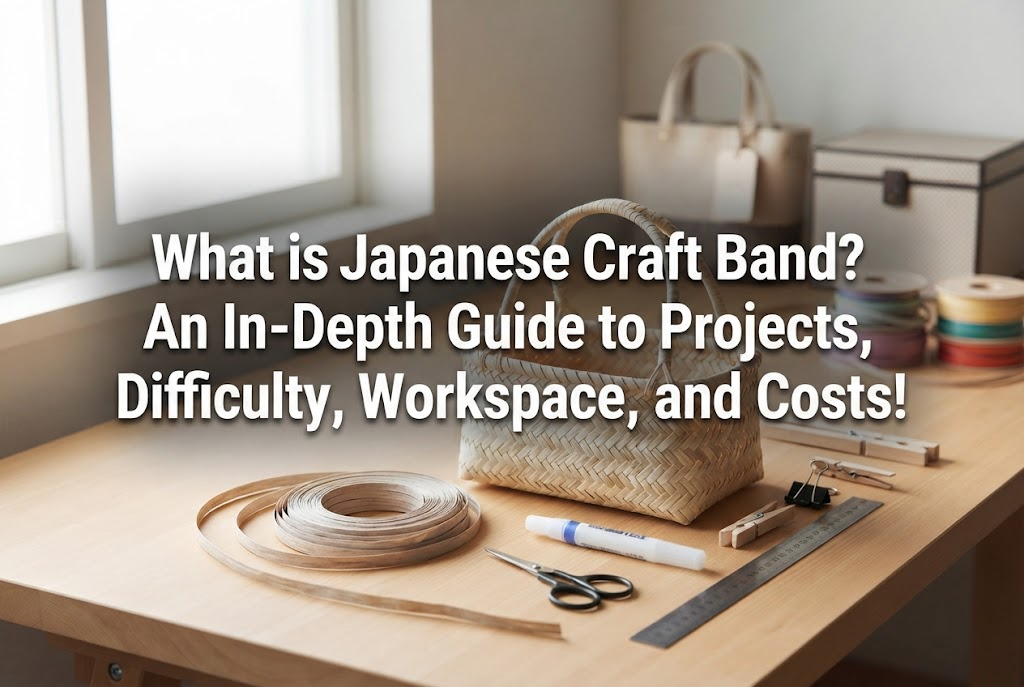
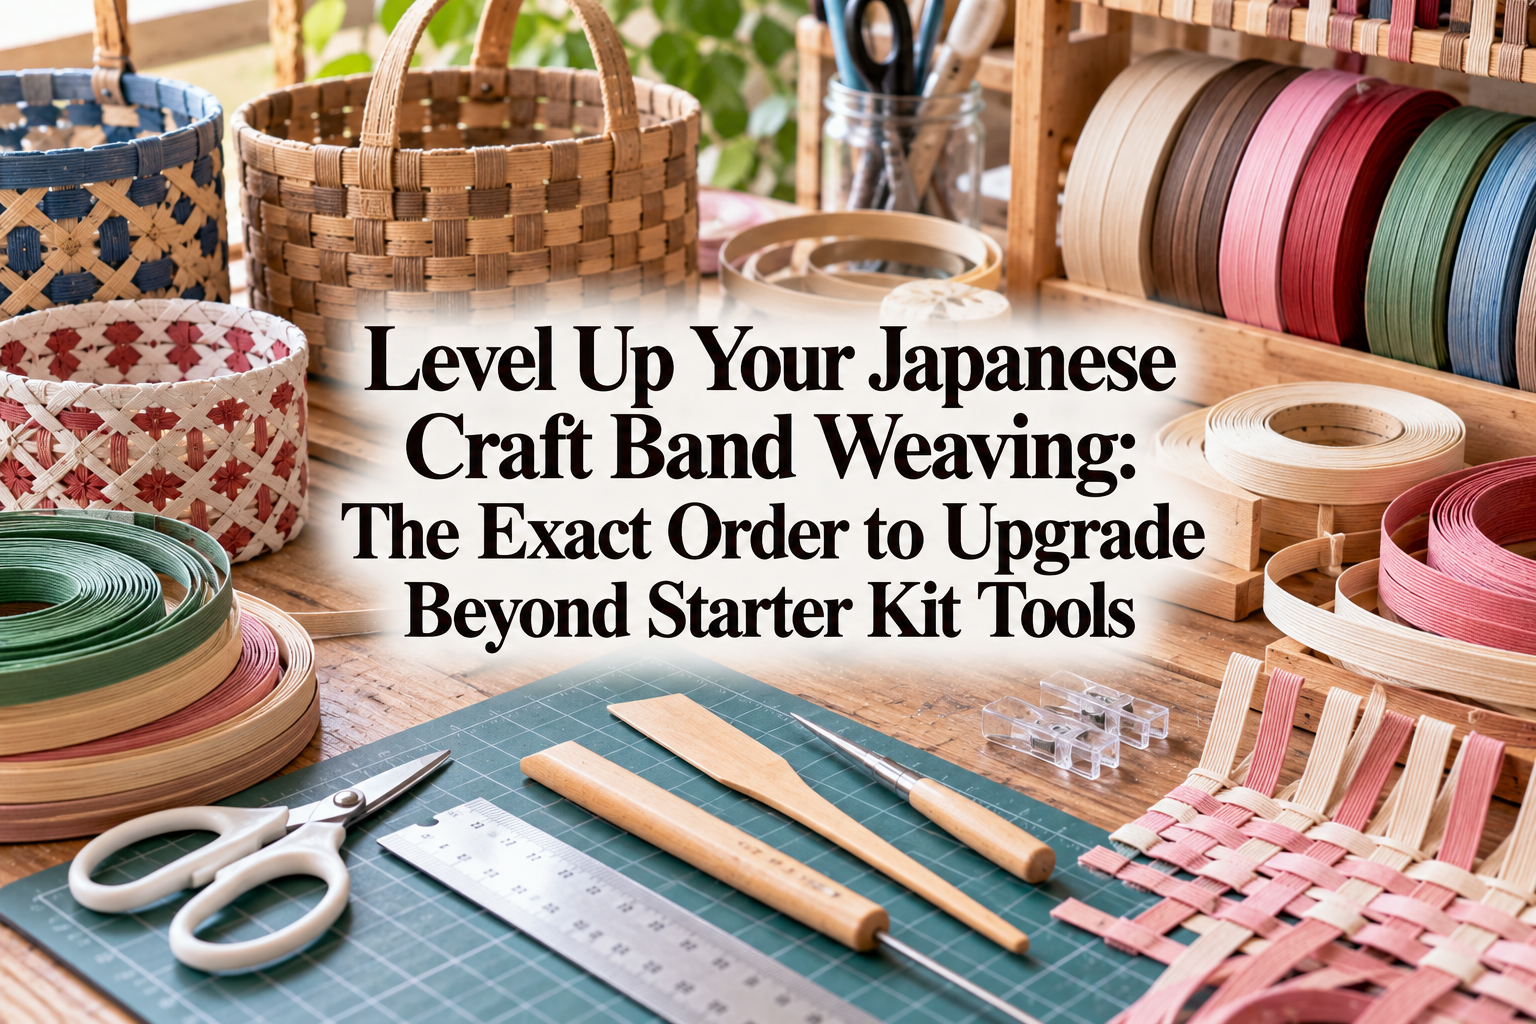
Lightweight, durable, and available in a rich variety of colors, Craft Band allows you to create stunning woven items. Many craft enthusiasts who spot craft band baskets or bags in Japanese craft shops and lifestyle stores often find themselves thinking, "I want to try making that myself!"
However, when you actually consider starting, several questions and doubts might pop into your head: "Since it's made of paper, is it really sturdy?" "Will it fall apart if it gets wet?" "Does weaving it look too difficult or painful for my hands?"
In this article, I will break down everything you need to know about Japanese craft band—from its basic structure and project variety to handling tips, difficulty level, workspace setup, and overall costs!
Personally, I love making craft band items, admiring other crafters' creations, and buying beautiful baskets. As long as you have the right knowledge and handling techniques, craft band is one of the absolute best handmade genres, allowing even total beginners to create surprisingly high-quality pieces. Read on to clear up all your questions and step into the wonderful world of craft band crafting!
Let's start by answering the fundamental question: what exactly is craft band?
To put it simply, craft band is a flat, tape-like paper cord made from recycled paper and other pulp fibers. In Japan, it is also referred to as "paper band" (kami band) or "Eco Craft."
Historically, it was developed as an industrial packaging material used to tie the tops of heavy rice sacks or as sturdy strapping tape for rice wholesalers. Because it was originally engineered as an industrial-grade material, it possesses overwhelming strength—despite being made of paper, it is strong enough that it won't tear even if a person stands on it.
Craft band is made by lining up several fine paper cords (base papers) side by side and bonding them into a flat strip using water-soluble adhesive. Standard craft band consists of 12 fine strands aligned together, which is known in the Japanese craft community as "12-ply width" (12-hon haba).
While you can use the band as a full 12-ply strip, you can also split it lengthwise into narrower widths—such as 2-ply, 3-ply, or 4-ply—depending on the specific parts or design of your project. This technique of splitting the band gives craft band its unmatched versatility and creative freedom.
Traditional woven baskets made from natural materials like rattan or bamboo require soaking in water to soften and a lot of hand strength to bend rigid strips. As a result, preparation takes time and demands significant finger strength.
Craft band, however, is made of paper. It bends flexibly without needing to be soaked, and it can be easily cut with standard scissors or a craft knife. While lighter than natural materials, once woven into a finished piece, it exhibits a sturdy structure comparable to wooden items. Being lightweight and easy to handle makes it one of the greatest advantages in modern handcrafting.
You might think craft band is only for making simple baskets, but its possibilities go far beyond that. By combining different weave patterns and varying the strip widths, you can create a wide range of items, from practical home storage to wearable fashion accessories.
Here are the representative project categories you can make with craft band:
The most fundamental and practical application is making storage containers. From small desktop baskets for organizing living room items, to large laundry baskets, to kitchen baskets for holding bread or fruit—you can create any size or shape you like.
Store-bought storage boxes often leave you wishing, "If only this were 1 cm smaller, it would fit perfectly on my shelf…" With craft band, you can measure your home furniture down to the millimeter and craft perfectly fitted storage units.
Among craft band projects, outdoor-ready tote bags and purses are hugely popular. You can make everything from simple round-bottom totes to airy open-weave bags, or even sophisticated handbags fitted with faux-leather handles.
Depending on your color choices, you can craft Scandinavian-style designs, retro baskets that pair beautifully with traditional Japanese garments, or chic everyday bags. Going out with a bag you crafted yourself is a truly special experience.
Beyond baskets, you can make plenty of items to brighten up your daily living environment:
Craft bands come in dozens of shades, ranging from natural kraft colors to delicate pastels and sophisticated dark tones like navy or black. Choosing colors that match your interior style helps create a cohesive aesthetic in your room.
By splitting craft band into thin strands, you can create tiny, finger-sized miniature crafts. Petite miniature bags, dollhouse furniture, and tiny shoes allow you to express a delicate and charming world.
Additionally, making seasonal decorations—such as Christmas trees, Japanese New Year kadomatsu, Halloween pumpkins, and holiday wreaths—is an extremely popular way to decorate your home throughout the year.
Beginners interested in craft band often worry about how tricky it is to handle. Common concerns include: "Will it get ruined quickly if it gets wet?" or "Will my hands hurt so much that I'll give up?" Here is the truth from a crafter's perspective.
To put it simply: Craft band handles light moisture completely fine. Because high-strength paper is used from the base stage and heat-pressed with adhesive, it will never dissolve instantly just from a few drops of water.
That said, leaving a project in the rain or submerging it in water for a long time will cause the paper to absorb moisture, soften, and loosen the adhesive.
Protecting your work from water is very simple: apply a varnish (water-based acrylic varnish or spray varnish) once your piece is complete. Applying a topcoat creates a clear protective film on the surface, dramatically improving water resistance and repellency. It also prevents dirt from sticking, adds a nice sheen, and increases structural strength. For items used outdoors or around water, varnishing is an essential rule.
Interestingly, there is also a technique called "mizuseikei" (water shaping), where a project is lightly dampened on purpose to adjust its shape, then left to dry into a rigid, firm form. Water isn't an enemy of craft band; if used properly, it can actually be a great ally in improving your work's quality.
As for the worry that weaving requires excessive finger strength, this depends on the weave pattern and working time.
For standard plain weaves (such as plain chase weaving), no strong force is required because the paper is supple. Cutting it requires no more effort than cutting cardstock.
However, for techniques like "yotsudami-ami" (square knot / cross weave) or "hanamusubi-ami" (flower knot weave) where bands are tied tightly together, a certain amount of pressure is placed on your fingertips and nails. Pulling with brute force can lead to sore fingers.
Here is how to prevent hand fatigue:
By using tools correctly, anyone can comfortably weave without worrying about grip strength.
One basic operation in craft band making is splitting a 12-ply band down into narrower strands, like 2-ply or 4-ply. If you mess this up, the band might tear diagonally midway, wasting material.
Never force-tear it apart with your bare hands. The correct technique is to make a small snip at the end of the band with scissors, insert a scrap piece of stiff plastic strapping (PP band) or an old plastic membership card into the slit, and slide it straight down.
By doing this, anyone can split the band perfectly straight in a split second down to the exact ply width. Knowing little tricks like this lowers the difficulty drastically!
In the world of handcrafts, craft band ranks around the beginner-to-intermediate level. It doesn't have extreme pitfalls like knitting (where miscounting a single stitch skews the whole piece), nor does it involve chemical curing failures like resin crafting.
Once you grasp the basics, you can complete a small accessory on your very first day.
However, there are three common stumbling blocks where beginners might get frustrated or fail. Here are their causes and how to completely overcome them:
In craft band work, the most critical step that determines the final outcome is the initial cutting process. Beginners often think the actual weaving is the main task, but in reality, preparation (cutting) is 70% of the work, while weaving is 30%.
If you do not cut precise lengths and strand counts according to the pattern recipe, you will face critical failures later on, such as running out of vertical strands or having excess width that warps the shape.
[How to Overcome]When measuring and cutting, always use a rigid bamboo ruler or stainless steel ruler, holding the band pulled straight and taut. Group the cut bands using masking tape according to their function (vertical strands, horizontal strands, reinforcement strands, etc.) and label them. This is the shortest path to success!
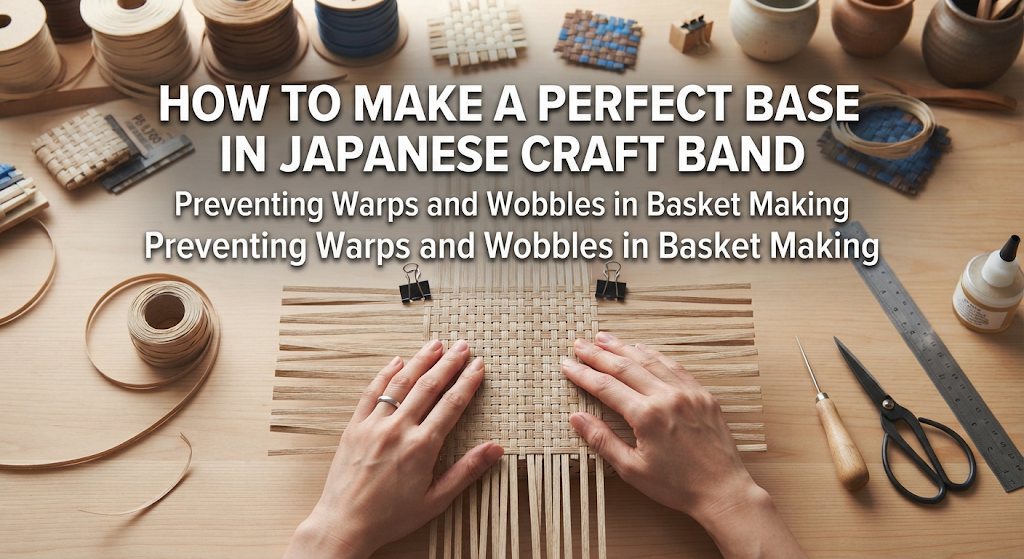
This happens when the weave looks loose and gappy midway through, or when a square basket base distorts into a skewed diamond shape. The culprit is insufficient clamping during construction.
[How to Overcome]In craft band crafting, clothespins (wooden pegs or craft clips) act as an indispensable extra set of hands. Where bands intersect or bend around corners, do not hesitate to use a generous number of clips to hold everything in place while you weave.
Clamping as you go ensures even pressure, resulting in a tight, beautifully structured piece.
To fix craft bands together, wood glue or fast-drying craft glue is primarily used. Beginners frequently make the mistake of applying too much glue, causing it to squeeze out and leave white stains, or moving on to the next step before the glue has dried, causing the structure to fall apart.
[How to Overcome]The golden rule for glue is "spot application" (using the tip of a toothpick to apply a tiny dot) rather than spreading it broadly. Once you glue bands together, clamp them with a clip and leave them untouched for a few minutes until set. Allowing a few minutes of drying time instantly elevates your finish to a professional standard.
Before taking up craft band crafting, you might wonder if you have enough space at home. Let's look at the actual space requirements.
In short, craft band crafting requires two different space setups across two phases:
When cutting craft band, you need to unroll long strips measuring 1 to 2 meters from a roll, measure them, and cut them. Therefore, you temporarily need a spot long enough to extend the bands straight, such as on the floor or across a large dining table.
Many crafters lay down a yoga mat or sheet on their living room floor for the cutting step. Once cutting is finished, you no longer need to unroll long cords.
Once all parts are cut, the space required for actual weaving is remarkably compact. If you are making a basket around 30 cm x 30 cm, a work surface of 50 cm x 50 cm is plenty.
A corner of a standard desk, dining table, or small coffee table works perfectly. Unlike clay or woodworking, there is no dust flying around, and unlike resin, there are no harsh chemical odors. The wonderful thing about craft band is that you can work in a compact space on your living room table while watching TV or chatting with family.
Craft band material arrives rolled up (large 400-meter spools form a disk about 30 cm in diameter). Unused bands are best stored together in a large plastic storage bin or craft box to protect them from dust and sun exposure. Basic tools easily fit into a single small toolbox.
An unavoidable topic when starting any hobby is cost. No matter how fun it is, if tools and materials are overly expensive, it's hard to sustain.
Regarding craft band expenses, let's break down tools and materials separately. In short, compared to other craft genres, craft band boasts an amazingly low starting cost and exceptional cost performance.
Almost all tools needed to start craft band crafting are items you already have at home or can easily find at 100-yen stores or local discount shops. There is no need to purchase expensive specialized power tools or machines.
Essential basic tools to prepare:
Even if you buy everything, a complete tool setup costs around 1,000 to 2,000 yen. Unlike crafts that demand heavy equipment investments like resin, ceramics, or sewing machines, you don't need to spend big, making it very reassuring for beginners.
Material costs vary significantly based on the length of the roll you purchase:
For beginners, it is wise to buy 10m or 50m rolls in the colors needed for your target project. Once you get hooked and use basic colors like natural kraft frequently, switching to a 400m jumbo roll dramatically drops the cost per meter, making your crafting even more budget-friendly.
Let's calculate the approximate material cost to make individual items:
[Mini Desktop Storage Basket (uses ~10m)]Uses one full 10m roll (~400 yen)⇒ Material cost: ~400 yen
[Everyday Simple Tote Bag (uses ~30m–40m)]Cut from a 50m roll (~1,200 yen)⇒ Material cost: ~700 to 900 yen
[Large Storage Basket with Lid (uses ~60m)]Cut from a 50m roll + extra, or from a jumbo roll⇒ Material cost: ~1,200 to 1,500 yen
A beautiful hand-woven basket bag that might sell for several thousand to nearly 10,000 yen at a boutique can be crafted by yourself for under 1,500 yen in materials! It is extremely economical and practical—crafting customized home storage saves money while giving you a deeply fulfilling hobby.
When you spend effort crafting a piece, you want to keep it beautiful for as long as possible. Here is how to properly care for and store your finished items like a pro.
To reiterate: always apply a protective topcoat to finished items. Water-based acrylic varnish (spray or brush-on type) is highly recommended.
Spray varnish penetrates evenly into the narrow gaps of the weave, providing an effortless coating. Clear varnishing prevents mold growth and allows dust to be easily wiped off with a damp cloth. It also increases overall rigidity, turning your work into a sturdy item that won't lose shape for years.
Over time, household dust can settle into the small crevices of woven baskets. For daily maintenance, gently brush away dust along the weave lines using a clothes brush, an unused toothbrush, or a small desktop vacuum attachment.
Washing directly under running water is generally not recommended. If a spot gets dirty, wipe it gently with a tightly wrung damp cloth and let it dry completely in a well-ventilated shaded area.
Since craft band is a paper product, it is sensitive to UV rays and excess moisture.
Placing an item by a sunny window for prolonged periods will cause colors to fade or discolor. Storing it in a humid, poorly ventilated spot carries a risk of mold.
Always store finished items in a well-ventilated area out of direct sunlight. When storing seasonal woven bags in a closet during off-seasons, placing them inside a breathable non-woven bag with a silica gel desiccant packet is strongly recommended.
In this guide, we explored everything about Japanese craft band—from its material origins and project variations to handling realities, difficulty, workspace requirements, and costs.
Craft band utilizes paper—a familiar everyday material—yet delivers remarkable strength derived from its industrial background alongside endless color choices.
As long as you follow key handling tips (accurate measuring with rulers, clamping with clips during weaving, and applying a varnish finish), even those who feel they aren't naturally crafty can complete surprisingly high-quality, practical baskets and bags from day one.
With an initial investment of just a few thousand yen, creating custom-sized home storage or one-of-a-kind stylish bags with your own hands brings a sense of joy and satisfaction that is hard to beat.
Don't waste time hesitating! Grab a roll of craft band in your favorite color and start your very own wonderful weaving journey today!
If you found this guide helpful, sharing it with your craft friends on social media or messaging apps would mean the world to me and keep me motivated!
Until next time, happy crafting! This was Yassy from Crafters!

For example, if you are looking for articles about mizuhiki, try searching for "mizuhiki"; if you are interested in tools, try keywords like "nippers" or "pliers."
