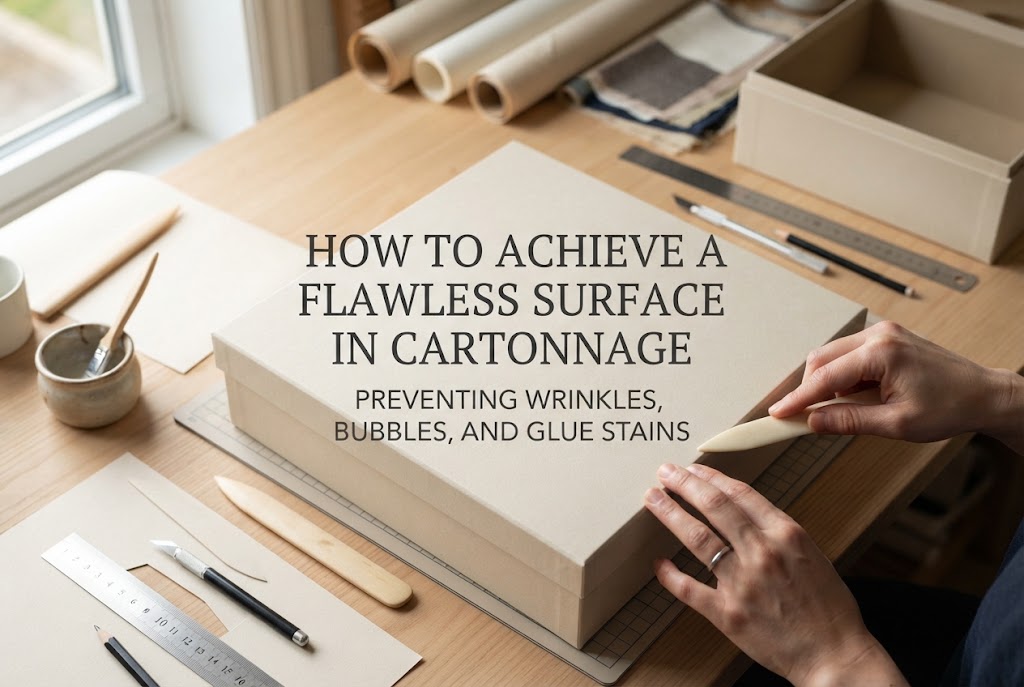
How to Achieve a Flawless Surface in Cartonnage: Preventing Wrinkles, Bubbles, and Glue Stains
yassy
Crafters!

Hello, this is Yassy from Crafters! (・∀・)
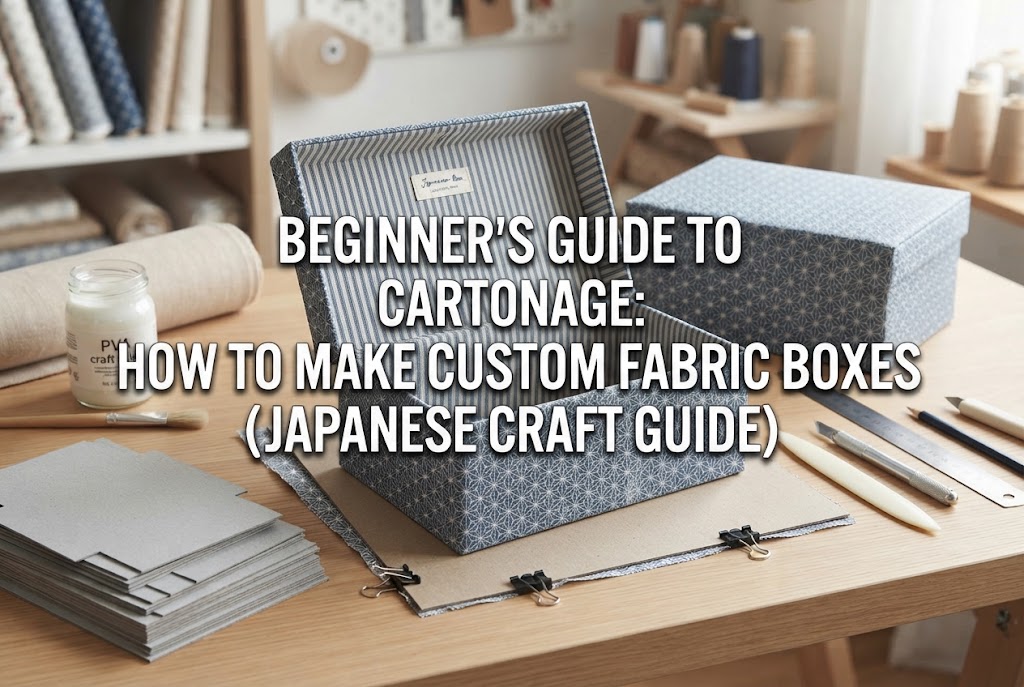
Have you ever seen exquisite handmade fabric-covered boxes or home accessories in craft stores and thought, "I wish I could make something like that myself"? That art form is called cartonnage, a delightful craft where you tailor sturdy paper boxes and wrap them in your favorite fabrics.
While cartonnage might look intimidating at first glance, anyone can create high-quality pieces once you understand the basic mechanics and proper sequence. Cutting heavy cardboard, assembling box frames, and wrapping them neatly with fabric feels just like fitting puzzle pieces together—it's an immensely satisfying and fun process.
In this article, I will share a complete guide for beginners who want to dive into cartonnage, covering essential tools, basic techniques, step-by-step box assembly, and practical tips to prevent common mistakes. Read on and try creating your very own one-of-a-kind handmade box!
Cartonnage is a traditional French craft technique. The word originates from carton, the French term for heavy cardboard. In cartonnage, you construct boxes or structural frames out of cardboard (greyboard) and decorate them by gluing fabric or decorative paper over them.
The greatest charm of cartonnage is the ability to craft boxes of any dimension down to the millimeter. When commercial storage bins are just an inch too wide for your shelf, cartonnage allows you to create perfectly tailored storage solutions for any space.
Furthermore, by choosing different fabric patterns, colors, ribbons, lace, or hardware, you can achieve endless design styles ranging from elegant and classic to modern, natural, or whimsical.
The fundamental structure of cartonnage consists of three main layers:
Understanding this three-layer structure is your crucial first step toward achieving a clean, professional finish.
You do not need heavy machinery to start cartonnage. Everything can be found at local craft stores or stationary shops.
Before assembling your box, there are two crucial foundational principles you must know. Skipping these can lead to warped boxes or peeling fabric.
Paper fibers run in a specific direction, known as the "paper grain." Cardboard bends smoothly along its grain direction, whereas bending against the grain offers stiff resistance.
When crafting a box, always align the paper grain of opposing side panels. For example, if two parallel side panels have conflicting grain directions, they will absorb moisture from the glue unevenly, causing one side to warp more than the other and twisting the entire box frame.
To check the grain, flex the cardboard gently in both directions. The direction that yields softly and flexes easily is parallel to the grain. Before cutting, check the grain direction and mark it with pencil arrows on your board.
Standard PVA wood glue directly from the bottle is often too thick, leading to heavy application, fast drying, and fabric wrinkling. In cartonnage, add a small amount of water to the glue until it reaches a smooth, yogurt-like consistency.
When applying glue, brush quickly from the center outward to create a thin, uniform film. Avoid leaving glue pools, as excess wet glue will seep through the fabric threads, creating unsightly glue stains.
After placing fabric onto glued board, use a bone folder to gently smooth out air bubbles from the center toward the edges, pressing the fabric down firmly. This extra step guarantees a smooth, wrinkle-free surface.
Here is the step-by-step process for making the most fundamental cartonnage project: a square open box (tray).
Design your box dimensions and draft the parts onto 2mm thick carton. You will need 5 basic pieces: 1 base panel and 4 side panels.
Important Calculation Tip: Always account for cardboard thickness! If side panels are glued around the outer perimeter of the base, keeping side panel lengths identical to the base edges will result in a sizing mismatch.
When using 2mm carton, two opposing side panels must be cut to: Base Length + (2mm × 2) = Base Length + 4mm. Calculating board thickness accurately prevents gaps at the corners.
Hold your ruler firmly, keep the knife blade perpendicular, and cut through the carton using 3 to 4 light passes rather than trying to cut through in one heavy stroke.
Apply PVA glue to the cut edge of the carton and press side panels vertically against the edges of the base panel. Use a ruler to ensure accurate 90-degree right angles.
Once assembled into a 3D box, reinforce every joint using water-activated paper tape. Cut paper tape to length and moisten the back side with a wet sponge to activate the glue.
Apply tape over inner and outer box corners while pulling gently, then rub firmly with a bone folder. Once dried, this gummed tape creates a strong, rigid skeleton.
Prepare outer fabric cut to the total perimeter of the 4 sides plus a seam allowance of about 1.5 cm to 2 cm (0.6 to 0.8 in).
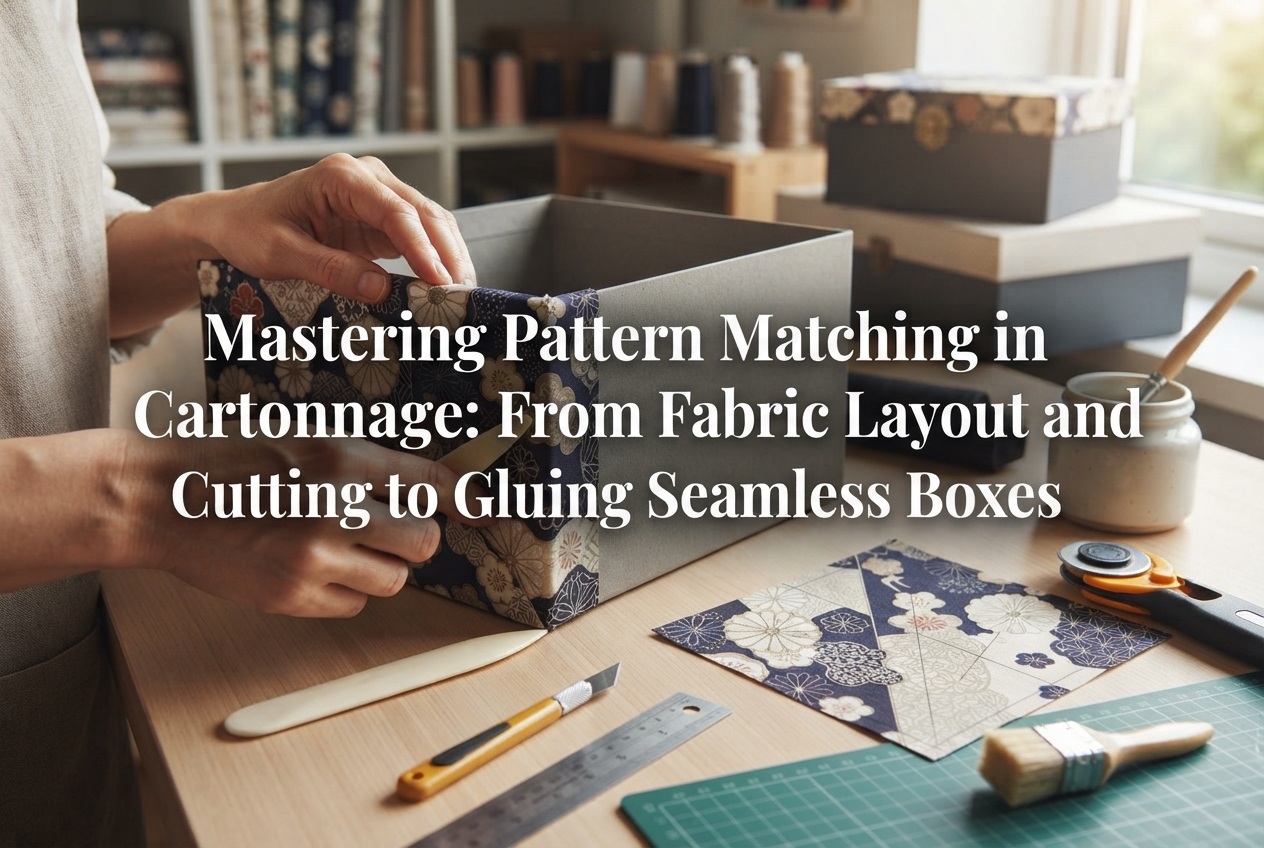
Apply a thin layer of PVA glue to one outer side panel at a time, smoothing fabric over as you go. Wrap around all four sides, fold the trailing edge neatly, and overlap it over the starting point.
Next, handle the top and bottom allowances. Corner trimming requires precision!
If you cut fabric right up to the carton corner, the greyboard will show through when folded. Instead, cut the fabric corner at a 45-degree angle approximately 3mm away from the carton corner (calculated as: board thickness 2mm + 1mm = 3mm margin).
Apply glue to margins, fold them over the bottom and inside edges, and press firmly around corners with a bone folder to encapsulate the board cleanly.
In traditional cartonnage, fabric is rarely glued directly onto the raw inner cardboard. Instead, fabric is wrapped around Kent paper panels cut approximately 1mm smaller than interior measurements, which are then installed inside.
Prepare 1 inner base piece and 4 inner side pieces out of Kent paper. Wrap each Kent paper piece with fabric, turning seam allowances over to the back side and gluing them down securely.
Using Kent paper linings creates crisp, flat interior surfaces and hides cardboard joints and paper tape completely.
Apply PVA glue evenly across the back of each fabric-covered inner Kent paper piece.
First attach the four inner side panels, then press the inner base panel into the bottom. Use a bone folder or clean cloth to firmly press all edges and corners into place.
Check overall symmetry and alignment, then let your box dry completely in a well-ventilated, shaded area. Your fundamental cartonnage box is complete!
Here are practical troubleshooting tips for challenges beginner cartonnage crafters frequently face.
Cause: Trimming fabric too close to carton corners with sharp scissors.
Solution: Leave a generous margin (3mm to 4mm) when trimming fabric angles. If greyboard accidentally shows, glue a tiny patch of matching fabric directly over the raw cardboard corner before folding main allowances over it.
Cause: Excess glue or uneven application.
Solution: Always apply glue to the cardboard/paper, never directly onto fabric, spreading it into a thin film in one brush direction. Avoid ultra-sheer fabrics (like thin lawn or gauze) when starting; medium-weight cottons like sheeting or oxford cloth offer ideal stability.
Cause: Water-based glue shrinks as it dries, exerting tension on cardboard. Gluing fabric to only one side pulls the board inward.
Solution: Always balance tension by backing both sides of cardboard panels (fabric on front, paper on back). When making flat lid components, sandwich glued parts under heavy books or weights on top of a towel overnight to dry flat.
Cartonnage offers intricate advanced projects like hinged jewelry boxes or multi-tiered chests. However, tackling complex structures too early can lead to measurement fatigue.
I recommend starting with a flat collapsible ribbon tray or a simple open rectangular tray.
Ribbon trays involve minimal cardboard cutting and assembly, allowing you to master flat fabric application and clean corner folding. Simply tying corner ribbons creates a charming 3D tray with a rewarding sense of accomplishment.
Once you are comfortable wrapping flat surfaces, progress step-by-step to open boxes, boxes with lids, and book-style boxes.
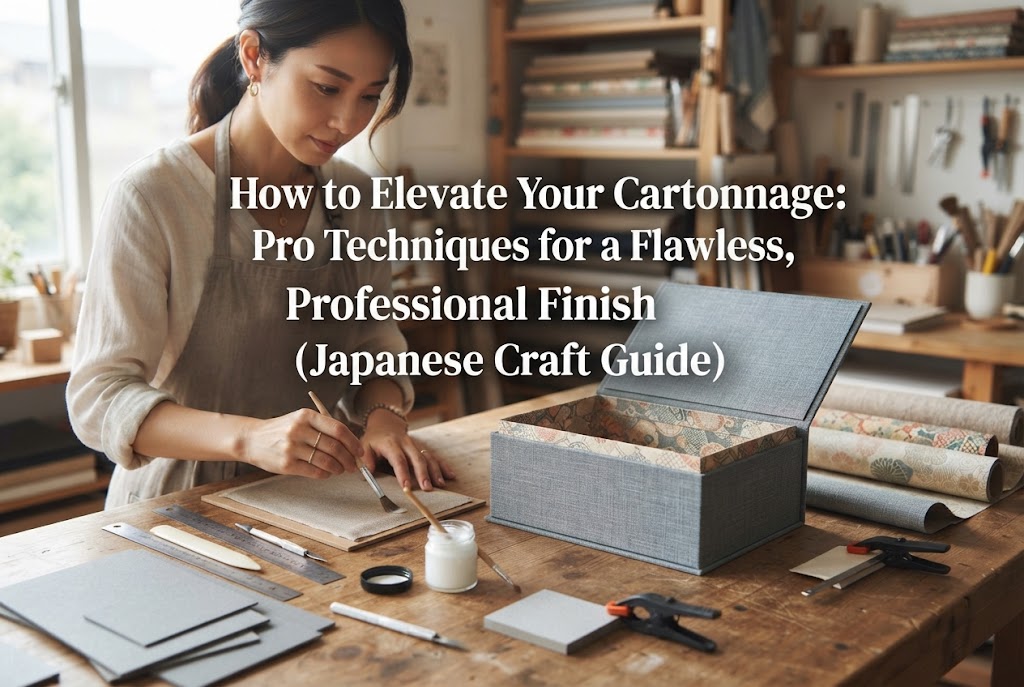
Cartonnage offers a wonderful way to bring personal craftsmanship into daily life. While cutting dense board or trimming corners accurately may feel slightly intimidating initially, working methodically step-by-step yields amazingly sturdy, elegant results.
Whether crafting storage boxes that match your home interior or making heartfelt gift boxes for loved ones, cartonnage adds rich creative joy to handmade life. Gather basic tools and enjoy your cartonnage journey!
If you enjoyed this tutorial, please share it with fellow craft enthusiasts on social media! See you in the next article—happy crafting from Yassy!

For example, if you are looking for articles about mizuhiki, try searching for "mizuhiki"; if you are interested in tools, try keywords like "nippers" or "pliers."
