Beginner’s Guide to Cartonnage: How to Make Custom Fabric Boxes (Japanese Craft Guide)
yassy
Crafters!

Hello everyone! This is Yassy from Crafters! (・∀・)
Cartonnage is a wonderful craft that allows you to turn your favorite fabrics and paper into custom boxes and home decor items. While the process itself is incredibly enjoyable, have you ever completed a project only to feel that it looks a bit plain, or that the "handmade look" still lingers a little too noticeably?
If your finished piece doesn't quite have that sleek, shop-ready presence—even though you followed the instructions step-by-step—it is likely due to small details that affect the overall precision of the craft. In cartonnage, a single millimeter of misalignment, the way glue is applied, or how a corner is folded can make a world of difference. Conversely, once you master the key techniques from prep work to assembly and finishing, anyone can achieve a beautifully refined result!
In this guide, I will walk you through specific techniques to dramatically improve the quality of your cartonnage projects, as well as the mindset needed to avoid common beginner mistakes. Use these tips to take your crafting to the next level!
What exactly separates a professional-looking cartonnage piece from one that feels overly homemade? When we look at a beautifully crafted box, our eyes intuitively pick up on several shared characteristics:
The steps that beginners often brush off with a quick "a small gap won't matter" are actually the secret keys to a flawless result. Raising your standard of accuracy just a bit at each step from start to finish is what creates a professional-grade masterpiece.
Cutting the greyboard (carton) that serves as the foundation is the most critical stage of cartonnage. If the base board is uneven, even the most luxurious fabric will end up on a warped box.
The single most important goal when cutting greyboard is achieving exact right angles. Trying to measure a 90-degree angle with a standard straight ruler almost always leads to millimeter-level errors.
To guarantee precision, always use an L-square ruler or a machinist's square (try-square). First, cut one baseline edge perfectly straight, then align your square firmly against it to measure and cut the adjacent side at 90 degrees.
Don't forget to measure the diagonals! For square or rectangular pieces, if the two diagonal measurements are identical, you know your right angles are accurate.
Never try to force your way through heavy greyboard in a single stroke. Pressing too hard causes the blade to tilt, resulting in an angled, bevel-cut cross section.
Hold your ruler firmly, keep the craft knife blade completely vertical against the board, and score the line lightly 5 to 6 times until it cuts cleanly through. Furthermore, greyboard dulls knife blades quickly. Using a dull blade results in frayed edges and inaccurate dimensions. Snap off your utility blade regularly to maintain a fresh, sharp edge for every piece you cut.
Paper and cardboard have a natural fiber orientation known as the "grain direction." Ignoring the grain when cutting parts is the leading cause of warped or distorted boxes in cartonnage.
To check the grain, gently bend the greyboard with your hands. You will notice one direction bends softly and smoothly, while the other feels stiff and resistant. The grain runs parallel to the direction that bends easily.
When cutting side panels, align the grain vertically with the height of the box, or parallel to any curved elements you intend to form. Crucially, make sure that opposing side panels are cut with their grain running in the exact same direction.
After cutting your greyboard parts, run your fingers along the edges. You may feel small burrs or rough ridges raised by the pressure of the blade.
If you assemble the box with these burrs left intact, they create tiny gaps and misalignments at the joints. Wrap a piece of 240-grit sandpaper around a sanding block and lightly sand the cut edges until they are flat and smooth.
In my own crafting, paying careful attention to sanding after cutting made a massive difference in how snugly my corners joined at exact right angles. It seems like a minor step, but it dramatically boosts precision!
Even during the assembly stage, there are professional techniques you can use to maintain high precision.
Before gluing, decide clearly in your design whether the side panels will sit directly on top of the base board or wrap around the sides of the base board.
When applying undiluted PVA wood glue to the thin edges of the board, be careful not to apply too much. Excess glue squeezes out during assembly, adding extra width and altering your dimensions.
Apply a thin, even layer of glue to the cut edge, press the parts together vertically, and hold them firmly in place with your hands for 15 to 30 seconds.
Relying on wood glue alone creates a risk that the joints will shift or warp as the glue dries. This is where water-activated craft tape shines.
Moisten the tape to activate the adhesive, apply it securely along both the outer and inner corners of the box, and use a bone folder to press it tight against the joints without leaving gaps.
The trick is to maintain a crisp 90-degree angle while pulling the tape taut over the edge. Once dry, water-activated tape hardens and significantly increases the structural rigidity of the entire box.
A freshly assembled box contains moisture and is extremely delicate. If it dries while misaligned, it will set in that distorted shape.
Place the assembled box on a flat work table and use your machinist's square to check that every corner forms a 90-degree angle. If a side is leaning, gently adjust it into shape by hand, then fix painter's masking tape across the corners and diagonals to hold the shape securely while it dries completely.
Once your greyboard base is sturdily assembled, it is time to cover it with fabric or paper (such as bristol or decorative paper). The quality of this step directly dictates the visual beauty of your work.
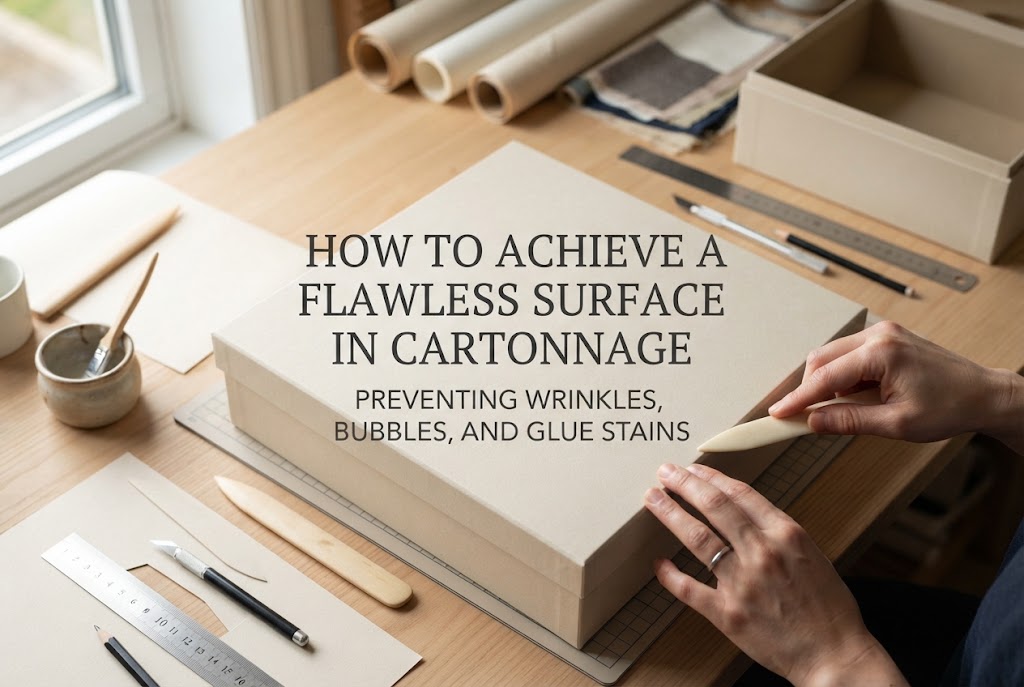
For cartonnage, PVA glue mixed with a tiny drop of water is easiest to handle. If the glue is too wet, it will bleed through the fabric and leave stains; if it is too dry, it cures before you can smooth out wrinkles.
Use a flat glue brush and spread the glue evenly from the center outward. The golden rule is to apply it thinly and quickly enough so that brush strokes disappear.
Ideal application leaves the surface slightly tacky to the touch without sticking heavily to your fingers. Move your brush swiftly in one direction to prevent glue from pooling.
If you try to smooth out fabric or paper using only your bare fingers, uneven pressure can stretch the fabric or soil it with glue transfers from your skin.
For wide, flat surfaces, rolling a small foam DIY roller over the area is the most effective way to achieve uniform adhesion without air bubbles.
For tucking edges and reaching inside tight corners, switch to a plastic or bamboo bone folder. Use the flat edge of the tool to push air out and press the material neatly into every crevice.
Nothing demonstrates cartonnage mastery quite like crisp, perfect corners. Loose fabric or exposed board at the corners instantly gives a piece an amateur look.
When trimming away excess fabric at the corners, follow this clear rule: leave a distance from the tip of the corner equal to the thickness of your board (for a 2mm greyboard, leave about 2 to 2.5mm of fabric), then cut diagonally at a 45-degree angle.
If you cut too close, the greyboard corner will show through; if you leave too much material, the corner becomes bulky and rounded.
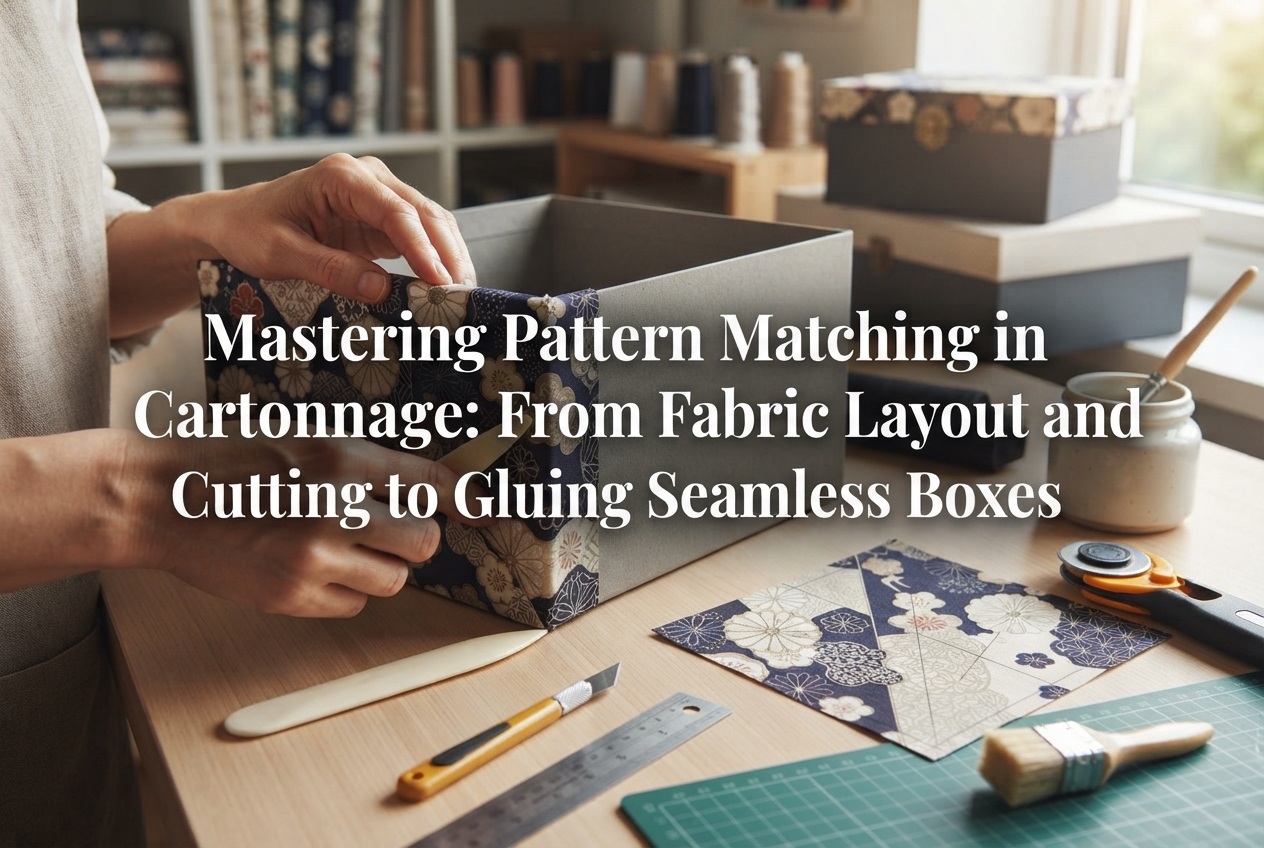
The folding sequence matters too: fold and glue two opposite sides first. Next, use your fingernail or a bone folder to tuck the tiny triangle of remaining fabric tightly against the point of the board corner before folding down the remaining two sides. This completely encapsulates the greyboard for a sharp, clean corner.
When pulling fabric over the board, uneven pulling force causes patterns to distort and panels to pucker.
When working with patterned fabric, smooth the material outward with gentle, uniform pressure to avoid pulling the weave out of alignment. Avoid pulling the fabric too tightly, as excessive tension will pull the board and cause warping later on.
If you examine antique boxes or professional cartonnage creations, you will notice that the interior and base undersides are finished just as impeccably as the exterior.
When finishing the inside of a box, rather than gluing fabric directly to the inner walls, it is standard practice to wrap fabric around thin cardstock (such as bristol board or 0.5–1mm lining paper) to create inner panels that are set inside.
Sizing these interior panels correctly is crucial. If you cut them to the exact inner dimensions of the box, adding fabric will make them too large to fit, or forcing them in will push the outer walls outward.
Always subtract the thickness of two layers of fabric (about 0.5 to 1mm) from your inner dimensions when cutting lining panels.
Always do a dry fit before gluing to ensure the panel glides smoothly into place without resistance.
Flipping a box over only to reveal a messy bottom immediately diminishes its value.
When preparing the bottom exterior lining panel, cut it roughly 0.5 to 1mm smaller than the outer dimensions of the base so no raw fabric edges peek out around the sides.
Additionally, adding small metal bag feet (brad studs) or subtle feet to the bottom helps prevent surface friction while giving your box a sophisticated, high-end feel.
Decorative braids, ribbons, and trims are frequently used to conceal seams or add stylistic flourishes.
Position the starting and ending points of your trim in an inconspicuous area, such as the lower center of the back panel. To keep cut trim from fraying, apply a dab of fray-check liquid or clear glue before cutting, then overlap the ends by about 1mm when gluing them down.
When attaching handles, hinges, or latches, mark your screw points precisely. Rather than relying on glue, secure hardware firmly from the inside using brads or small screws.
No matter how carefully you craft, unexpected issues can pop up. Here are quick solutions for common cartonnage mistakes:
This happens because moist paper and fabric shrink as they dry, exerting a pulling force on the board.
Solution: The golden rule to prevent warping is double-sided counter-pasting. Applying fabric or paper to only one side of greyboard guarantees it will pull toward that side. Always apply backing paper (counter-paper) to the unexposed reverse side to balance the surface tension evenly.
Also, instead of assembling parts immediately after gluing, press flat panels between sheets of parchment paper under heavy books or weights for about half a day to dry completely flat.
When making a lift-off lid box, discovering that the lid doesn't fit over the base is a very common frustration.
Solution: If you calculate lid dimensions using only the base's outer dimensions, it will definitely be too small. When designing a lid, take the outer base measurement and add: the board thickness + 4 layers of fabric thickness (inner and outer linings) + a margin of 0.5 to 1mm.
When using heavier fabrics like canvas or home decor cotton, remember to add roughly 1mm more than you would for thin quilting cotton.
This occurs when fabric corners are trimmed away too close to the board.
Solution: If a corner gets exposed, take a small brush with a tiny amount of matching acrylic paint or embroidery floss and dab it onto the greyboard point to blend it in.
A pro technique is to prep the greyboard corners in advance: apply a light coat of acrylic paint or water-based marker in a color matching your fabric along the outer board corners during assembly. That way, even if a fabric corner lifts by a fraction of a millimeter, the underlying greyboard remains completely hidden!
In my own cartonnage practice, I consider material pairing just as important as technical skill. To give your work a polished appearance, keep these fabric selection tips in mind:
For jewelry boxes and small trinket trays, adding a cushioned bottom panel lined with quilt batting instantly introduces a luxurious hand-feel. A little extra effort changes the tactile experience completely, so give it a try!
Let's review the key takeaways for taking your cartonnage projects from good to extraordinary:
Cartonnage is a deeply rewarding craft where painstaking care at every step translates directly into visual elegance. You don't have to master every single tip on your first try, but try picking one focus area—like right-angle cutting or corner folding—for your next project.
A piece made with patience and attention to detail displays a crisp, graceful quality that truly stands out. Enjoy the crafting process, and have fun creating your own special box!
If you found this helpful, sharing this article with your fellow craft friends on social media would mean the world to me!
Until next time, happy crafting! This was Yassy from Crafters!

For example, if you are looking for articles about mizuhiki, try searching for "mizuhiki"; if you are interested in tools, try keywords like "nippers" or "pliers."
