Punch Needle Craft Guide: Techniques, Projects, Difficulty, Workspace, and Startup Costs
yassy
Crafters!
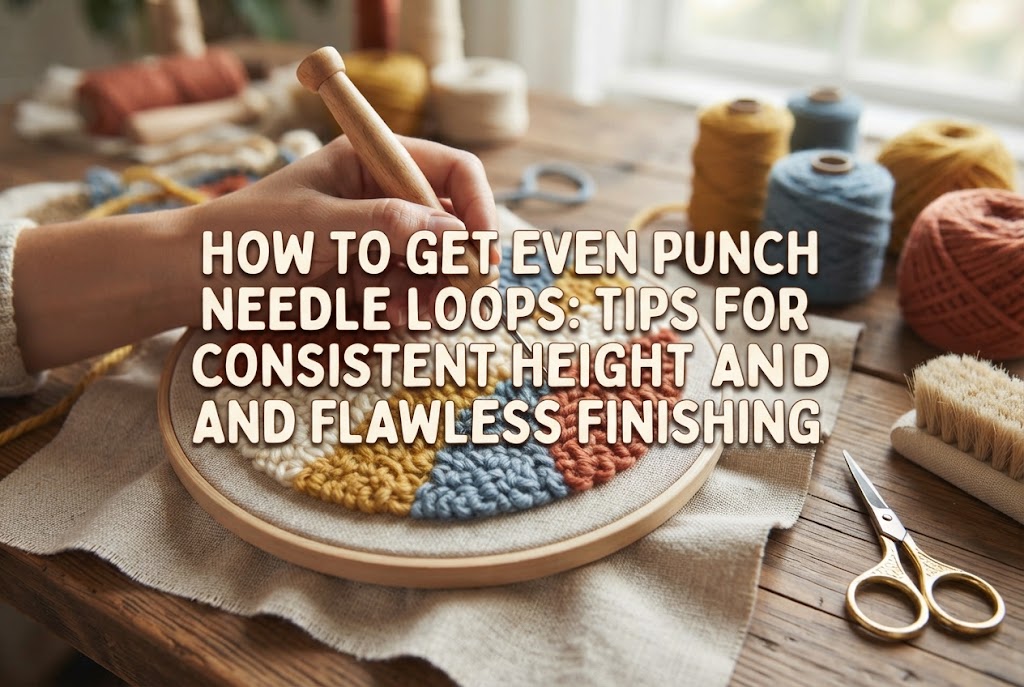

Hello, everyone! It's Yassy from Crafters! (・∀・)
When working on a punch needle project, have you ever run into problems like uneven loop heights that make the surface look bumpy, or loops that end up too short, leaving gaps that look like holes?
The soft, plush volume and cozy texture are the greatest charms of punch needle embroidery. However, when the loops are uneven, the finished piece can look worn out, and crisp design patterns become difficult to see clearly.
Achieving clean, uniform loops actually comes down to a few very specific steps: not just the way you move your hands while punching, but also how you prepare your tools, how you manage your yarn tension, and how you finish the piece after punching.
In this guide, I'll break down the exact reasons why punch needle loops turn out uneven and share practical, step-by-step techniques that crafters of any level can start using right away to create gorgeous, uniform loops!
There is always a clear reason why loop heights become inconsistent. Instead of relying purely on intuition, understanding the mechanics behind these issues is the first step toward fixing them.
The height of a punch needle loop is determined entirely by how deeply the needle penetrates the backing fabric. If your insertion depth changes with each punch, the resulting loops will naturally be uneven.
A very common habit, especially among beginners, is slowing down midway through a punch and pulling the needle back before the handle actually taps against the fabric. When this happens, loop heights will never be stable.
After making a stitch, if you lift the needle high above the cloth when moving to the next spot, the needle will pull the newly formed loop back out from the reverse side.
Pulling loops back can make individual spots noticeably shorter, or even unravel the stitch completely. Poor control over how far the needle lifts off the fabric is one of the biggest reasons for messy loops.
Even if your punching technique is spot-on, loops will not stay uniform if there is friction or resistance on the working yarn being fed into the needle.
If the yarn catches on your hand, your clothing, or snags on the yarn cake or skein itself, the resulting tension will yank on the loops you just formed, shrinking them down. This often happens without the crafter even realizing that the yarn is catching.
When the backing fabric mounted in your embroidery hoop or tufting frame becomes loose, it flexes downward every time you insert the needle. This sagging reduces the actual penetration depth of the needle, even if you feel like you are pushing it all the way down.
As you continue working, fabric toward the center of your frame tends to sag, causing a noticeable difference in loop height between the edges and the middle of your piece.
Creating clean, uniform loops actually begins during the prep stage before your needle ever touches the cloth. Be sure to check these three points before starting any project.
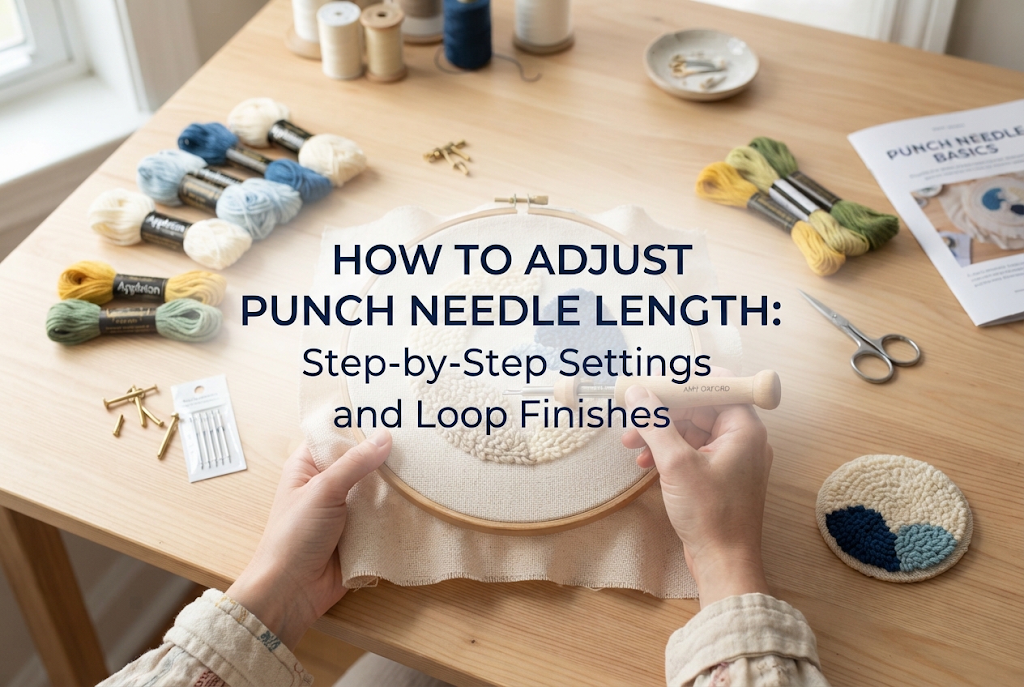
If you use an adjustable punch needle that allows you to change needle length, vibrations from repeated punching or the pressure of your grip can cause the stopper mechanism to slip.
If the needle length changes while you are working, your loops will end up uneven no matter how carefully you punch. Always double-check that the adjustment mechanism clicks firmly into place or that the locking screw is tightened securely.
When I work on long sessions with a tool whose screw tends to loosen, I wrap a small piece of masking tape around the set position to prevent slipping. This simple trick completely prevents the needle from shortening midway through your work.
Tension on the yarn is the absolute enemy of punch needle. If you punch while yarn is pulling directly from a tight skein, the resistance will continuously shrink your loops.
Before you begin, pull several dozen centimeters to a meter (a couple of feet) of yarn out of the ball so it rests loosely on your work surface.
Keeping your yarn completely slack at all times is an ironclad rule for creating even loops.
If your foundation cloth lacks tension, proper loop height is impossible regardless of your skill level. Stretch the fabric until it makes a resonant, drum-like "thump" when tapped with your finger.
When using an embroidery hoop, don't just tighten the screw; firmly tug the edges of the fabric around the perimeter in all directions to eliminate any slack. If the fabric loosens as you work, make it a habit to pause and retighten it as often as needed.
Once your setup is ready, it's time to punch. Here is how to control your hands with precision to keep loop heights consistent down to the millimeter.
Every single time you push the needle down, make sure the handle (whether plastic or wood) firmly touches the surface of the fabric.
Avoid guessing or stopping halfway. By using the handle contacting the fabric as your physical stopping point, every single loop will mechanically come out at the exact same height.
When withdrawing the needle, do not pull it several centimeters away from the cloth, as this pulls and shrinks the loop underneath.
The correct method is to stop the moment the beveled tip clears the fabric surface. Let the needle tip lightly skim across the surface of the cloth as you glide to the next insertion point.
Punch needle tips feature a slanted, beveled opening. The open bevel (or the side where the yarn exits) should always face in the direction you are moving forward.
If the needle twists sideways or backward, the yarn will not feed smoothly, leading to distorted loop shapes and heights. Always keep the eye pointed toward your next stitch.
Even with careful punching, slight variations in yarn twist or minor tension shifts can leave a few rogue loops sticking out higher than the rest. This happens to everyone!
Experienced crafters always take time for shearing and leveling out the pile once punching is finished. This extra step elevates the piece to an entirely new level of quality.
Look across the surface of your looped work from a low, diagonal angle. You will likely spot a few stray loops standing taller than the surrounding pile.
Never tug on these tall loops to pull them down, as doing so can pull and shrink adjacent loops. Instead, take a pair of sharp, fine-tipped craft scissors and snip off just the very tip of the raised loop so it sits flush with the rest.
If you want to trim and even out larger sections, scissors with a curved blade (such as curved applique or rug-hooking scissors) work best.
Rest the curved blade flat against the surface of your work and gently glide it across, trimming away stray fiber tips a little at a time. This gives you a flat, neatly manicured surface, much like a well-tended lawn.
If you decide to cut through the tops of all your loops to create a plush, velour-like cut pile finish, trimming afterward becomes an essential step.
Once all the loops have been cut open, gently fluff and massage the fibers with your fingers or a soft brush to make them stand upright. Then, use your scissors to trim across the surface to an even height.
The secret here is to avoid cutting deep all at once; lightly shave the tips down gradually to prevent over-trimming.
Sometimes, what looks like an overly tall loop is actually just a loop that has leaned over or gotten tangled with neighboring strands.
Before reaching for your scissors, use an awl or a thick tapestry needle to gently lift and separate any leaning loops. Often, simply brushing the pile upright will solve the issue without needing to cut anything at all.
Here are a couple of practical exercises I use myself to build muscle memory, along with a rescue method if a section of loops accidentally collapses.
Before jumping into a major project, spend a few minutes practicing consistent strokes on a scrap piece of fabric stretched in a small hoop.
Punch simple straight lines and circles, focusing on the rhythmic tap of the handle against the fabric. When you finish a line, flip the frame over to inspect the loops and see if their heights are uniform.
Understanding your personal punching tendencies—such as holding the needle at an angle or punching too shallow around corners—allows you to correct them consciously during your actual project, drastically reducing uneven spots.
If you accidentally tug your working yarn during a project and cause a row of loops to collapse, don't panic!
Avoid the temptation to just punch another row over the sunken section. Instead, gently pull out the affected stitches to unravel them. Because punch needles separate the weave rather than cutting the fabric threads, you can smooth the weave back together using your fingernail or the tip of an awl, and then re-punch that area.
Once the fabric weave is restored, re-punch the section while paying close attention to your yarn tension. Having the willingness to unpick and redo a small mistake is the fastest route to a truly polished piece.
A punch needle piece with evenly leveled loops not only looks beautiful and refined, but it also feels wonderful to the touch! A smooth, consistent surface immediately gives your work a professional, shop-quality finish.
It may seem like a lot of details to track at first, but if you take each step deliberately, creating consistently gorgeous loops will quickly become second nature. Give these tips a try on your next project and enjoy the process!
If you found this guide helpful, sharing it with your fellow crafting friends on social media would mean the world to me!
See you in the next article! This has been Yassy from Crafters!



For example, if you are looking for articles about mizuhiki, try searching for "mizuhiki"; if you are interested in tools, try keywords like "nippers" or "pliers."
