Beginner’s Guide to Cartonnage: How to Make Custom Fabric Boxes (Japanese Craft Guide)
yassy
Crafters!

Hello, this is Yassy from Crafters! (・∀・)
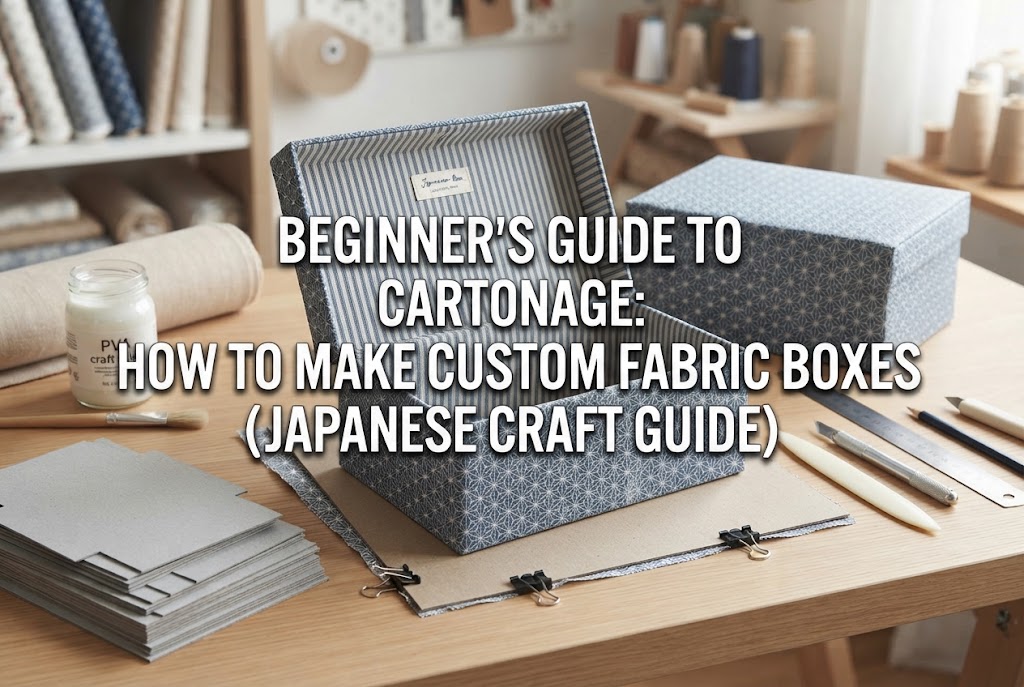
Cartonnage is a traditional craft where paper and fabric are beautifully applied over heavy cardboard (carton) to create everyday lifestyle items such as boxes, trays, and organizers. However, many crafters run into common frustrations when making their pieces: fabric wrinkling on the surface, glue soaking through and creating hard stains, or parts of the fabric lifting and forming uneven bubbles.
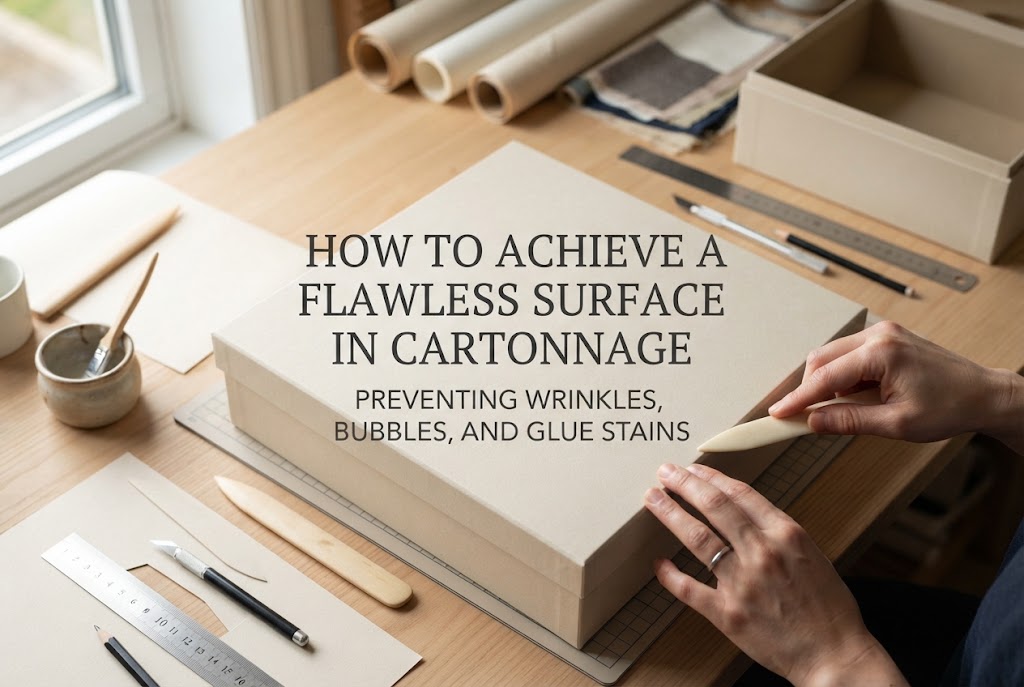
The factor that truly determines the quality and luxurious finish of a cartonnage project is, without doubt, the state of the surface. No matter how accurately you cut and assemble the cardboard base, if the fabric is warped, bubbled, or bumpy, the piece instantly loses its polished look.
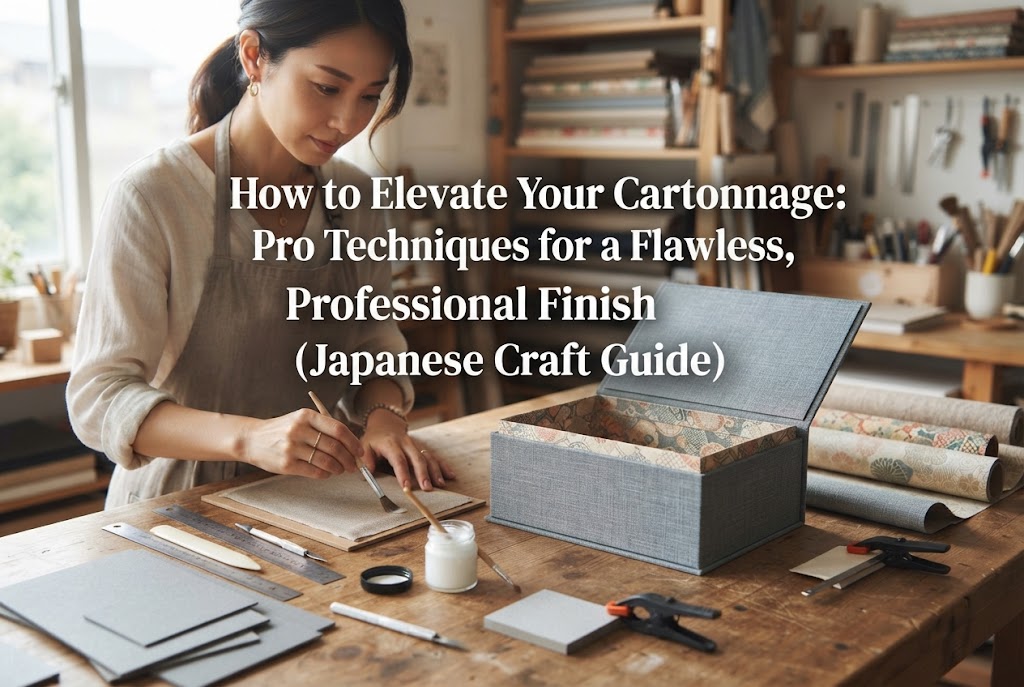
In this guide, I will share detailed techniques to help you achieve a smooth, professional, and exquisite finish on your cartonnage creations. From preparing your baseboard to diluting glue, smoothing out air bubbles, and handling corners, let's explore how to elevate your craftsmanship.
To achieve a clean finish, it helps to understand why surface problems occur in the first place. Most issues stem from four main factors:
By using the right tools and following structured steps, all of these issues can be easily avoided. Let's look at how to tackle them from the foundation up.
Surface finishing in cartonnage actually begins during the cardboard preparation phase, well before any fabric is applied. Any tiny burr or uneven edge on the carton will directly telegraph through the fabric layer.
When you cut heavy cardboard with a utility knife, microscopic paper fuzz and slight ridges inevitably remain along the cut line. Before assembling your pieces, lightly smooth the edges with fine sandpaper (around 240 to 320 grit).
In addition to the edges, gently brush over the surface of the board with sandpaper to remove any loose paper dust. This simple extra step makes a remarkable difference in how smooth the surface feels to the touch once the fabric is applied.
Water-activated kraft tape (gummed paper tape) used to assemble box structures can create raised ridges if layered heavily. Apply the tape only in the minimum width necessary to secure the joints, and firmly flatten any overlapping tape areas using a bone folder or spatula to compress the seam.
Instead of applying fabric directly over the raw cardboard assembly, a proven professional method is to apply a layer of smooth Kent paper (or smooth Bristol/drawing paper) first. Adding this intermediate layer covers minute surface textures and tape seams completely, creating an exceptionally smooth and even plane.
Whenever I create flat box lids or pieces with large display surfaces, I always include this paper-lining step. It elevates the final quality significantly and is a technique I highly recommend.
Glue handling is where most surface mishaps happen. Too much glue leads to bleed-through, leaving stiff, discolored spots on your fabric; too little glue causes the fabric to peel and bubble once dry.
Undiluted PVA or wood craft glue is often too thick, leading to uneven clumping and thick application layers. In cartonnage, it is standard practice to dilute the glue by adding about 10% to 15% water, stirring thoroughly until fully blended.
The benchmark consistency is smooth enough that your brush glides effortlessly across the board and brush marks level out naturally on their own. Be careful not to add too much water, as excessive moisture can cause the cardboard to warp or leave watermarks on the fabric.
When applying glue, work quickly with your brush from the center outward. Once the surface is coated, use a flat plastic craft spatula (glue spreader) to scrape away excess glue across the board.
The goal is a semi-transparent, paper-thin sheen of glue across the entire surface. If you see any white pools or thick spots, do not place your fabric down yet. Scrape and smooth the surface with your spatula until the layer is completely uniform.
When working with lightweight cottons (such as lawn) or delicate silk, standard gluing techniques will almost certainly cause glue to seep through to the front. When using thin textiles, apply one of the following methods:
A frequent pitfall for beginners is applying delicate, favorite fabrics directly onto freshly glued boards. Taking the extra time to apply fusible interfacing ensures your fabric stays pristine.
Once your glue layer is thin and uniform, it is time to position the fabric. Working calmly and deliberately is key to a smooth result.
When placing fabric onto the carton, align the warp and weft threads parallel to the edges of the board. If the grain is slanted or skewed, the fabric will pull unevenly, resulting in subtle surface distortions.
Avoid rubbing the fabric forcefully with a hard plastic spatula directly, as this friction can fray delicate fibers or push glue through the weave.
Instead, fold a clean, dry cotton towel or soft cloth, and gently smooth the fabric from the center outward to push out trapped air. The gentle warmth and even pressure of your palm helps bond the fabric evenly to the base.
Crafters sometimes pull fabric very tightly in an attempt to remove every wrinkle, but this can backfire. Overstretched fabric contracts as the glue dries, which can severely warp the carton or cause the edges to pull away over time.
The rule of thumb is not to stretch the fabric, but simply to guide it flat, smoothing out slack with a gentle, relaxed touch.
If you want a soft, plush, and luxurious feel for box lids or panels, adding a layer of thin quilt batting (quilt wadding) under the fabric is a wonderful method.
Cut your batting to the exact dimensions of the carton, or approximately 1 mm smaller all around. Apply a light touch of glue to the carton surface to position the batting.
When wrapping the fabric over the edges, thick batting can cause bulky, rounded corners. To keep the silhouette crisp, take your scissors just before folding and trim the edge of the batting at an angle (skiving the edge). This beveling reduces bulk and results in a tailored, elegant profile.
Even if the flat surfaces are smooth, bulky or poorly folded corners can make an entire piece look unrefined. Mastering clean corner folding makes all the difference.
When trimming excess fabric at the corners of a box panel, cut at a 45-degree angle. However, never cut flush right against the corner point of the board.
Cutting too close will expose the white edge of the cardboard once folded and dried. Always leave a small margin equal to the thickness of the carton (about 2 mm) beyond the corner point.
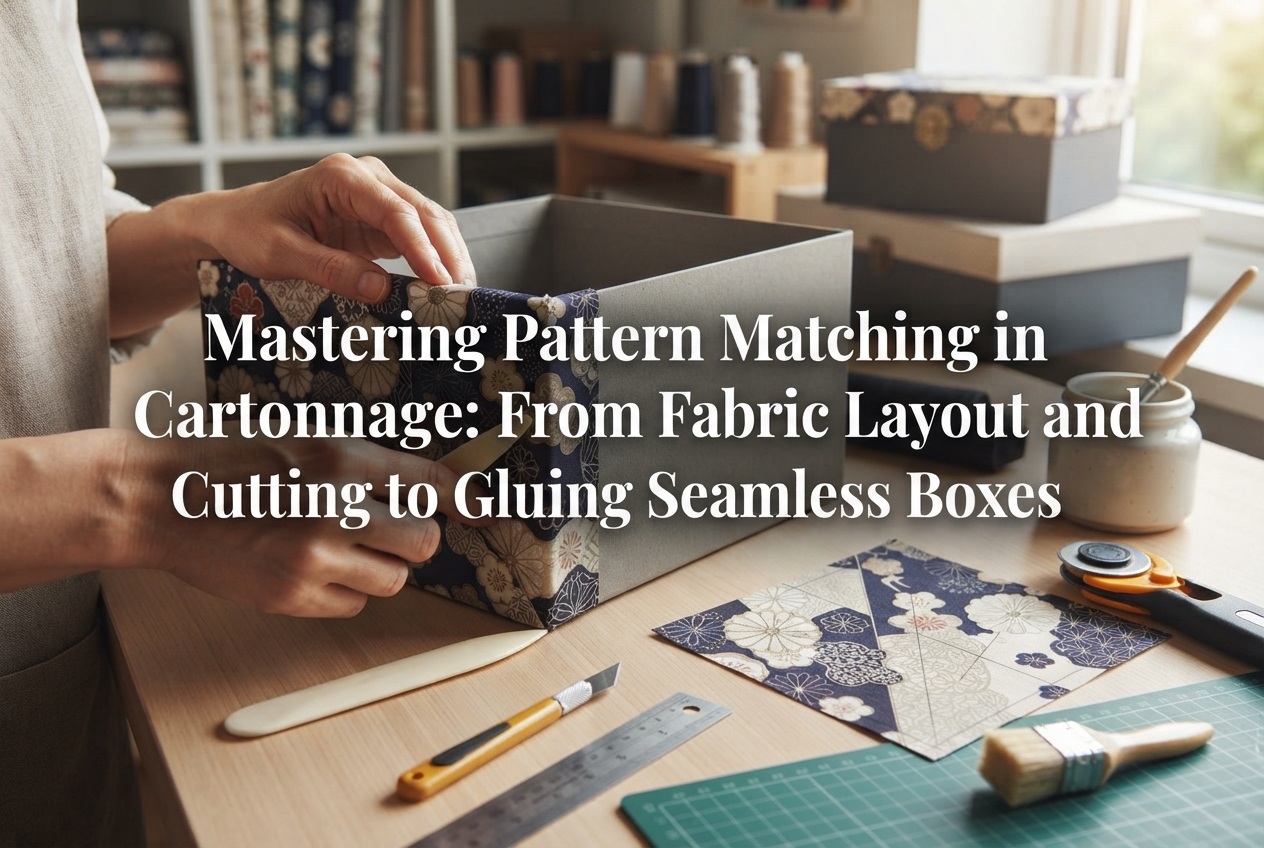
After wrapping the first side of the fabric around the board, use the tip of an awl, bone folder, or your fingernail to gently tuck the 2 mm fabric allowance inward around the board corner.
When you wrap the adjacent edge over it, the cardboard corner will be completely enveloped with no exposed edges, creating a seamless, sharp corner worthy of professional work.
Even if a piece looks flat right after gluing, moisture evaporates as it dries, causing paper and fabric fibers to contract. Neglecting the pressing step during drying can quickly lead to warped boards or lifted edges.
Whenever you glue flat components (such as lids, base panels, or lining boards), always place them under weights immediately.
Layer absorbent paper (such as plain paper towels, newsprint, or parchment paper) over the glued component, followed by a rigid, flat acrylic board or heavy flat book, then add your weights. The absorbent paper draws out evaporating moisture and prevents trapped humidity.
About 30 to 60 minutes into the pressing process, check and swap out any damp paper liners with fresh, dry ones. Leaving damp paper in place can trap moisture and cause the board to bow.
To ensure structural rigidity and lasting flatness, leave the piece under weights for half a day to a full 24 hours until thoroughly dry. Handling or assembling semi-dry pieces can leave finger indentations or trigger delayed wrinkling.
A: This usually happens when glue coverage is too sparse or if the glue dried before the fabric was smoothed down. If the area is still slightly damp, place a pressing cloth over it and press down firmly with a dry iron set to low-medium heat for a few seconds; the heat will reactivate the PVA glue and bond it securely. If the piece is already completely dry, use a fine craft syringe or the tip of a toothpick to slip a tiny amount of glue beneath the fabric, then smooth and press it with a cloth.
A: If you are using water-based PVA glue and catch it right after it dries, gently dab the spot with a tightly wrung damp towel to soften the glue, then lift it away slowly. Avoid rubbing vigorously, as this can damage and pill the fabric fibers. The most reliable solution is prevention: scrape the glue to an ultra-thin layer with a spatula and apply fusible interfacing to delicate fabrics beforehand.
A: For glue brushes, a flat synthetic nylon brush (around 40 mm to 50 mm wide) works best because the bristles do not shed easily and spread glue evenly. Avoid stiff natural bristles (like coarse hog bristle), as they tend to leave pronounced brush marks. For spatulas, a moderately flexible plastic cartonnage spatula or a traditional bone folder will give you precise control for both smoothing large planes and tucking neat corners.
Here is a quick recap of the essential techniques for a clean, flawless finish in cartonnage:
Cartonnage is a craft where mindful preparation and proper adhesive control reward you with stunning, boutique-quality results.
Start by practicing these techniques on small flat panels or compact boxes to get a feel for glue amounts and smoothing pressure. Achieving that perfectly smooth, pristine finish is one of the most satisfying milestones in cartonnage!
If you found this guide helpful, sharing it with your crafting friends is always deeply appreciated!
Until next time, happy crafting—this was Yassy from Crafters!


For example, if you are looking for articles about mizuhiki, try searching for "mizuhiki"; if you are interested in tools, try keywords like "nippers" or "pliers."
