Beginner’s Guide to Cartonnage: How to Make Custom Fabric Boxes (Japanese Craft Guide)
yassy
Crafters!

Hello, crafters! This is Yassy from Crafters! (・∀・)
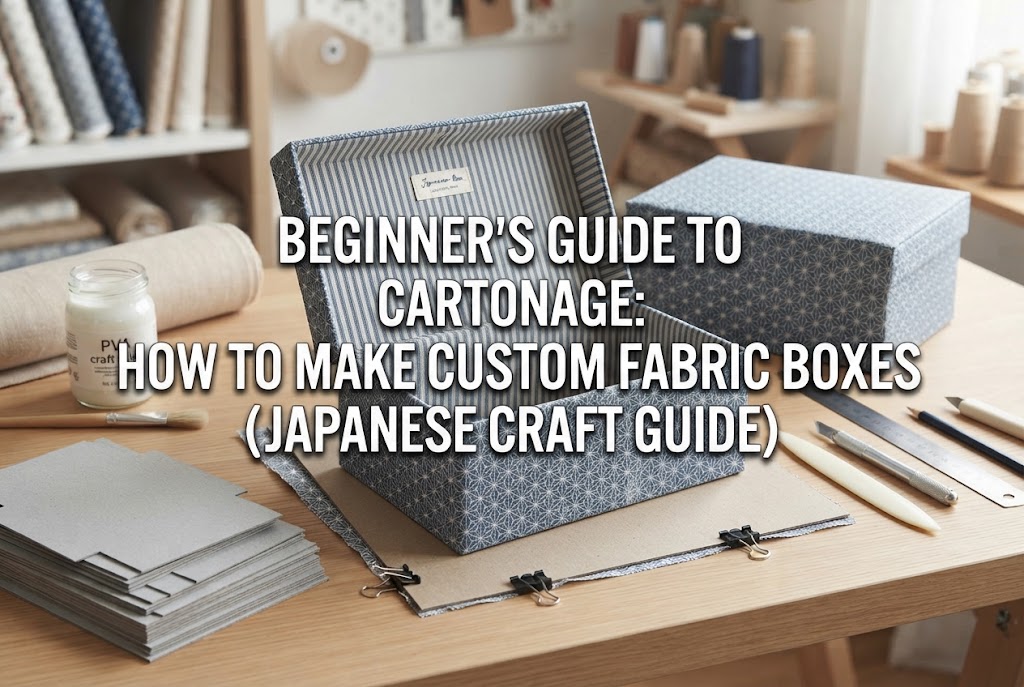
Cartonnage is a wonderful craft where you cover heavy cardboard (carton/greyboard) with beautiful fabrics to create customized boxes and home interior goods. Spending time designing pieces with your favorite textiles is truly delightful!
However, when assembling a box with patterned fabric, have you ever thought, “The pattern on the lid doesn't quite line up with the base,” or “My stripes ended up tilting diagonally”? When the position or direction of a print is even slightly off, it can make an otherwise gorgeous handmade project look untidy.
The ultimate factor that determines the finished quality of a cartonnage project is pattern matching (pattern alignment and continuity). A piece where the pattern flows seamlessly across seams exudes the refined presence of a luxury boutique item. In this guide, I will thoroughly explain everything from how to choose fabric placement—a common stumbling block for beginners—to cutting techniques that prevent shifting, as well as essential gluing tips!
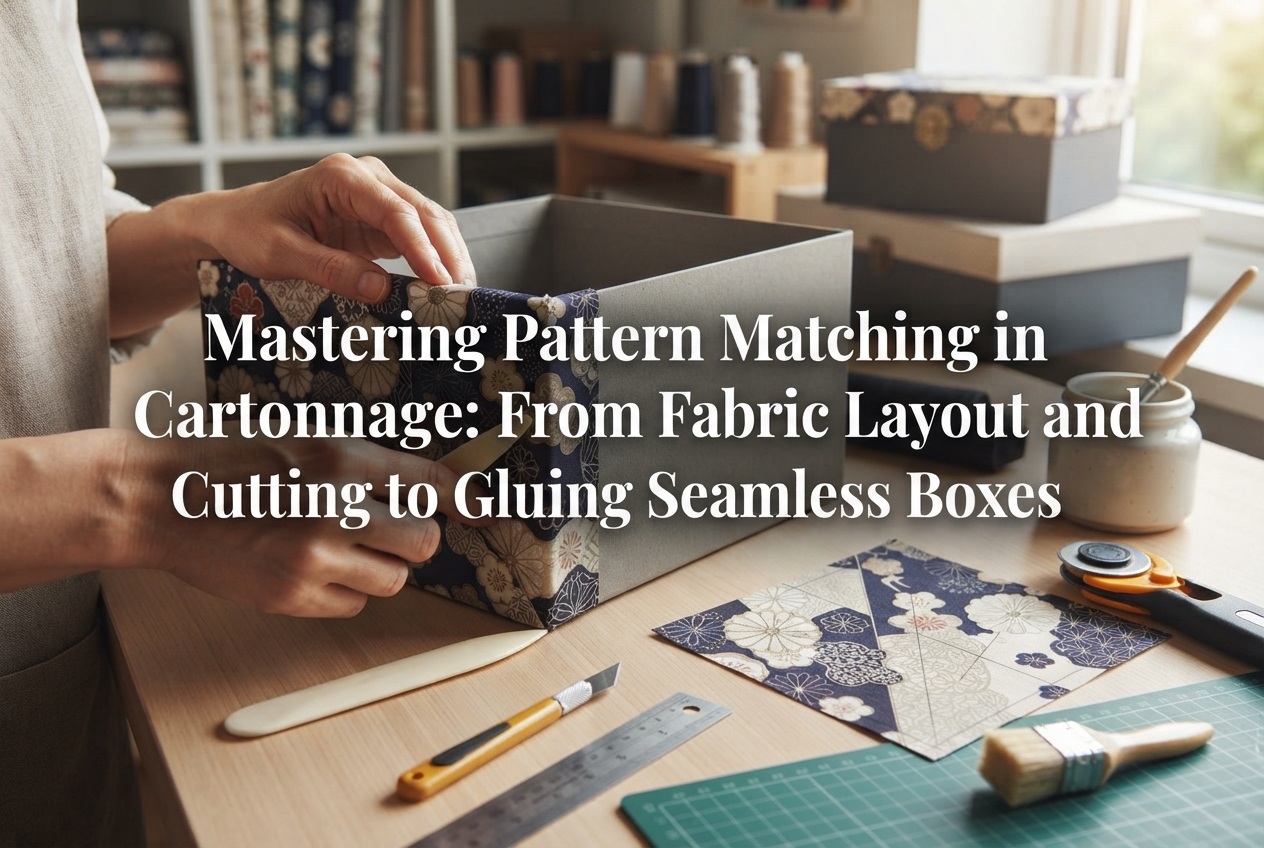
In cartonnage, pattern matching is the art of deliberately arranging fabric motifs and lines to correspond with the dimensions of the board and the structure of the box, ensuring that the design connects harmoniously across the entire piece.
With solid-colored fabrics, you can simply cut sections sequentially from the edge to match your board dimensions. With patterned fabrics, however, failing to plan where the center of a motif lands or whether the pattern flows continuously when the lid is closed will disrupt the visual balance of the finished box.
Here are the three major benefits of proper pattern matching:
For instance, consider a box with a large floral motif centered gracefully on the front versus one where the flower is cut in half at the corner. The impression each leaves on the viewer is completely different. Mastering pattern alignment is your greatest tool for shedding that “amateur handmade” look and creating truly sophisticated cartonnage pieces.
About 80% of successful pattern matching is decided during the prep stage before you ever pick up your shears. Using improper tools or skipping prep steps will almost inevitably lead to misalignment, no matter how carefully you work. Let's look at the essential gear and how to prepare your fabric properly.
Fabric straight off the bolt or fat quarter is frequently distorted, with its grain woven slightly on the skew. If you align and cut a pattern while the weave is crooked, the fabric will distort later, causing your pattern lines to slant. Always perform grain straightening before cutting.
Taking the time to do this ensures that straight-line patterns like stripes and plaids will lay out astonishingly crisp and straight. Even if it feels like an extra step, it is vital to the beauty of your finished work.
Fabrics come in many pattern styles. Adapting your placement and alignment approach to the specific nature of each print is the fastest route to success.
Stripes and plaids are among the most demanding patterns to work with because an error of even 1 millimeter stands out noticeably. However, once you understand the technique, you can produce beautifully orderly results.
When aligning linear patterns, make sure the outer edge of your greyboard and the lines of the print are strictly parallel (or perpendicular). Use a clear grid ruler, lining up a ruler mark exactly over a specific stripe or check line before scoring or marking your cutting path.
Positioning a bold stripe precisely along the central axis of the box face creates pleasing, symmetrical balance.
For ornate, statement prints such as large florals or damasks, everything comes down to establishing your focal point.
Decide on the most attractive, complete motif and center it on the top face of the lid or on the front center of the box base. If the motif drifts awkwardly to one side, the composition will look unbalanced. Mark the exact center of the motif, then measure outward in all four directions to mark your cutting lines.
With prints that repeat at regular intervals, measuring the pattern repeat (the distance between identical motifs) is indispensable. Examine the selvage or study the print to determine the exact repeat interval in centimeters or inches.
When crafting multiple components—such as the lid and base—calculate in advance which part of the repeat will be allocated to each section, and ensure you have sufficient fabric yardage to accommodate those repeats.
Now let's walk through the actual assembly process for matching patterns across different parts of a box. Here are the steps for the two most frequently asked scenarios: connecting the pattern between lid and base, and wrapping all four exterior sides continuously.
On a lift-off or slip-lid box, having the design flow seamlessly downward from the top of the lid along the front of the box creates an exceptionally refined finish.
If you overlook board thickness when cutting, the fabric will be pulled over the corners during assembly, shifting the pattern upwards by 2 to 3 millimeters. Never forget to include the board's thickness in your calculations!
When wrapping the perimeter of a box using one long strip of fabric, align the beginning and ending edges so the pattern connects where they meet (either at a corner or centered on the back).
If the box dimensions and the pattern repeat interval do not align cleanly, do not force an unnatural match all the way around. Instead, place the seam on the least visible side—the back of the box—or incorporate an intentional fabric contrast.
Here are several practical tricks I (Yassy) personally rely on when making cartonnage boxes to eliminate pattern shifting:
Placing an opaque paper template on fabric hides the pattern underneath, making positioning tricky. To solve this, make a window template using an inexpensive clear plastic document sleeve.
Cut the plastic to match the greyboard dimension, draw your wrapping allowances (1.5 to 2 cm / 0.6 to 0.8 in) along the perimeter with a permanent marker, and cut out the center to form a clear “window frame.”
Sliding this clear frame across the fabric shows you instantly how the pattern will appear on the finished surface! Once you find the sweet spot, simply mark the inner corners with a water-erasable pen for flawless placement.
Adhering fabric directly with glue right away is risky. Before spreading adhesive, temporarily secure the board and fabric together using low-tack masking tape, fold the components into 3D form, and inspect the pattern alignment.
By checking the continuity from all angles in three dimensions, you avoid the frustrating surprise of having a pattern that looked perfect when flat end up misaligned once folded into a box.
An overlooked detail in cartonnage is that the moisture in water-based craft glue causes certain fabrics to stretch slightly. Linen and lightweight cottons, in particular, can stretch by a couple of millimeters when smoothed over wet glue, throwing off your alignment.
To combat this:
Even with careful execution, a pattern can occasionally shift. Here is how to address issues when they happen.
If the glue has not set, gently peel the fabric away immediately. If the glue has already dried, dampen a tightly wrung sponge or cloth and apply moisture from the reverse side to soften the adhesive, then slowly peel the fabric back.
Press the peeled fabric with an iron to reset its shape, reapply a fresh, thin layer of glue, and adhere it again. Quick, decisive action before the glue cures is key.
If a subtle 2mm gap appears between adjacent parts, tearing the box apart risks ruining both the fabric and the cardboard structure.
In this case, hide the boundary line by adding decorative trims: gimp braid, lace, ribbon, or tassels along the lid rim or box edge. This technique not only conceals minor misalignments but also adds elegant dimension to the piece. I frequently use decorative trims as both styling accents and practical rescue methods!
Pattern matching consumes substantially more fabric than working with plain textiles. If you only purchase fabric matching the exact surface area of the box, you will quickly run out when trying to align motifs.
As a rule of thumb, purchase 1.5 to 2 times the bare minimum dimensions needed for the project (or at least one full repeat extra). Any leftover scraps won't go to waste; you can use them for smaller items like business card cases, matching tassels, or decorative inner base linings.
We've explored key techniques for pattern matching that can dramatically elevate the sophistication of your cartonnage creations.
Let's review the main takeaways:
Measuring and planning may take extra time at first, but once you get the hang of it, locking a design into place becomes one of the most rewarding parts of cartonnage. When you close the lid of your finished box and see the motif flow across the seam without a single millimeter of misalignment, you'll feel an unforgettable sense of accomplishment!
Give these tips and studio techniques a try on your next project, and create a refined cartonnage piece that looks stunning from every angle.
If you found this guide helpful, please share it with your fellow crafters on social media! See you in the next tutorial—this was Yassy from Crafters!

For example, if you are looking for articles about mizuhiki, try searching for "mizuhiki"; if you are interested in tools, try keywords like "nippers" or "pliers."
