Beginner’s Guide to Japanese Craft Band: Tools, Starter Kits, and Zero-Fail Basketry Tips
yassy
Crafters!

Hello, this is Yassy from Crafters! (・∀・)
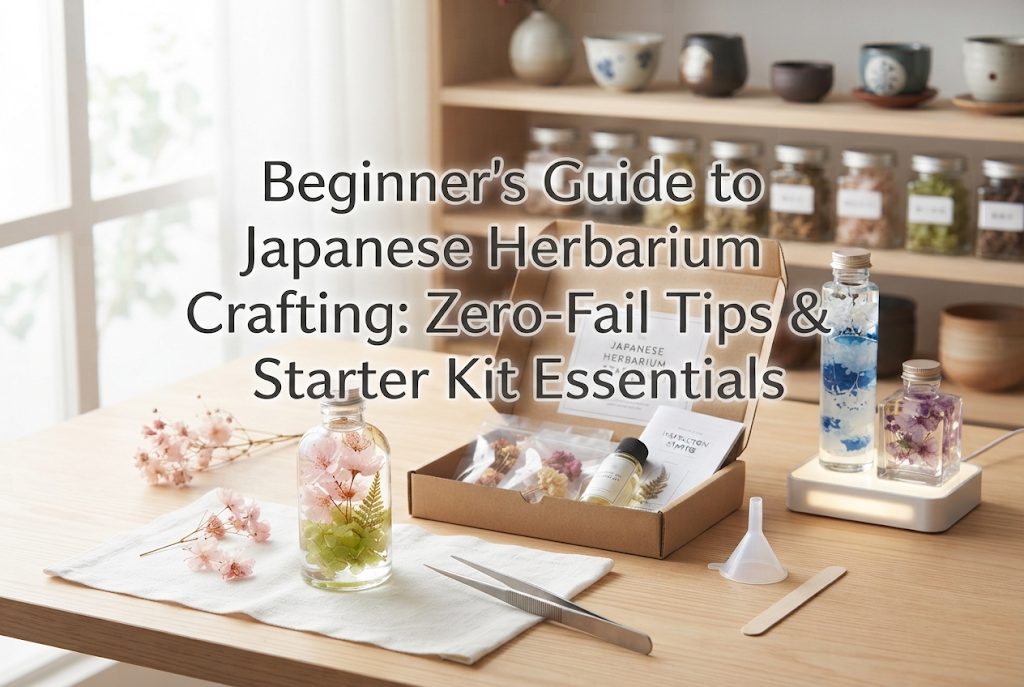
Herbarium bottle crafting—where beautiful dried flowers and botanical elements are suspended in clear oil inside glass jars—instantly brightens up any room. Have you ever seen these stunning glass displays at handmade craft shops or interior boutiques and thought, "I wish I could make something so beautiful myself"?
As someone who loves making, viewing, and buying handmade crafts, I can confidently say that herbarium crafting is the absolute best genre for beginners. It offers a dramatic sense of accomplishment with virtually zero risk of failure!
Creating your own tiny world inside a glass bottle is an addictive experience once you try it. It uses no fire or sharp tools, making it completely safe and stress-free. No special technical skills are required. Even if you feel you lack artistic confidence, following a few basic principles will let you create shop-quality pieces right from your very first try.
There is no need to hesitate or get overwhelmed by questions like "Where do I start?" or "Which oil and flowers should I choose?" In this article, I will share all the knowledge you need, how to choose materials without making mistakes, and the fastest way to complete your first project. Once you finish reading, you'll be ready to search for a starter kit on Amazon or your favorite craft store and take that exciting first step!
There are many categories in crafting, such as resin art, needle felting, knitting, and embroidery. Among all of these, there are three clear reasons why I unanimously recommend herbarium crafting to beginners.
First is the overwhelming ease of creation. Traditional crafts often require delicate finger dexterity or skills acquired over years of practice. However, the basic process of making a herbarium bottle is extremely simple: place preserved botanicals into a bottle and pour in the oil. There are no complex knots to tie and no need to maintain even needle stitches. Each bottle takes only about 15 to 30 minutes to complete, making it a fantastic creative outlet that fits into a busy daily routine.
Second is that there are very few mistakes, and the result looks fantastic no matter who makes it. The transparent glass bottle and the light refraction of the oil enhance the beauty of the plants many times over. Even if the arrangement of the flowers shifts slightly, pouring the oil creates a beautiful translucency and three-dimensional effect as light bounces through the glass. You get professional-level quality right from the start, making the chance of giving up virtually zero.
Third is the joy of displaying your work and its excellence as a gift. Completed herbarium bottles require zero maintenance and retain their beauty for months to over a year. Simply placing one in an entryway, living room, or on a desk dramatically upgrades the ambiance of your home. They are also extremely popular as small gifts for Mother's Day, birthdays, or friends. Herbariums allow you to experience the greatest joy of being a maker as quickly as possible: presenting something you crafted yourself to someone else and seeing their delight.
Containing the fun of making, the joy of displaying, and the excitement of gifting, herbarium crafting is something I whole-heartedly recommend!
The items required to make a herbarium are very simple. However, if you do not properly understand the characteristics of the materials, your project may not turn out as intended. Here is the material knowledge you should keep in mind from a maker's perspective.
Here are the necessary items:
Let's look at how to select each item and why it matters.
Containers used for herbariums must be made of glass and feature a tight screw-on cap. Plastic containers must never be used, as they risk warping or clouding when in contact with the oil.
Bottles come in various shapes. The following three are ideal for beginners:
As a rule of thumb, choose a bottle height of around 15 cm to 20 cm (capacity of 150 ml to 200 ml) for your first attempt. Bottles that are too small make tweezer work difficult, while overly large bottles require massive amounts of flowers and oil. A medium size is the easiest to manage.
There are two main types of specialized herbarium oil: mineral oil and silicone oil. Choosing randomly without knowing the difference can cause a major variation in your final result.
To jump straight to the conclusion: silicone oil is the absolute right choice for beginners!
Mineral oil is inexpensive and has high fluidity, making it easy to pour. However, it carries a higher risk of causing color bleeding from the flowers, and it may become cloudy when temperatures drop.
On the other hand, silicone oil is slightly more expensive than mineral oil, but it offers a higher refractive index, providing superior transparency inside the glass bottle. Furthermore, color bleeding from flowers is extremely rare, preserving vibrant colors over long periods. It also has a very high flash point (over 300°C / 572°F), making it excellent in terms of safety.
If you ask me, I would choose silicone oil without hesitation. The quality of the oil determines the beauty and longevity of your work, so compromise here is not recommended.
Only completely dry plant materials can be placed inside a herbarium bottle.
The biggest mistake you must avoid at all costs is using fresh flowers or live plants. The moisture in fresh plants reacts with the oil, causing mold to form within days and turning the liquid into a murky, spoiled mess. Always use dried flowers or preserved flowers.
For beginners, I recommend focusing primarily on preserved flowers, which hold their color well and remain clear in oil. In particular, preserved hydrangea and baby's breath (gypsophila) are versatile, essential materials that act as structural cushions to hold main accent flowers in place.
It is impossible to build a proper herbarium with standard short household tweezers. Be sure to prepare specialized long tweezers measuring roughly 27 cm to 30 cm (10 to 12 inches) that easily reach the bottom of the bottle.
Tweezers come with straight or curved tips; a single pair of straight-tip tweezers is more than enough for beginners. Choosing a sturdy stainless-steel pair allows you to place delicate petals right where you want them without damage.
While herbarium making is very simple, jumping in without preparation leads to a few classic traps. Keep these causes and solutions in mind, and your project will succeed completely!
This is the number one problem beginners face. Plant materials are lighter than oil, so they naturally float upward when the liquid is added.
Solution: Create structural anchoring!To distribute materials evenly from bottom to top, you need a mechanism that interlocks the botanical pieces. Hydrangea and baby's breath excel at this. Trim branched hydrangea to match the width of the bottle and insert it so it lightly wedges against the inner walls. Hook the stems of your main flowers (such as mini roses or strawflowers) into the gaps of the hydrangea. This creates a sturdy structure that won't float when oil is poured in. Placing denser botanicals at the bottom as weights is also effective.
A arrangement that looked great right after making it can gradually bleed dye into the oil over time, turning the entire bottle pink or red.
Solution: Use silicone oil and avoid low-quality dyed dried flowers!As mentioned earlier, cheaper mineral oils tend to dissolve certain dyes. Using silicone oil drastically reduces this risk. Additionally, extremely cheap dyed botanicals imported from unreliable sources often use dyes that dissolve easily in oil or water. Stick to high-quality preserved flowers from reliable botanical craft suppliers.
Large air bubbles trapped inside the oil ruin the clear, glass-like appearance of your project.
Solution: Tilt the bottle and pour slowly down the inner wall!Pouring oil rapidly from directly above traps air in the small gaps between flowers. When pouring, tilt the bottle at about a 45-degree angle and let the oil slide gently along the inside surface of the glass in a thin, steady stream. If bubbles do get trapped, gently poke the plant material with a bamboo skewer before closing the cap, or leave the cap off for a few hours to let the air naturally escape.
A tragedy where dark spots or cloudiness develop inside a bottle you worked hard to create.
Solution: Ensure complete dryness of bottles and tools!The cause of mold is 100% due to moisture entering the bottle. If moisture remains inside the glass bottle after washing, or if drops of water are present on your tweezers or scissors, it will lead to mold in the oil. After washing your bottle, use a dish dryer or hairdryer to dry the interior thoroughly. Leaving zero moisture behind is an absolute rule.
After reading this far, you might think, "Buying bottles, picking the right oil, finding long tweezers, gathering multiple types of flowers… gathering supplies sounds like too much work!"
That feeling is completely valid. The biggest hurdle for crafting beginners is often the material gathering phase.
Visiting multiple craft stores takes time, and buying items individually online can result in mismatched bottle necks, oversized flower heads, or running out of oil, leading to wasted effort and money.
That is why I firmly recommend one clear solution:
Your very first step should be buying a herbarium starter kit online!
Here are the main advantages of starting with a kit:
Searching online will reveal many stylish herbarium kits. When choosing one, simply verify these three points:
Ordering a kit that meets these conditions will launch your herbarium crafting journey in the best possible way!
Once your kit arrives, it's time to craft! Here is my personal 5-step process for making a flawless herbarium bottle every time.
First, lay down newspaper or a plastic sheet over your work area. Herbarium oil can be difficult to wipe off if spilled on a table, so protective coverage is essential.
Next, check that your glass bottle, long tweezers, and scissors are completely dry. If you feel any hint of moisture, wipe them thoroughly with paper towels and blow warm air from a hairdryer inside the bottle for a few seconds. This quick step determines the lifespan of your artwork.
Dropping flowers directly into the bottle right away is a mistake! Removing botanicals once they are inside a narrow bottle neck is tedious work.
Always lay your materials flat next to the bottle and arrange them to build a visual preview on your table beforehand.
Trim stem lengths and branches with scissors to match the bottle height. Completing 90% of your design layout at this stage is the secret to smooth crafting.
Once your layout is decided, use your long tweezers to place the botanicals into the bottle.
The general order is from bottom to top:
When finished filling to the top, check your work not just from the front, but from the sides and back as well. Designing for a 360-degree view is my personal standard!
With the arrangement fixed, it is time to add the oil. This is the most exciting and delicate phase.
Stop pouring when the oil reaches the bottle shoulder or a few millimeters below the screw threads of the cap.
Do not cap the bottle immediately after pouring.
Small air bubbles trapped at the bottom or between flower petals will gradually rise to the surface. Gently tap the base of the bottle on the table surface or lightly nudge the flowers with a bamboo skewer to encourage trapped air to release.
Let the open bottle sit for 5 to 10 minutes until air bubbles subside.
Once bubbles are gone, wipe any excess oil from the bottle mouth with a paper towel. Finally, screw the cap on tightly to seal the container. A firm seal prevents leaks and blocks outside air. Wipe down the glass surface, and your personalized herbarium bottle is complete!
Since you put effort into making a piece you love, you'll want to enjoy it as long as possible. Here are storage rules to significantly extend the life of your herbarium bottle.
Ultraviolet (UV) rays break down the dyes in preserved botanicals quickly. Placing your bottle in direct sunlight can cause colors to fade within weeks and turn clear oil yellowish. Always display your work in a bright indoor room away from direct sun (such as a living room shelf or desk). This step alone keeps colors vivid for over a year.
Avoid placing bottles near heating vents, radiators, or stovetops. Heat expands the oil, increasing pressure inside the bottle and potentially causing leaks.
Eventually, botanicals age over time. When disposing of a herbarium bottle, treat the internal oil the same as kitchen cooking oil. Follow local sanitation guidelines by absorbing the oil into old newspapers or paper towels inside a sealed bag or carton, then disposing of it with general burnable waste. Never pour oil down the drain, as it damages municipal plumbing and the environment. Once washed thoroughly, the glass bottle can be reused for a new project or as a single-stem vase.
After finishing your first project with a starter kit, most crafters feel an irresistible urge to make more using different colors and bottle shapes!
Here are recommended supplies to explore for your second project onward:
Once you try standard round or square bottles, experiment with lightbulb shapes, heart-shaped bottles, or flat whiskey-flask bottles. Changing the vessel shape completely alters the mood of your botanical arrangement.
Beyond liquid oil, there are two-part curing liquids that solidify into clear gel or resin forms. Using solidifying fluids allows you to create open-top dishes, ring holders, coasters, and 3D resin-style botanical objects, expanding your creative possibilities immensely.
Try adding clear typography stickers to the bottle surface or tying satin ribbons or jute twine around the bottle neck. Adding subtle exterior accents gives your work a polished, boutique look.
These illuminated bases sit beneath your completed herbarium bottle. Light shining from below creates a magical glow that looks entirely different from daytime viewing, serving as a soothing night lamp for your room.
In this guide, we covered all the essential knowledge beginners need to start herbarium crafting with complete confidence.
Herbarium bottle making requires no complex techniques or years of practice; it is one of the most accessible and rewarding botanical crafts available. Enclosing your favorite flowers inside clear glass and watching the colors illuminate as oil fills the jar is a special experience unique to making it yourself.
There's no need to hesitate over artistic talent or material sourcing. Simply search online for a herbarium starter kit, pick a set that inspires you, and give it a try!
Opening that box when it arrives marks the beginning of a creative hobby that brings color into your everyday space. Display your handmade piece, enjoy the visual warmth it adds to your home, and happy crafting!
If you enjoyed this guide, sharing it with fellow craft lovers on social media would mean the world to me. See you in the next article! This was Yassy from Crafters!

For example, if you are looking for articles about mizuhiki, try searching for "mizuhiki"; if you are interested in tools, try keywords like "nippers" or "pliers."
