How to Weave Japanese Craft Band Straight: Pro Tips to Prevent Tilting and Distortion
yassy
Crafters!
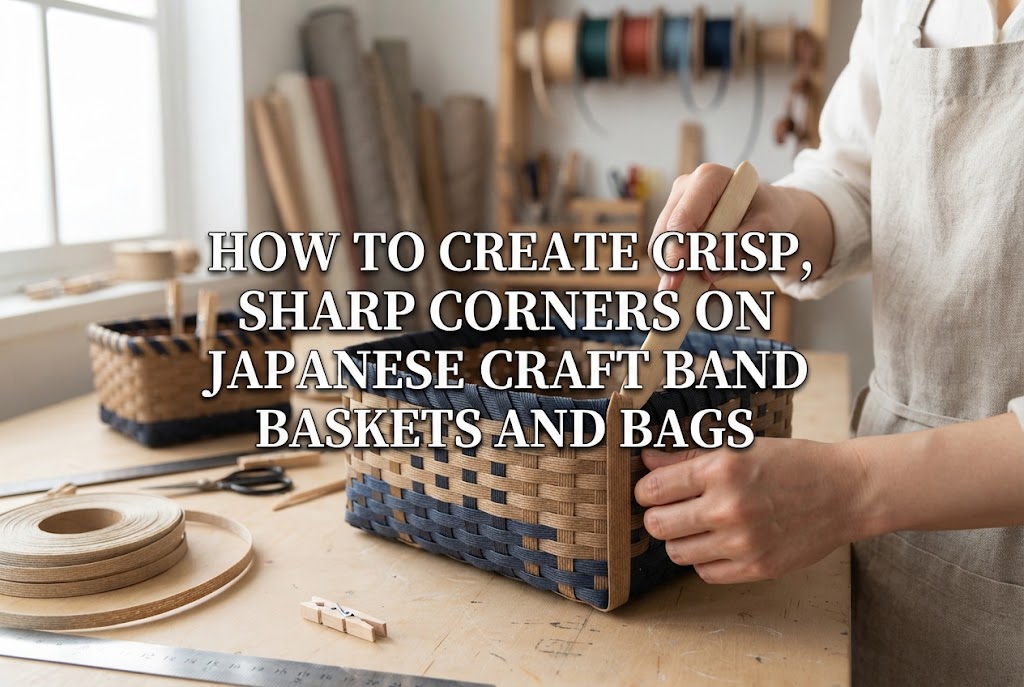

Hello, fellow crafters! It's Yassy from Crafters! (・∀・)
When weaving rectangular baskets, storage boxes, or bags out of Japanese craft band (paper band strips, also known as kami band), have you ever run into problems like rounded edges that lack sharpness, or loose stitches around the corners that distort the entire shape?
Weaving the flat base often goes smoothly, but transitioning from the base to the upright sides and keeping the four corners straight is one of the biggest hurdles that beginners face. Yet, when the corners of a piece are crisp and well-defined, the clean look and overall sense of polish increase dramatically.
In this guide, I will share all the know-how I personally practice—from initial prep and upright creasing techniques to smart weaving adjustments, edge finishing, and final wet-shaping—to help you achieve stunning, razor-sharp corners on your craft band projects!
Craft band is a flat strip made from bonded paper strands, giving it distinct stiffness and natural elasticity. Because of this natural spring, if you don't deliberately press deep creases and properly shape the material, the paper will naturally try to return to its original state, causing the corners to bulge outward.
When the corners become rounded, a rectangular box you intended to make can easily take on an unintentional oval silhouette, leaving behind a slightly clumsy, amateur appearance.
On the other hand, when all four corners stand straight up at a precise 90-degree angle, the finished item immediately gains the polished, high-end feel of a professional piece. Beyond aesthetics, crisp corners ensure that the bottom sits completely flat without wobbling, offering superb stability on any surface.
It is no exaggeration to say that corner execution dictates the finished quality of your entire project. It takes just a little extra care to see a dramatic improvement, so let's master these essential steps together.
Before diving into specific techniques, let's look at why corners lose their shape. Understanding the root causes makes it much easier to prevent mistakes during your build.
The most frequent issue is a weak crease when bending the vertical stakes upward. Simply folding the band with the pads of your fingers isn't enough to overcome the paper's elasticity, and over time, the corner will push back out into a gentle curve.
When wrapping a horizontal weaving strip around the sides, maintaining the exact same loose tension through the corners as you use along the flat sides will cause the strip to float, leaving noticeable gaps. It is crucial to apply intentional, snug tension precisely as you round each turn.
When folding up from the base or securing strips at the corners, moving on to the next weaving step before your craft glue has fully hardened will pull the corner out of alignment under working tension.
Rather than relying solely on bare hands, using the right simple tools is the quickest route to sharp lines. None of these are rare or expensive; you can easily find them at local craft shops or 100-yen stores in Japan.
Personally, I have long relied on a bone folder to score my crease lines. It applies firm pressure deep into the paper core without tearing the surface, resulting in noticeably cleaner, sharper angles.
The first crucial moment in corner making is the "upright transition" (tachiage)—folding the vertical base stakes upward to form the walls after finishing your base weave. Creating a solid right angle here lays the structural framework for the entire piece.
Once your base is woven to size, align a grid ruler precisely along the boundary where the sides will fold up. Holding the ruler firmly in place, run a bone folder or an empty ballpoint pen along the edge with deliberate pressure to score a deep line.
The trick is to apply firm pressure without tearing the paper band strips. Scoring the reverse side along the same line makes folding even easier and cleaner.
Using a spray bottle, lightly spritz water along the scored crease line. Moisture relaxes the paper fibers, preventing surface cracking while allowing for a much sharper fold.
Be careful not to over-saturate the area; soaking the paper will make it limp, reduce its structural strength, and prevent craft glue from adhering properly. Aim for just enough dampness that it feels cool and slightly moist to the touch.
Fold each vertical stake upward along the dampened crease line. Rather than curling the strip with the pad of your finger, use the side of your thumbnail or press the hard edge of a ruler against the fold, firmly flattening the crease as you bend it straight up.
After folding, inspect the piece from above and from the side to confirm that the uprights form a true vertical 90-degree angle. Take extra care at the four corner stakes.
At the four corners of the base, the vertical stakes tend to overlap or gap when bent upward. Apply a tiny dot of fast-drying wood glue (or Japanese woodworking craft bond) between the intersecting corner pieces, clamp them tightly with clothespins or craft clips at a 90-degree angle, and let the glue dry completely.
It is vital not to touch or stress the piece until the glue has fully set. Rushing this stage will loosen the base of the corners, causing the walls to flare outward into a trapezoid.
Once your uprights are set, you can begin weaving the side strips. Even while weaving, you need to pay special attention each time you reach a corner.
When weaving the sides ordinarily, strips often float loosely away from the corner stakes.
Before wrapping your weaving strip around a corner stake, firmly pinch and pre-crease the strip with your fingertips to match the angle, then lay it flush against the vertical stake. Adding this single small step tightens the corner weave remarkably.
When your weaving strip runs out and you need to splice in a new one, never place the splice at any of the four corners.
Overlapping strips create extra thickness; putting a splice on a corner will leave it lumpy and uneven. As a rule, always perform your splices, starts, and finishes on an inconspicuous flat side, such as toward the center of the back wall.
If your tension varies as you weave, resulting in walls that flare outward like a trapezoid or pull inward at the waist, placing an empty cardboard box, wooden block, or carton of the target size inside the basket makes an excellent guide.
Weaving while keeping your paper bands aligned against the rigid corners of the guide box allows even beginners to maintain true vertical lines and consistent right angles throughout the build.
Finishing the top rim (fuchidori) after completing the sides is another stage where corner treatment directly influences the final result.
When tucking the remaining vertical stakes inward or outward to finish the rim, the corner stakes naturally cross over each other and create bulk.
Excessive thickness makes the corners swell unnaturally. Trim the overlapping strip ends diagonally with scissors or split the paper band slightly narrower before tucking it in. Minimizing bulk produces a clean, refined corner edge.
When adhering an outer reinforcement band around the rim opening, start along a flat side. When you reach a corner, firmly pre-bend the band into a sharp right angle with your fingers before gluing it down.
After applying glue, attach a clothespin or clip to all four corners, ensuring the band adheres flush without any gap. To prevent clip teeth from leaving indentations, insert a piece of scrap paper or leftover craft band beneath the clips for protection.
Here are common corner issues you might encounter during the crafting process, along with practical solutions you can use right at your workbench.
Applying too much force with a sharp tool can slice right through the paper, just like a utility knife.
Solution: The tool tip is likely too sharp. If using an awl, angle it lower so the side presses down rather than the tip, or switch to a bone folder or an empty ballpoint pen with a rounded tip. Additionally, lightly misting the area before scoring softens the fibers and prevents splitting.
Even though the corners started at a right angle, they gradually loosen as you weave upward, spreading out like a morning glory flower.
Solution: This happens when you pull the weaving strip slightly outward. As you weave the sides, keep the vertical stakes gently nudged inward with your fingers. Every few rows, use your fingers to give the four corners a gentle pinch inward to redefine the right angle.
Upon finishing, you find that the front-left corner is taller while the back-right corner sits lower and uneven.
Solution: This stems from uneven weaving density across different areas. Periodically check your progress while weaving the sides by using a ruler to measure the height from the base to the current row at all four corners. If you spot a discrepancy, gently adjust the rows up or down with your fingers to even out the height before moving on to the next row.
Once your basket is completely woven, here is my personal go-to method for giving the corners a truly professional finish: water shaping (mizu-seikei)!
Spray the finished piece generously all over with a misting bottle (or lightly dampen the entire piece in a washbasin or under a gentle shower stream). Once the paper band feels supple and slightly soft, you are ready to shape.
Using your hands, push and square off each of the four corners from the bottom all the way to the top rim, molding them into crisp right angles.
Next, place a piece of thick cardstock over the corner edges and clamp clothespins or sturdy clips in a line from top to bottom. This presses a clean, unbroken vertical line straight through the corner.
Once clamped, leave the piece to dry thoroughly in a well-ventilated, shaded area. Paper craft band has a strong property: when shaped while damp and allowed to dry, it retains that exact form and hardens firmly into place.
Once completely dry, remove the clips—you will see razor-sharp, rigid corners emerge, almost as if the piece were crafted from wood! If you struggle with uneven stitches or soft corners, definitely give this water shaping technique a try; you will be amazed at the transformation.
In this guide, we explored both the mindset and practical techniques needed to produce clean, sharp corners on Japanese craft band projects.
Corner shaping is an area where a little patience and conscious care yield dramatic improvements. Finishing a basket or storage box with four impeccably squared corners brings an unbeatable sense of satisfaction and pride!
You don't have to get everything perfect on your first attempt. On your next project, start by trying just one tip—like pressing a slightly firmer score line or pre-bending your strip around the turns. Enjoy the process, and watch your pieces transform!
If you found this guide helpful, sharing it with your crafting friends on social media is always deeply appreciated!
Until next time—happy crafting! This was Yassy from Crafters!


For example, if you are looking for articles about mizuhiki, try searching for "mizuhiki"; if you are interested in tools, try keywords like "nippers" or "pliers."
