How to Cleanly Split Japanese Craft Band: Golden Rules for Flawless Preparation
yassy
Crafters!

Hello everyone! This is Yassy from Crafters! (・∀・)
Craft band (also known as paper band or kami band) is a wonderful material in Japanese handcrafting made from tightly twisted, glued paper strips. It allows crafters to easily weave lovely baskets, totes, and storage boxes. There is truly nothing better than the moment you complete a project after spending hours carefully weaving every single strand!
However, have you ever started using your finished piece only to find it feeling unexpectedly flimsy, becoming soggy from a few water droplets, or fraying from friction? Because craft band is made from recycled paper fibers, it is naturally vulnerable to moisture, humidity, and everyday wear and tear.
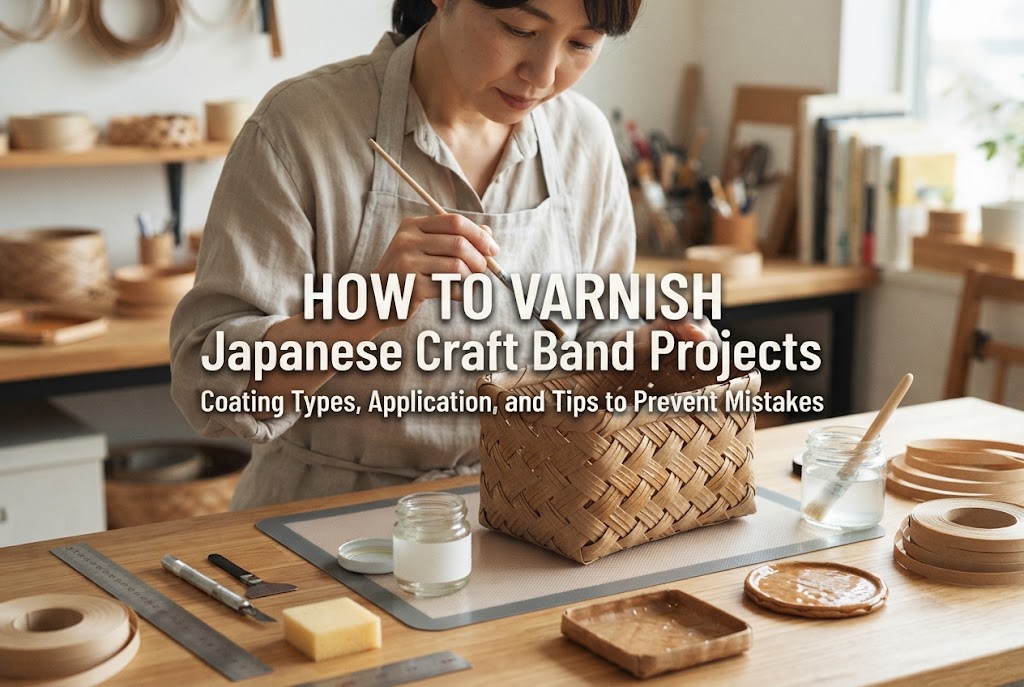
The ultimate solution that solves these issues at once—drastically elevating both the quality and durability of your work—is applying a protective varnish coat. In this guide, I will thoroughly explain how to choose the ideal varnish for Japanese craft band projects, step-by-step application methods to avoid common pitfalls, and solutions to frequent troubleshooting questions!
Many crafters think, "Applying varnish sounds like a lot of hassle to prepare and clean up…" But applying a topcoat offers huge advantages that go far beyond basic surface protection. Here are the three main benefits varnish brings to your craft band creations:
When visiting a craft store or home center, the sheer variety of varnishes can feel overwhelming. When working with Japanese paper craft bands, selecting a finish compatible with paper and craft adhesives is essential.
The golden rule is to always choose water-based finishes. Oil-based finishes have strong fumes and risk dissolving the craft glue (PVA bond) used to construct your piece. Let’s compare the main types of water-based finishes available:
Water-based acrylic varnish is the most common and user-friendly option for paper band crafts. It can be diluted with water, and brushes can be cleaned easily with plain water, making it my top recommendation for beginners. It features very low odor, making indoor crafting stress-free. With a moderate drying speed, it is ideal for interior decorative items and light storage containers.
Water-based urethane varnish creates a tougher, more durable film than acrylic varnish. It excels in abrasion resistance and water repellency, making it perfect for heavily used woven bags or portable accessories. While slightly more expensive than acrylic, urethane varnish is the clear choice if you want your creations to last for years or if you plan to sell them in handmade shops.
Varnishes generally come in liquid form for brush application or as aerosol spray cans:
The shine level changes the visual character of your craft band creation:
Proper preparation ensures a smooth painting process. Gather these items before opening your varnish bottle:
Brush Selection Tip: Choose synthetic nylon brushes designed for water-based paints. Natural bristles (like hog hair) are stiff, can snag on paper band weave joints, and tend to shed loose hairs onto your fresh coat.
Protecting Your Workspace: Newspaper alone can absorb liquid varnish and leak onto your table. Place a plastic sheet or trash bag down first, then layer newspaper on top.
Crucial Drying Prep: Never dry a freshly varnished piece flat on a surface! Excess varnish pooling at the bottom will glue your piece to the paper beneath, tearing the bottom paper bands when you try to lift it later. Set your project on four inverted plastic bottle caps or a handmade drying board fitted with small screws so the bottom dries completely in mid-air.
Safety Warning: Always open windows to ensure thorough ventilation when using varnishes or sprays. Wear disposable gloves to avoid skin contact, keep away from open flames, and read the manufacturer's safety instructions carefully before starting.
Brush application offers the maximum reinforcing strength. Follow these 5 steps for a flawless finish:
Preparation determines 70% of the final quality. Use a dry brush or bamboo skewer to thoroughly clean out dust, paper shreds, or loose fibers trapped in the weave. Any leftover dust will harden into unsightly bumps under the varnish. Additionally, once varnish dries, the shape becomes locked. Reshape any tilted or warped sections by gently molding them with your hands now.
Applying varnish straight from the bottle at full strength is a common mistake. Thick varnish leaves heavy brush marks and pools inside the woven grooves. Pour the amount you need into a plastic cup, then add about 5% to 15% clean water and mix well. Aim for a smooth, liquid consistency similar to milk so it glides smoothly into every small gap in the paper bands.
Dip your brush into the diluted varnish and wipe off any excess on the edge of the cup. For best control, apply in this order: Inside → Bottom → Outside Sides. The key technique is not just sliding the brush across, but gently tapping the brush tips into the surface (a stippling motion). Because woven craft band has many overlapping layers, tapping pushes the liquid deep into the recessed gaps where trapped air would otherwise block coverage.
Once coated, inspect your piece under a bright light from various angles. Check for milky white pools of liquid varnish trapped in corners or pattern grooves. If you spot a white pool, lightly dab it with a clean, blotted brush or the twisted tip of a tissue paper to absorb the excess. If left unattended, these pools will dry into hazy white spots.
Gently transfer your wet piece onto your prepared drying stand (such as plastic bottle caps). Avoid direct sunlight or hot air from hairdryers, which can cause the film to crack or warp. Allow it to dry naturally in a well-ventilated, shaded spot. While the surface feels dry to the touch in a few hours, complete curing through the inner paper layers takes about 24 hours. Patience is the secret to a professional result!
If you don't have time for detailed brush work or want to coat multiple small items at once, aerosol spray varnish is extremely convenient. The two keys to success are maintaining proper distance and applying multiple thin layers.
Always work outdoors on a calm day. Placing your project inside a cardboard box laid on its side creates a great temporary spray booth that blocks wind and over-spray. Shake the can well and hold it about 20 to 30 cm (8 to 12 inches) away from your project. Sweep the spray smoothly side-to-side in steady passes, starting and ending off the target.
Do not try to cover the entire piece in one heavy coat! Instead, apply a very light coat, let it dry for 15 minutes, rotate the piece, and apply a second or third thin layer. This guarantees a smooth, glossy surface free of runs or drips.
If you're wondering which finish best suits your current craft project, here is my personal quick-guide:
For paper-based Japanese craft band creations, applying a clear varnish coating is like bringing your project to life—giving it a protective coat armor so you can enjoy using it safely for a long time.
It might feel like a little extra effort at first, but remembering the basics—dilute slightly, brush deep into the weave, apply thinly, and elevate while drying—will give you gorgeous, boutique-quality results every single time!
Please share this article with your fellow crafter friends on social media or messaging apps if you found it helpful! Thank you for reading, and see you in the next craft guide! This was Yassy from Crafters! (・∀・)


For example, if you are looking for articles about mizuhiki, try searching for "mizuhiki"; if you are interested in tools, try keywords like "nippers" or "pliers."
