Why Are Your Japanese Tonbodama Glass Beads Distorted? Causes and Tips for Perfect Spheres
yassy
Crafters!

Hello, everyone! It’s Yassy from Crafters! (・∀・)
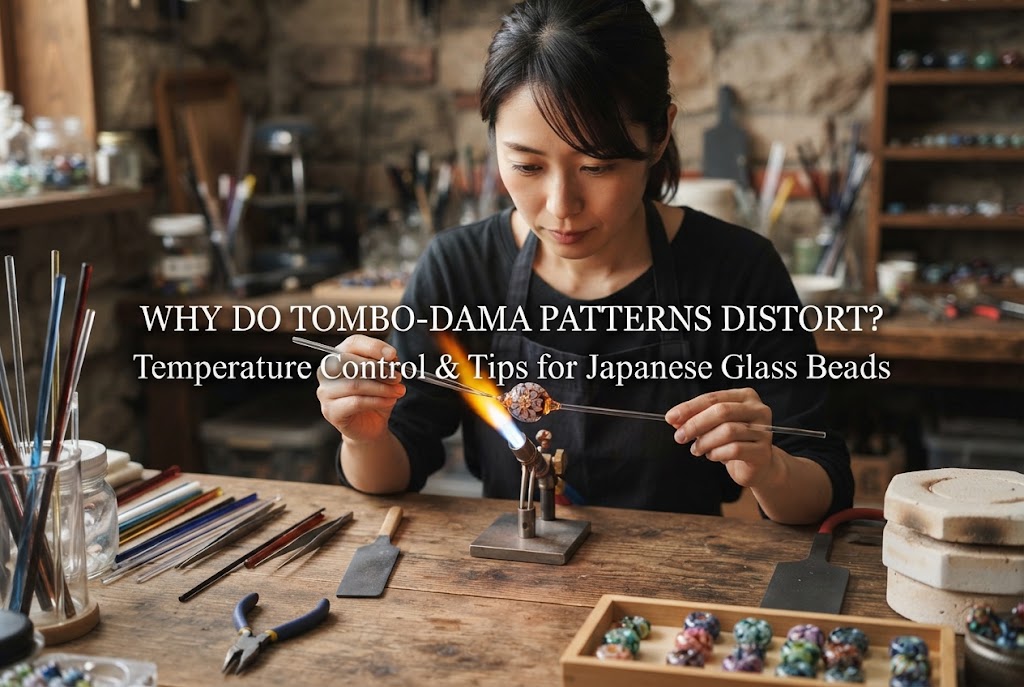
Melting glass in the flame of a burner to create your own tiny world inside a glass bead—there is something truly magical about watching glass round up and solidify in the flickering flame during tombo-dama (Japanese glass bead) making. However, almost everyone who starts lampworking runs into a major roadblock: pattern distortion!
Have you ever experienced the disappointment of seeing dots bleed out, marbling lines warp, or delicate flower parts lose their shape after cooling down, even though you thought you placed them perfectly while facing the burner? Actually, there are clear, logical reasons why tombo-dama patterns distort. By correctly understanding the mechanisms of temperature, gravity, and pressure specific to glass as a material, anyone can create beautiful patterns just as intended.
In this article, I will break down the root causes of distorted patterns from the ground up and thoroughly explain concrete techniques and solutions to keep your designs crisp. I’ve packed this guide with real tips gained from my own trial and error, so please read through to the end and apply them to your craft!
Unintended pattern distortion isn’t random—it is caused by specific actions or environmental factors during the making process. First, let’s look at the four primary causes.
The single biggest cause of pattern distortion is heating the entire glass body until it becomes runny (fluidized). If the base bead, known as jidama, becomes too soft, the pattern glass placed on top will slip down the surface or blend and bleed together.
The more heat glass absorbs, the softer and more liquid-like it becomes, losing its ability to hold shape (surface tension and viscosity). If you keep heating the bead in the center of the flame to “blend it in completely” after adding a pattern, the jidama and pattern will collapse together, causing lines to stream diagonally or messily mix. Excessive heat is the ultimate enemy of clean patterns.
Molten glass is constantly pulled downward by gravity. To keep the tombo-dama round and prevent pattern distortion, you must continuously rotate the stainless steel rod at a steady, consistent speed.
If your rotation slows down or pauses even for a moment, gravity pulls the glass in a single direction. As a result, the dots or lines you carefully placed stretch downward. You must maintain smooth rotation not only inside the flame, but also while cooling and shaping outside the flame. Any disruption in rotation directly shows up as pattern distortion.
When embedding dots or millefiori (flower components) into the base bead, crafters use a shaping tool called a hite (mashers or shaping plates). If you apply too much force or hold the tool at an angle, the pattern gets squashed diagonally and distorted.
Beginners especially tend to panic, thinking, “I have to flatten this into the jidama quickly!” and press hard against the firm glass. Also, if you press forcibly when the jidama surface is soft but the pattern piece is still hard, the soft surrounding base glass pushes away, tearing and collapsing the edges of the pattern. Forceful manipulation is a major cause of ruined patterns.
It is widely known that glass has a Coefficient of Expansion (COE), and mixing glasses with different COEs will cause cracking. However, even when using glass from the same manufacturer with the same COE, the “melting ease” (viscosity) can vary drastically depending on the color and its metallic composition.
For example, if you draw a pattern using a color that melts very easily (becomes soft quickly) on a base bead made of a hard, slow-melting glass, the pattern portion will melt rapidly and spread out, becoming thick or losing shape. If you don’t account for how different colors melt, you won’t be able to maintain your intended design.
Tombo-dama decoration involves various techniques such as dotting (ten-uchi), dragging/raking (hikkaki for marbling or feathering), and millefiori (embedding glass cane slices). Let’s dive into why these specific patterns distort and how to get clean results.
When you want clean, perfect circles, but your dots turn out oval or teardrop-shaped, the cause lies in the direction you pull the glass rod when placing the dot, or the rotation speed right after pulling out of the flame.
When touching the glass rod to the base bead to leave a dot, if you pull the rod away diagonally instead of lifting it straight up, the top of the dot gets dragged and stretched sideways. Heating and melting it in this state causes the glass to flow along that stretched line, turning into an oval.
As a solution, make sure to apply the glass rod perpendicular to the base bead and pull it away strictly “straight up and perpendicular.” If a glass thread forms, heat the base of the thread in the flame to snip it quickly, wait for surface tension to round it out naturally, and then gently level it with a shaping tool (hite).
In the raking (hikkaki) technique, dots or lines are dragged with a needle or rod to create wave or heart patterns. When these lines become jagged or squashed, the causes are an insufficiently heated raking tool (tungsten rod or raking needle) and uneven surface temperature on the base bead.
If you insert a cold raking needle into molten glass, the glass instantly hardens around the needle’s cold tip and fails to slide smoothly. As a result, you end up forcibly dragging the glass, causing the line to tear jaggedly or ruining the whole base bead.
I always heat the tip of my raking needle in the flame until just before it glows red before using it. By tracing with a warm needle, you can glide smoothly across the glass surface, creating clean, uniform fluid lines.
Millefiori are glass components with cross-sections shaped like flowers or stars. After placing them on the base bead, their delicate details sometimes squash into a messy, colorful blob.
This happens when you press down forcefully with a tool before the component itself is thoroughly heated. Thick millefiori components take time for heat to reach their center, not just the surface. If you press a shaping tool while the center is hard and only the outer surface is soft, the hard center pushes into the base bead, squashing the soft outer flower pattern sideways into a distorted mess.
After placing a millefiori piece, heat it gently with direct flame and wait until the entire piece softens so that “its edges round slightly under its own weight and it begins to sink into the base bead.” Once the entire component is soft, gently stroke the surface with a shaping tool (hite) to embed it while perfectly preserving the flower shape.
The most essential skill in tombo-dama making is temperature control. Professional examples that preserve crisp patterns create intentional temperature differences across different parts of the glass.
There is an absolute golden rule for preserving patterns: keep the interior of the base bead (jidama) firm enough to hold its shape, while keeping only the surface pattern soft.
If you stick the entire bead into the flame, the base bead becomes completely liquid and flows right along with the pattern. When blending in a pattern, do not plunge the whole bead into the flame; instead, use the tip of the flame (the hottest point) to pinpoint-heat “only the surface of the pattern.”
This allows the base bead to act as a firm canvas holding its round shape, while the surface pattern melts softly and fuses seamlessly into the base. Consciously separate “overall heating” from “surface-targeted heating.”
Flames from air-burners or oxygen burners have different temperature zones and wind pressure depending on the area. Near the base of the flame, the temperature is low and wind pressure is strong. The middle of the flame is high-temperature with high wind pressure. The tip of the flame (near the flame point) delivers gentle heat with lower wind pressure.
If you put glass into the high-pressure, high-heat middle of the flame right after placing a delicate pattern, the force of the flame alone can blow or wash the molten pattern away. In the initial stage of blending a pattern, always use the gentle heat at the tip of the flame to slowly warm the surface without pushing it around with wind pressure.
Behind technical mistakes often lies basic body posture and tool handling. Reviewing how you use your body and tools will dramatically improve pattern precision.
When rotating the stainless steel rod, do you turn it using only your wrists? If you rotate solely with your wrists, parts of each turn will inevitably be faster or slower, causing periodic distortions in your patterns.
Firmly rest both elbows on your work table (the base of your workspace) and rotate the stainless steel rod by smoothly sliding your fingers. Stabilizing your body’s axis eliminates irregular rotation and completely prevents gravity from pulling patterns off-center.
Think of the shaping tool (hite) not as a tool for “squashing,” but as a tool for “gently stroking and smoothing the surface.” Very minimal pressure is more than enough.
When applying the tool, touch it gently and parallel to the surface while continuously rotating the tombo-dama. If you pull the tool away suddenly, glass can stick and stretch the pattern. The trick to removing the tool is to lift it straight up smoothly while maintaining the rotation.
Now, let’s cover the most important aspect of tombo-dama making. Lampworking involves handling extreme heat over 1,000°C (1,800°F) and sharp glass. Safety management is far more important than elevating artistic quality.
Before starting, always thoroughly read the manufacturer’s instruction manual for your burner and equipment. Gas leak checks, proper lighting/extinguishing sequences, and recommended setup environments vary by device.
Additionally, never neglect the following safety measures:
By following the manufacturer’s safety guidelines and setting up a secure working environment, you can immerse yourself in craft-making with complete peace of mind.
We’ve thoroughly explored why tombo-dama patterns distort and how to fix them.
The main reasons patterns collapse boil down to three things: overheating the entire bead until fluid, irregular rotation causing gravity distortion, and squashing with force using shaping tools.
To keep patterns sharp, remember the temperature difference rule—keep the base firm and soften only the surface pattern—and use the tip of the flame while maintaining a steady rotation. It may feel challenging at first, but with practice and careful observation of how glass melts, you’ll be able to create stunningly beautiful patterns!
Please stay safe and enjoy crafting your very own beautiful Japanese glass beads!
If you share this article with your friends on social media or messaging apps, it would mean the world to me!
See you in the next article! This was Yassy from Crafters!






For example, if you are looking for articles about mizuhiki, try searching for "mizuhiki"; if you are interested in tools, try keywords like "nippers" or "pliers."
