A Japanese Crafter’s Guide to Jesmonite Sanding Tools: How to Choose Waterproof Sandpaper, Power Tools, and Grits for a Pro Finish
yassy
Crafters!

Hello, everyone! It’s Yassy from Crafters! (・∀・)
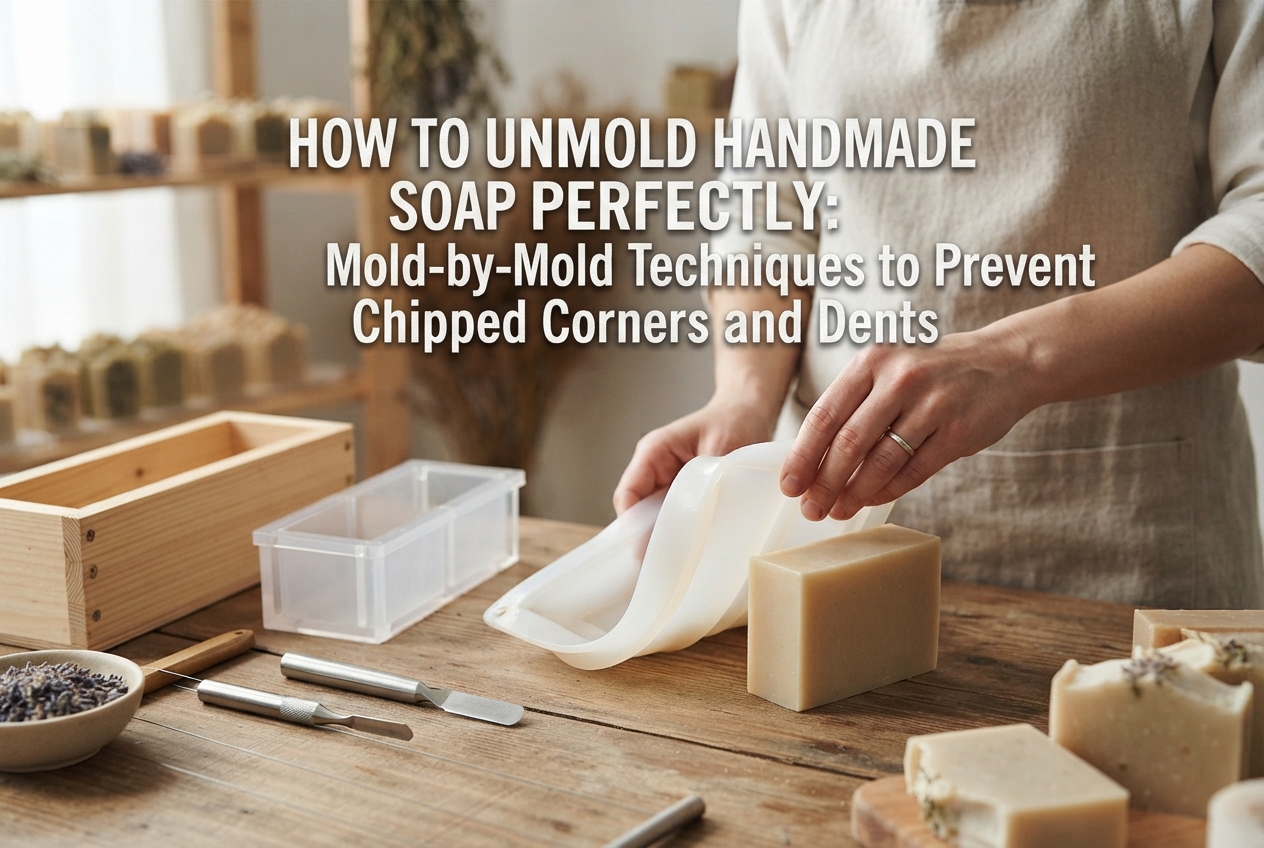
After pouring your handmade soap batter and patiently letting it insulate, the moment to finally unmold it is easily one of the most exciting highlights of soapmaking. However, have you ever experienced the frustration of sides sticking, corners chipping off, or the entire loaf crumbling inside the mold into a heartbreaking mess?
Because you put so much care and time into crafting your soap, you naturally want it to slide out with pristine edges and a smooth, professional-grade surface. In reality, unmolding cleanly isn't about applying brute force; it comes down to smart prep work tailored to your mold material and using the proper release techniques.
In this guide, I will cover everything from the basic reasons soap gets stuck to specific mold preparations, troubleshooting tricks for stubborn bars, and timing guidelines. Once you master these, you can say goodbye to broken, sticky soap loaves for good!
Before jumping into solutions, let’s take a look at why soap gets stuck in the first place. There are primarily three causes:
If the soap batter retains high moisture levels, it lacks structural hardness, making mold release difficult. If you unmold too early—especially with high-water recipes or when saponification hasn't progressed enough—the adhesion between the mold and soap wins out. Forcing it out will cause it to collapse like soft whipped cream.
When using airtight materials like acrylic, rigid plastic, or silicone molds, air cannot easily enter the gap between the soap and the mold walls, creating a strong vacuum effect. Because of this suction, pushing firmly from the bottom won't budge the soap at all.
Ingredients like honey, milk, or amazake (sweet fermented rice), as well as certain specialty oils, can cause high internal temperatures during insulation. This often creates a sticky layer on the surface. When this tacky film bonds tightly to the mold's interior, attempting to pull it out will tear and gouge the surface.
About 80% of unmolding success is determined before you even pour the batter into the mold. Here is how to prep and handle each mold material:
Silicone molds are flexible and generally the easiest to unmold. However, just because they are pliable doesn't mean you should shove the soap out from the bottom right away—doing so can crush edges or distort the bar.
There is no need to grease silicone molds with vegetable oil beforehand. Silicone naturally repels water and oils, so as long as the soap has fully hardened, simply introducing air will allow it to pop out cleanly.
Acrylic molds produce gorgeous, crisp, professional-looking soap loaves, but they create intense surface adhesion and present the highest unmolding difficulty. When using acrylic, always implement one of the following preparations:
Lining the mold with parchment paper is by far the most reliable, foolproof method. If you pour batter directly into an unlined acrylic mold, use a dedicated push block (wood or acrylic) and apply steady, vertical downward body weight to push it out evenly. Avoid sudden jolts of force, as this will shear off the outer edges of the soap.
Recycled milk cartons are accessible and very popular with beginners, but their polyethylene inner lining can cling tenaciously to fresh soap.
Instead of trying to pull the soap out by hand, the safest method is to cut the carton open using scissors or a craft utility knife. Slit down the four vertical corners and peel the sides down like ribbons, dismantling the carton without putting any friction on the soap’s delicate surfaces.
If you find yourself in an emergency where the soap refuses to budge, never try to pry it out with a screwdriver, butter knife, or metal tool. You will damage your mold and ruin the soap. Instead, try these four reliable rescue methods:
The most effective and safe technique is freezer chilling. Wrap the mold in plastic wrap to prevent moisture loss, and place it in the freezer for 2 hours up to half a day.
Freezing causes the water and oils in the soap to contract slightly, naturally breaking the vacuum seal against the mold walls. It also hardens the surface, making the soap resistant to friction and preventing corner chipping. After removing it from the freezer, push the soap out promptly before condensation forms on the mold. Wipe away any sweat droplets that appear on the soap, and let it dry in a well-ventilated space.
In many cases, soap is simply unmolded too soon. Recipes with higher water content or those made predominantly with soft oils like olive oil (such as Castile or Marseille soaps) are not firm enough after just 24 to 48 hours of insulation.
Leave the soap in the mold for 3 days to a week. As water slowly evaporates and chemical bonding progresses, the loaf will firm up and naturally shrink away from the mold edges.
For melt-and-pour (MP / glycerin) soap, applying brief warmth works wonders. Running warm water over the base of the mold for a few seconds or wrapping it in a warm, damp towel slightly melts the surface layer against the mold, acting as a lubricant so the bar pops right out.
Warning: Never do this with cold process (CP) soap! The heat and moisture will turn the surface into a gooey, mushy mess. Reserve this trick exclusively for MP soap.
If stubborn suction is your sole problem, creating a tiny channel for air to enter will release the vacuum immediately.
Take a thin bamboo skewer or a flexible plastic spatula and gently slide it down along a discreet corner (such as an edge that will be trimmed away later). As soon as you hear a faint "whoosh" of air entering, press from the bottom, and the loaf will glide out easily.
Knowing when to unmold depends heavily on whether you are crafting cold process soap or melt-and-pour soap.
CP soap, made by reacting lye with oils, requires a tactile firmness check before attempting unmolding:
Freshly unmolded CP soap is still caustic and highly alkaline. Always wear rubber or nitrile gloves to protect your hands from chemical burns when handling the freshly unmolded loaf.
MP soap sets purely by cooling down:
Here are a few personal techniques I regularly incorporate into my soapmaking routine to ensure beautiful, pristine results:
When formulating your recipe, aim to include 30% to 40% hard oils (fats that are solid at room temperature), such as coconut oil, palm oil, shea butter, or cocoa butter. This naturally yields a solid soap bar that resists deforming upon release.
Conversely, when formulating recipes dominated by liquid oils like olive or sunflower oil, anticipate a softer loaf: plan from the start to use silicone molds or line rigid molds with parchment paper.
Even with careful unmolding, loaf edges can sometimes develop rough ridges or sharp, fragile corners that are prone to chipping. Right after cutting your loaf with a knife or soap wire, take a soap planer, vegetable peeler, or beveler and gently chamfer the edges.
Trimming just 1 mm off the sharp corners elevates your soap’s visual polish significantly and makes it feel gentle and ergonomic in the hand. Collect those tiny soap curls in a mesh pouch for handwashing, or save them for rebatching—nothing goes to waste!
Soapmaking—especially cold process crafting—involves working with sodium hydroxide (lye), a strong alkaline substance. Always wear safety goggles and protective gloves throughout every stage, from preparing molds to unmolding and cutting.
If raw, partially saponified soap batter touches your bare skin during unmolding, rinse it immediately under abundant running water. When melting MP soap in the microwave or a double boiler, exercise caution to avoid burns from hot soap base. Always read manufacturer manuals and maintain a clean, organized workspace.
Let’s review the key habits for pristine, chip-free soap unmolding:
Rushing and applying excessive force are your biggest hurdles during the unmolding phase. If your soap still feels a bit soft, having the patience to let it rest in the mold for just one more day is the true secret to achieving a gorgeous, intact bar.
Try out these preparations and release tricks on your next batch to create handmade soaps with smooth surfaces and beautifully crisp corners!
If you found this guide helpful, please share it with your craft-loving friends on social media! See you in the next article—this was Yassy from Crafters!



For example, if you are looking for articles about mizuhiki, try searching for "mizuhiki"; if you are interested in tools, try keywords like "nippers" or "pliers."
