How to Choose and Use Precision Glue Nozzles: Achieve Clean, Zero-Overflow Craft Bonding
yassy
Crafters!

Hello, it's Yassy from Crafters! (・∀・)
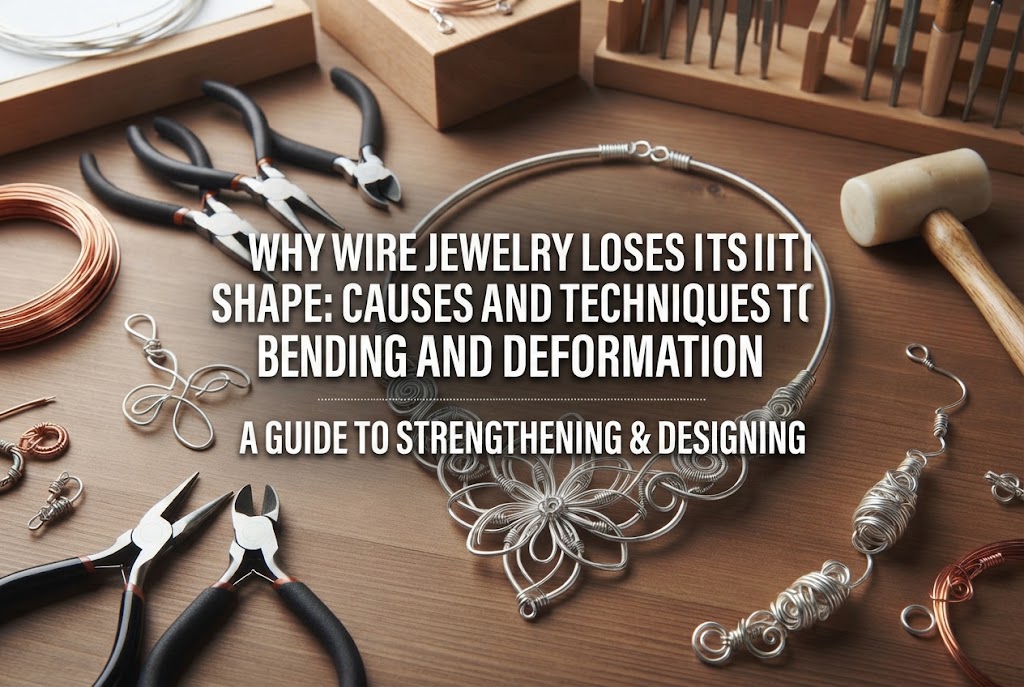
Have you ever spent hours making a delicate piece of wire jewelry, only to find that it bent out of shape the very first time you wore it outside? Or perhaps you have made a wire-wrapped ring or bracelet that quickly warped into an unwearable oval during everyday use. The true charm of wirework lies in its fluid curves and dimensional sculpturing, but the risk of losing its intended shape is a constant struggle for many crafters.
In reality, there are clear, mechanical reasons why wire jewelry deforms. It is rarely just a matter of the wire being "too soft." More often, it comes down to selecting the wrong wire gauge, choosing an unsuitable wire temper, misunderstanding the physical properties of metal, and skipping essential structural reinforcement techniques.
In this guide, I will break down the primary reasons why wire jewelry warps and share proven techniques and material-selection rules to keep your designs rock-solid. Drawing from my own workshop routines and addressing common beginner pitfalls, here is how you can create long-lasting, beautifully structured wire jewelry.
Shape distortion can stem from anything from initial fabrication choices to how a piece is handled after completion. Let's look at the four fundamental causes behind deformed wirework.
The most common mistake is choosing a wire that is too thin relative to the weight and scale of the finished piece. For example, building the main base for a heavy gemstone pendant using only 0.5 mm or 0.6 mm (approx. 24–22 GA) wire will cause the frame to bow and flex under the weight of the stone.
Thicker wire takes more hand strength and tool control to bend, but it offers far superior structural rigidity. If the underlying framework is built with wire that is too fine, no amount of careful handling will prevent it from bending out of shape.
Wire is categorized not only by thickness, but also by temper—primarily Dead Soft, Soft, Half-Hard, and Full-Hard.
Beginners often reach for Dead Soft or Soft wire because it is easy on the fingers and bends smoothly with pliers. However, that softness remains after the piece is finished, meaning even the slightest accidental pressure will warp the structure. Using soft wire for high-stress structural components is a primary cause of unwanted deformation.
Metal wire possesses two critical mechanical properties: work hardening and springback. Work hardening occurs when metal is bent, hammered, or manipulated, which shifts its internal crystalline structure and makes it noticeably stiffer. Springback is the elastic tendency of a metal to bounce back slightly after being bent.
If you do not intentionally work-harden your wire, you fail to unlock its full structural strength. Furthermore, ignoring springback means your wire curves will slowly loosen or shift when subjected to outside pressure.
A single bare wire loop or a loosely tied crossover point is remarkably weak against lateral forces. For instance, a simple open loop will easily pull open or distort when yanked or caught on clothing.
In wire wrapping, thinner binding wire is used to lash structural base wires together. If these wraps are spaced too far apart or lack tension, the frame will shift and wobble, inevitably warping under routine friction and wear.
Preventing deformation begins with choosing the right wire for the specific job. Let's look at wire selection across three dimensions: gauge, temper, and material.
Wire thickness is measured in millimeters (mm) or American Wire Gauge (GA). In wire jewelry, the golden rule is to assign distinct gauges based on structural function:
A frequent beginner trap is attempting to make an entire piece out of a single 0.5 mm (24 GA) wire. That size is too stiff for neat wrapping and far too flimsy for a load-bearing frame, resulting in a fragile piece. Instead, establish clear contrast: use 0.8 mm for the frame and 0.3–0.4 mm for wrapping.
Always check the temper rating when purchasing craft wire:
Different metals offer different levels of natural resilience and stiffness:
When I craft slim rings or bangles where deformation must be avoided at all costs, my first choices are almost always Half-Hard 14K Gold-Filled or Half-Hard Sterling Silver.
Once you have selected the proper materials, applying targeted structural techniques during fabrication will dramatically enhance durability.
After shaping your primary wire frame—and before adding any woven wraps or stones—take the time to hammer the wire. In Japanese metalwork, this is closely related to dakin (hammering/forging metal).
Place your shaped wire frame on a steel bench block (anvil) or hard work surface, and tap it evenly all over using a nylon or plastic mallet. This introduces internal stress that work-hardens the metal, making it significantly stiffer without flattening its round profile or marring its surface coating. If you want to intentionally flatten the wire for a wide, ribbon-like look while building extreme rigidity, a polished steel chasing hammer works wonders.
If a single wire cannot provide enough strength, running two base wires (e.g., two 0.8 mm wires) parallel to each other is far more effective than struggling with an overly thick, unmanageable single wire.
By binding two parallel base wires tightly together with 0.3–0.4 mm wrapping wire, you create a unified truss-like structure. The interconnected wires support each other, multiplying the frame's resistance to bending and twisting. I frequently rely on double- and triple-wire structures for outer pendant frames and bangle cores.
Crossed wires are structural weak points where mechanical force concentrates. Simply overlapping wires or wrapping around them once leaves room for shifting under pressure.
Secure all wire intersections using a tight figure-eight wrap or cross wrap with fine binding wire, locking both wires firmly along both axes. Pack your wraps closely together for at least 3 to 5 full turns. Solidly anchored intersections act like rigid joints, preventing the overall silhouette from warping.
How you terminate structural wires and create connection loops directly impacts durability. Simple open loops made with round-nose pliers (like standard headpin loops) will easily open up when subjected to tension.
Wherever weight or pulling force is involved, always use a wrapped loop—known in Japanese wirework as megane-dome (glasses-style wrap). By coiling the wire tail 2 to 3 times around the base of the loop, the loop is mechanically locked. A secure, unbending end loop keeps the entire jewelry silhouette stable.
Here are three typical design patterns that lead to bent jewelry, along with practical ways to redesign them.
Crafters wanting an airy, delicate look sometimes mount a large cabochon or rough stone using only a 0.6 mm wire basket with minimal bottom support. This almost always bends out of shape.
The Fix: Build a sturdy back cradle or seat that carries the stone's actual weight. The main side wires should be at least 0.8 mm or doubled. Mentally separate your layout into "structural lines that bear weight" and "decorative lines that provide visual flair."
Rings endure immense pressure and friction during daily tasks like turning door handles or carrying shopping bags. A ring band made of a single 0.8 mm wire will flatten into an oval within a few wears.
The Fix: Form the band using two or more parallel base wires bound together, or hammer a thicker half-hard wire on a ring mandrel to flatten and harden it into a durable band. Ensure overlapping structural ends are anchored securely.
Constantly bending, straightening, and re-bending a curve with pliers causes metal fatigue. This severely weakens the metal internally, leading to premature bending or outright breakage during wear.
The Fix: If you make a major mistake on a structural frame wire, cut a fresh piece and start over. Avoid reworking high-stress frame pieces.
Whenever I complete a wire piece, I always run one final quality check: applying deliberate finger pressure.
I grip the main frame between my thumb and index finger and give it a firm squeeze. If it gives way or flexes easily, it is not ready for real-world wear. When that happens, I re-evaluate the piece to determine where extra binding or an additional structural wire is needed.
Being overly gentle with your creations during finishing does not help the person who will wear them. Testing structural integrity in your workshop ensures lasting satisfaction and peace of mind.
Even well-constructed wire jewelry requires mindful handling to retain its shape over time.
When putting on or removing wire jewelry, handle the piece by its solid clasp or base findings rather than delicate wire swirls. For earrings, always hold the ear wire base rather than pulling on the dangling wire motif.
Storing wire jewelry loose in a crowded jewelry box invites bent wires from heavier items resting on top. Store each piece in a separate lidded compartment or a padded box. When traveling, use a small hard-shell case rather than a soft fabric pouch.
If a wire piece does get bent, do not try to force it back into position with your bare fingers, as this often creates unwanted kinks in neighboring sections.
Instead, use nylon-jaw pliers to gently grip and guide the wire back into alignment without scratching the surface. For distorted rings, slide the ring onto a wooden or metal ring mandrel and tap it lightly with a nylon mallet to restore a perfect round shape.
Preventing deformation in wire jewelry comes down to intentional material selection and solid mechanics. By pairing the right gauge and temper with hammer hardening, reinforced frames, and tight binding wraps, you can create pieces that are both delicate in design and structurally resilient.
Mastering these structural principles will give you the confidence to tackle any wire design without worrying about it losing its shape!
I hope these techniques help your next wirework project stay flawless for years to come. See you in the next article! This has been Yassy from Crafters!



For example, if you are looking for articles about mizuhiki, try searching for "mizuhiki"; if you are interested in tools, try keywords like "nippers" or "pliers."
