Level Up Your Pottery: The Essential Order for Upgrading Beyond Your Starter Kit
yassy
Crafters!

Hello, everyone! This is Yassy from Crafters! (・∀・)
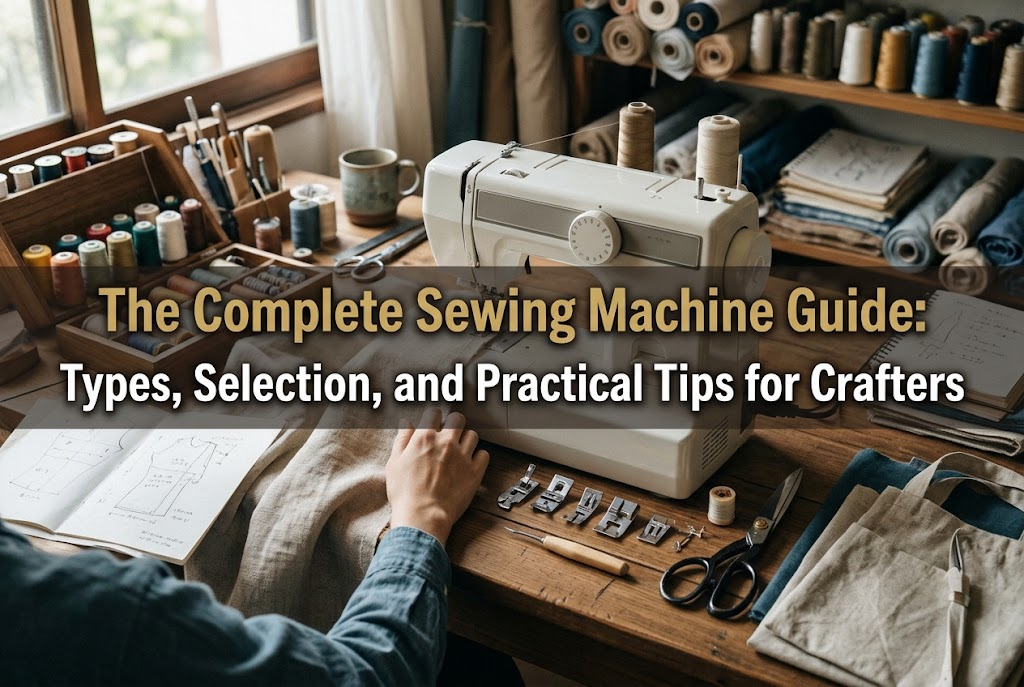
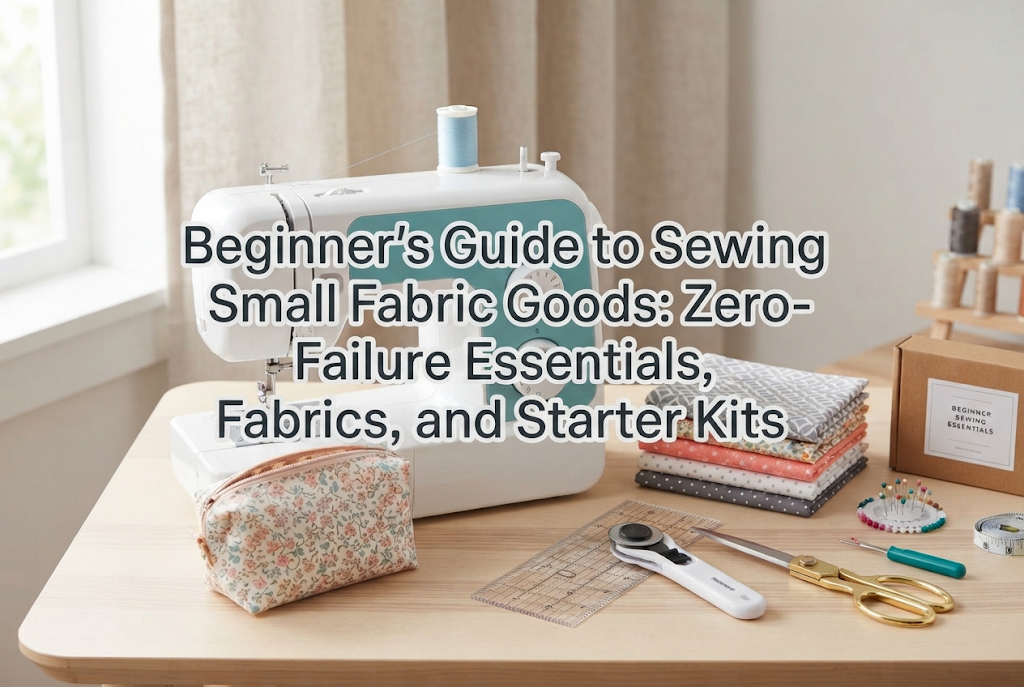
When crafting with fabric, there is one ultimate tool that dramatically boosts both your efficiency and the quality of your work: the sewing machine. I enjoy many different handmade crafts, but whenever I tailor fabric items, a sewing machine is absolutely indispensable.
While hand-stitching carries its own gentle warmth, the sheer strength, durability, and stitch precision of a sewing machine are unbeatable when crafting bags, pouches, or garments that require real structural integrity.
However, once you start browsing online shops or appliance stores, the wide variety of models and price tags can easily feel overwhelming. If you hastily pick a machine simply because it is cheap, you run the risk of breaking needles on heavy fabrics, dealing with hopelessly tangled threads, and hitting a wall of frustration.
In this guide, I will share everything I know—breaking down the characteristics of different machine types, comparing them to similar tools, outlining the crucial points beginners need to check, and sharing practical tips to ensure your sewing projects turn out successfully.
In fabric crafting, a sewing machine is far more than a simple time-saver. It is an essential piece of equipment for elevating your projects to a professional level of durability and polish.
Sewing a one-meter straight line by hand takes over ten minutes, no matter how skilled you are. A sewing machine, on the other hand, completes that same seam in just a few seconds with immaculate, perfectly straight stitches.
Furthermore, machine stitches offer significantly higher tensile strength than hand stitches, solidly securing the seam allowances of daily-use tote bags or zippered pouches. If you plan to sell your handmade items, the uniform and sturdy stitching produced by a machine directly translates into customer trust.
Having created countless fabric pieces myself, I can confidently say that once I mastered proper machine sewing, the overall beauty and finish of my work improved leaps and bounds. It is a tool that dramatically broadens the horizons of what you can create.
When searching for sewing equipment, you will encounter various tools such as hand-sewing needles, sergers (overlock machines), and compact handheld stitchers. It is vital to understand how these tools differ from a standard home sewing machine.
Choosing the wrong tool will prevent you from achieving your desired results. Here is a clear breakdown of each option and its appropriate role.
Hand-sewing fundamentally relies on a running stitch, where a single strand of thread passes alternately between the front and back of the fabric. Its primary advantage is portability; you only need a needle and thread to work anywhere.
In contrast, a sewing machine forms a "lockstitch" by intertwining two separate threads—the upper needle thread and the lower bobbin thread—inside the fabric layers. Because the threads interlock within the material, the seam resists unraveling even if a stitch snaps, delivering durability that hand-sewing simply cannot match.
Hand-sewing remains ideal for attaching buttons, applying delicate trims, or working inside tight, three-dimensional spaces. However, for the main structural seams and load-bearing elements like bag handles, a sewing machine is the absolute right choice.
One of the most common points of confusion for beginners is the difference between a standard domestic sewing machine and a serger (overlock machine). They serve entirely different purposes.
A domestic sewing machine is built to join fabric pieces using standard lockstitches. A serger, on the other hand, is a specialized machine designed to trim and bind raw fabric edges (overcasting) to prevent fraying, or to join stretchy fabrics like knits while allowing the seams to stretch.
A serger alone cannot perform basic straight stitching or install standard zippers. If you are just starting your handmade journey, your first essential tool should always be a domestic sewing machine. Consider a serger as an advanced, secondary investment when you are ready to tackle full-scale garment construction.
Inexpensive handheld stitchers shaped like staplers and ultra-compact machines are widely available. However, they cannot serve as the primary tool for serious fabric crafting.
These mini devices lack motor power and frequently use a single-thread chainstitch instead of a lockstitch with upper and bobbin threads. A single pull on the loose thread end can unravel the entire seam, offering virtually zero structural strength.
They are meant strictly for quick temporary fixes on the go or minor alterations like simple curtain hems. If you want to create durable, high-quality craft items, invest in a proper domestic sewing machine from the start.
Although grouped under "domestic sewing machines," these tools generally fall into four distinct categories based on their internal mechanisms and control systems. Understanding how each functions will help you pick the right match.
Working with a machine that does not align with your workflow or project type can cause immense frustration during the making process.
Mechanical machines feature the most straightforward internal design. The sewing speed is controlled directly by the pressure applied to the foot pedal, which regulates the electric motor's rotation.
Because they lack electronic control circuits, slowing down the stitching speed also reduces the motor's piercing power. Consequently, when you attempt to sew slowly and carefully through thick seams, the needle may stall due to insufficient torque.
While they are mechanically simple and affordable, they are generally less recommended for crafters who require steady low-speed control and reliable thick-fabric performance.
Electronic sewing machines incorporate internal electronic circuits that maintain consistent motor torque even when sewing at low speeds.
They feature intuitive start/stop push buttons and an automatic safety design that stops the needle in the raised position whenever you pause. This allows the needle to pierce firmly through heavy canvas or denim even at slow, deliberate stitching speeds.
With dependable piercing power and straightforward operation, electronic machines are exceptionally beginner-friendly for crafters.
Computerized machines rely on a built-in microcomputer to manage needle movement, thread tension, and stitch patterns with high precision.
They can produce automatic buttonholes with a single touch and offer an extensive library of decorative and lettering stitches. Furthermore, they include helpful safety alerts—such as beeping to warn you if you forget to lower the presser foot before starting—which prevents common beginner mistakes.
An LCD screen clearly displays your current settings, and the stitches are consistently balanced and beautiful. If your budget allows, a computerized model offers the smoothest, most trouble-free sewing experience.
Semi-industrial machines are high-end units dedicated solely to straight stitching. Built with heavier, robust motors and rigid metal frames, they utilize industrial needles rather than standard household ones.
They do not offer zigzag stitching, buttonholes, or decorative patterns. Instead, they provide astonishing penetration power, pristine stitch quality, and the endurance to withstand hours of continuous daily operation.
These machines are tailored for artisans who regularly mass-produce heavy canvas bags or leather goods. Because they are strictly straight-stitch tools, they are best suited as an upgrade once your production work expands, rather than as a first machine.
Choosing a machine based purely on aesthetics or an ultra-low price tag is risky. To ensure your crafting sessions run smoothly, there are five essential specifications you should always verify.
Always check the weight of the machine. Ultra-light, compact models weighing only 2 to 3 kg (4 to 6 lbs) are poorly suited for serious crafting.
A sewing machine's weight reflects the presence of a rigid metal inner frame, which provides both stability and motor power. Lightweight plastic machines vibrate heavily when stitching thick fabrics, resulting in uneven seams, skipped stitches, and shifting fabric.
For reliable crafting, choose a sturdy machine weighing at least 5.5 kg (around 12 lbs), and ideally between 6 and 8 kg (13 to 17 lbs). Weight is direct proof of power and stability.
Balancing thread tension is perhaps the single biggest hurdle for beginners. When the balance between the upper thread and lower bobbin thread is off, threads can bunch into a bird's nest underneath or pull tightly and pucker on top.
With an automatic thread tension feature, the machine automatically sets the ideal tension whether you are working with thin or thick fabrics. Adjusting tension manually across different materials can be daunting for newcomers, so having an automatic setting saves immense time and stress.
During sewing, you need both hands to guide and stabilize the fabric smoothly along seam guides.
If you rely only on start/stop buttons on the machine body, removing one hand to press the button at the start or end of a seam can cause the fabric to shift out of alignment.
A foot controller lets you regulate speed with your foot, leaving both hands free to steer the fabric. This makes tight curves and precise corners significantly easier. Ensure the machine either comes with a foot controller or supports an optional one.
A free arm is created by detaching the machine's extension table, exposing a narrower arm underneath.
This design allows you to slip cylindrical items—such as pouch openings, cuffs, pant hems, or tubular bag handles—around the arm to sew in the round. Without a free arm, sewing three-dimensional small goods becomes awkward and cumbersome. Most standard modern home machines include this, but always double-check before buying.
This convenient feature trims both the upper and lower threads neatly on the underside of the fabric with the push of a single button.
It eliminates the need to reach for thread snips after every seam, noticeably speeding up your workflow. While not strictly mandatory, it is an incredible asset if you plan to batch-produce lots of small fabric items.
To help you decide, here are clear recommendations tailored to your specific crafting ambitions.
If your goal is to enjoy sewing pouches, bags, and aprons as a hobby, a mid-to-full-size electronic sewing machine or an entry-level computerized machine is ideal.
Look within the moderate price tier (around 30,000 to 50,000 JPY / roughly 200 to 350 USD). Machines in this bracket generally feature sturdy metal internal frames, weigh over 6 kg, and provide sufficient power. They usually include automatic thread tension, allowing you to sew through changing fabric thicknesses without mechanical issues.
If you aim to sell your creations on handmade marketplaces (such as minne, Creema, or Etsy) and operate as a craft business, invest in a mid-to-high-tier computerized machine.
In this category (typically around 60,000 to 100,000 JPY / roughly 400 to 700 USD), stitch consistency and beauty are outstanding. These machines possess the torque needed to sew through layered heavy fabrics like No. 11 cotton canvas or craft leather. With built-in automatic thread cutters and a full suite of accessory presser feet, they allow you to maintain high production speed without compromising on quality. Investing here from the start saves far more time and money than struggling with a cheap machine.
A sewing machine is a precision instrument. Setting it up correctly is essential to draw out its full performance.
Begin by winding the bobbin thread. Guide the thread precisely along the printed path on the machine body.
If the thread is wound loosely or unevenly, it will feed inconsistently, causing messy loops on the underside of your work. A firm, evenly wound bobbin is step number one.
When dropping the bobbin into the rotary hook, verify the unwinding direction. For most modern horizontal drop-in bobbins, the thread must feed counterclockwise (resembling the number "9"). Inserting it backward disrupts tension completely.
The golden rule of upper threading: always raise the presser foot lever before threading.
When the presser foot is down, the internal tension discs are clamped shut, preventing the thread from seating deeply between them. If you thread the machine with the foot down, there will be zero tension on the upper thread, causing immediate thread jams underneath the fabric. Finally, thread the needle from front to back, or engage the built-in needle threader by pressing the lever all the way down smoothly.
Sewing needle sizes and thread weights must be matched directly to the fabric thickness. Neglecting this leads directly to needle breakage and skipped stitches.
Use this reference pairing:
The most versatile combination is a Size 11 needle paired with #60 thread. Keeping this setup on hand will cover the vast majority of standard fabric projects.
Never stitch into your actual project fabric right away. Always perform a test stitch on a scrap piece of the exact same material.
Tension requirements shift depending on the number of fabric layers and whether you have applied fusible interfacing. Fold your scrap to match your project's thickness, stitch a few centimeters, and examine both sides.
If the lower thread shows on top, or the upper thread loops underneath, make minor tension adjustments. A quick test stitch is the single best habit for guaranteeing flawless finished pieces.
Every crafter encounters machine hiccups at some point. Here is how to diagnose and solve the most common issues calmly.
When threads instantly ball up into a messy "bird's nest" underneath the fabric at the start of a seam, nine times out of ten the cause is either unseated upper thread tension or failing to hold the thread tails.
To fix this, unthread the upper thread completely, raise the presser foot, and rethread from the beginning. Additionally, hold both the upper and bobbin thread tails lightly toward the back for the first three stitches as you press the foot pedal. This prevents thread jams completely.
If your seam skips stitches at irregular intervals, the culprit is usually a dull, bent needle or a needle that is too fine for the fabric.
Sewing needles are consumables. Even an invisible bend or microscopic burr on the tip prevents the needle from catching the bobbin loop. Replace the needle immediately. Also, make sure to use dedicated ballpoint stretch needles when sewing knit fabrics.
A needle snapping with a sharp crack is both startling and hazardous. This occurs when the needle is too thin for heavy layers, or when you pull the fabric forcefully with your hands.
The machine's feed dogs are engineered to move the fabric backward automatically. If you pull or push the fabric manually, the needle flexes sideways and strikes the metal needle plate, snapping on impact. Keep your hands resting gently on the fabric solely to guide its alignment, letting the feed dogs do all the feeding.
Once you are comfortable with basic seams, incorporate these refined techniques to give your creations a professional finish.
The presser foot can be swapped out quickly with a snap-on lever. Rather than relying solely on the standard all-purpose foot, use specialized attachments suited to specific tasks:
Beginners often stare directly at the needle bobbing up and down. Tracking the moving needle causes visual fatigue and almost always results in crooked stitching.
Instead, keep your gaze fixed on the seam allowance guide markings on the needle plate and the raw edge of your fabric. Keep the fabric edge aligned with the guide line without shifting your eyes. If the markings are hard to see, place a strip of painter's masking tape along the plate to create a raised guide fence to run the fabric edge against.
To lock seams at the beginning and end, backstitch for roughly three stitches. However, stacking multiple backstitches creates thick, unsightly thread buildup.
Guide the fabric carefully so the reverse stitches land directly on top of the forward stitch line. For visible topstitching where appearance is critical, skip backstitching entirely; instead, leave long tails, pull the upper thread to the reverse side, tie the threads by hand, and bury the ends neatly inside.
Regular maintenance is vital to keep your sewing machine running quietly and smoothly for years to come.
Sewing generates fine fabric lint and thread dust that accumulates under the needle plate inside the hook race. After finishing a major project, or after several hours of sewing, remove the needle plate and sweep out accumulated lint using the included lint brush.
Never spray canned compressed air into the hook mechanism. Compressed air drives lint deeper into the internal gears and mechanical bearings, which can lead to serious malfunctions. Always brush or vacuum dust outward.
Needles wear down microscopically with every hour of use. Continuing to sew with a dull needle can snag fabric fibers and cause skipped stitches.
Make it a rule to replace your needle after finishing every major project, or roughly after every ten hours of active sewing time. Spending a small amount on fresh needles is the easiest way to guarantee crisp, beautiful stitches.
We have covered the distinct roles of sewing machines, their structural differences, key buying criteria, and essential techniques for troubleshooting and upkeep.
A reliable sewing machine is an investment, but finding the one that fits your crafting style will give you an indispensable creative partner.
Remember these key takeaways:
What once took hours by hand can be completed in minutes with beautiful, durable results. Find your ideal sewing machine and open up a whole new realm of fabric crafting possibilities!
If you found this guide helpful, please feel free to share it with your fellow makers. Until next time, this was Yassy from Crafters!


For example, if you are looking for articles about mizuhiki, try searching for "mizuhiki"; if you are interested in tools, try keywords like "nippers" or "pliers."
