What Is Wax Sealing? A Complete Guide to Ideas, Difficulty, Workspace, and Budget
yassy
Crafters!

Hello everyone! This is Yassy from Crafters! (・∀・)
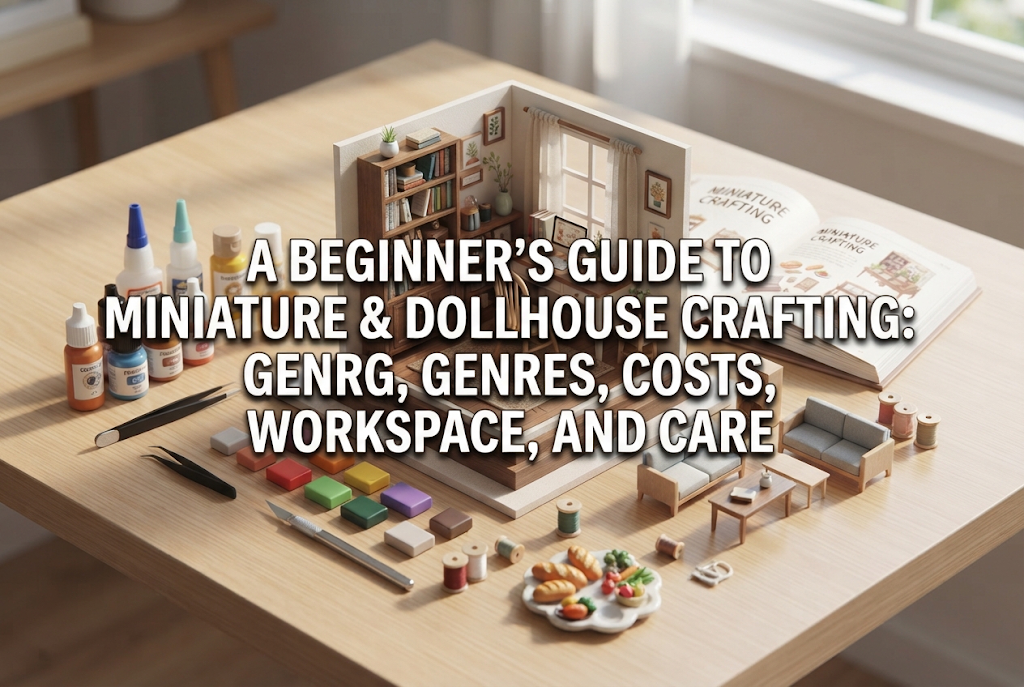
Have you ever seen tiny furniture that fits right on your fingertip or dollhouse sweets that look so realistic you almost want to eat them, and thought, "That is so cute! I wish I could make that"? I personally love everything about crafting—making pieces myself, visiting craft exhibitions and shops, and buying creations from my favorite artists to display at home. Among all craft genres, I truly believe that the world of miniatures and dollhouses holds a very special charm and romance.
Many people hesitate to give it a try, worrying with thoughts like: "I'm too clumsy to make something so tiny," "Don't I need a huge dedicated craft room?" or "Aren't the materials and tools really expensive?" But to give you the short answer right away: as long as you have the right knowledge and follow the proper steps, even a complete beginner can create stunning, high-quality miniature works.
In this guide, I will thoroughly cover everything a beginner needs to know—from the fundamentals of miniature and dollhouse crafting, specific types of projects you can create, realistic difficulty levels, necessary workspace setups, and initial budget estimates, to the proper way to care for your finished pieces. By the time you finish reading, you'll know exactly what to prepare and how to start today!
Miniatures and dollhouses are three-dimensional scale models that recreate real buildings, rooms, furniture, accessories, and food at a reduced size. Historically, they were created in Europe for aristocrats as display items or children's toys, but today they are deeply loved worldwide as a popular adult hobby and handmade craft genre.
The greatest appeal of miniature crafting is the freedom to build your ideal dream world within a tiny space right on your desk. Whether it's a cozy cafe filled with stylish decor, a nostalgic retro Japanese room, or a bakery lined with freshly baked miniature bread, miniatures allow you to give shape to spaces that might be difficult to build in real life.
A vital element to keep in mind when crafting is "scale." The standard global scale in the miniature world is 1/12 scale. This means every item is one-twelfth of its real-world size. For instance, a room with a 2.4-meter ceiling height becomes 20 centimeters, and a 180-centimeter door becomes 15 centimeters tall.
In recent years, smaller options have also gained popularity, such as 1/24 and 1/48 scales for space-saving displays, or even super-micro 1/150 scale pieces that sit easily on a fingertip. For beginners starting out, I highly recommend beginning with 1/12 scale, or 1/24 scale—which is widely used in commercial craft kits—because the parts are not overwhelmingly small and materials are easy to find.
Miniature crafting allows you to make a vast variety of projects depending on your personal taste and goals. Here are four popular genres:
This is the classic miniature project where you assemble walls and floors, then arrange furniture, lighting, and decorative accessories to build a complete room or building. Themes are endless: cafes, pastry shops, flower shops, study rooms, country kitchens, or warm Japanese-style rooms.
Incorporating small LED light kits lets you illuminate your creation, casting a magical ambiance for nighttime viewing. It is ideal for anyone who enjoys overall spatial and interior design.
Using materials like resin clay, lightweight air-dry clay, and craft resin, you craft realistic food and desserts. From golden baked bread and juicy fruit parfaits to colorful bento boxes, perfecting the realistic textures and shades is immensely satisfying.
Beyond displaying them as individual pieces, you can turn them into keychains or fashion accessories, or use them as props on dollhouse shelves, making this a wonderfully versatile genre.
This genre focuses on making individual items like chairs, tables, sofas, books, indoor plants, and light fixtures using wood, fabric, paper, and wire. It allows you to practice a variety of techniques in small doses, including basic woodworking, sewing, and papercrafting.
If you like taking your time to meticulously craft individual items and accumulate a collection over time, this style is perfect for you.
Instead of building a full 3D room structure, this style condenses a miniature scene inside a picture frame, a book-shaped nook that fits between books on a shelf, or a tiny metal tin.
Because the depth is limited, beginners find it much easier to balance the spatial composition, and finding space to display the finished piece is simple. This format enjoys huge support from crafters who want an immersive world in a compact footprint.
People often assume that miniature crafting requires extreme dexterity and is only for naturally nimble people. That is a complete misconception! The difficulty level changes dramatically depending on the approach you take.
Broadly speaking, there are two ways to craft miniatures: using commercial craft kits, or making everything completely from scratch (full scratch).
If a beginner attempts to build from scratch right away, calculating scale dimensions, cutting raw lumber, and picking suitable glues can easily lead to confusion and frustration. On the other hand, using an all-in-one commercial kit—where wood pieces, paper details, and LED wiring are pre-cut or pre-printed—drastically lowers the barrier to entry.
The main skills needed for kit building are simply reading instructions carefully and using the right tools. You don't need artistic drawing skills or specialized sculpting talent at all. As long as you follow the steps, anyone can achieve a polished, professional-looking result.
Here are the criteria beginners should look for when picking their first kit:
Please avoid buying a large three-story dollhouse kit for your very first attempt just because it looks grand. Finishing a small project that takes a few hours to a few days gives you a wonderful sense of accomplishment, which is the best shortcut to improving your craft skills.
You do not need a large dedicated studio or craft room to start making miniatures. You can comfortably craft right on your living room dining table, provided you have a flat surface around A4 to A3 paper size.
However, to ensure a comfortable crafting experience and prevent mistakes, a few environment setups are essential. Here are key workspace points I use myself:
To protect your table surface and easily measure small parts or check right angles, always lay down an A3-sized self-healing cutting mat with grid lines. Green or gray mats make it easy to spot tiny parts without losing them.
The biggest enemies in miniature crafting are shadows and poor lighting. Overhead room lights can cast shadows from your hands and head onto your work area, causing misalignment when gluing small parts. Set up an adjustable LED desk light that points directly at your workspace to dramatically boost accuracy and speed.
Miniature parts can be just a few millimeters wide. If they roll off your desk onto the floor, finding them can be extremely difficult. Place cut parts and tiny accessories into shallow trays with raised edges or clear sectioned sorting cases (easily found at 100-yen shops or budget home stores). This single habit eliminates the stress of missing parts.
Miniature projects often take several days or weeks to finish. When taking a break, cover your work-in-progress and drying parts with a large clear plastic box or storage tub to keep dust from settling on sticky glue or delicate surfaces.
When starting a new hobby, budget is always a key question. Fortunately, miniature and dollhouse crafting has one of the lowest startup costs in the handmade world.
Here is a helpful breakdown of typical initial expenses:
With a modest budget, you can begin authentic miniature crafting right away without spending fortune on high-end specialized tools upfront.
However, it is crucial to know where you can economize with 100-yen craft supplies and where you should never compromise on quality.
Cutting mats, stainless steel rulers, plastic trays, paintbrushes, disposable gloves, cellophane tape, and masking tape work perfectly fine when purchased from budget 100-yen stores.
For two specific items—tweezers and craft glue—I strongly advise investing in quality products from established craft manufacturers. Compromising here doubles the difficulty of your work.
First: Precision Tweezers. Invest in fine-tipped metal precision tweezers (around 800 to 1,500 JPY) that do not bend or slip when pressure is applied. Cheap tweezers often have thick tips that slip, causing tiny parts to snap away and get lost.
Second: Task-Specific Craft Adhesives. Get a fast-drying PVA wood glue with a fine nozzle and a clear multi-purpose craft glue (around 500 to 1,000 JPY). Standard household glues dry too slowly or create messy glue strings that ruin clean finishes.
Once you finish your hard work, proper handling is key to preventing damage or deterioration over time. Follow these rules to keep your pieces looking beautiful:
Never display finished miniatures out in the open unprotected. Dust settles into tiny crevices where vacuoms or wiping cloths cannot reach without breaking delicate items.
Always place your finished pieces inside clear acrylic display cases (easily sourced online). Enclosing them in a clear case not only shields them from dust, but instantly elevates their presentation and visual quality.
Also, keep your display away from direct sunlight. UV light will fade paper prints, fabrics, and resin clay colors in just a few months. Choose a well-ventilated location out of direct sun, and avoid damp areas to prevent mold.
Tiny dishes or books set on miniature furniture can easily tip over or slide out of place from slight vibrations. If you want items to stay put while retaining the freedom to rearrange them later, use museum wax or clear removable adhesive tack. Simply roll a tiny speck between your fingers and attach it to the bottom of the piece to secure it safely.
To clean dust off the outside of acrylic cases, use a soft anti-static cloth or a camera lens blower. When cleaning inside, avoid wet wipes, as moisture can warp wood and cause paper parts to swell. Gently dust surfaces using a dry, fine-tipped paintbrush or an air duster.
Beginners frequently encounter the same few trouble spots. Knowing these causes and solutions beforehand will keep your crafting experience stress-free!
Trying to make sure parts stay stuck leads to applying too much glue, leaving shiny, hardened lumps once dry.
[Yassy's Solution]Never squeeze glue directly from the tube onto tiny parts! Always squeeze a small dab onto scrap paper or a plastic file folder first. Then use the tip of a toothpick or bamboo skewer to pick up a tiny dot of glue and apply it precisely. A tiny amount is surprisingly strong.
Cutting wallpaper, floor prints, or thin wood strips leaves rough, fuzzy edges that ruin the neat finish.
[Yassy's Solution]This is almost always caused by a dull craft blade or trying to cut through in a single heavy stroke. Snap off or replace cutter blades the moment they lose sharpness. When cutting cardstock or wood, hold a metal ruler firmly and lightly score along the same line 3 to 5 times rather than forcing it in one cut.
Thinking "It might look prettier if I place this furniture first," crafters sometimes alter the step order, only to find they cannot reach inside to attach walls or roof pieces later.
[Yassy's Solution]Dollhouse kit instructions follow a deliberate logic based on space access and structural strength: interior details first, followed by furniture, walls, wiring, and outer framing. Stick strictly to the numbered sequence instead of guessing.
Completing the entire house structure only to flip the switch and find the lights don't work is heartbreaking!
[Yassy's Solution]This usually stems from loose wire contact or reversing positive/negative polarity. Always test your LED light connections and battery box during a dry run before embedding or gluing wires into walls or ceilings. Confirming conductivity first is the golden rule.
If I were starting out today as a complete crafting beginner, I would follow these exact three steps for the smoothest learning curve:
Start with a well-reviewed beginner kit from craft marketplaces like minne or Creema, or online retailers like Amazon. Look for a single-room design, around 15 cm in size, with LED lights included. Completing this helps your hands learn wood bonding, paper application, scale proportion, and delicate pressure control.
After your first build, you'll realize where you want more control—like wanting finer tweezers, ultra-fine nozzle glue, or a magnifying craft visor. Upgrading key tools makes your dexterity feel instantly boosted and elevates your finish quality.
On your second or third kit, don't just follow the instructions—add one small personal tweak! For example, swap out wall paper with decorative paper from a craft shop, make a tiny clay bread loaf for the table, or trim dried flower twigs for a vase. Seeing your own idea come to life is where the true joy of miniature crafting lies!
Miniature and dollhouse crafting isn't reserved for a select few with expert skills. By choosing the right starter materials, taking your time, and following clear steps, anyone can build a charming world right at their fingertips.
To recap our main takeaways:
The gentle excitement when a tiny piece of furniture comes together or a miniature light glows for the first time is a magical craft experience. I hope you take that first step into this wonderfully detailed world!
If you enjoyed this guide, sharing it with fellow craft lovers on social media or messaging apps means the world to me! Until next time, happy crafting! This was Yassy from Crafters!

For example, if you are looking for articles about mizuhiki, try searching for "mizuhiki"; if you are interested in tools, try keywords like "nippers" or "pliers."
