Prevent Warping in Miniature Furniture: Master Assembly with a DIY Magnetic Right-Angle Jig
yassy
Crafters!

Hello everyone, Yassy from Crafters here! (・∀・)
After spending hours meticulously crafting miniature food, tiny furniture, or palm-sized dollhouse accessories, just looking at your completed creation brings a wonderful sense of joy. However, if you display your finished pieces directly on a desk or shelf, have you ever noticed them gathering a layer of dust, or accidentally knocking them over so they disappear into thin air?
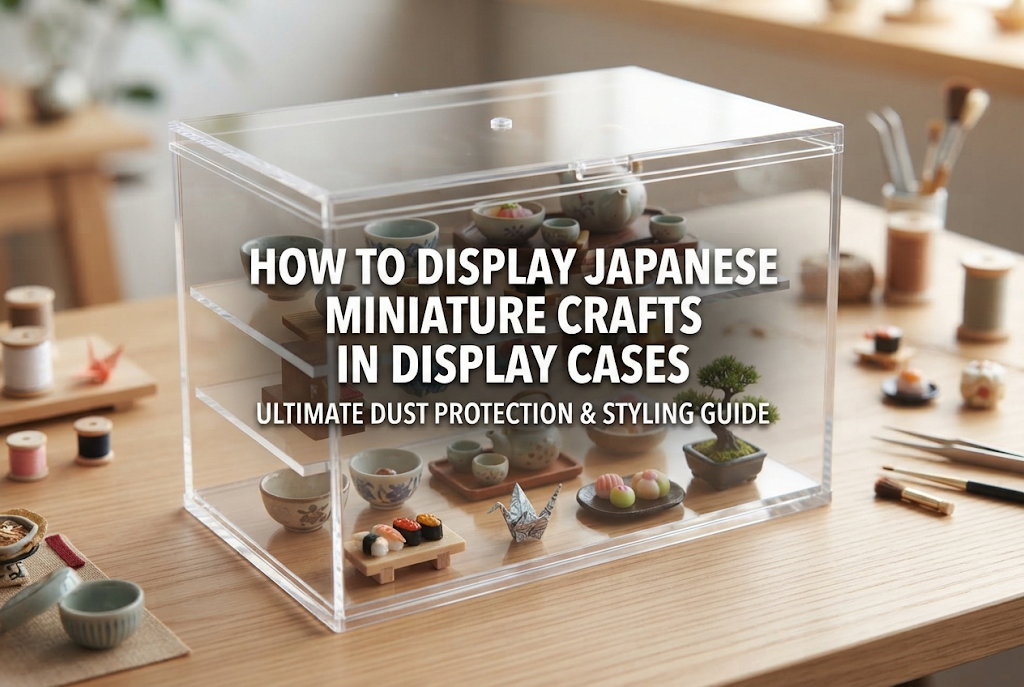
To enjoy your delicate miniature crafts in beautiful condition for a long time, displaying them inside a protective case is the best method available. Using a case not only shields your delicate work from damage, but it also creates a special presentation—much like a museum exhibit or a scene straight out of a storybook.
In this guide, I will walk you through everything you need to know: how to choose the perfect case for your miniatures, clever layout tips to arrange small parts beautifully, and secret techniques to secure tiny pieces firmly without causing any damage!
You might wonder, "Isn't it easier and closer to look at them if I just leave them out on an open shelf?" While that seems convenient, placing miniatures in a display case offers far more advantages than you might expect. Here are three key reasons why you should consider using a display case.
Fine dust particles are constantly floating invisibly in the air. If your display area is near a living room or kitchen, microscopic oil particles from cooking can mix with dust and stick to the surface of your miniatures.
Miniatures made from resin clay, wood, or paper often have intricate, textured surfaces. Once stubborn dust gets trapped in these tiny crevices, brushing it away with a paintbrush or soft brush is surprisingly difficult. Since many materials cannot be wiped with water, attempting to clean them can easily lead to breakage.
Enclosing your pieces inside a clear display case completely shuts out household dirt and oil. Cleaning becomes as simple as wiping the outer surface of the case, keeping your crafts looking as fresh and vibrant as the day you completed them.
Miniature projects are often composed of tiny parts measuring only a few millimeters. Miniature bread, cutlery, books, and small bottles can easily roll away with a light touch or a gentle breeze from a moving curtain.
Dropping a tiny piece on the floor, stepping on it, or accidentally sucking it up with a vacuum cleaner is a heartbreaking accident that almost every miniature lover has experienced. Furthermore, if you have young children or pets at home, keeping tiny parts safely enclosed prevents accidental swallowing hazards.
A sturdy display case guards against external impacts, dramatically reducing the risk of damaging or losing your cherished creations.
By framing a space within the boundaries of a display box or dome, the viewer's eyes naturally focus on the details within that defined box. In art, this is known as the framing effect.
Rather than placing small items loosely on a wide shelf, arranging tiny furniture and accessories inside a styled case increases the visual density and presence of your work. The case itself serves as a stage that elevates your miniatures into a cohesive work of art.
Display cases come in various materials and shapes. Selecting the right case that matches the size and aesthetic of your miniatures is the first step toward a stunning presentation.
Acrylic cases are the most classic and versatile option. They offer high transparency comparable to glass while being lightweight and shatter-resistant.
Because acrylic provides clear, distortion-free viewing from any angle, it is ideal for showcasing detailed miniature food or precise furniture pieces. Choosing a case with a black or white pedestal base defines the outlines of your artwork, giving it a sleek, gallery-like feel.
Glass cloches or domes with rounded silhouettes are perfect for botanical motifs, specimen-style displays, or vintage-inspired miniatures. When paired with a wooden or cork base, they blend naturally into your home decor as warm, cozy interior accents.
Glass offers a gentle light reflection and a satisfying weight that bestows an elegant, nostalgic atmosphere upon the scene. However, because glass is fragile, careful handling is necessary to prevent drops or impact.
Collection boxes featuring wooden frames with clear acrylic panels or glass doors can also be mounted on walls. If you lack tabletop space, these allow you to utilize empty wall space to display your favorite creations.
The natural wood frame pairs wonderfully with rustic, cafe-style, or retro miniature aesthetics. Another great advantage is customization: you can paint or stain the wooden frame to give it a weathered, antique finish that matches your personal taste.
For those who want to start simply, clear collection cases available at Japanese 100-yen stores like Daiso and Seria are fantastic allies. They offer a surprisingly wide variety, including tiered display stands, square cubes, and partitioned boxes.
Most of these are made from polystyrene, which scratches more easily than acrylic, but they are extremely useful for budget-friendly displays or for beginners creating their first miniature layouts.
Once you purchase a case, avoid placing your miniatures inside and sealing it immediately! A quick prep routine ensures long-lasting beauty and cleanliness.
Even if miniatures made with clay, paint, glue, or varnish feel dry to the touch, moisture or volatile components may remain trapped inside. Sealing an uncured piece inside a tight container traps humidity, which can cause mold growth or soften the clay.
In particular, items coated with gloss varnish or UV resin can emit trapped vapors that cloud the inside surfaces of the case. After completing your work, leave it in a well-ventilated, shaded area for several days to ensure it is thoroughly cured and dry before casing.
Acrylic and plastic cases easily build up static electricity, attracting fine dust particles. Additionally, if fingerprints remain on the inside walls when sealed, they will be visible from the outside and difficult to remove without reopening.
Before arranging your artwork, use a microfiber cloth (such as an eyeglass cleaning cloth) to wipe down the interior walls and base thoroughly. If dust is stubborn, wiping with a cloth lightly sprayed with anti-static spray helps prevent dust build-up for a long time. Avoid rubbing vigorously with paper towels, as this can leave microscopic scratches.
Even inside a case, you should never place your display near a window in direct sunlight. A sealed case acts like a greenhouse, causing temperatures to rise rapidly, which can warp clay, soften adhesives, and cause colors to fade quickly.
UV rays damage painted surfaces and cause clear plastic cases to yellow or crack over time. Choose a bright, shaded spot with good airflow, away from direct sunlight and air conditioner drafts.
Simply placing small props flat inside a case can look a bit plain. Applying a few simple styling techniques transforms a small case into a dynamic stage.
The golden rule of case layout is placing shorter items in front and taller items in the back. When every item is at the exact same height, the viewer's eye rests flatly, whereas varying heights create three-dimensional depth.
For instance, place tall shelving, house plants, or hanging signs at the back; position tables and chairs in the center; and place small food plates or tiny accessories in the foreground. Using tiered risers or small wooden blocks to lift certain items slightly can make a huge difference in visual appeal.
When you have a large collection of miniatures, it is tempting to pack every corner of the case. However, overcrowding hides individual pieces, making it hard to tell what the focal point is.
Leaving roughly 20% to 30% of the space intentionally empty creates a balanced, refined composition. When positioning items, divide your display into three groups: the main focal zone, a secondary prop area, and open breathing space. This guides the viewer's gaze smoothly through the scene.
Arranging miniature furniture parallel or perpendicular to the case walls can look stiff and artificial. To create a realistic, warm scene, tilt small props at slight angles.
Pull out a chair slightly, lay an open book at an angle on a desk, or place a spoon casually beside a plate. Giving the impression that someone was just using the space a moment ago brings your miniature world to life instantly!
If you move your case or pick it up for dusting, having the tiny contents tumble like dominoes is frustrating to fix. However, permanently gluing pieces down with superglue prevents you from reconfiguring the layout later and can tear off the bottom of delicate crafts if removed.
Instead, I recommend using temporary mounting products that hold pieces firmly yet peel off cleanly.
The easiest and most reliable tools are Kokuyo's "Hitsukimushi" (ひっつき虫) sticky putty and Museum Gel (used for earthquake safety in art galleries). Simply pinch off a tiny amount, roll it between your fingers, attach it to the bottom of your miniature, and press it gently onto the base.
Hitsukimushi is a soft, reusable adhesive putty similar to kneaded erasers, available in a subtle off-white color. Pinching off a piece smaller than a grain of rice is enough to keep items upright against bumps. When you want to rearrange, gently roll it off with your finger without leaving any residue or damage behind.
Museum Gel is completely transparent, making it perfect for clear glass jars or acrylic bases where the bottom is visible from underneath. Over time, it settles flush against surfaces, securing items strongly while keeping the mounting spot invisible.
For delicate legs of furniture where adhesive putty is too bulky to hide, ultra-thin transparent double-sided tape designed for craft models works best. Cut a tiny piece measuring 1 to 2 mm with scissors and apply it to the leg tips using tweezers.
Avoid thick foam double-sided tape, as it lifts furniture off the ground, creating an unnatural floating appearance. Always opt for thin film-type tape.
Leaving the raw plastic bottom of a case visible can make it look like a mass-produced container. Adding simple floor textures and background backdrops elevates the quality of your scene instantly.
Cutting textured paper or thin sheets to fit the exact dimensions of the case floor instantly adds realism. Since these sheets lie flat, you don't have to worry about staining the case with adhesive.
Using decorative paper or craft sheets available at craft stores or 100-yen shops allows you to create a professional diorama base for a modest cost!
Attaching brick patterns, striped paper, or vintage wallpaper-style paper to the back wall using light double-sided tape turns your display case into a miniature room. Blocking out the background hides household clutter and helps viewers immerse themselves entirely in your miniature creation. Drawing miniature windows or attaching tiny picture frames to the background wall is also wonderfully effective!
When displaying miniatures in cases, there are a few common pitfalls beginners often encounter. Knowing how to prevent them ensures your projects stay pristine.
If you use cyanoacrylate superglue to fix miniatures inside a case and seal the lid right away, you may find the interior fogged with a white powdery residue a few hours later. This phenomenon, known as blooming or fogging, occurs when adhesive vapors evaporate and settle on plastic surfaces.
Once blooming occurs, wiping or scraping cannot restore the original transparency. Avoid using superglue inside display cases; instead, use Hitsukimushi putty, PVA wood glue, or clear craft adhesives. If you must use superglue, let the pieces cure completely in an open, well-ventilated space for a full 24 hours before closing the case.
Choosing a case based solely on exact miniature measurements often results in the roof or walls feeling suffocatingly close to your crafts once placed inside.
As a rule of thumb, select a case that leaves at least two fingers' width (around 2 to 3 cm or 1 inch) of clearance above the highest element of your miniature. Ample ceiling clearance allows light to enter naturally, creating an open and comfortable view.
Because acrylic and glass reflect light, placing a display case directly under overhead room lights can cause harsh glare, making it hard to see the miniatures inside.
Position your case where light hits softly from an angle or from the side. Alternatively, installing a miniature LED strip or fairy light inside the top ceiling of the case provides even, downward illumination without shadows, dramatically lighting up your scene like a miniature theater!
The ultimate joy of display cases is that your setup doesn't have to remain static forever! You can update the miniature scene little by little according to seasons or moods.
In my own craft space, I keep the base furniture and floor simple and fixed on a wooden base, while changing out the small table accessories for each season:
When secured with removable putty like Hitsukimushi, swapping accessories takes only a few minutes with a pair of tweezers. Framing these small moments inside a case turns daily life into an ever-changing piece of art!
Displaying miniature crafts in protective cases goes far beyond practical benefits like dust prevention and damage protection—it is the ultimate display technique to highlight all the hard work you poured into your creations.
Whether you choose the crisp transparency of acrylic, the vintage charm of a glass dome, or the rustic warmth of a wooden box, each display style completely transforms the mood of your work. By laying down floor sheets, adding background paper, and using height and balance thoughtfully, you can build a unique world that tells your story.
Find your favorite display case and assemble a charming miniature scene on your desk or shelf that you'll love looking at every single day!
If you enjoyed this guide, please consider sharing it with your crafting friends on social media or messaging apps! It truly inspires and encourages me.
Until next time, happy crafting! This was Yassy from Crafters!





For example, if you are looking for articles about mizuhiki, try searching for "mizuhiki"; if you are interested in tools, try keywords like "nippers" or "pliers."
