Japanese Dollhouse Crafting: How to Make Perfect Walls and Floors Without Warping
yassy
Crafters!
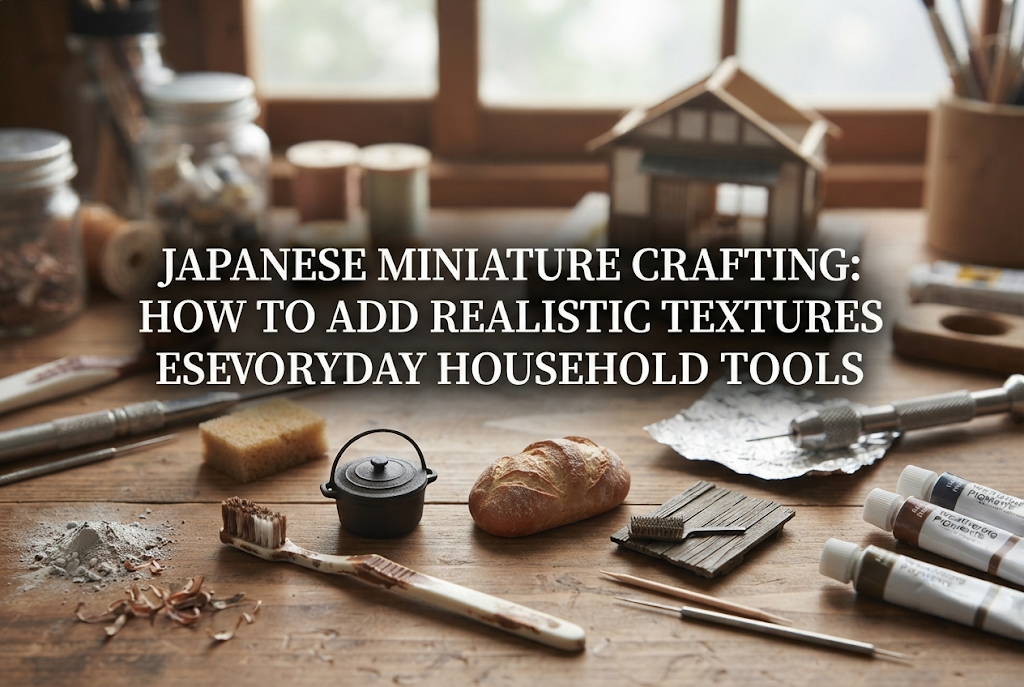

Hello, everyone! It’s Yassy from Crafters! (・∀・)
Have you ever been making miniature food, small furniture, or tiny accessories and thought, "The shape turned out great, but why does it look like a cheap plastic toy?" or "Why can't I seem to capture that warm, realistic feel of the real thing?"
The secret that divides a miniature piece that looks stunningly real from one that looks toy-like is texture. Human eyes are remarkably perceptive. We subconsciously judge what a material is made of based on tiny surface irregularities and subtle variations in gloss.
In this guide, I will thoroughly explain how to add surprisingly realistic textures to your miniature creations using everyday tools you already have around the house, without needing expensive specialized equipment!
A common hurdle for beginners in miniature crafting is the awkwardness caused by making things too neatly. You carefully roll your clay, smooth out every single fingerprint, and apply an even coat of varnish. At first glance, it seems beautifully finished. However, when viewed from a slight distance, it suddenly looks like a mass-produced plastic item.
This artificial "toy-like" look happens because the fine bumps, material-specific sheens, subtle aging, and natural color variations present on real objects have been completely removed.
The surface of freshly baked bread is never perfectly smooth. Antique wooden tables have fine wood grain and tiny scratches. Ceramic plates feature the deep sheen unique to glazes (yuyaku), and rusted iron pots have a coarse, gritty texture. Intentionally sculpting these "expressions of the material" is the step that breathes life into your miniatures.
You don't need to buy expensive professional tools to achieve realistic textures. You can create a surprisingly wide variety of finishes using items found around your home or at 100-yen stores. Let's master these four basic techniques first.
While the clay is still soft, gently tap the surface with a stiff-bristled toothbrush, a small tawashi scrub brush, or a wire brush. With just this motion, you can instantly create microscopic bumps that are easy to miss with the naked eye.
This versatile technique works wonders for the fluffiness of bread dough, the crispiness of cookies, the pitted skin of citrus fruits, or the texture of stone and mortar walls. Randomly changing the pressure and angle of your tapping produces an even more natural result.
Using the tip of a toothpick, a sewing pin, or a modeling tool, lightly scratch or carve lines into the clay surface to create texture and fraying.
This is indispensable for expressing the crumb section of torn sponge cake, the raised crust along the slashes (coupe) of a baguette, or the fibrous texture of meat. The secret to making it look authentic is scratching somewhat unevenly rather than lining up the marks too neatly.
Sanding is an effective way to add texture to hardened clay, wood, or plastic. By deliberately rubbing the surface with coarse sandpaper (around 180 to 240 grit), you can replicate weathered, fuzzy wood grains or the rough texture of worn stone.
Conversely, if you want to reproduce the smooth surface of ceramics or glass, sand the piece in stages starting from 400 grit up to ultra-fine sponge sandpaper of 1500 grit or higher to eliminate all scratches. Sanding gives you complete control over both roughness and smoothness.
This method involves adhering powdered items to the surface of your material or mixing them directly into paint to add three-dimensional texture.
Adding physical volume that paint alone cannot achieve dramatically increases the visual richness of your work.
Here are specific procedures for creating realistic textures on some of the most popular miniature motifs.
The mouthwatering texture of bread and baked goods is created in two stages: shaping and coloring.
First, shape your clay (such as a blend of resin clay and lightweight clay) into bread, then tap the entire surface with a stiff toothbrush. For layered items like croissants or pastry dough, use the tip of a craft knife to make multiple ultra-thin slices and slightly lift the edges with a toothpick.
When coloring the baked crust, use acrylic paint or pastels, layering colors from light yellow to golden brown and dark brown. Instead of painting flatly with a brush, dab the color on using a small, torn piece of makeup sponge. This recreates both natural baking spots and air-bubble textures at the same time.
To finish, apply gloss varnish to areas where you want a shiny sheen (like an egg-washed crust) and matte varnish to areas that should retain a dry, floury texture. This selective varnishing is the ultimate trick.
When making miniature furniture out of woods like balsa or Japanese cypress (hinoki), applying varnish directly will make it look like brand-new craft wood.
To bring out a realistic wood texture, first rub firmly along the wood grain with a wire brush. This scrapes away the softer springwood, causing the grain to stand out and create three-dimensional shadows. Softening the corners of desks or chair legs slightly with sandpaper mimics the gentle rounding of furniture that has been lovingly used for years.
For coloring, use wood stain or thinned water-based acrylic paint. Wipe it off immediately with a tissue or rag after applying, leaving darker color trapped only in the recessed grain, making the beautiful wood grain pop out clearly.
For dishes, bowls, and teacups, success depends on how smooth you can make the surface after the clay dries.
Shape your piece using stone powder clay or oven-bake clay. Once completely dry and hardened, perform wet-sanding by applying a small amount of water to fine waterproof sandpaper (800 to 2000 grit) to eliminate all bumps. Polish until it feels completely smooth like real porcelain under your fingertips.
After painting, coat the piece thinly and evenly with high-gloss varnish or UV resin. Applying it too thickly will destroy the crisp edges and turn your dish into a rounded plastic-looking plate. Use a brush to smooth it out thinly before curing. This creates a clear, glass-like glazed layer, giving you that characteristic cool shine of genuine ceramic.
To create the weight and feel of metals like iron, copper, or brass, combine a dark base coat with dry brushing.
First, paint the base component (made of clay or plastic sheet) thoroughly with matte black or dark gray. This dark undercoat is essential for conveying the heavy density of metal.
Once dry, take metallic paint (silver, gold, or copper) on a flat brush. Wipe the brush on a tissue until it is almost completely dry, then lightly stroke the raised edges of the component with the dry bristles (dry brushing). The metallic shine will catch only on the protruding edges, easily creating the look of heavy cast iron or worn brass.
If you want to add rust, mix a little baby powder into reddish-brown (burnt sienna) or orange acrylic paint and dab it lightly onto the corners. This recreates the powdery texture unique to real rust.
Mastering texture requires mastering gloss control. Many beginners coat their entire project with the same gloss varnish simply to protect it, but this is a major trap that makes the whole piece look cheap.
Look around you in the real world. Even within a single room or on a single table, the degree of gloss varies completely:
Using different varnishes for different parts of a single miniature piece—or even altering the gloss level on specific areas of the same part—is the key to creating incredible realism.
For example, when making a hamburger, give the top bun a gentle semi-gloss shine, use high-gloss varnish on the juicy meat patty, add selective glossy highlights to the lettuce, and apply a completely matte varnish to the cut side of the bun and dry cheese areas. This contrast tricks the viewer's brain into seeing it as real!
Here are common mistakes beginners make when attempting texturing, along with ways to solve them:
In the enthusiasm to add bumps, beginners often tap too deeply with a toothbrush or sprinkle sand that is far too coarse, resulting in a surface that looks like lunar craters when zoomed in.
Miniatures are usually crafted in 1/12 or 1/6 scale. A 1mm bump on a real object translates to roughly 0.08mm in 1/12 scale—a tiny variation barely visible to the naked eye. When adding texture, keeping it delicate enough that it feels "a bit too subtle" is the trick to maintaining proper scale.
The ideal window for texturing varies depending on the type of clay.
If you press a toothbrush into freshly kneaded, overly soft clay, the clay will stick to the bristles and lose its shape. Conversely, if you try to scratch the clay after the surface has started to dry out, it will crumble unnaturally and look messy. Shape your clay, let it rest for a few to several minutes until the surface tackiness settles, and apply texture at that perfect moment.
When applying varnish as a final coat, moving your brush frantically introduces tiny air bubbles that dry into whitish dots. This ruins the smooth ceramic or glass textures you worked so hard to create.
Load your brush gently with varnish and pull it slowly in one direction. If air bubbles appear, pop them with the tip of a toothpick before the varnish dries. Additionally, applying two thin coats—allowing the first coat to dry completely—yields a far clearer and more beautiful shine than applying one thick layer.
When I craft miniatures, the thing I value most is actually not hand technique, but carefully observing real objects.
When I want to make bread, I visit a bakery and observe real bread closely. I ask myself: "How does the light reflect off the surface?" "Where are the darker baked spots concentrated?" "How does the texture on the bottom feel?" Holding the real thing in your hands and touching it with your fingers is also wonderful.
Even just zooming in on photos of real items on your smartphone leads to many new discoveries that differ from your memory. Reflecting small observations—like "real items are less shiny than I thought" or "color is lighter only at the sharp edges"—dramatically elevates the persuasiveness of your miniature creations.
We’ve covered methods for bringing textures to life in miniature crafting, from basic tool usage to motif-specific tips and the secrets of gloss control.
The true joy of miniature crafting lies in that magical moment when a tiny piece of clay or wood sitting in the palm of your hand transforms into what looks like a real, freshly baked loaf of bread or antique furniture with just a little extra care.
Start simple—try tapping with a toothbrush or changing up your varnish sheens. Experiment with everyday tools around you and discover your own signature style for realistic textures!
If you enjoyed this article, sharing it with your friends on social media or messaging apps would make my day and keep me inspired!
Thanks for reading, and see you in the next post! This was Yassy from Crafters!

For example, if you are looking for articles about mizuhiki, try searching for "mizuhiki"; if you are interested in tools, try keywords like "nippers" or "pliers."
