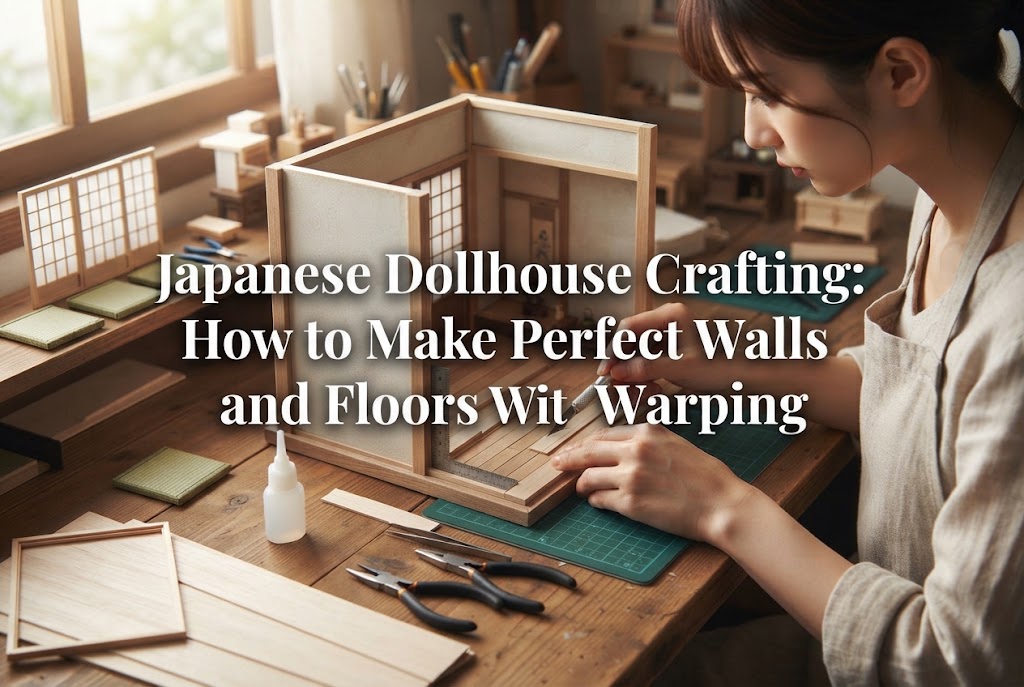
Japanese Dollhouse Crafting: How to Make Perfect Walls and Floors Without Warping
yassy
Crafters!

Hello! This is Yassy from Crafters! (・∀・)
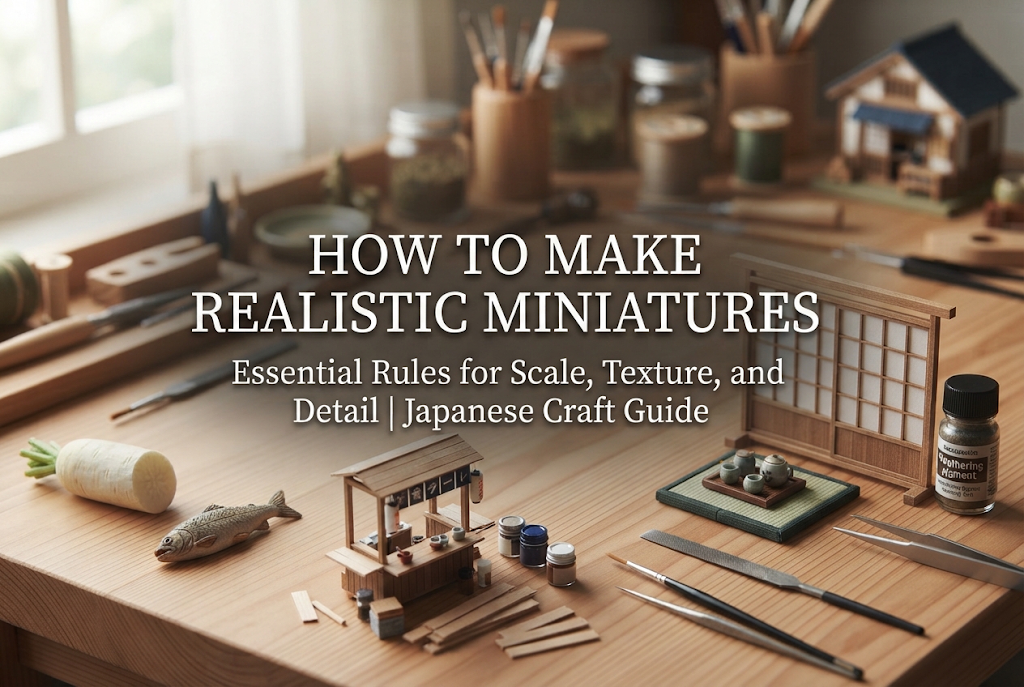
There is something undeniably captivating about tiny worlds sitting right in the palm of your hand. Being able to build a miniature space exactly as you imagine it is the ultimate joy of crafting. Spending hours with clay, wood, and resin to create tiny furniture, household items, or miniature food is so immersive that time simply flies by.
However, have you ever looked closely at a finished piece and thought, "The shape looks correct, but why does it still look like a toy?" or "Why does it look cheap and plastic-like in photos?" Striking the wall where a miniature is technically an accurate shrink-down of a real item, yet somehow fails to look authentic, is a common hurdle for many miniature enthusiasts.
In reality, whether a miniature looks convincing comes down to more than just accurate shaping. It depends heavily on three key factors: scaling down proportion and thickness, controlling surface textures, and evoking a sense of lived-in reality. Today, I am sharing actionable techniques that even beginners can try right away to dramatically elevate the quality of their miniature work and make items look startlingly real!
Before diving into techniques for realistic finishes, let's explore the fundamental reasons why miniatures often fail to look authentic. Once you understand the root causes, it becomes much easier to pinpoint what needs attention during crafting.
The most common culprit is that component thickness and edge roundness do not match the proportions of the real world. For example, in a 1/12 scale dollhouse setting, a 1 mm thick sheet of wood represents a 12 mm (1.2 cm) thick plank in full scale. If you use a 1 mm wood sheet simply because it is easy to work with, it visually translates to a heavy, thick board, giving the entire piece a bulky appearance.
Similarly, when clay or plastic pieces have overly rounded edges, our eyes unconsciously process the object as a toy designed for young children. Failing to replicate the sharp, crisp edges of real-life objects is a major cause of lost realism.
In an effort to make a piece look clean and finished, do you ever coat an entire project in high-gloss varnish, or conversely, make every single part completely matte? Real-world objects reflect light in vastly different ways depending on their materials.
Wooden furniture has a soft semi-gloss sheen, ceramics exhibit a smooth glaze, fabrics are completely matte, and worn leather develops gloss in areas exposed to friction. When everything is covered in a uniform topcoat, the artwork loses depth and ends up looking like a flat plastic print.
A flawless finish with perfect symmetry, zero scratches, and no color variation might be desirable for factory-made figures, but in a real-life everyday setting, it creates a sense of unnaturalness. Real scenes contain subtle color gradations, dullness from skin oils, edge wear, and faint dust. When these slight irregularities are missing, our brains quickly spot that the object is artificial.
Now that we know the causes, let's look at the four fundamental principles for making miniatures look authentic. Keeping these in mind will completely change how you view your components during the build process.
In miniature crafting, thinness is key. Pay special attention to thinning down dish rims, glass edges, book pages, box lids, and cabinet drawer panels as far as structurally possible.
When making tableware from clay, use a craft knife or fine waterproof sandpaper to shave down the rims after drying. When building wooden shelves, applying a beveling technique—filing the front-facing cut edges at a slight inward angle—makes the wood appear much thinner while maintaining structural strength.
Furthermore, keeping precise, sharp 90-degree edges on metal and wooden pieces creates a hard material feel that instantly enhances realism. Sharp where it should be sharp, smooth where it should be smooth—this contrast is vital.
Light reflection is what defines material texture in miniatures. Different areas of a single piece often require distinct topcoats:
For instance, when making a miniature fried egg, paint the crispy edge of the egg white with a slight semi-gloss, seal the center of the yolk with resin or gloss varnish for a moist look, and give the plate a glassy ceramic sheen. Distinctly dividing texture boundaries allows the viewer's eyes to instantly register authentic material differences.
Painting directly from the tube—red for apples, green for leaves, brown for cardboard—results in a flat, cheap appearance. Colors found in nature and everyday objects consist of countless subtle hues blended together.
Always build up color in multiple transparent layers. When painting baked bread crust, start with a light yellow base layer, sponge on an ochre shade, add reddish-brown, and finish with a pinpoint application of deep dark brown on the areas exposed to the highest heat. Layering acrylic paints or soft pastels creates deep, three-dimensional realism.
Overly rigid arrangements emphasize a model-like feel. To create a believable space, intentionally introduce subtle human imperfections.
Lean one book slightly sideways on a bookshelf, offset a teacup handle slightly from center, or add a subtle dent to a chair seat. These small breaks in symmetry give the space a story, hinting that a person was using the room just moments ago. After creating a perfectly symmetrical item, try shifting its angle or placement by just 5%.
Miniature crafting involves either using real materials in miniature form or imitating textures using alternative materials. Here are pro-level techniques for handling key materials.
When making wooden miniature furniture, standard softwoods like pine or cedar often have wood grain that is too large, throwing off the scale. Instead, choose fine-grained, uniform woods such as Agathis, Basswood, or Japanese Magnolia (Ho wood).
If you apply stain directly to cut wood, paint will soak unevenly into the grain pores or raise loose wood fibers. Follow this essential preparation process:
This extra effort results in a smooth, rich tactile texture akin to authentic antique furniture.
When painting miniature pots, cans, or doorknobs, simply applying silver or gold paint over plastic can end up looking cheap. The secret to heavy-looking metal is the base coat color.
Always apply a coat of glossy black paint before adding metallic colors. Metallic paint over a deep black base creates rich contrast when light strikes it, giving the impression of heavy iron or solid brass.
To add age, apply tiny amounts of reddish-orange pastel powder to corners for iron rust, or run a thin blue-green (verdigris) wash into grooves for aged brass.
When casting miniature glasses or bottles with UV resin, surface smoothness after curing is critical. Straight out of a silicone mold, pieces may retain slight mold cloudiness or surface imperfections.
Apply an extremely thin layer of low-viscosity coating resin with a fine brush or spray clear lacquer to let surface tension create a perfect glassy sheen. Be careful not to coat too heavily, as thick layers blur fine details and make parts look like rounded candy. Keeping the coating layer as thin and even as possible is the key to reproducing hard glass.
Using standard clothing fabric for dollhouse curtains, bedspreads, or cushions can result in oversized weave patterns. Opt for thin fabrics with fine, tightly woven threads, such as lawn fabric, ultra-thin cotton, or silk.
Folded hem edges on miniature textiles add bulky layers that stick out awkwardly. Instead of sewing hems, apply a thin bead of anti-fraying liquid (fray-check) along cut edges to leave them raw, or use ultra-thin double-sided tape or fabric glue with an iron press to keep seam allowances minimal.
Weathering—the technique of adding realistic age and wear—is one of the most effective ways to breathe life into a miniature. While altering a freshly finished piece might feel intimidating, proper weathering adds immense depth that captures the viewer's imagination.
The most important rule in weathering is having a clear reason for every mark or stain. Indiscriminate dirtying simply results in a messy-looking piece.
By placing subtle shadows and wear along natural activity patterns, you instantly ground the item in reality.
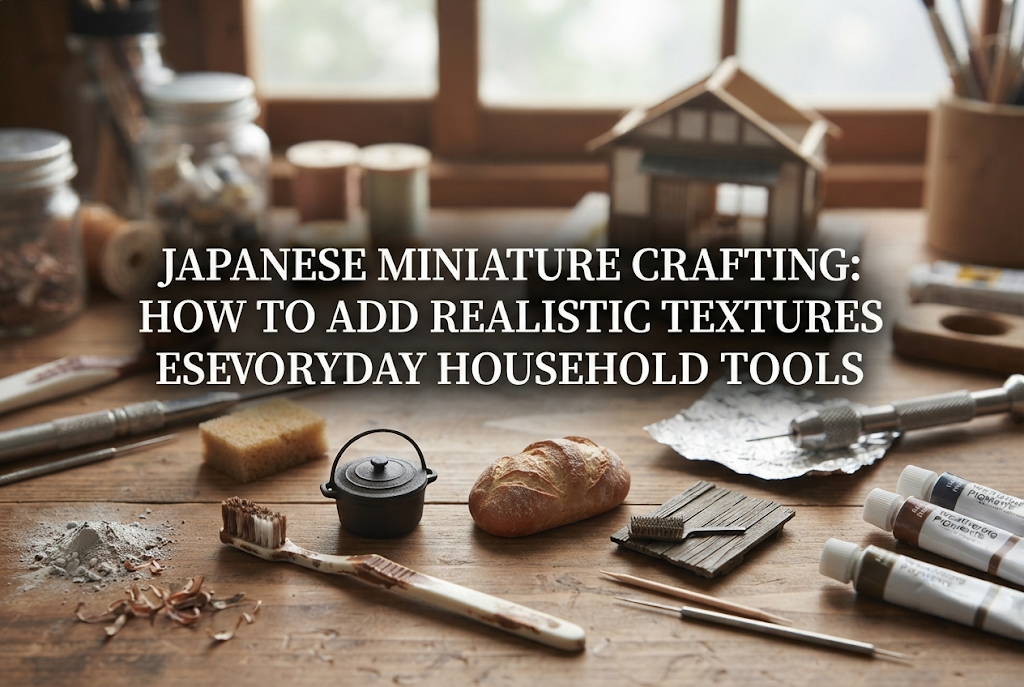
For crafters starting out with weathering, hard pastels are an ideal medium. Unlike paint, pastels allow easy correction using a damp cotton swab if you make a mistake, taking the stress out of the process.
Scrape brown, gray, black, and ochre pastels onto sandpaper to create fine powders. Pick up small amounts using a fine makeup brush or eyeshadow applicator, gently dusting it into grooves and corners. Softly blend the powder with a clean brush to achieve natural gradations resembling genuine dust and aging.
Weathering is fun, but it is easy to overdo it until a piece looks like an abandoned ruin. The golden rule of weathering is: stop just before you feel it is complete.
Focusing closely for long periods causes your eyes to adapt, making you paint darker than intended. Frequently step back about 30 cm (1 foot) to view the piece as a whole, or check it under different room lighting. A subtle effect—where a viewer doesn't instantly notice "dirt," but notices rich depth—yields the most refined realism.
Knowing common pitfalls ahead of time helps prevent mistakes and elevates your overall finish. Here are solutions based on practical crafting challenges.
Adhesive squeeze-out is something to strictly avoid in miniature building. Dried wood glue or instant cyanoacrylate glue leaves unnatural glossy spots that ruin the handcrafted feel.
Never squeeze glue directly onto tiny parts from the tube. Place a drop on palette paper or masking tape, then pick up minute amounts with a needle tip or toothpick. If glue squeezes out, wipe it away immediately with a damp cotton swab before it dries, or spot-apply a matte clear varnish over cured glue to remove the shine.
When assembling cut wooden strips, foam boards, or paper components, raw white or rough cut edges often remain visible. Exposed cross-sections instantly break the viewer's immersion.
Before assembling pieces, sand cut edges smooth and pre-paint them to match surrounding colors. For printed paper items, use matching colored pencils or markers to gently trace the raw paper edge (edge coloring) so white inner paper fibers never show through.
Combining commercial miniature accessories with handmade items can create awkward visual clashes if scale ratios do not match. For example, placing a 1/6 scale apple (which would appear as large as a human head) on a 1/12 scale dining table breaks harmony.
Establish your base scale (such as 1/12 or 1/24) before starting, and measure real-world items to calculate correct dimensions. For example, an 8 cm real-world apple scales down to roughly 6.6 mm in 1/12 scale. Verifying measurements with rulers or digital calipers ensures a clean, cohesive space.
Here is the three-step workflow I use when crafting miniatures to maximize realistic details. Following these steps helps streamline the build process and prevent errors:
Before crafting, gather at least 10 photo references of the real-world object, or study a real item directly if available. Relying solely on memory tends to result in simplified or stylized shapes.
Observe light vs. shadow areas, material joint seam steps, and underside shapes. Spotting easily overlooked details—like tiny screws on the back or brand markings on the bottom—and incorporating them into your miniature provides strong authenticity.
Avoid gluing parts permanently right away. Use masking tape or removable putty to dry-assemble components and review overall proportions.
Check table-to-chair height ratios and how furniture scales against wall panels. Adjust, file, or reshape parts as needed during this phase. Getting the structural proportions right ensures that subsequent painting and detail work will have maximum impact.
Once a project appears complete to the naked eye, inspect it further by taking macro photos with a smartphone camera and zooming in on the screen.
Camera lenses capture fine details even more sharply than human eyes. Microscopic dust, fingerprints, unpainted crevices, or glue shine will stand out clearly. Using photo inspection to make fine adjustments with a craft knife or detail brush results in breathtaking miniatures that hold up even under close inspection.
Achieving lifelike realism in miniatures relies on more than innate artistic talent. It is built on deliberate observation and careful steps: pursuing scale-accurate thinness and sharp edges, controlling gloss levels for each material, building depth through multi-layered color, and adding subtle weathering for lived-in character.
Sanding 0.5 mm off an edge, cleanly wiping away extra glue, or adding a soft brush of shadow into a tiny corner—when these small choices come together, a miniature transcends being a simple scale model and gains the warmth and narrative of a real, lived-in world.
Start by evaluating the surface sheen on your current projects or taking a closer look at everyday objects around your room. I hope you enjoy building wonderful, captivating miniature worlds with your own hands!
If you enjoyed this article, please share it with your craft friends on social media! See you in the next article—this was Yassy from Crafters!

For example, if you are looking for articles about mizuhiki, try searching for "mizuhiki"; if you are interested in tools, try keywords like "nippers" or "pliers."
