Hand Embroidery, Japanese Sashiko, and Cross Stitch: The Complete Beginner Guide to Differences, Projects, and Care
yassy
Crafters!
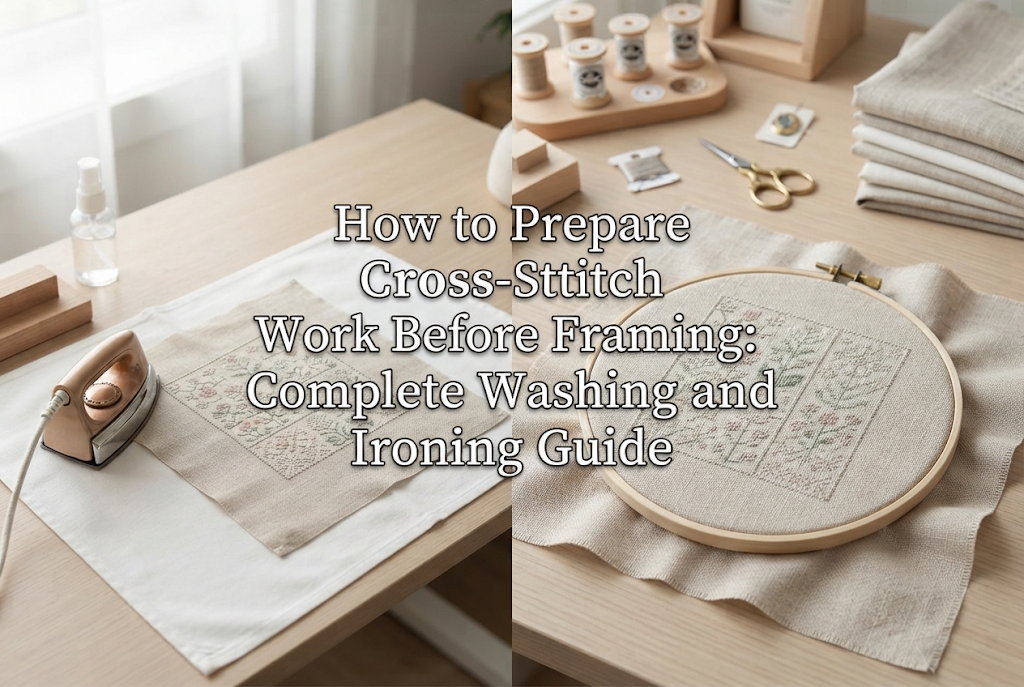

Hello everyone, it's Yassy from Crafters! (・∀・)
When you finish a cross-stitch project that you've spent hours painstakingly stitching stitch by stitch, you get a truly wonderful sense of accomplishment. It's such an exciting moment when you think about placing it in your favorite frame to display in your room or giving it as a gift to someone special.
However, putting a freshly finished piece straight into a frame is a big no-no! Fabrics that have just been stitched always retain invisible oils from your hands during making, fold creases, and distorted stitches.
By properly washing and pressing your piece before framing, its appearance will improve dramatically, and you'll be able to preserve it in a fade-free condition for years to come. In this article, I will explain step-by-step all the correct preparation procedures you should follow before framing your cross-stitch work.
Washing and ironing your cross-stitch work before framing isn't just a final cleanup. It is an essential step to extend the lifespan of your work and bring out its maximum visual quality.
First, it removes sebum and oil transferred from your hands while stitching. No matter how thoroughly you wash your hands before working, over weeks or months of handling the fabric, trace amounts of skin oils and sweat naturally transfer from your hands onto the fabric.
If left untreated and sealed inside a frame under glass or acrylic, these oils will surface years later as yellow stains. Once skin oil stains set, they are extremely difficult to remove, making pre-framing washing an absolute necessity.
Second, washing rinses away water-soluble fabric markers and grid lines used for charting. Any remaining ink that isn't completely washed out carries the risk of bleeding or reappearing later due to humidity inside the frame.
Furthermore, this process removes hoop marks and fabric creases while squaring up stitches that have been pulled out of shape. Doing a thorough job here restores the signature plump, three-dimensional texture of cross-stitch, giving you a professional-looking finished piece ready for display.
Before dunking your piece directly into water, there are several crucial checks you must perform. Skipping these preparations can lead to unraveling threads or color bleeding disasters during washing.
Inspect the back of your work thoroughly. If thread ends are left too long or aren't secured properly, they can float up and show through to the front during washing.
Trim any excess thread tails short and check for any loose thread tucks. Also, check from the front to make sure dark threads aren't showing through behind light fabric. If dark threads pass behind white fabric, they will be noticeable once framed, so fix them at this stage.
Embroidery fabrics such as Javacloth (Aida) fray very easily at the edges. If friction from washing causes the raw edges to unravel, it could reach your stitched design and ruin the entire project.
Apply a fray-stopping liquid along the edges, stitch a zigzag seam around the border, or protect the edges with masking tape. Securing the raw edges before washing is key to washing with peace of mind.
If you have used deep colors like red, dark blue, or black thread, there is a risk of dye bleeding. Be especially cautious if you are using inexpensive threads or hand-dyed threads.
Dampen a white cotton swab or white cloth with water and gently dab the dark threads. If color transfers to the swab, the thread is not colorfast. If your work contains bleeding-prone threads, use cold water instead of lukewarm water, skip long soaking, and wash very quickly.
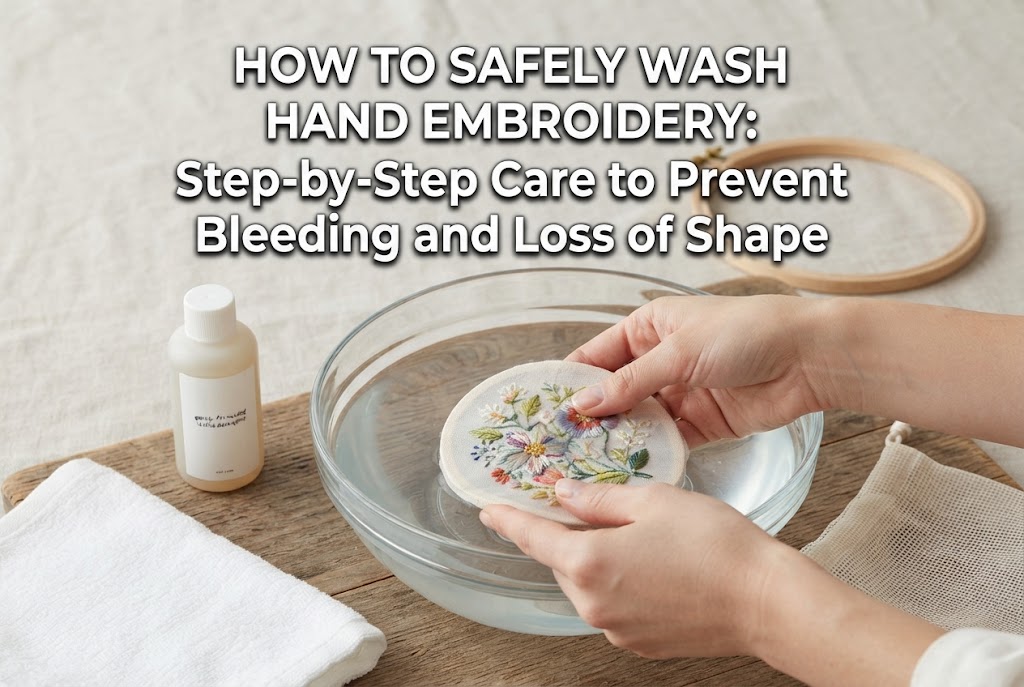
Once your preparations are complete, it's time to wash the piece. Never use a washing machine; always wash gently by hand in a basin.
Use a mild neutral detergent designed for delicate fabrics. Regular laundry detergents containing bleach or optical brighteners must not be used, as they fade thread colors and damage fabric fibers.
Avoid bar soaps as well, as soap scum easily gets trapped between stitches. Add just a few drops of liquid neutral detergent and dissolve it thoroughly in water.
Fill a washbasin with lukewarm water (below 30°C / 86°F) or cold water, and dissolve the neutral detergent completely. Submerge your unfolded piece gently into the water.
The fundamental washing technique is gently pressing down and releasing—a method called "press-washing" (oshi-arai). Never rub, scrub, or twist the fabric. Friction from rubbing will cause the embroidery floss to fuzz up, leaving the surface looking messy.
If you used a water-erasable marker, simply submerge the piece in clean water without detergent for about 10 minutes to let the ink dissolve naturally. After verifying that all ink is completely gone, proceed with gentle press-washing in detergent water.
Once the dirt floats out, change the basin water several times to rinse. Repeat gentle press-rinsing with plenty of clean water until all suds and slippery feel are completely gone.
Any detergent left in the fabric can cause yellowing over time. Change the water at least 3 to 4 times and rinse thoroughly until the water remains crystal clear.
Dewatering after rinsing is another crucial step that impacts the final look. Wet fabric stretches and damages easily, so handle it with extreme care.
When removing water, never twist or wring the fabric like a dishcloth. This pulls the threads, deforming them and twisting your cross-stitches into a messy shape.
Instead, use the "towel dry" method. Lay a clean, highly absorbent bath towel flat, and place your wet piece flat in the center.
Roll the towel and fabric together from one end like a sushi roll. Once completely rolled, gently press down from above with your hands to let the towel absorb the excess moisture. This safely removes water without damaging the fabric.
After towel drying out the bulk of the moisture, air-dry it in the shade. Exposing it to direct sunlight will cause embroidery threads to discolor or fade due to UV rays.
Avoid hanging the piece with clothespins at the edges. The weight of the remaining water will pull and stretch the fabric out of shape, and clothespins will leave stubborn dent marks.
Spread your piece flat on a flat drying net or a clean, dry towel in a well-ventilated indoor spot until it is damp-dry.
Ironing cross-stitch requires a few special techniques that differ from ironing everyday clothing. Done correctly, you can leave the stitches soft and plump while making the surrounding fabric crisp and flat.
The golden rule is to always press from the backside of the piece. If you iron directly on the front surface, the heat and pressure will crush the dimensional knots of the stitches, leaving them flat and dull.
Furthermore, friction against the metallic surface of the iron can rub the floss and ruin its natural luster. Always flip your work face down before pressing.
To protect the dimension of your stitches, fold a thick bath towel and place it on your ironing board. Position your work face down on top of this soft towel.
When you press from the back, the raised stitches sink softly into the plush towel below. As a result, you can press the surrounding fabric firmly without flattening the raised embroidery.
Adjust the iron temperature according to the fabric and thread material. For standard 100% cotton Javacloth and cotton embroidery floss like DMC, set your iron to medium heat (around 140–160°C / 280–320°F).
Sliding the iron back and forth stretches and distorts the fabric grid. Instead, lift the iron and press down vertically, moving it like stamping a seal.
Apply pressure for a few seconds per spot across the entire piece. Using a white cotton pressing cloth over the back adds an extra layer of safety to prevent heat discoloration.
As you stitch, variations in stitching tension or direction can sometimes pull the fabric into a slightly skewed, parallelogram shape. Framing a skewed piece makes the design look tilted against the frame edges.
The best time for reshaping is while the fabric is still slightly damp during pressing. Once completely dry, the fabric memory sets, making it much harder to adjust.
Right before applying the iron, gently pull diagonally and align the warp and weft threads so they cross at clean 90-degree right angles with both hands. For fabrics with distinct grid squares like Javacloth, visually check that the grid lines run completely straight.
If the piece is severely distorted, perform a technique called "blocking." Place your piece on an ironing board or a corkboard lined with grid paper.
Working from the center outwards, stretch the edges along the reference lines on your grid paper and pin them down closely using rust-proof stainless steel pins.
Once pinned into a perfect rectangle or square, apply steam from the back with a steam iron to set it with heat and vapor. Leave it pinned until it cools down completely, fixing it into a straight shape.
Here is a summary of mistakes beginners often fall into during preparation, along with practical ways to prevent them.
Immediately after ironing, invisible moisture from steam remains trapped inside the fabric fibers. Mistaking warm fabric for dry fabric and sealing it inside a frame right away can lead to mold growing under the glass months later.
Fix: After ironing, leave your piece flat in a room for at least 24 hours to air-dry completely. Always verify that all heat and moisture have dissipated before framing.
Limescale, dirty water, or large drops sputtering out of steam vents can drop onto your piece and leave new stains.
Fix: Keep your iron well-maintained and use a pressing cloth. Alternatively, set your iron to dry mode and lightly mist the entire piece with clean distilled water before pressing.
It is disappointing to finish framing and hang your piece on the wall, only to notice a stray thread end or hair trapped between the glass and your artwork.
Fix: Right before framing, use a low-tack lint roller or masking tape to gently remove debris from both the front and back of the piece. Keep tweezers handy to pull out tiny dust particles caught between stitches.
Let me share my personal routine that I follow whenever I finish a cross-stitch project!
When I finish stitching, I first fill a basin with cold water and let the piece sit for about 15 minutes to completely dissolve the water-erasable marker. Then, I drop in a single drop of neutral detergent for delicates and gently press-wash, focusing on the unstitched margins using the pads of my fingers.
After rinsing thoroughly, I sandwich the piece inside a thick hotel-style bath towel and gently step on it with clean bare feet to transfer moisture into the towel. Stepping applies more even pressure than pressing by hand, removing water effectively without distorting the fabric grid.
When it reaches a damp-dry state, I layer two plush towels on my ironing board and lay the piece face down. Using a pressing cloth, I firmly press down with a medium-heat dry iron.
During pressing, I flip the piece over multiple times to check whether the grid lines remain straight. Finally, I lay it flat on my desk for 24 hours to let all remaining moisture evaporate before mounting it into a frame. Ever since adopting this exact routine, the quality of my finished pieces has improved immensely!
We've covered everything you need to know about preparing cross-stitch work before framing—from washing fundamentals to drying, ironing, and blocking distortions.
You've dedicated hours to creating a precious piece of art. Giving a little extra care to the finishing steps elevates its visual beauty immensely and ensures it stays pristine for a long time.
Remember the golden rule: Wash, reshape, and iron from the back! Follow these steps, and present your wonderful stitched work in the best possible condition inside its frame.
If you enjoyed this guide, sharing it with your crafting friends on social media or messaging apps would mean the world to me!
Until next time, happy crafting! This was Yassy from Crafters!


For example, if you are looking for articles about mizuhiki, try searching for "mizuhiki"; if you are interested in tools, try keywords like "nippers" or "pliers."
