What Is Embroidery? A Beginner’s Guide to Japanese and Western Stitching Techniques, Tools, and Getting Started
yassy
Crafters!

Hello, this is Yassy from Crafters! (・∀・)
When you spend hours carefully stitching a piece of hand embroidery, it gains a wonderful handmade warmth and becomes something you truly treasure. However, whether displayed as decor where dust settles, or stitched onto daily items like handkerchiefs, pouches, and clothing, sweat and oils will naturally build up over time.
Are you hesitating to wash your work because you fear puckered threads, color bleeding, or ruining that lovely, fluffy 3D dimension you worked so hard to create?
The good news is that as long as you follow the proper steps and correct knowledge, hand embroidery can be safely washed in water. Washing embroidery like regular laundry will lead to major disaster, but by giving it delicate care tailored to hand-stitched pieces, you can keep your creations looking beautiful for years to come.
In this guide, I will explain everything from crucial pre-wash checkpoints and foolproof hand-washing steps to ironing techniques that preserve your stitches' lovely dimension!
Before washing your embroidery, you must first confirm whether it is made from washable materials. Depending on the fiber, getting it wet can cause severe shrinkage or completely ruin its texture.
Check these details carefully in advance to prevent unexpected trouble.
Standard cotton embroidery floss—such as size 25 (6-strand floss) or size 5—is made from 100% cotton. If your base fabric is also cotton or linen, the piece is generally safe to hand wash in water.
However, you should avoid washing pieces containing any of the following materials:
Silk and rayon threads lose significant strength and can lose their signature luster when wet. Wool fabrics and felt will shrink and felt up due to moisture and friction, causing the item to lose its shape. Beads and sequins also carry a high risk of peeled coatings or cut threads from washing friction, making them unsuitable for water washing.
Embroidery floss—especially vivid colors like red, dark blue, or deep green—is prone to dye bleeding when wet, which can ruin white base fabric.
Before you begin washing, always test for color fastness using the following method:
If even a tiny amount of color transfers, do not wash the piece with detergent. Washing it as-is will stain the surrounding fabric permanently.
Let me state this clearly: never place hand embroidery in a washing machine.
You might think putting it inside a mesh laundry bag makes it safe, but the mechanical action of a washing machine is far too harsh for hand stitches.
Using a washing machine carries three major risks:
Hand-stitched threads are not locked tightly into place like machine stitches. Heavy tension on surface loops will easily pull them out of alignment. Once a thread loop is stretched out, it is impossible to restore it to its original beauty.
Therefore, gentle hand washing using a soft press-and-wash technique is an absolute rule for hand embroidery.
To safely wash your embroidery, gather the right tools and detergent before starting. No special equipment is needed, but choosing the proper soap is essential.
Instead of standard synthetic laundry detergent (which is slightly alkaline), use a pH-neutral delicate detergent designed for wool and silk.
While alkaline detergents excel at stain removal, they are harsh on natural fibers and accelerate color fading. Furthermore, avoid detergents containing optical brighteners (fluorescent whitening agents), as they will unnaturally bleach unbleached linen or pastel embroidery floss. Bleach and chlorine agents are strictly off-limits.
Be sure to use clean white towels that will not transfer any dye to your wet embroidery project.
Once your tools are ready, let's wash your embroidery piece step by step. Careful execution at each step is the key to preserving your work.
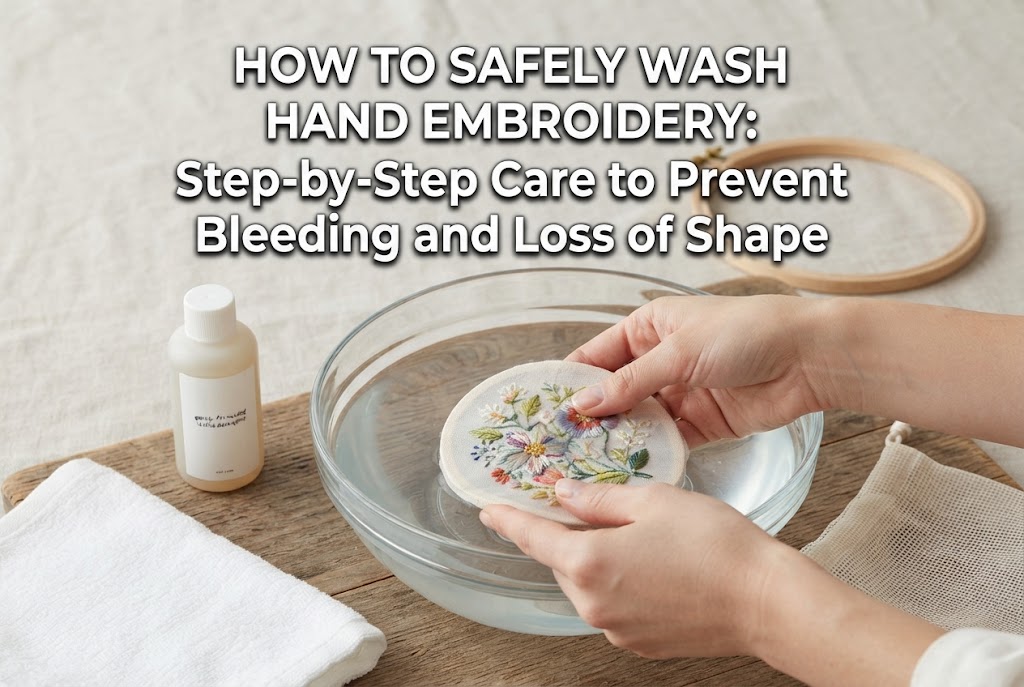
Fill your basin with room-temperature or lukewarm water below 30°C. Warm or hot water encourages dye to leach out of embroidery thread. Add a small dose of delicate pH-neutral detergent and mix well with your hand until fully dissolved. Adding fabric directly onto concentrated detergent can cause uneven dye spots, so ensure it is thoroughly mixed into the water first.
Fold your embroidery piece gently and submerge it into the soapy water. The motion for washing is a gentle downward press followed by lifting it up. Never rub or scrub the fabric together! Rubbing causes thread surfaces to fuzz up and lose their shine instantly. Use your palms to gently press down and release 10 to 20 times to flush out dirt. Keep soaking time under 3 to 5 minutes maximum, as prolonged soaking allows dissolved dirt and dyes to reabsorb into the fabric.
Empty the soapy water from the basin. Lightly press the embroidery between your palms to remove excess water without wringing or twisting it. Fill the basin with clean, cool water and gently press-wash to rinse. Repeat this process 2 to 3 times with fresh water until all soap suds and slipperiness are completely gone. Leaving soap residue will cause yellow staining or fabric degradation after drying.
After rinsing, move to the crucial water extraction step. Wringing embroidery like a dishcloth is the single most destructive thing you can do to thread tension and fabric fibers.
Always extract water using the towel-sandwich method:
This method removes excess moisture safely without subjecting delicate stitches to friction or stretching.
The drying and ironing process dramatically affects the final finish. Following these steps ensures a crisp, professional outcome.
After removing moisture with a towel, reshape the piece and let it dry. Hanging embroidery on a clothes hanger causes wet fabric to stretch downward under its own weight and leaves clip marks.
Always lay the piece flat on a mesh drying rack or a dry towel. Keep it out of direct sunlight, as UV rays fade thread colors quickly. A well-ventilated, shaded spot is ideal.
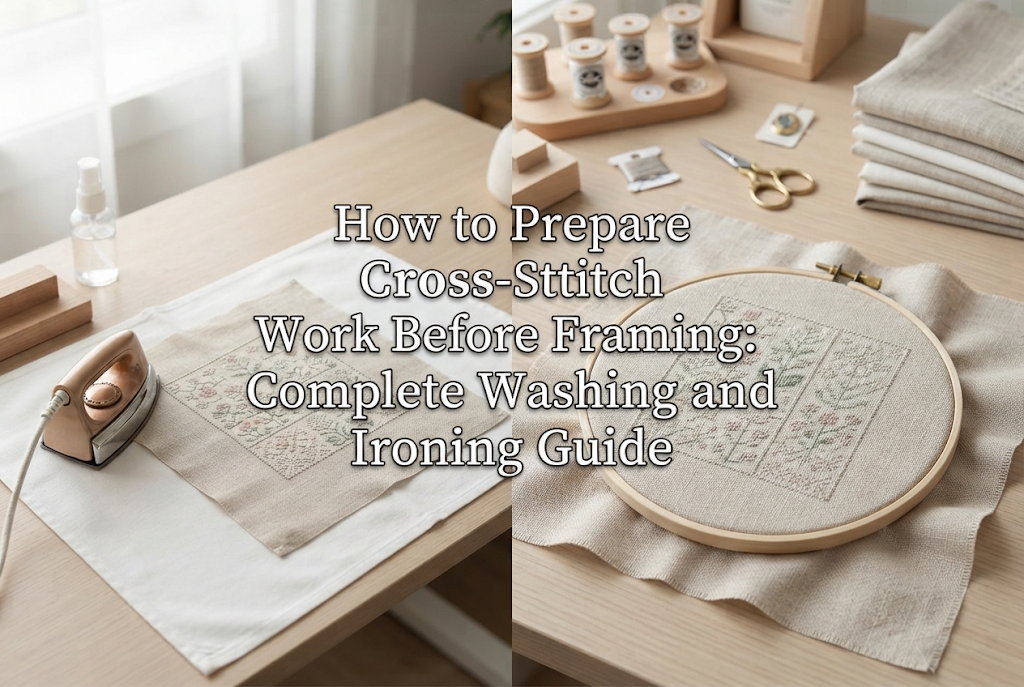
Washing inevitably leaves minor wrinkles on the base fabric. Ironing smoothes out these wrinkles while reviving the fluffy dimension of french knots and satin stitches.
If you iron directly on the front side, you will flatten the lovely dimensional stitches and risk scorching or adding unwanted shine to the thread. Always follow these golden rules:
By pressing face-down into a soft towel cushion, the raised embroidery stitches sink safely into the towel, allowing you to press out surrounding fabric wrinkles without flattening your stitches!
Avoid sliding the iron back and forth, as this pulls on threads. Instead, lift and press vertically in smooth motions.
Here are three common mistakes beginners often make when washing hand embroidery, along with solutions for each:
If you draw pattern lines with a water-soluble transfer pen and submerge the piece directly into warm, soapy water, the chemical components of the detergent or warmth can lock the ink into the fibers permanently.
Prevention: Before adding any detergent, rinse the entire piece under plain, cool tap water until all blue or purple pen lines disappear 100%. Once you confirm the markings are completely gone, proceed to the detergent wash.
This occurs when thread dye dissolves into the water and stains surrounding fabric during washing or drying.
Prevention: If dye starts running during a wash, immediately rinse the piece under a strong stream of cold running water before it dries. Once dry, the bled dye sets permanently. To prevent this altogether, pre-wash vivid embroidery floss in plain water before starting a project.
When the area around embroidery puckers like a dome, it is usually caused by excessive thread tension during stitching rather than the washing process itself.
Prevention: While ironing, apply steam and gently pull the surrounding base fabric outward with your fingers to correct the shape. Moving forward, practice stitching with a balanced, relaxed tension so the fabric doesn't pucker.
Here are a few personal habits and small tricks I keep in mind when making and caring for embroidery projects:
When stitching items that will be washed frequently—such as handkerchiefs, coasters, garments, or tote bags—I always pre-shrink (water-soak) the base fabric before starting. Cotton and linen shrink by several percent when first exposed to water. If you don't pre-wash the fabric, the base will shrink during its first wash while the stitches stay the same size, resulting in heavy puckering.
I also make sure to secure thread ends firmly on the back of the work. Washing subjects threads to water resistance and motion, so loose ends can unspool easily. For functional items, weaving thread tails extra long or dabbing a tiny dot of washable fabric glue onto the back tails gives great peace of mind.
For large framed pieces that cannot be washed, I recommend routinely dusting the surface with a soft makeup or powder brush. Gently sweeping away dust keeps your work clean and reduces the need for water washing altogether.
In this article, we covered essential precautions, hand-washing steps, and ironing techniques for caring for hand embroidery.
Let's review the key points to remember:
Hand washing might seem extra careful at first, but taking the time to care for your work step by step will only deepen your fondness for what you created. Instead of hiding your embroidery away for fear of dirt, use these proper care techniques so you can enjoy your hand-stitched pieces every day!
If you found this guide helpful, please feel free to share it with your craft friends on social media! See you in the next post! This was Yassy from Crafters!



For example, if you are looking for articles about mizuhiki, try searching for "mizuhiki"; if you are interested in tools, try keywords like "nippers" or "pliers."
