How to Start Japanese Hand Embroidery Without Frustration: A Complete Beginner Starter Kit Guide
yassy
Crafters!

Hello, this is Yassy from Crafters! (・∀・)
Cross-stitch is a delightful craft where simply stitching "X" shapes into neatly aligned grid squares brings pixel-art-like designs to life. The greatest appeal is that even if you aren't confident in drawing, following a chart square by square allows anyone to create beautifully finished work.
However, when stepping into a craft shop or browsing online stores to get started, many people feel overwhelmed by the sheer variety of tools available. Questions naturally pop up: "Can't I just use regular sewing needles and fabric scraps?" "Do I really need an embroidery hoop?" "What does count mean?"
Cross-stitch is a craft where every tool serves a very distinct purpose. Equipping yourself with the right basic tools from the start dramatically improves how smoothly your needle glides and enhances the overall beauty of your finished piece. In this guide, I will walk you through the 5 essential basic tools every beginner must have, handy items that make stitching far more comfortable, and key tips to avoid common pitfalls when choosing your gear.
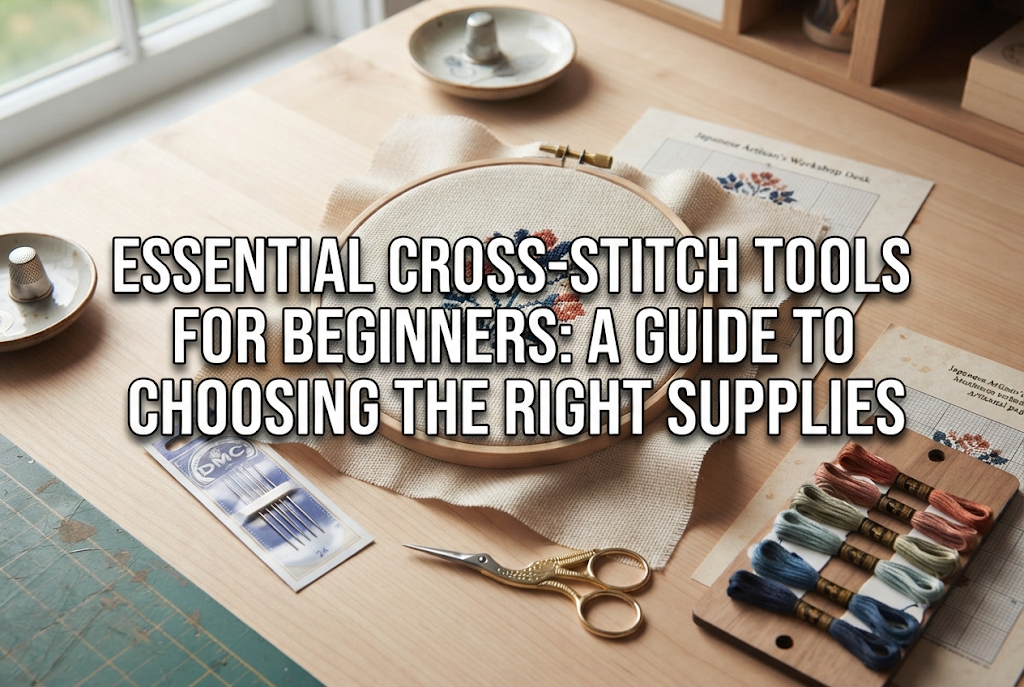
The minimum set of tools required to start cross-stitching is actually quite simple. You only need five basic essentials: cross-stitch needles, specialized fabric, embroidery floss, embroidery scissors, and an embroidery hoop. Let's take a closer look at each item's features and how beginners should choose them.
When starting a new craft, it is tempting to grab a standard sewing needle from a household sewing kit, but this is one of the biggest pitfalls for beginners. Always use needles designed specifically for cross-stitch (often labeled as tapestry needles).
Cross-stitch needles have two major differences compared to general sewing needles or French embroidery needles:
Needles are sized by gauge numbers; the larger the number, the finer the needle. For the fabric grid size recommended for beginners, a Size 24 or Size 26 needle is the easiest to handle. Craft shops usually sell multi-needle packs from various brand manufacturers, so pick up a pack in one of these sizes first.
The base fabric for cross-stitch is not plain woven cotton or linen, but a specialized fabric woven into an even grid pattern with visible holes. This makes it crystal clear where to insert your needle without guessing.
There are several types of specialized fabric, but beginners should look for Aida or Javacross (a high-quality cross-stitch fabric produced by Japanese craft manufacturers like Olympus). Both fabrics have a firm, stiff crispness that makes counting grid squares easy for newcomers.
When selecting fabric, you will always see the term "count" (ct). This represents the number of grid squares per inch (approx. 2.54 cm). The smaller the count number, the larger the squares; the higher the number, the finer the weave.
For your first fabric purchase, choosing 14-count Aida (or equivalent specifications like Javacross 65) in white or off-white is the safest, most fail-proof choice.
While there are different embroidery threads available, almost all cross-stitch patterns use Size 25 Embroidery Floss, made from 100% cotton. It features a lovely sheen and is the most widely used embroidery thread around the world.
Size 25 floss comes in a skein composed of six thin strands lightly twisted together. Rather than stitching with the entire bundle, standard rules require you to pull out individual strands—such as 2 or 3 strands—based on the pattern instructions. This process is called separation or taking strands.
For standard 14-count fabric, stitching with 2 strands is standard. There is a trick to separating floss: cut a length of thread (around 40 to 50 cm), then pull out one strand straight upward at a time before recombining the required number of strands. If you try to pull two strands at once directly from the bundle, the thread will tangle into a stubborn knot.
I recommend choosing floss from long-established, reliable manufacturers (such as DMC, Olympus, Cosmo, or Anchor). Cheap, unbranded multipacks carry risks of fuzzing, snapping under friction, or bleeding colors during washing that could ruin your white fabric, so stick to trusted brand color numbers.
For cutting threads, skip stationary paper scissors and invest in small craft scissors with fine, sharp tips. In cross-stitch, you frequently need to snip thread tails close to the back of the fabric or carefully unpick mistakes without damaging the cloth.
Paper scissors have thick, rounded tips that cannot fit into tight spots, making accidental cuts to the fabric fibers much more likely. Having dedicated embroidery scissors—such as classic stork-shaped snips or sharp, precision mini-scissors with tight blade alignment—dramatically improves your work efficiency.
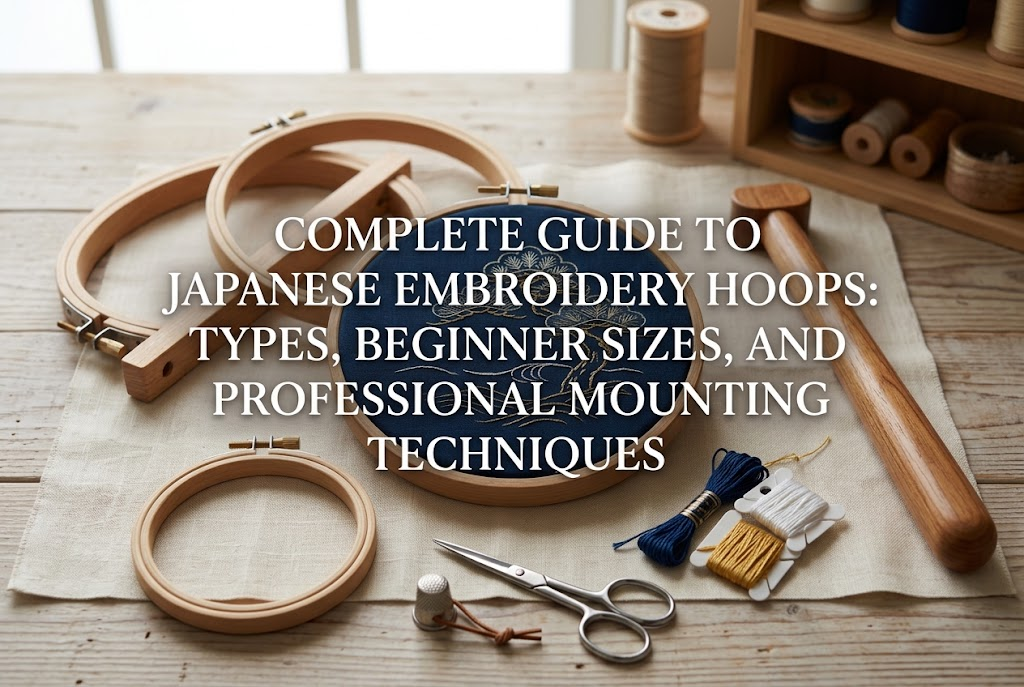
Many beginners wonder, "Since fabrics like Aida are stiff, can't I stitch without a hoop?" While stitching small motifs while holding the fabric by hand is physically possible, I strongly encourage beginners to use an embroidery hoop.
The hoop holds the fabric taut like a drum skin. Maintaining uniform tension offers several advantages:
The ideal size for beginners is a round hoop with a diameter of 10 cm to 12 cm (4 to 4.7 inches). Larger hoops can feel heavy and tiring to hold in one hand, while smaller ones require frequent repositioning. Wooden hoops are popular for their non-slip grip, but plastic hoops with easy-to-tighten screws work wonderfully too.
In addition to the 5 essential tools, here are a few auxiliary items that eliminate frustration and make stitching much smoother. If your budget allows, consider adding these from the start!
Although cross-stitch needles have larger eyes than standard sewing needles, threading two or three strands of Size 25 cotton can still be tricky if you aren't used to it. Trying to force licked ends through often splits the fibers, making it even harder.
A sturdy embroidery needle threader solves this in seconds. Look for flat metal plate threaders or heavy-duty wire threaders designed for embroidery. Delicate, ultra-thin wire threaders found in basic sewing kits often break under the thickness of embroidery floss, so choose a solid version made specifically for embroidery.
Because cross-stitch fabrics have an open weave, cut edges tend to fray easily while working. If the fabric frays too much during stitching, you risk losing your border margin, making final framing or mounting impossible.
Zigzag stitching the edges on a sewing machine is ideal, but the easiest quick method is folding masking tape over all four sides of the fabric. Alternatively, applying a thin layer of liquid fray stopper (like Fray Check) along the raw edges and letting it dry completely prevents fraying throughout your project.
Cross-stitch involves a 1-to-1 correspondence between squares on paper charts and grid holes on fabric. As you stitch, it's very easy to lose track of where you are or which squares you've already completed.
To prevent mistakes, I strongly recommend working from a photocopy of your paper pattern and highlighting finished squares with a fluorescent highlighter pen. Marking directly on original charts ruins them for future use, so keeping the original intact while marking a working copy is a golden rule.
Additionally, using a water-soluble fabric marker to draw 10×10 grid lines directly on your fabric practically eliminates counting errors. Avoid heat-erase pens, as cold temperatures can cause the ink lines to reappear; water-soluble markers wash away cleanly with cold water.
Keeping embroidery floss in loose skeins leads to tangled tangles inside craft bags and boxes, wasting precious time whenever you need a specific color.
Winding floss onto plastic bobbins, writing the manufacturer's color number with a permanent marker, and arranging them in a compartment storage box lets you identify colors at a glance. Organised threads keep your creative motivation high!
Even with good tools, misusing them can lower the quality of your finished work. Here are three common mistakes beginners make and how to fix them.
It’s easy to think, "As long as it fits through the hole, any needle thickness is fine." However, if the needle is too thick for the fabric count, it forces the woven threads apart, leaving permanently enlarged holes.
Conversely, if the needle is too thin, the thread ends up wider than the needle eye path, causing heavy friction as it passes through the fabric. This friction makes the thread fuzzy, dulls its shine, and leads to snapping.
Matching needle size to fabric density—such as Size 24 needle for 14-count fabric, or Size 26 needle for 16-count fabric—is the foundational secret to neat stitches.
To avoid rethreading often, beginners frequently start with threads over a meter long. However, thread suffers friction every single time it passes through the fabric.
Long strands get worn out, losing their sheen near the end. Long threads also twist easily, forming hidden knots on the back of your fabric that cause disastrous tangles.
Always follow the rule of thumb: cut thread to the length from your fingertips to your elbow (approx. 40 cm to 50 cm). Keeping strands short prevents tangles and preserves thread luster.
When taking a break, some stitchers leave their fabric clamped in the hoop for days. Doing this leaves stubborn, circular crease marks on the fabric that won't come out even with ironing after completion.
Once you finish stitching for the day, always loosen the hoop screw and remove the fabric before storing it. This simple habit protects your work from wrinkles and distortion.
If you're wondering whether to buy tools individually or purchase a complete kit, here are two paths I recommend based on your budget and crafting style:
If you want to test whether cross-stitch suits you, buying an entry-level kit from established, trusted brands like DMC, Olympus, or Lecien (Cosmo) is the smartest route.
Kits usually contain pre-cut fabric, pre-sorted floss in required amounts, appropriate needles, color charts, and sometimes mini display frames. All you need to supply is a pair of scissors, preventing wasted leftover materials.
When choosing a kit, look for ones with 14-count fabric, a small color palette (around 5 to 10 colors), and a small finished size (within 10×10 cm, like a coaster). Tackling a massive landscape kit right away often leads to frustration!
If you have specific patterns in mind—like cute characters or Scandinavian geometric motifs—purchasing individual tools gives you complete freedom. A solid starting shopping list looks like this:
An initial investment of around ¥3,000 to ¥4,000 (or equivalent local budget) gets you high-quality tools. Once you own needles, a hoop, and scissors, future projects only require picking up fresh fabric and thread!
With the right specialized tools in hand, cross-stitch allows even absolute beginners to create beautifully aligned geometric art.
Using blunt needles, choosing easy-to-count 14-count fabric, working with short thread lengths, and holding fabric taut with a hoop—these simple steps free you from tangles and fabric distortion, letting you immerse yourself in the relaxing rhythm of stitching.
Find a comfortable hoop and a favorite pair of scissors, and take that rewarding first stitch. The sense of accomplishment when watching neat rows of stitches come together is a wonderful experience that washes away daily stress!
If you enjoyed this guide, please share it with your craft-loving friends. Happy stitching, and see you in the next article! — Yassy from Crafters


For example, if you are looking for articles about mizuhiki, try searching for "mizuhiki"; if you are interested in tools, try keywords like "nippers" or "pliers."
