What Is Embroidery? A Beginner’s Guide to Japanese and Western Stitching Techniques, Tools, and Getting Started
yassy
Crafters!

Hello, this is Yassy from Crafters! (・∀・)
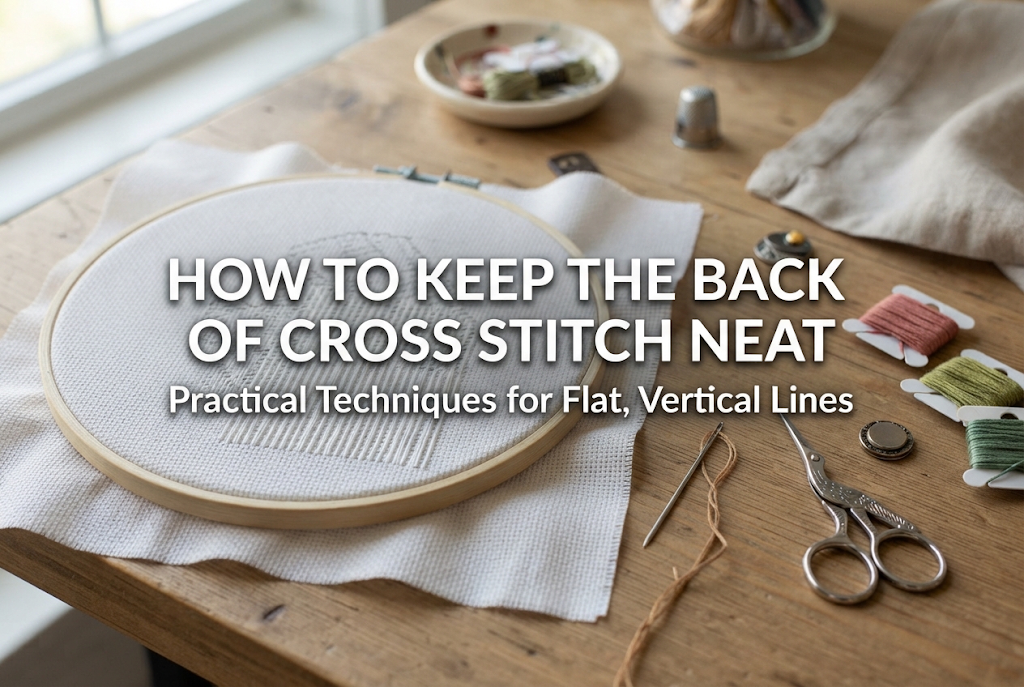
Have you ever been enjoying cross stitch, glanced at the back of your fabric, and felt discouraged? Maybe you saw threads tangled like a fur ball or long threads running everywhere, creating a bumpy mess. Even when the front looks adorable and perfectly matches the pattern, a messy back can cause the fabric to float when framed or feel bulky when turned into practical items like pouches.
It is easy to think, "Nobody sees the back, so it doesn't matter," but keeping the back neat is actually the ultimate shortcut to making your front stitches look amazingly beautiful and even. In this article, I will thoroughly explain everything from the root causes of a messy back to needle routes that align your back stitches neatly, as well as smart knotless thread-finishing techniques!
Before mastering the techniques to tidy up the back, let's firmly understand why we need to keep it neat. When the reasons are clear, paying attention to the back with every single stitch will naturally become a habit.
If threads cross multiple times on the back to form clumps, or if knots overlap, the fabric becomes thicker in those spots. As a result, even if you iron your work after finishing, those clumps on the back will get pushed forward, causing the front surface to become bumpy and uneven. Furthermore, pulling back threads tightly across long distances tugs at the fabric, distorting the grid and turning your neat square crosses into diamonds.
When framing your completed piece in a photo frame or wooden frame, a flat and uniform back allows the fabric to adhere perfectly to the backing board without wrinkles. If large knots or frayed thread ends are scattered across the back, pressing the fabric against glass or acrylic creates awkward shadows, lowering the overall quality of your work. When making items like pouches or book covers, a tidy back allows the lining to lay smoothly and gives the finished product a sleek feel.
When using white Aida or light-colored linen, carrying dark embroidery thread across long distances on the back leaves dark shadows visible through the unstitched blank spaces on the front. This greatly ruins the clean look of the piece. By following rules to minimize how threads are carried on the back, you can maintain a clean, clear finish in the blank areas.
There are three common bad habits among crafters whose backs turn into a mess. Check if any of these apply to how you stitch:
Knots, which are basic in general sewing, are the biggest enemy in cross stitch. Because the fabric grid is loose, knots can slip through to the front or form large lumps on the back that block the needle. However, the single biggest cause is stitching randomly without planning your needle route. Because cross stitch has a geometric structure, simply applying a consistent set of rules to your needle movement will transform the back into something remarkably beautiful.
When you look at the back of traditional European cross stitch or expertly tailored pieces, you will notice something surprising: all the threads are aligned in neat, vertical straight lines (|||||). A back where vertical lines sit tightly side by side like a barcode is the most ideal and beautiful state in cross stitch.
The reason the back turns into pure vertical lines is the strict use of the "looping/return method" (continental method / row stitching) when stitching horizontal rows. There are two main ways to cross stitch: the English method (completing each "X" one stitch at a time) and the Continental method (stitching a row of bottom diagonal stitches "/" first, then returning with top diagonal stitches "" to form "X"s).
To make the back beautiful, you should always choose the Continental method (row stitching). On the forward path from bottom-left to top-right "/", the needle moves vertically on the back—either straight up to straight down, or straight down to straight up. On the return path from bottom-right to top-left "", the back thread also travels vertically. By repeating this back-and-forth movement, no diagonal or horizontal lines appear on the back at all, leaving only neat, vertical lines behind.
An absolute rule for keeping the back flat and neat is to finish threads without knots. Here, I will introduce the exact step-by-step thread-handling procedures I always use in my daily crafting, which leave no trace and never come undone.
When stitching with 2 strands of thread, the cleanest and easiest way to start is the Loop Method. Using this reduces the thickness on the back at the start to absolute zero.
Using this method allows you to secure the thread instantly without making a single knot. Since no excess thread ends are left over, this is the most beautiful and reliable technique for starting threads. When stitching with an even number of strands, such as 2 or 4, do not hesitate to use this Loop Method.
When working with an odd number of strands (like 1 or 3) where a loop cannot be formed, or when you already have nearby completed stitches, secure the thread by weaving it under the base of existing stitches on the back.
To start, pass the point of your needle under 3 to 4 nearby vertical stitches on the back of the fabric. Then, hold the tail gently so you do not pull it all the way through, and begin your first stitch. Passing the thread under tightly packed stitches uses friction to lock the thread in place, ensuring it will never slip out even without a knot.
When your thread runs short or you finish a color area, ending the thread follows the same principle. Slide your needle horizontally under 3 to 4 vertical stitches visible on the back.
The key points here are not to cut the thread too close to the stitches, nor to leave it too long. Be careful not to cut the fabric or existing stitches, laying your scissors flat to trim the thread, leaving about 2 millimeters. Leaving it too long can cause it to get caught in other threads and fray, while cutting it too short might cause the end to pop through to the front after washing or daily use. Passing the needle vertically along the existing lines or horizontally across them creates strong friction for an even firmer hold.
When working on a pattern, you will often find a few stitches of the same color isolated a short distance away. At times like this, stretching the thread diagonally across a long gap on the back just to avoid cutting it is the biggest trap that ruins your back side.
A strict rule I follow in my craft is that the maximum distance you should carry thread on the back is 3 squares (about 5 to 6 mm). If the next stitch is 4 or more squares away, even if it feels tedious, the correct approach is to weave the thread under back stitches, trim it, and restart at the new square.
Carrying thread over 4 or more squares causes major problems:
"Cutting the thread wastes short ends, so I really want to move to the next block without cutting!" If you feel this way, instead of crossing open space diagonally, pass your needle through existing stitches on the back like a tunnel to reach your destination.
Passing under existing stitches prevents the thread from floating away from the fabric and completely eliminates puckering. You can transport your thread safely to the next spot without disturbing the order on the back.
Even if you stitch a horizontal row neatly back and forth, carrying the thread diagonally when moving to the next row (above or below) breaks the vertical line rule on the back. When moving between rows, adjust your needle entry and exit points to keep the back lines strictly vertical.
Suppose you returned from right to left on the upper row and finished the last "". At this point, your needle is on the back side of the fabric at the bottom-left of the square. To stitch the row directly below, move the needle straight down into the hole below to bring it out on the front. Doing this keeps the back thread connecting the rows in a perfectly vertical line. If you try to exit diagonally, a diagonal line will form on the back. Always remember to drop the needle vertically on the back when choosing your next starting point.
Patterns often shift like stairs, where the next row sticks out one square to the left or right. In these cases, rather than forcing a single continuous stroke, reverse the needle direction on your final stitch. Where you would normally pull the needle from bottom to top, inserting it from top to bottom instead guides the thread's landing point closer to the next square. Thinking ahead so your needle always moves vertically on the back feels like solving a fun puzzle and makes cross stitching even more enjoyable!
In addition to needle route knowledge, secret techniques for a beautiful back lie in your daily hand movements and tool handling. Here are the specific details I practice in my own work.
If you insert the needle at a slanted angle, the point can easily pierce and split existing threads on the back. Splitting thread causes complicated tangles that create knotted clumps you cannot untangle or pull through. Insert the needle straight at a 90-degree angle to the fabric, and pull it straight out from the back as well. This careful movement prevents thread-splitting troubles nearly 100% of the time.
In an attempt to keep the back tidy, some crafters pull their thread overly tight. This actually has the opposite effect. Pulling too hard stretches the fabric weave, opening up larger holes that make the back threads visible from the front. Furthermore, the entire fabric shrinks and ripples, causing severe distortion that an iron cannot fix. Stop pulling as soon as the thread rests gently on the fabric surface. If your tension is consistent, the vertical lines on the back will have an even, plush thickness, creating a uniform texture similar to ribbing.
As you make stitch after stitch, the rotation of your fingers on the needle adds a strong twist to the embroidery floss. Working with twisted thread causes it to curl into small loops (bird's nests) on the back, leaving the reverse side covered in unnoticed lumps. Every few stitches, let go of the needle and let it hang freely below your work so the natural spin untwists the thread. Transporting your needle with smooth, straight floss is fundamental to protecting a flat back surface.
For trimming thread ends, use dedicated precision embroidery scissors with extremely thin, sharp tips. Thick sewing scissors cannot reach into the small gaps of back stitches, forcing you to leave thread ends 5 mm to 1 cm long. Dozens of long thread ends overlapping turn the back into a shaggy rug. Having scissors that can cleanly snip targeted thread ends close to the base is an essential requirement for a beautiful finish.
No matter how careful you are, small loops can form and tangle on the back while stitching. Knowing the right way to handle this will save your work.
If you feel resistance or an unnatural pull on the back, never pull the needle forcefully. Pulling with force tightens the tangle into a hard knot that can never be undone. As soon as something feels wrong, stop immediately and turn the fabric over. If you spot a protruding loop, use the eye end of a needle or a thick pin to gently wiggle and loosen the loop bit by bit. Before it gets pulled tight, almost any tangle can easily be restored to a single straight line just by untangling it gently with a needle tip.
If it turns into an undoable hard knot, do not leave it as is. Make the firm decision to cut the thread at a spot long enough to finish off, and restart with new thread. Leaving a single lump behind negatively impacts dozens of future stitches. The courage to restart cleanly is what ultimately creates a flawless piece you can show off with pride!
When all stitches are complete and excess thread ends on the back are trimmed, ironing is the final touch. There are important rules here as well to preserve the back's beauty.
Ironing strictly from the back is essential. The soft towel underneath cushions the front cross stitches so their plush, 3D texture is not flattened. Applying moderate heat and steam from the back tightens the vertical thread lines, settling them flat so they integrate seamlessly with the fabric. Once ironed, your work will have a smooth, exquisite finish that looks almost woven into the fabric itself.
We have covered practical techniques for keeping the back of your cross stitch neat and tidy. Simply following basic rules—aligning back threads into vertical lines, using zero knots, and never carrying thread over more than 3 squares—will dramatically improve the quality of your craft!
When the back of a piece is clean and organized, the front crosses align with incredible consistency, looking professional whether framed or sewn into an item. At first, planning your needle route might feel a bit tricky, but after a few rows, seeing your back align like neat barcodes becomes an addictive pleasure.
Aim for a refined, gorgeous cross stitch that is flawless on both sides. Give these tips a try starting with your very next stitch!
If you enjoyed this article, sharing it with friends on social media or messaging apps would make me super happy and encouraged!
See you in the next article! This was Yassy from Crafters!


For example, if you are looking for articles about mizuhiki, try searching for "mizuhiki"; if you are interested in tools, try keywords like "nippers" or "pliers."
