What is Light Leather Craft? A Complete Beginner’s Guide to Japanese-Style Leatherworking
yassy
Crafters!

Hello, everyone! It’s Yassy from Crafters! (・∀・)
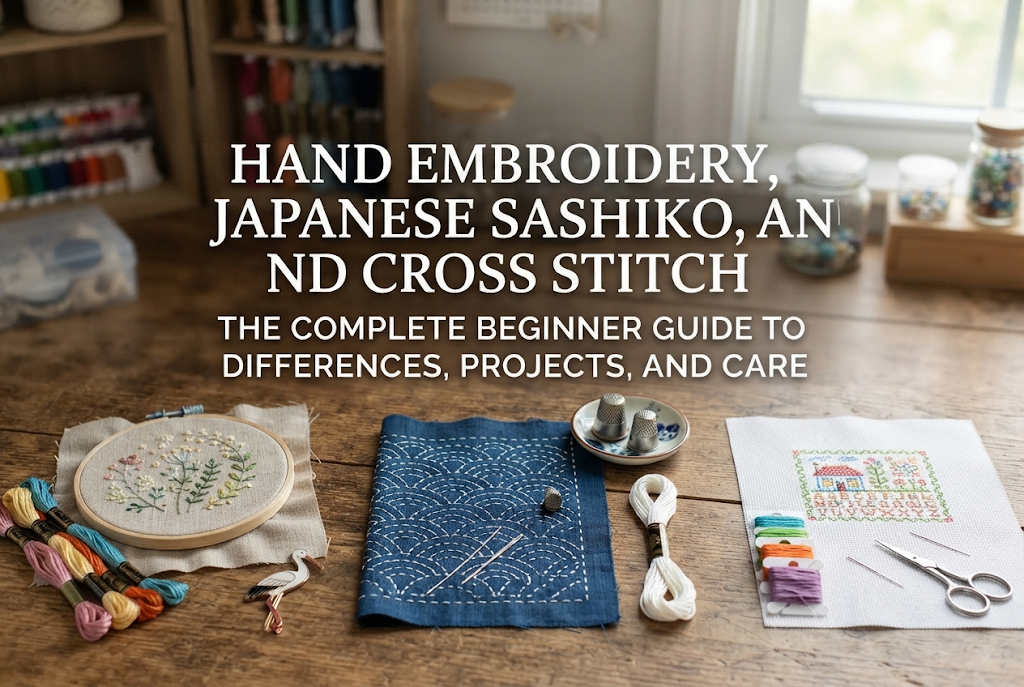
With just a piece of fabric, some thread, and a single needle, needlework opens up a boundless world of creative possibilities. Among handmade crafts, three styles consistently hold top popularity: hand embroidery (surface/free embroidery), Japanese Sashiko, and cross stitch.
I personally love stitching embroidery pieces, admiring the delicate work of talented artisans, and using charming embroidered goods in my daily life at home. The warmth and dimension brought to life by thread and needle have a unique appeal you simply cannot find in any other craft.
However, I often hear questions from beginners who want to pick up needlecraft: “What is the actual difference between hand embroidery, Sashiko, and cross stitch?” “Can you wash finished pieces?” “How difficult and expensive are they?”
In this guide, I will share all my knowledge and experience to break down the key differences between these three techniques, what you can make, essential care and washing rules, difficulty comparisons, workspace needs, and starting budgets!
By the end of this article, you will clearly know which needlecraft fits you best so you can take your first stitches with confidence. Let’s dive in!
All three crafts share the fundamental concept of “drawing patterns on fabric using a needle and thread,” yet the fabrics used, needle movements, and visual expressions are completely distinct. Here is what makes each one special.
When most people think of “embroidery,” this is the classic technique that comes to mind. It is often referred to as French embroidery or surface/free stitching.
You follow drawn pattern lines freely across fabric by combining dozens of stitch types. These include the outline stitch for clean lines, the satin stitch for smooth, glossy solid fills, and the French knot for plump, textured dots.
Its biggest strength is the freedom to create organic curves, delicate botanical motifs, and three-dimensional textures. It feels very much like painting with thread, making it the ideal choice if you want to express original artwork and detailed illustrations.
Sashiko is a traditional Japanese embroidery craft that originated in regions like Tohoku (northern Japan) to reinforce worn textiles and provide extra insulation against cold winters.
Fundamentally, Sashiko uses a running stitch (nami-nui) with consistent stitch lengths to form geometric and traditional Japanese motifs. A key hallmark of Sashiko is a technique called unshin, where you pleat the fabric onto the needle and pull through multiple stitches in a single motion.
Because Sashiko utilizes thicker Sashiko thread and sturdy plain-weave cotton fabrics, the resulting textiles are remarkably durable. The calm, rhythmic beauty of perfectly aligned stitches and its warm, rustic character make Sashiko exceptional for functional, everyday home items.
Cross stitch is a traditional counted-thread method that relies on special evenweave fabric (such as Aida or Java cloth) with clearly visible grid holes, stitching thread in an “X” shape across each square.
Because each grid square corresponds to one “X” stitch, designs are constructed much like pixel art. By simply filling in each grid space with the specified thread color, you can reproduce intricate patterns with exact accuracy.
Since the needle placement is predetermined by the grid holes of the fabric, you do not need drawing skills at all. As long as you count the chart correctly, anyone can produce a flawless finished piece. It is easily the technique with the lowest risk of mistakes.
Needlecraft items range from practical lifestyle goods to wall decor and wearable accessories. Here are popular items you can create:
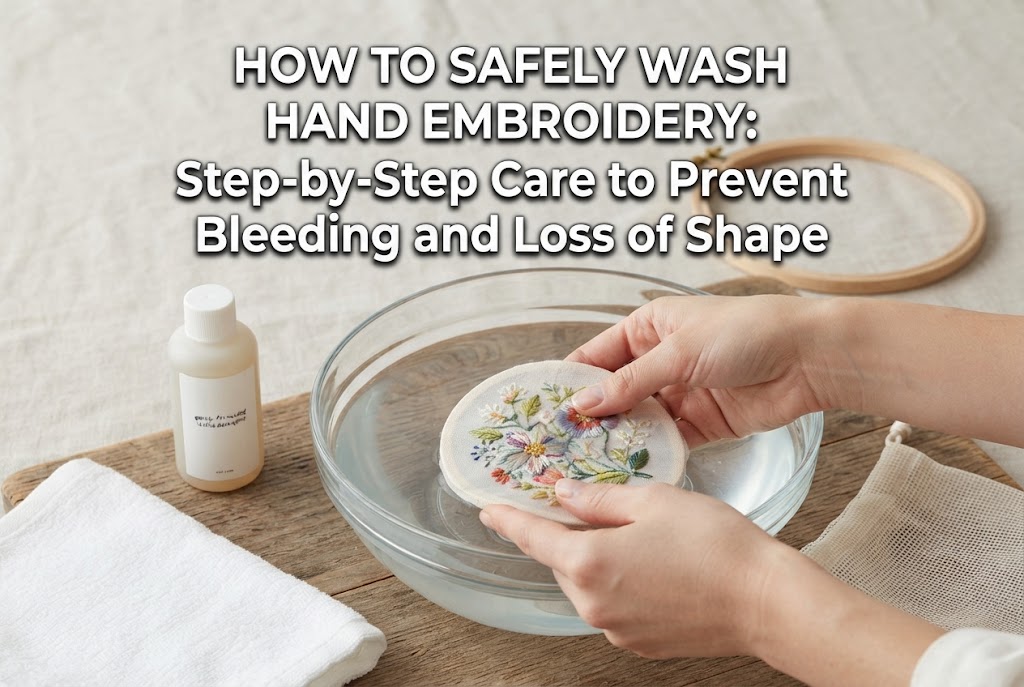
Many beginners worry whether embroidered pieces can be washed without the threads snagging or coming undone. The answer is yes! With proper care, they hold up wonderfully in daily life.
Both embroidery and Sashiko pieces are fundamentally washable. In fact, Sashiko dishcloths and coasters become softer and better blended into the fabric with every wash.
However, never toss them into a washing machine with regular laundry, as the agitator can catch and pull the threads. Instead, dissolve a mild, neutral detergent (wool/delicates wash) in a basin of lukewarm water and gently press-wash by hand. Do not wring the piece out like a rag; roll it in a clean, dry towel to absorb excess water (towel drying).
High-quality 100% cotton threads offer brilliant colors, but deep tones (like rich reds or navy blues) can occasionally bleed when wet. Pre-washing fabric or rinsing finished work in cool water helps remove excess surface dye.
Additionally, prolonged direct sunlight will fade colored threads over time. Always dry your finished items flat in a well-ventilated, shaded area.
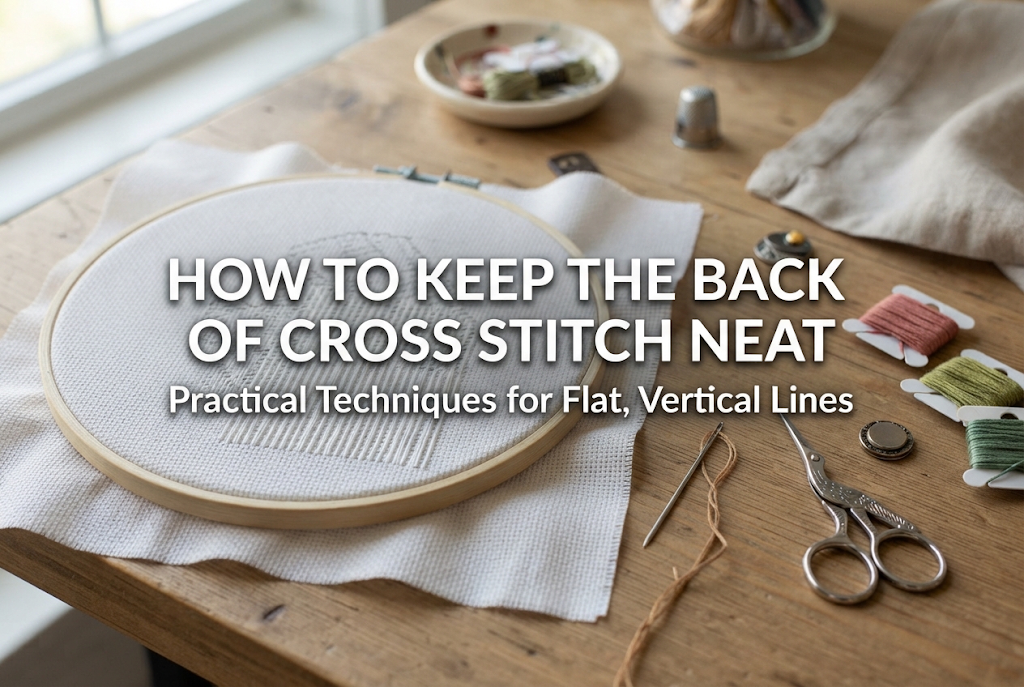
For pouches or clothing where hands or items will touch the reverse side of your embroidery, exposed thread tails can easily snag and unravel.
To prevent this, press a layer of lightweight, iron-on interfacing (fusible non-woven backing) onto the back of your stitched piece before assembling the final product. This single step locks down thread knots and carried strands, ensuring durability through years of regular use.
After stitching, fabric usually has hoop marks, creases, and natural oils from handling. Ironing is essential for a crisp finish, but ironing directly over the front of your stitches is a huge mistake! Direct heat and weight will flatten the plump, dimensional stitches into dull surfaces.
Follow this correct ironing method:
The plush towel acts as a cushion that protects the dimensional front stitches, smoothing out all fabric wrinkles while keeping your embroidery beautifully raised.
The single most common mistake beginners make across all needlecrafts is pulling the thread too tight. Excessive pulling puckers the fabric permanently. Conversely, stitching too loosely leaves threads sagging.
The ideal tension is when the thread rests gently and smoothly flush against the fabric surface. Think of placing the thread on the fabric rather than yanking it through.
In hand embroidery, tracing a design onto fabric using tracing paper (chaco paper) can be frustrating if lines appear faint or rub off mid-project.
You can eliminate this hassle in two ways:
One of the best qualities of needlework is that it requires less workspace than almost any other handmade hobby. Unlike resin casting, ceramics, or sewing machine work, you need no dedicated work table.
All you need is a comfortable seat and a small pouch for your tools. You can stitch on your living room sofa, in bed, at a cafe, or during a commute. All your essentials—an embroidery hoop, small snips, needle case, and a few skeins of thread—fit neatly inside a cosmetics pouch or stationery organizer, and clean-up takes less than ten seconds.
Important Lighting Tip: Always ensure adequate lighting. Straining to see fine weave lines in dim lighting quickly causes eye fatigue. Work near a bright window during the day, or use a small, focused LED clip light or desk lamp at night.
Needlecraft has an exceptionally low barrier to entry. The basic tools required are straightforward:
While inexpensive multi-packs from discount stores can get you started for a few dollars, investing in standard starter supplies from reputable craft brands typically costs only around $15 to $25.
To avoid frustration and achieve clean finishes, I strongly recommend choosing established craft brands for these two essentials:
Needlecraft offers a peaceful sanctuary from our busy routines, allowing you to slow down and create something tactile with your own hands. With a single needle and colorful threads, you can craft beautiful textiles that last for years.
Pick up a small project kit, quality needle, and thread, and make that very first stitch. You will quickly fall in love with the timeless charm of needlework!
If you enjoyed this guide, please share it with your fellow crafting friends! See you in the next article—this was Yassy from Crafters!

For example, if you are looking for articles about mizuhiki, try searching for "mizuhiki"; if you are interested in tools, try keywords like "nippers" or "pliers."
