How to Prepare Cross-Stitch Work Before Framing: Complete Washing and Ironing Guide
yassy
Crafters!

Hello, this is Yassy from Crafters! (・∀・)
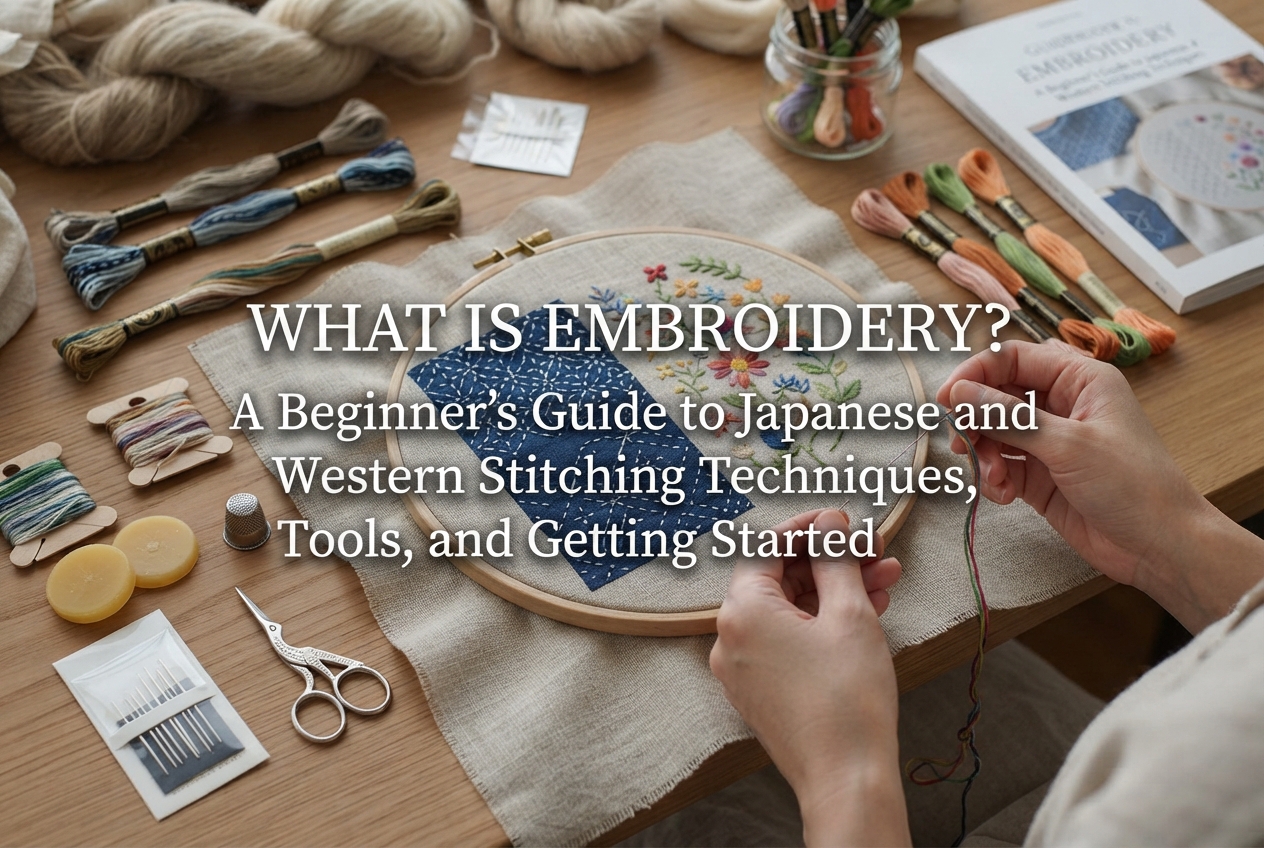
Embroidery is the art of creating patterns, graphics, and text on fabric using a needle and thread. It remains one of the most popular handmade crafts around the world. Many people see beautifully embroidered items in shops and think, "I'd love to try making something like that myself!"
At the same time, you might be hesitating, thinking: "I haven't done needlework since school," "Can I do it if I'm not good at drawing?" or "It looks complicated with too many tools."
To give you a quick answer: embroidery does not require artistic talent. By mastering a few basic tools and easy stitches, anyone can enjoy creating beautiful pieces. With just fabric, thread, and a needle, you can experience the joy of watching patterns come to life right under your hands.
In this guide, I will walk you through the core concept of embroidery, its history, different embroidery styles (including traditional Japanese techniques), essential tools, and step-by-step instructions to help beginners succeed without frustration. Let's explore the rich charm of embroidery and take the first step toward a rewarding new hobby!
Embroidery refers broadly to the handcraft of stitching letters, patterns, and designs onto base materials like fabric or leather using needles and thread. It has been cherished globally for centuries as a way to decorate clothing and home interiors.
While general sewing focuses on practical tasks like joining pieces of cloth together to construct garments, embroidery centers on ornamenting the surface, giving fabric texture and beauty.
Even with today's advanced fabric printing technology, embroidery possesses a unique charm that prints cannot replicate: three-dimensional depth, subtle luster, and the tactile warmth created by layered threads. Depending on the thread thickness, stitch density, and light angles, an embroidered piece changes its look continuously. Creating a world of light and shadow on flat cloth is the greatest hallmark of embroidery.
The history of embroidery is ancient, stretching back to when humans first began using needles and thread. It is believed to have originated from functional mending stitches used to patch holes and reinforce worn clothing.
Over time, practical reinforcement evolved into symbols of power, religious devotion, and decorative adornment. Exquisite embroidered textile remnants have been discovered in ancient Egyptian and Chinese archaeological sites.
Japan also boasts a deep history of embroidery. The craft arrived alongside Buddhism, initially used to create shubutsu (embroidered depictions of Buddha). Later, it developed into Nihon Shishu (traditional Japanese embroidery), decorating garments for court nobles, samurai, and eventually elaborate kimono. Characterized by the use of fine silk threads on silk fabrics, Nihon Shishu features delicate sheen and techniques that depict seasonal nature motifs.
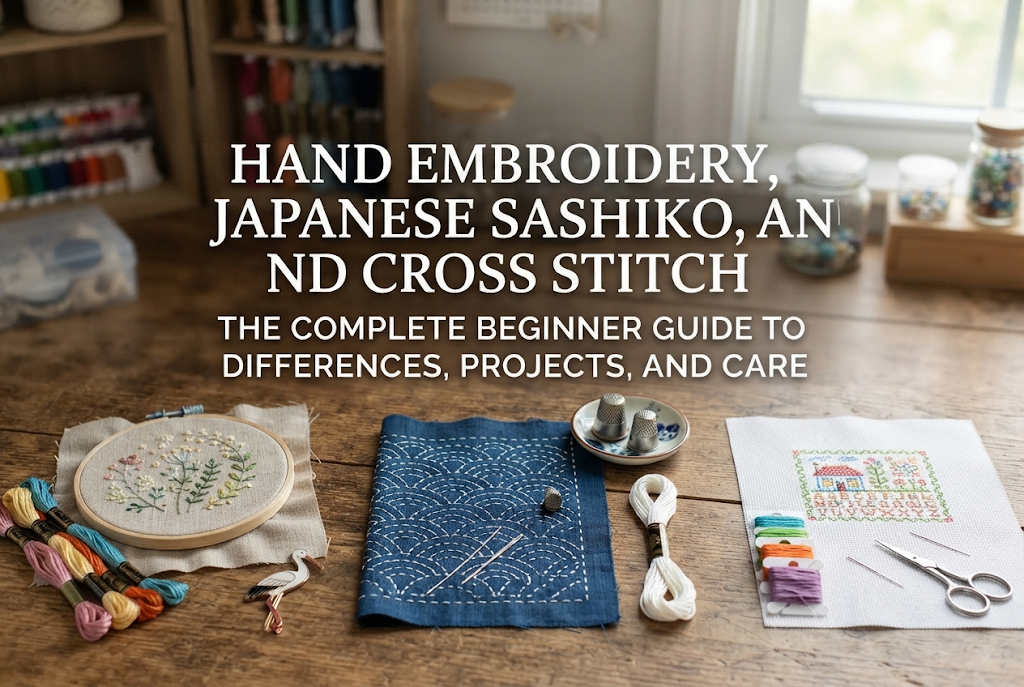
Another style born from everyday practical wisdom is Sashiko. Originally developed by rural communities to layer and reinforce cloth against harsh winter cold, these functional stitches evolved into stunning geometric traditional patterns. Today, Sashiko remains immensely popular as a beautiful, functional folk craft.
Much of what we commonly recognize as hand embroidery today originated in Europe as Western embroidery. It developed into a high art in medieval European monasteries and royal courts to ornament dresses and religious vestments.
It spread widely in Japan from the Meiji era onward and is now popularized through school education and home crafts. Regional styles like French embroidery, cross stitch, and whitework (such as Schwalm and Hardanger) have been refined across different eras and places.
While we use the single term "embroidery," the craft splits into several genres based on techniques and materials. Here are the main types enjoyed in the handmade community:
This technique combines various freeform stitches along design lines drawn directly onto fabric. This is what most people picture when they hear "embroidery." By combining a dozen basic stitches—such as outline stitch for lines, satin stitch for filling shapes, and French knot stitch for dots—you can freely depict flowers, animals, and lettering.
This method uses fabric with a distinct grid weave, where you count threads or squares to make precise stitches. The most famous example, cross stitch, creates designs using "X" shaped stitches. Because designs are followed via grid charts, you don't need drawing skills; simply count the squares and follow the chart to produce accurate, beautiful results.
Beyond flat stitching, techniques that create physical texture and dimension are very popular. Stumpwork involves stitching over fine wires to build 3D components, while punch needle uses a special hollow needle to punch thread loops into fabric, creating plush, textured surfaces. These are great for modern interior decor.
Embroidery is done either by hand—stitch by stitch—or automatically using specialized embroidery machines.
Machine embroidery excels at producing uniform, precise stitches quickly, making it ideal for commercial logos and mass-produced patches. Hand embroidery, on the other hand, reflects subtle variations depending on tension and hand movements. The warmth of human craftsmanship, soft textures, and the relaxing time spent stitching are the true charms of hand embroidery.
Why do so many makers choose embroidery over other crafts? Here are four compelling reasons:
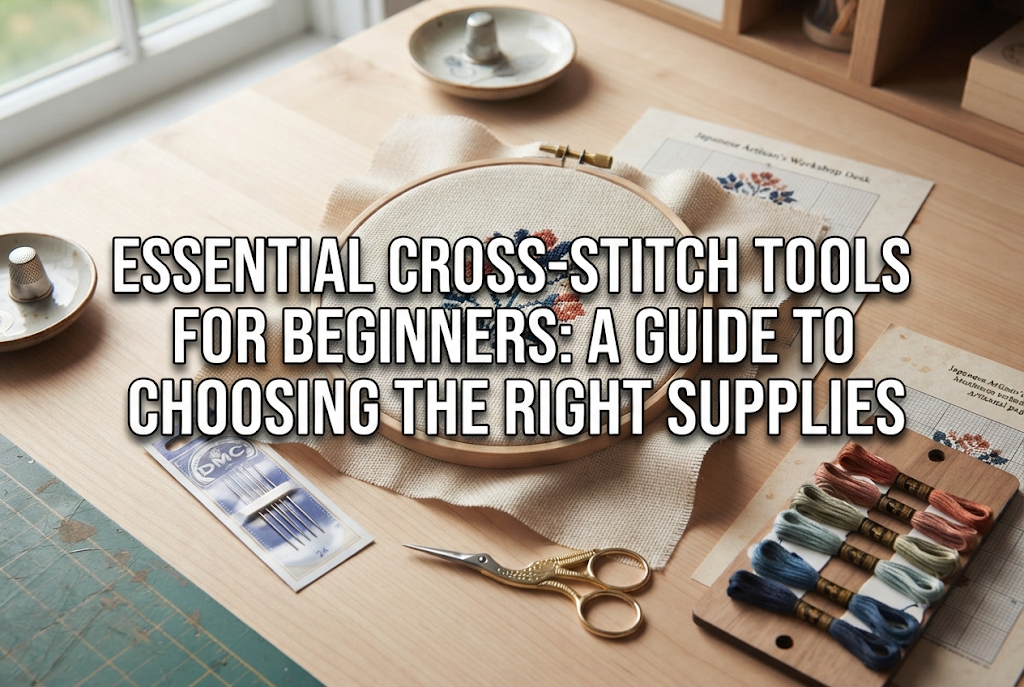
Starting embroidery requires simple, accessible tools. Here are six basics you can get at craft stores:
Every beginner encounters a few common hiccups. Knowing these tips in advance will dramatically improve your results:
If your fabric looks wavy or gathered after removing the hoop, you pulled the thread too tight or your fabric wasn't stretched tightly enough in the hoop. Imagine gently laying the thread onto the fabric surface rather than pulling it tight. Keep your hoop screw firm and pull fabric taut periodically while working.
Tangles happen when working with threads that are too long. Cut thread to a golden ratio length: from your fingertips to your elbow (about 40 cm to 50 cm / 16 to 20 inches). Long threads twist from friction and knot easily.
Floss comes in 6-strand skeins. Beginners often thread the whole bundle, resulting in overly thick lines, large holes in the fabric, and stiff stitches. Always pull out strands one by one to your required count (e.g., 2 strands), then align them together. Stripping strands individually untwists the thread and creates a beautiful sheen.
When I first started embroidery, I was in such a hurry to finish a pattern that I pulled every stitch tightly. My finished piece shrunk up like a cinched drawstring pouch! That taught me that embroidery isn't about force; it's about honoring the thread's soft texture. Once I started stopping the needle right as the thread rested gently against the fabric surface, my stitches became noticeably cleaner and more beautiful.
Embroidery is a warm, fulfilling craft where a piece of cloth, thin thread, and a single needle open up infinite creative possibilities. Starting with small motifs or simple line designs is the best way to enjoy smooth progress. Watching your pattern take shape stitch by stitch offers a sense of accomplishment like no other.
Pick up your favorite thread and fabric, and enjoy bringing embroidery into your creative life!
If you enjoyed this article, please share it with your craft friends on social media! See you in the next post. This was Yassy from Crafters!



For example, if you are looking for articles about mizuhiki, try searching for "mizuhiki"; if you are interested in tools, try keywords like "nippers" or "pliers."
