Why Fabric Puckers in Embroidery and Japanese Sashiko: Causes, Tension Control, and Fixes
yassy
Crafters!

Hello, everyone! It’s Yassy from Crafters! (・∀・)
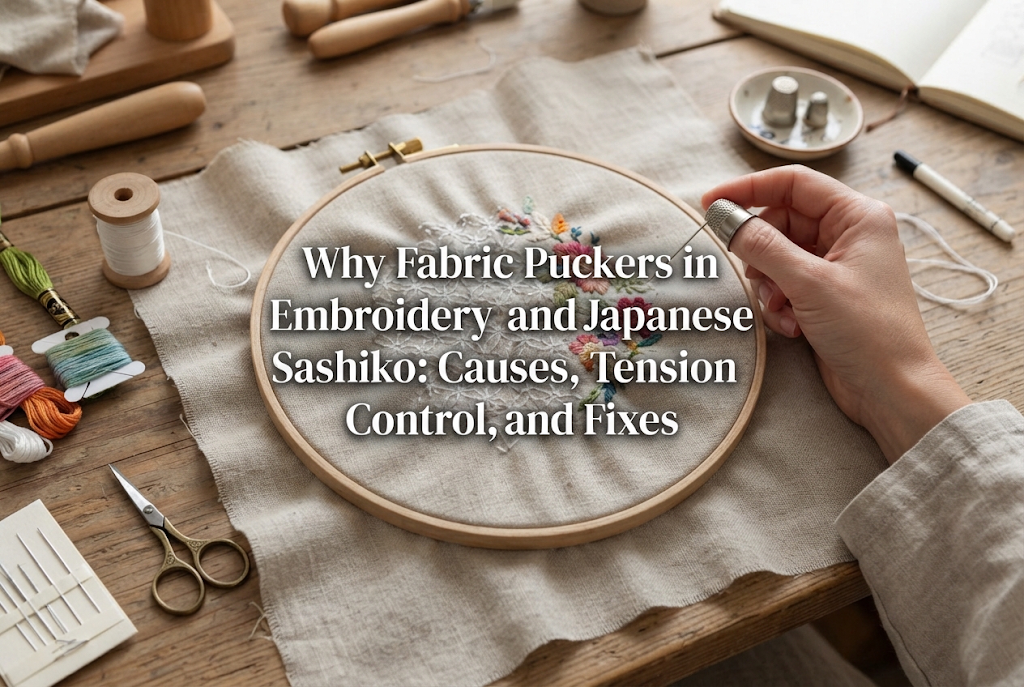
Have you ever started an embroidery project where the fabric was taut at first, but as you stitched along, it gradually became loose and saggy? Or maybe every time you push the needle through, the fabric bounces and flexes, making it frustratingly hard to stitch?
Stitching on loose fabric leads to uneven stitch lengths, distorted designs, and puckered wrinkles once you take the fabric out of the hoop. Even if you stitch with great care, losing your fabric tension can compromise the entire quality of your finished piece, which is truly disappointing.
In this guide, I will break down the fundamental reasons why embroidery fabric sags, along with practical, proven methods to keep your fabric as tight as a drum from the first stitch to the very last. From how to handle your tools to key stitching techniques, we will cover it all!
Before jumping into the solutions, it is essential to understand why fabric loses its tension while you work. There are four primary culprits behind this common issue.
The most common cause is improper hoop tightening. Even when you think you have turned the screw firmly with your fingers, the smooth surfaces of wooden or plastic hoops often lack sufficient grip. As a result, the repeated pushing and pulling of the needle causes the fabric to slip little by little.
This is especially true with thin fabrics or slick polyester blends, where minimal friction between the hoop and the material allows the fabric to slide out of tension in no time.
Do you catch yourself tugging firmly every time you pull the working thread through to the back? When you pull too hard, the fabric around each stitch gets drawn inward toward the center.
While a single tight stitch might not seem like much, repeating this over hundreds of stitches pulls the entire fabric toward the center of your design. This leaves slack near the hoop edges, causing noticeable sagging.
Woven fabric has a warp and a weft (the straight lengthwise and crosswise grains), as well as a 45-degree diagonal known as the bias. Woven cloth naturally stretches far more along the bias than along the straight grains.
If you pull diagonally while mounting your fabric into the hoop, those stretched fibers will attempt to return to their original shape as you stitch, ultimately resulting in warping and sagging.
An easily overlooked factor is moisture from your hands or the room. Natural fibers like cotton and linen soften and expand when they absorb humidity or perspiration.
Holding your embroidery project for extended periods transfers body heat and sweat into the fabric, causing the taut fibers clamped in the hoop to relax and loosen over time.
Now that we know the causes, let’s look at the solutions. First, let’s review the correct way to mount your fabric in an embroidery hoop.
Never yank or pull your fabric aggressively when mounting it. Follow these steps to ensure an even, stable tension:
The golden rule here is never pull on the bias (diagonally). Pulling strictly along the straight horizontal and vertical grain prevents grain distortion and establishes an even, balanced tension.
Tightening hoop screws by finger strength alone has its limits. Your fingers can get sore, leading to an under-tightened hoop that slips mid-project.
If your hoop has a slotted or Phillips screw head, take a small screwdriver and give it an extra quarter-turn to half-turn after hand-tightening.
Using a screwdriver makes an incredible difference in holding power, drastically reducing the chances of slipping. However, avoid over-tightening with excessive force, as that could damage the hardware or crack a wooden hoop. Stop as soon as you feel solid resistance.
A time-tested method embraced by experienced embroiderers is wrapping the inner ring of the hoop. This is perhaps the single most effective way to eliminate fabric slippage.
Simply wrap cotton bias tape, thin twill tape, or even lightweight cotton bandage or masking tape around the entire circumference of the inner hoop, making sure there are no gaps.
Binding your inner hoop offers three major benefits:
Once wrapped, the tape can stay on indefinitely, so I highly recommend wrapping all your standard hoops in advance.
Sometimes the material or shape of the frame itself contributes to loose fabric. Choosing the right hoop for your project makes a world of difference.
Standard wooden hoops are lightweight and comfortable in the hand, but natural wood variations mean they might not always form a perfect circle, creating tiny gaps between the inner and outer rings.
In contrast, quality plastic hoops—especially synthetic hoops featuring built-in ridges and grooves (interlocking lip designs)—grip the fabric tightly and hold tension far better than untreated wooden hoops.
For larger embroidery projects, consider using a square frame or a scroll frame rather than a round hoop. Round hoops require you to unhoop and reposition the fabric repeatedly, stretching different areas and causing overall slackness.
Do you use a large hoop for a tiny motif just to avoid repositioning the frame? Using a hoop that is too large for your design makes it difficult to maintain proper tension at the center, leaving the stitching area soft and loose.
Aim for a hoop that leaves about 2 to 3 cm (roughly 1 inch) of margin around the perimeter of your design. Choosing the smallest suitable size is a fundamental rule for maintaining crisp tension.
Even with the best tools, habitual pulling habits will distort your fabric. Cultivating good needle technique prevents tension loss right at the source.
If you tend to give the thread a firm yank at the end of each stitch, be mindful of that habit. Snapping the thread tight causes the fabric on the back to pucker, which creates dimples and ripples on the front.
The ideal tension is stopping the instant the thread sits flush against the fabric surface. Visualize the thread resting gently on top of the cloth without pulling the fibers downward.
When you insert or pull the needle at a sharp diagonal angle, the needle drags the fabric threads sideways. Doing this repeatedly breaks down the woven alignment and leads to sagging.
Always enter and exit the fabric vertically, at a 90-degree angle. Pushing straight down from the front and pulling straight up from the back keeps the grain intact.
Thorough preparation before making your first stitch can prevent roughly 80% of all sagging troubles.
If you are relatively new to embroidery, choosing stable, tightly woven fabrics is the fastest path to clean results.
Closely woven cotton and linen maintain their structure when pierced by a needle and hold hoop tension reliably.
Fabrics straight from the bolt often have skewed grains due to rolling tension on the bolt.
Before you begin, wash and dry your fabric to preshrink it, then press it with an iron to square the grain so the warp and weft cross at clean right angles (a process known in Japan as jinaoshi or grain straightening). Setting squared fabric into your hoop prevents uneven stretching later.
If you really want to embroider on thin, delicate, or lightweight fabric, reinforce the back with a layer of lightweight, non-woven fusible interfacing using an iron.
Interfacing minimizes fabric stretch and provides just enough body and crispness. The hooped fabric stays taut much more easily, preventing stitches from pulling and warping the design.
Even with careful preparation, prolonged stitching sessions can cause fabric to loosen. Here is what you should never do—and how to fix it properly.
When you notice slack, do you pull hard on the fabric tails sticking out around the tightened hoop?
Please avoid doing this! Pulling fabric that is clamped tightly under screw pressure crushes existing stitches and tugs finished embroidery threads out of alignment.
Whenever your fabric loses tension, take a moment to reset it properly:
Taking this extra minute ensures your finished embroidery remains crisp and distortion-free.
Let me share my personal routine that I rely on whenever I stitch!
During preparation, I have 100% cotton bias tape wrapped around the inner hoops of all my working frames. This single step eliminates slipping frustration entirely.
Next, I always press my fabric with an iron before hooping. Once mounted, I tap the center of the fabric lightly with my fingertip. If it produces a high, crisp drum-like tap, that is the sign of ideal tension! If it sounds low or feels hollow, the tension is too loose, and I readjust right away.
While working, I check my fabric tension roughly every 30 minutes when taking a brief rest. If I spot even slight slack, I loosen the screw and re-tension immediately. This small habit is my favorite secret to keeping stitches consistent from start to finish.
We have covered why embroidery fabric loosens and the best practical solutions to keep it secure.
Fabric tension does not just affect ease of stitching; it directly determines whether your finished piece lays flat or puckers into wrinkles. With the right techniques, anyone can maintain that satisfying drum-tight surface throughout their project.
Keeping these simple tips in mind will make your needle glide effortlessly and elevate your embroidery results! Give them a try on your next project.
If you found this guide helpful, sharing it with your stitching friends or on social media would mean the world to me!
See you in the next post! This was Yassy from Crafters!



For example, if you are looking for articles about mizuhiki, try searching for "mizuhiki"; if you are interested in tools, try keywords like "nippers" or "pliers."
