Japanese Clay Craft Guide: How Long Does Clay Take to Dry? Drying Times and Rules for Perfect Results
yassy
Crafters!


Hello, this is Yassy from Crafters! (・∀・)
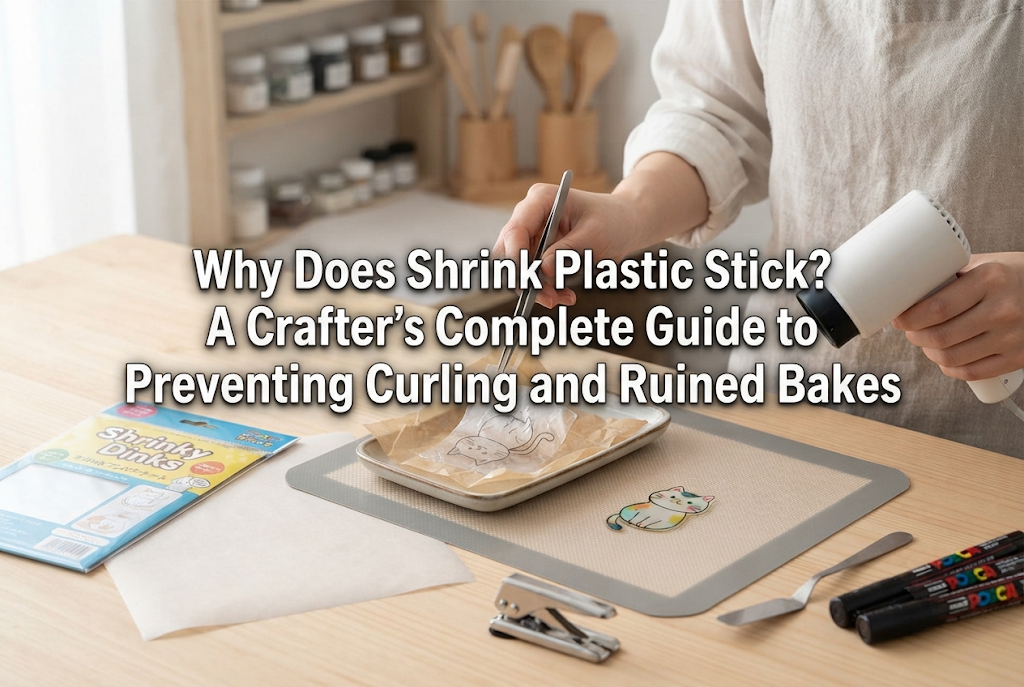
As you get used to making shrink plastic crafts (widely known in Japan as puraban), the range of designs you can create expands, making the process more and more enjoyable. At first, items from 100-yen shops or tools from starter kits are more than enough to have fun. I started out using kit tools myself, excitedly creating many pieces.
However, once you reach a certain skill level, you inevitably hit a wall. You might struggle with frustrating issues: "Why do the corners warp instead of staying flat?", "Why do the cut edges look white and frayed?", or "Why don't my color gradients blend smoothly?"
These problems are not caused by a lack of technique on your part. The real culprit is the limit in performance of starter kits and basic tools.
Shrink plastic is a special resin material that shrinks to about one-fourth of its original size while increasing in thickness several times when heated. Because of this property, the precision and quality of your tools directly affect the final outcome of your piece. If you aim for top-tier quality, upgrading your tools is essential.
In this guide, I will explain the exact step-by-step order in which you should replace your tools once you get comfortable with shrink plastic. Simply upgrading your tools will make your creations look dramatically more refined.
Tools included in starter kits or bought at 100-yen shops are designed primarily for casual, introductory experiences. While versatile, they have clear limits in precision and durability when it comes to achieving maximum perfection in your finished pieces.
For instance, if you cut thick shrink plastic with basic craft scissors, micro-cracks form along the cut edge. When you heat the sheet, the thermal expansion widens those cracks, leaving the finished piece with jagged edges. No matter how much you practice cutting, you cannot prevent this because it is a fundamental issue with the blade thickness and alignment of basic scissors.
Furthermore, if you lose control during heating, the plastic may stick to itself as it shrinks, creating irreversible warping. Once shrink plastic hardens in a twisted shape, restoring it to a clean, flat state is impossible.
By upgrading to proper tools, these stresses and failures vanish. Your work efficiency will jump tremendously, and you will achieve a professional finish that looks ready to sell. High-quality tools become your best partners, unlocking your full technical potential.
When upgrading your setup, the biggest mistake is buying items at random. The golden rule is to invest first in the tools that have the greatest impact on the final look and structural integrity of your piece.
Here is the golden order of tool upgrades that I recommend with complete confidence:
There is a clear reason for this specific sequence. In shrink plastic crafting, the most fatal mistakes are uneven shrinkage and shape distortion. No matter how beautifully you color a design, if the shrunk piece ends up warped or misshapen, it fails as a finished work. Therefore, upgrading your heat control setup comes first.
Let us look closely at what tools to choose and how to use them at each stage.
When graduating from a starter kit, your highest priority should be improving your heating environment. Many beginners rely on household toaster ovens, but this is actually the first major pitfall.
Toaster ovens are built to cook food, meaning internal temperatures vary significantly depending on where the item is placed. Because areas closer to the heating elements get much hotter than those farther away, shrink plastic shrinks unevenly, causing severe warping and crooked distortion.
The indispensable tool you should introduce instead is an embossing heat tool.
An embossing heat tool is a craft heating device capable of blowing concentrated hot air at around 250°C (480°F). Unlike a hair dryer, its airflow is low and gentle, so lightweight shrink plastic pieces will not be blown away.
The benefits of using an embossing heat tool are enormous. You can observe the plastic shrinking right in front of your eyes in real-time while making fine adjustments to where the heat hits. Even if only one corner curls up, you can focus heat on that specific spot to flatten it out smoothly. Additionally, the risk of burning yourself compared to reaching inside a hot toaster oven is greatly reduced.
At the same time, you should upgrade your post-heating press setup. Starter kits often tell you to press the hot plastic between heavy books, but book pages can transfer paper wrinkles to the hot plastic or apply uneven pressure.
Instead, prepare two acrylic plates (at least 5mm thick) and smooth pressing sheets (such as parchment paper). Once the plastic finishes shrinking under the heat tool, place it between parchment paper sheets inside the acrylic plates, and apply vertical body weight to press it down. Because acrylic plates are transparent, you can visually inspect the pressing process from above, ensuring a perfectly flat, distortion-free surface.
By mastering heat control and setting up a proper pressing tool, your success rate will rise close to 100%.
After heat control, the next upgrade focus should be your cutting tools. The condition of the cut edges defines the premium feel of the piece when held in the hand.
Cutting shrink plastic with standard stationery scissors crushes the plastic as it slices. Examining the cut edge up close reveals white stress marks (blanching) or tiny jagged burrs. Upon heating, these flaws become magnified, resulting in rough edges that are unpleasant to touch and structural points of weakness prone to cracking.
To solve this, introduce these two cutting tools:
First is a precision hobby knife. Look specifically for a precision art knife with a 30-degree blade angle. The tip is sharper than a standard utility cutter, allowing you to cut straight lines and intricate curves effortlessly. When cutting shrink plastic with a knife, do not try to cut through in a single pass; instead, trace light scoring lines repeatedly over the same line. This produces a straight, sleek edge that maintains a clear, glass-like outline after baking.
Second is an upgraded pair of craft scissors. For trimming detailed outer contours where a knife cannot easily reach, use craft scissors with ultra-thin, fluorine-coated blades. Scissors that engage smoothly all the way to the blade tip allow you to snip through plastic cleanly without applying excessive pressure, completely preventing white stress marks.
After cutting, gently smooth the edges using fine sandpaper (around 1000 to 1500 grit) to remove minor burrs. Combining high-quality tools with this quick extra step yields beautiful edges that resemble laser-cut acrylic parts.
The third item to replace is your coloring media. The brilliance of your colored shrink plastic directly corresponds to the quality of the art supplies you use.
Colored pencils and pastels included in starter kits or bought at 100-yen stores contain low pigment ratios and high amounts of wax or filler. When applied to sanded shrink plastic, the color often looks powdery or turns dull and muddy after shrinking.
To achieve vivid clarity and depth, transition to professional art supply brands.
When using colored pencils, select professional-grade oil-based colored pencils with high pigment density. Their soft cores lay down color smoothly over the sanded plastic surface, making soft gradients easy to create. When the plastic shrinks and the color concentrates, the result is immensely vibrant and rich in depth.
If you prefer soft, delicate tones, upgrade to high-quality soft pastels. Hard pastels or cheap budget brands have coarse particles that fail to adhere properly to the micro-scratches on the plastic surface. Shave high-grade soft pastels finely with a small strainer, then apply the powder with cotton pads or makeup sponges for seamless, professional-looking gradients.
Furthermore, if you want to apply solid, opaque colors on the backside, use artist-grade acrylic paints with superior pigmentation. Apply the paint with a slightly thick consistency rather than over-diluting it with water to prevent brush streaks, giving you a clean, rich backdrop that enhances the plastic texture.
Upgrading your art materials instantly opens up vivid, translucent color expressions without any muddiness.
Once your piece is colored, shrunk, and flattened, the final step is coating. Starter kits often include clear varnish or transparent sticker sheets, but these tend to peel over time or deteriorate when exposed to moisture.
To give your work a shiny, substantial feel like commercial merchandise, transitioning to a UV-LED resin coating is essential.
However, not all resins are created equal. Inexpensive resins can turn yellow over time, remain tacky on the surface, or cause the shrink plastic piece to warp as the resin cures.
You should purchase a combination of high-quality, non-yellowing coating resin and a high-output UV-LED lamp.
Using a low-viscosity, fluid coating resin allows air bubbles to escape naturally and lets the fluid spread evenly to the edges. If you want a domed, volumetric finish, place medium-viscosity resin in the center, spread it to the borders, and then cure it under the light.
The specification of your curing lamp is critical here. Low-wattage lamps lead to incomplete curing, leaving a sticky residue. Use a high-output UV-LED light of 36W or higher and cure the piece thoroughly according to the recommended time to create a hard, crystal-clear protective layer.
Note: If you used colored pencils or soft pastels, apply a layer of water-based matte varnish as a sealer before applying resin. Applying resin directly can cause the solvents to bleed or smudge your artwork.
Understanding material compatibility and collecting proper coating tools allows you to produce water-resistant, scratch-proof items with a texture reminiscent of fine glassware.
The final upgrade covers the tools used to attach keyrings or jewelry findings. Never dismiss this step thinking, "It's just attaching hardware." Skimping here can crack your carefully crafted piece or cause jump rings to come loose, ruining the finished work.
Starter kits and standard paper hole punches are designed to punch holes into the plastic before heating. However, dull punch blades leave invisible micro-cracks around the hole. During heating, thermal stress concentrates on these micro-cracks, frequently causing the plastic to split apart at the hole.
To prevent this failure, adopt a precision pin vise (hand drill).
Using a pin vise allows you to drill clean holes of any size directly into the hard plastic after it has been shrunk and flattened. Position the drill bit perpendicular to the hardened piece and rotate it slowly. This eliminates misplaced holes, yields smooth hole interiors, and completely removes the risk of heat-induced splitting.
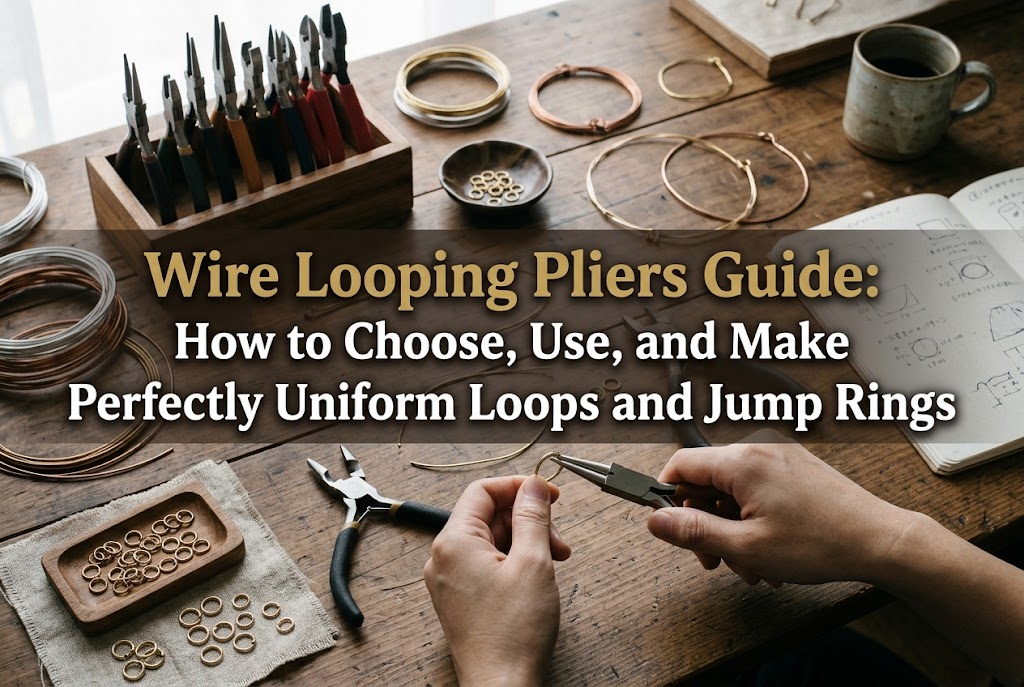
Next, upgrade your pliers to high-quality jewelry tools for attaching metal fittings.
Utility pliers from hardware stores or budget shops feature serrated teeth on their inner jaws. Clamping jump rings or split rings with these leaves ugly scratches on the metal. Always choose smooth-jaw flat-nose pliers and round-nose pliers designed specifically for jewelry making.
Pliers with smooth jaws hold metal components securely without scratching them, allowing you to close jump rings seamlessly. Flush, scratch-free hardware closure is a key detail that separates professional craftwork from beginner attempts. By paying attention to assembly tools, your finished products will achieve both durability and refined aesthetics.
When upgrading your crafting tools, keep this absolute rule in mind:
Select tools based on specifications and build quality, not low prices.
In the handmade craft world, price differences directly reflect performance gaps. Buying cheap tools, failing, and eventually buying proper ones later is the longest, most expensive route you can take.
In the past, I often thought, "This budget item should be good enough," only to end up ruining a piece and feeling deep regret. That is why I can say with certainty: Choose tools from trusted craft manufacturers or professional art brands right from the start.
Here is my practical checklist for selecting tools:
Following these criteria will ensure you never make a mistake when selecting your equipment.
Here is a summary of how your creations change when you upgrade your tools. Compare this list against any current challenges in your work:
Every step in the process has a clear reason for an upgrade. Watching your artistic style evolve step-by-step as you collect proper tools is an incredibly rewarding experience.
Even the finest tools will lose their performance if maintenance is neglected. Once you invest in good tools, give them proper care so they serve you well for years to come.
Replace your precision knife blades as soon as you notice a drop in sharpness. Continuing to use a dull blade forces you to press harder, which can lead to slipping, injuries, or damaged plastic edges. Treat blades as consumable items and keep them razor-sharp—that is a golden rule for crafters.
After using your embossing heat tool, let the nozzle cool down completely before storing it in a dust-free location. Dust accumulation in the air intake lowers airflow and causes uneven heat distribution.
Wipe metal tools like pliers and pin vises with a dry cloth after use to remove oil or moisture from your hands. Left uncleaned, metal tools can develop rust, making joints stiff. Applying a drop of anti-rust oil periodically ensures your tools remain reliable companions for a lifetime.
Caring for your tools reflects your respect for the craft itself. Keeping top-quality tools in prime condition is the ultimate secret to continuously elevating the quality of your work.
Graduating from a starter kit in shrink plastic craft is an exciting milestone on your journey as a handmade artisan.
Let us review the main takeaways:
The moment you change your tools, you will be amazed at how easily you can overcome past difficulties. You do not need to doubt your skills or lose confidence. All you need are reliable tools that match your passion.
Start by upgrading the tool for the step you find most challenging. Experience the thrill of seeing your craftsmanship transform right before your eyes!
If you found this guide helpful, sharing it with your friends on social media or messaging apps would mean the world to me and keep me motivated! See you in the next article! This was Yassy from Crafters!


For example, if you are looking for articles about mizuhiki, try searching for "mizuhiki"; if you are interested in tools, try keywords like "nippers" or "pliers."
