How to Get Your Handmade Crafts Discovered on Instagram: Content Strategy and Account Setup
yassy
Crafters!

Hello, this is Yassy from Crafters! (・∀・)
When listing your handmade items on online shops or handmade marketplaces, have you ever struggled with taking product photos?
If you have these concerns, the cause lies in the number of photos and the "shot list configuration" you use. No matter how wonderful your handmade creation is, if you cannot provide the information buyers are looking for through your photos, your products won't sell.
Over the years, I have crafted, reviewed, and purchased all kinds of handmade items. From that experience, I can share an absolute truth: successful makers prepare exactly the shots buyers want, presented in the perfect order and composition.
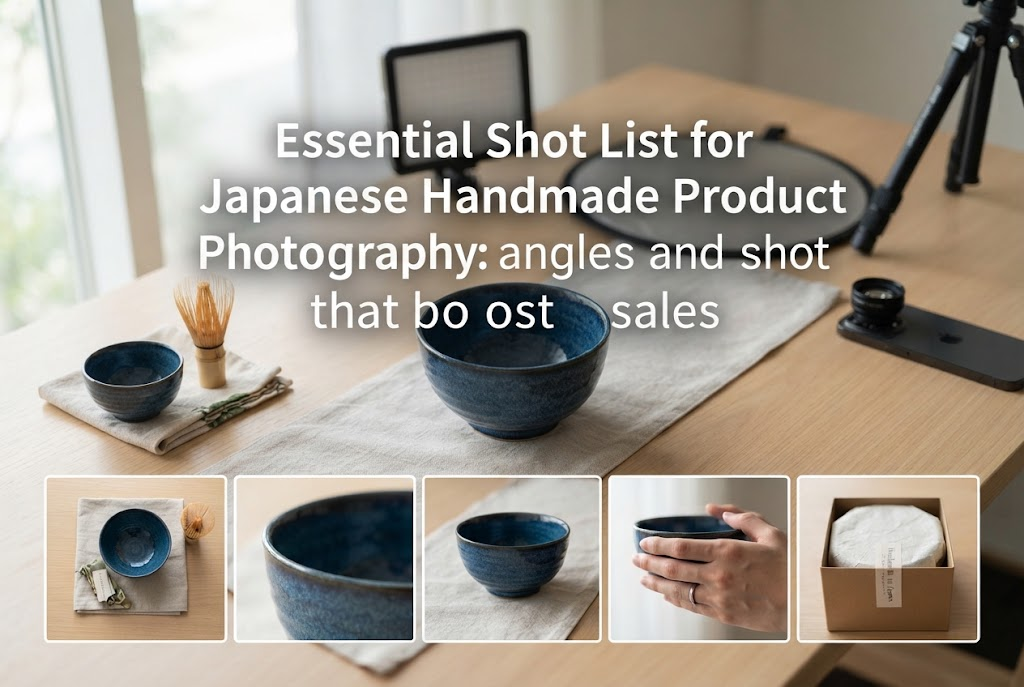
In online sales, photos are not mere decorations. For buyers who cannot hold the actual product in their hands, photos serve as a complete substitute for the real thing. In this article, I will explain product photography techniques designed to eliminate pre-purchase anxiety and deliver the excitement of holding the item before it even arrives.
Let's master the essential rules of shot lists that even beginners can put into practice right away!
First, let's clarify the fundamental reason why shot selection—what kind of photos to show, how many, and in what order—is so crucial. Without understanding this reason, taking photos won't yield meaningful results.
In face-to-face sales, customers can hold the item in their hands, look at the back, feel its weight, try it on, and look in the mirror. However, on e-commerce platforms like Amazon or Rakuten, or specialized Japanese handmade marketplaces like minne and Creema, customers can only view your creations through a screen.
The biggest reason customers hesitate to press the "Buy" button online is the fear of regret after the item arrives.
If even one of these doubts or anxieties remains, customers will not buy. The only way to dissolve that anxiety is through a well-planned shot list.
Shops that upload only one or two photos, or repetitive close-up shots from the same front angle, leave buyers feeling uncertain. Only when you cover all necessary angles—showing three-dimensional depth, scale, actual use, and fine details—can customers feel confident enough to make a purchase.
Mastering product photo composition is an absolute requirement for growing your handmade sales.
Here are the 8 fundamental golden shots you should always include when listing your handmade items. Understanding these roles and incorporating them into your product pages will dramatically boost your conversion rate.
These are the exact points I check when buying handmade items myself, and they represent the essential rules that top-selling artisans consistently follow.
The main shot is the face of your product, displayed first in search results and social media feeds. If this single photo fails to convey your item's charm, buyers won't even click on your product page.
The main shot's purpose is to give an accurate overview of the entire item at a single glance.
Avoid cluttered backgrounds. Choose a background color and material that highlights your work most beautifully. It is an absolute must to capture the entire item within the frame from an angle that displays its color and shape at their best.
Using overly stylized shadows or extreme diagonal angles here makes it hard to tell what the product actually is at first glance. A 45-degree elevated angle from the front is the golden angle for showing both three-dimensional structure and overall form.
This shot shows the item being worn or used—for accessories, a model shot; for home decor or bags, a photo of the item in its intended environment.
Once customers think "How cute!" from the main shot, they next look for a concrete image of what it will look like when they use it themselves.
For example, with earrings, even if you have a stylish standalone photo, without a wearing shot, buyers cannot gauge the scale on an earlobe, how it swings, or its overall presence. For bags, without a photo of someone carrying or wearing it on their shoulder, the actual size remains unclear.
A modeling or situational photo allows customers to vividly imagine their future self holding or wearing your creation. This concrete visualization is a powerful trigger that boosts purchase intent.
If you prefer not to model the items yourself, you can use specialized display boards, mannequins, or hand model gloves. Having or not having this shot makes a world of difference in sales.
The detail shot provides a close-up of the item's finer points, surface textures, and materials.
A major appeal of handmade goods lies in the warmth of meticulous craftsmanship and high-quality materials. To highlight this, bring your camera or smartphone close for a macro shot.
For resin crafts, show the bubble-free clarity and gloss; for embroidery, show the intricate stitches; for leather goods, show the rich leather texture and neat stitching.
Displaying close-up photos sends a clear message of quality assurance from the maker: "I am confident in my work down to the smallest detail." Seeing these details gives buyers confidence in the quality, allowing them to proceed smoothly to checkout.
This shot is frequently overlooked by beginners, yet it directly impacts sales.
When buyers pick up an item in a physical store, they almost always flip it over to check the back. For accessories, they want to see how the findings are attached; for fabric goods, how the lining or inner pockets are constructed; for ceramics or clay craft, how the base is finished.
Shops that omit photos of the back inadvertently create suspicion: "Are they hiding it because the backside is messy?"
Be confident and photograph those hard-to-see areas: the glued surface on the back of an earring, the interior structure of a pouch, or the bottom gusset and seams of a bag. Showing everything without hiding anything builds immense trust in your shop.
The most common customer complaint in handmade sales is: "The item arrived, but it was a different size than I expected."
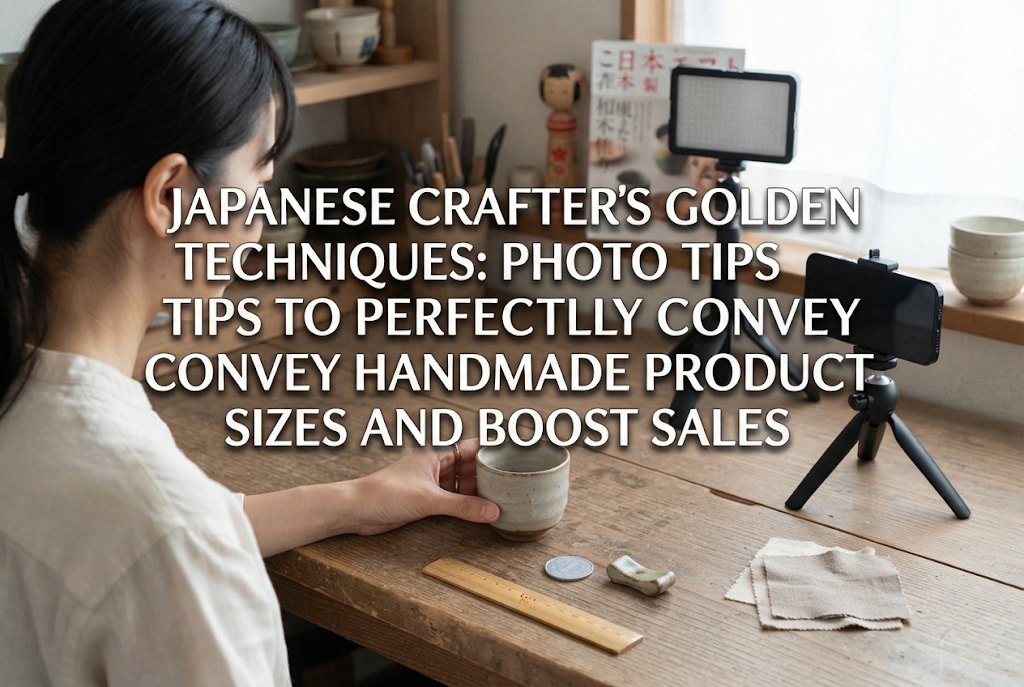
Even if you write exact dimensions like "W x H" in the description, text alone rarely gives people an accurate sense of size. You need to include familiar objects in the photo for instant scale comparison.
Great items for scale comparison include:
The "in-the-palm" shot is especially effective. Everyone is familiar with the size of a human hand, so seeing an item in a palm instantly conveys correct scale. Preventing size misunderstandings protects customer satisfaction and secures positive reviews.
Styling shots are staged photos featuring props, flowers, or seasonal items that complement the mood of your creation, rather than displaying the product alone.
The goal here is to present a lifestyle and brand atmosphere. For example, photographing natural wooden items alongside dried flowers and linen cloth evokes a warm, cozy lifestyle. For elegant gemstone jewelry, adding antique books or a brass tray creates a sophisticated mood.
While main and detail shots convey logical information, styling shots appeal to emotion and sensory charm. Including 1 or 2 photos that make buyers think, "I want to enjoy a lovely lifestyle with this item," raises its perceived value.
If your item comes in multiple color variations or offers component choices (e.g., clip-on vs. pierced earrings, gold vs. silver findings), a shot displaying these choices side-by-side is essential.
If options are scattered across separate photos, customers struggle to compare them and may abandon the page due to decision fatigue.
Provide a neat shot of all color options or a summary shot of available finding variations. Adding labels like "A: Pink" or "B: Blue" on the photo helps prevent ordering errors, ensuring smooth transactions for both sides.
Photos demonstrating how the item will arrive upon order serve as a powerful sales tool.
For buyers searching for handmade items as gifts for friends or treats for themselves, packaging and wrapping quality are major deciding factors.
Displaying these photos assures buyers that they can trust your shop to deliver gifts directly to loved ones. Packaging photos help you consistently capture gift market demand.
Different handmade genres require different priority information. Here are specific, non-negotiable shot combinations tailored to popular categories.
Jewelry is a highly competitive category. Clear photos directly govern your sales volume.
Essential Combination:
For textile goods and bags, functionality and usability are just as important as visual appeal.
Essential Combination:
For fabric goods, capacity shots showing what fits inside are crucial. Include photos of common items like paperback books, wallets, or 500ml water bottles being stored inside.
For home accessories, how well the piece blends into a room and its durability are key purchase drivers.
Essential Combination:
For home decor, capturing active use (lit flame, holding plants) draws out 100% of the item's appeal. Show photos of the item in action, not just standing still.
Small craft items relying on transparency and dimensional detail depend heavily on light interaction and back finishing.
Essential Combination:
Here are common shot composition mistakes made unconsciously by handmade beginners. Even with high-resolution photos, falling into these patterns hurts sales.
Taking 5 or 6 photos from the front with only subtle angle shifts, assuming "more photos is always better."
From the buyer's perspective, the 1st, 2nd, and 3rd photos offer identical information. This is redundancy, not variety. Buyers get bored and leave because they cannot find the details they actually need (like the back or exact scale).
Solution: Assign a distinct role to every single photo. Photo 1 shows the overall view, Photo 2 shows it worn, Photo 3 is a close-up, and Photo 4 shows the back. Ensure every photo delivers new information.
Arranging so many dried flowers and antique props that buyers can't tell which item is actually for sale.
While styling photos are important, your handmade piece must remain the hero. If background props overpower or obscure your product, buyers cannot evaluate its condition properly.
Solution: Keep fundamental photos simple with clean backgrounds (white, light gray, or natural wood grain). Limit prop-heavy styling shots to just 1 or 2 photos per listing.
Taking the first photo in bright natural light, but the second photo under indoor fluorescent light, resulting in a yellowish tint.
Inconsistent color tones leave buyers confused about the true color of the item. Color mismatch is a leading cause of returns and complaints.
Solution: Photograph a single product in one session using the same time, place, and lighting setup. If adjusting brightness with smartphone apps later, maintain identical color balance across all images.
Setting up all these shots might sound time-consuming. Here is my personal workflow for capturing every required angle quickly using just a smartphone in 5 to 10 minutes per item.
Always shoot near a bright window receiving indirect natural sunlight. Once your background sheet or board is set up, do not move the location until finished. Fixing your light source and background is the first step toward consistent color across all shots.
Changing camera distance repeatedly wastes time. Keep a strict sequence:
Moving progressively from far to near streamlines focus and framing, cutting your shooting time significantly.
Wearing or modeling shots require changing setups or moving around. Complete all flat-lay / tabletop photos first, then capture all modeling shots together at the end. Minimizing task switching is key to efficiency.
Keep a quick checklist in your phone's note app before starting:
Check off items as you shoot. This completely prevents the frustration of packing away your setup only to realize you forgot to photograph the back.
Product photos do more than make your work look pretty. They serve as a vital communication tool that answers every question a buyer might have, turning uncertainty into purchasing confidence.
By structuring your photo gallery around the 8 Golden Shots, your craft's true appeal will reach buyers clearly and convincingly.
Building this smooth narrative will make a noticeable difference in your shop's performance. Using the efficient workflow and checklist shared here, this process will soon become second nature.
I sincerely hope your carefully crafted creations reach many appreciative customers through outstanding product photos!
If you found this helpful, sharing this article with your maker friends on social media would mean the world to me! Until next time—this was Yassy from Crafters!

For example, if you are looking for articles about mizuhiki, try searching for "mizuhiki"; if you are interested in tools, try keywords like "nippers" or "pliers."
