Upgrade Your Soapmaking Tools: The Essential Priority Guide for Professional Quality
yassy
Crafters!

Hello everyone! This is Yassy from Crafters! (・∀・)
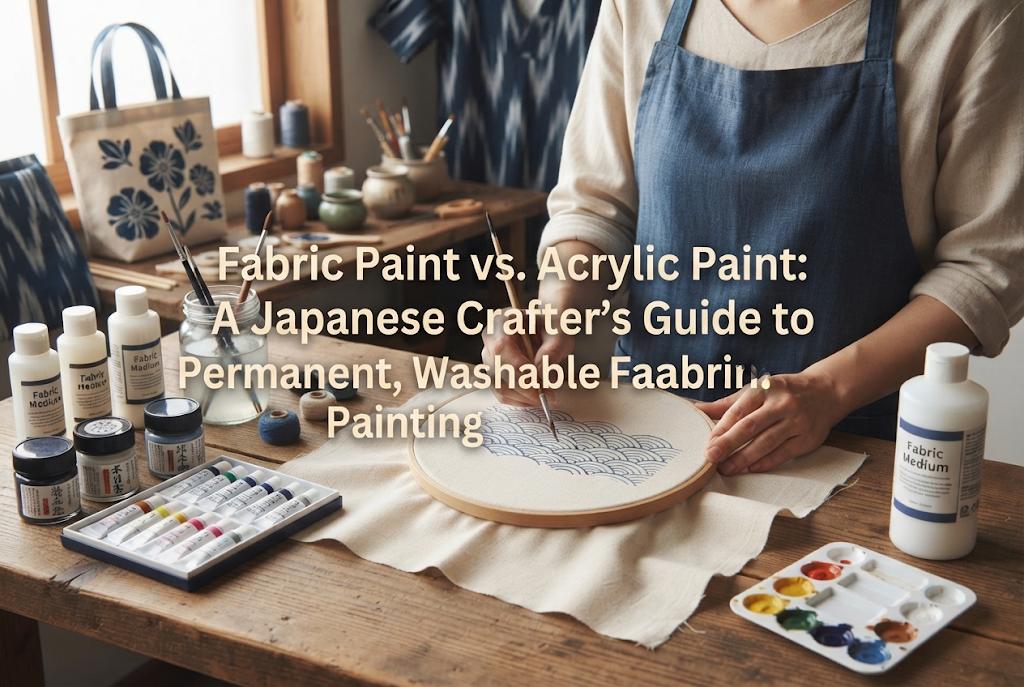
Have you ever found yourself standing in the craft aisle wondering what paint to use when customizing a canvas tote bag, decorating a T-shirt, or making handmade fabric items?
When you visit craft shops or art supply stores, you will often see standard acrylic paint side by side with specialized fabric paint. Because both types contain acrylic resin, many crafters assume: "Since acrylic paint becomes water-resistant once dry, wouldn't it work just as well on fabric?"
However, this is a major misconception.
Standard acrylic paint and fabric paint have completely different formulations and post-drying properties. Choosing the wrong paint can ruin hours of hard work—leaving your design cracked after a single wash or rendering the fabric stiff and unwearable.
Having crafted numerous textile items, purchased craft pieces, and studied fabric arts around the world, I always feel terrible when a project fails simply because of paint selection. In this guide, I will thoroughly explain the fundamental differences between these paints, the secret to wash durability, the golden rule of heat-setting with an iron, and how to transform regular acrylic paint for fabric use!
By reading through to the end, you will be able to determine the exact right paint for your project with 100% confidence. Let's master these rules and enjoy flawless fabric painting!
To start, let's look at the underlying mechanics of standard acrylic paint versus fabric paint. Skipping this foundational understanding almost always leads to regret later in the process.
Standard acrylic paint is created by mixing color pigments with acrylic resin and water. Its defining feature is water resistance once dried. It adheres strongly to rigid surfaces like paper, wood, plastic, and stretched canvas. Crafters love it for its vibrant color payoff and easy layering.
However, standard acrylic paint cures into a hard, plastic-like film.
When applied to fabric—a soft, flexible, and stretchable material—a clear issue arises. Because the dried paint cannot stretch or bend, it cannot move along with the fabric fibers. When the cloth folds or stretches, the paint film stiffens the surface, eventually cracking and flaking off along the fold lines.
In short, while standard acrylic paint is water-resistant, it completely lacks the flexibility and elasticity required for textiles.
Fabric paint, on the other hand, is formulated specifically for application on textiles. While its primary binder is also acrylic resin, it includes a generous amount of specialized flexibility additives (elastic, rubber-like binders).
Thanks to these flexible binders, the paint film remains soft and elastic like rubber even after drying completely. Whether you stretch, fold, or wring the fabric, the paint flexes together with the material. This prevents cracking while preserving the soft natural feel of the cloth as much as possible.
Additionally, fabric paint penetrates deep into the individual fibers, making it exceptionally resistant to friction during washing.
Here is a quick breakdown of how these two paints compare across key performance categories:
As you can see, for garments or textile goods used in everyday life, fabric paint is the definitive choice.
Many beginners think, "I'm just making a quick design, so regular acrylic paint should be fine." However, using standard acrylic paint instead of specialized fabric paint introduces three major risks that can ruin your project.
The greatest risk is complete failure in the laundry. A design painted with regular acrylic paint may look beautiful right after drying. However, once submerged in water and agitated in a washing machine, the fabric expands and moves while the rigid acrylic film stays completely rigid. Combined with friction from other clothes and centrifugal forces during spinning, tiny fractures form across the paint surface, causing it to flake off like powder. Once cracked, acrylic paint cannot be repaired, ruining your design after a single wash cycle.
Acrylic paint is liquid plastic. When absorbed into fabric fibers and dried, it locks those fibers together into a solid mass. The finished project feels stiff and coarse, similar to painted wooden board. On wearable items like T-shirts, baby clothes, or handkerchiefs, this rigidity makes the fabric uncomfortable and abrasive against the skin.
Even without washing, regular acrylic paint deteriorates quickly through normal wear. For instance, if paint is applied to areas that fold or flex repeatedly—like bag handles, elbow sections, or drawstring openings—the rigid paint film succumbs to stress, producing white stress marks and flaking off shortly after.
To get the best performance from fabric paint, it helps to understand the science behind its wash durability and the mandatory step known as heat-setting.
Fabric paint contains micro-acrylic rubber resins and thermal cross-linking binders that bond under heat. Upon application, the wet paint settles into the gaps between fabric fibers. As the water evaporates, a pliable resin network forms around the fibers, allowing the paint to bend naturally with the fabric.
Air-drying fabric paint alone usually leaves it only partially anchored. Applying heat with a household iron triggers a chemical cross-linking reaction within the binder molecules. This thermal reaction fuses the resin directly to the textile fibers, creating full water resistance and wash durability that stands up to detergents. Never skip this step if you want a long-lasting finish!
To heat-set successfully without scorching your fabric or smearing your artwork, follow these precise steps:
If you already own a large collection of standard acrylic paints, purchasing dedicated fabric paint in every color can be expensive. Fortunately, there is a handy craft solution: Fabric Medium.
Fabric medium is an additive liquid containing the same flexibility binders found in dedicated fabric paints. When mixed into regular acrylic paint, it imparts elasticity and strong textile adhesion to your existing paint set, making it a very economical choice.
The standard mixing ratio for fabric medium and acrylic paint is 1:1. Mix equal parts acrylic paint and fabric medium thoroughly on your palette before painting onto the cloth. Using too little medium reduces elasticity and risks cracking, while using too much can dilute color vibrancy. Once mixed, treat it like standard fabric paint and heat-set with an iron after drying.
Yassy's Tip: For frequently used base colors (like black or white) or large surface areas, use pre-mixed fabric paint. For intricate accent colors or custom shades, mix standard acrylic paint with fabric medium!
The type of fabric you choose significantly affects paint adhesion, color vibrancy, and longevity.
Cotton and linen (100% natural fibers) offer the best performance. Their natural absorbency and microscopic texture allow paint resins to anchor deeply into the fibers. They also tolerate the heat required for ironing. Beginners should always start with 100% cotton canvas tote bags or T-shirts for the highest rate of success.
Synthetics like 100% polyester, nylon, or acrylic have smooth, plastic-like surfaces that repel water and resin, preventing paint from soaking in properly. Furthermore, synthetic fabrics can melt under high iron temperatures, making heat-setting difficult. If painting on synthetics, ensure the paint explicitly states compatibility with synthetic fibers, or verify that the fabric lacks water-repellent coatings.
For cotton-poly blends, ensure cotton makes up at least 50% of the material. Use medium-low iron heat with a pressing cloth to avoid melting the synthetic fibers. On textured or thick fabrics like denim or fleece sweatshirt material, avoid thinning the paint too much with water. Instead, apply slightly thick paint using a stippling motion (tapping with the tip of a stiff brush) to push paint into the weave.
Follow these steps to achieve professional-looking, durable fabric paint projects.
Always pre-wash new garments or fabric items without fabric softener to remove factory sizing, starches, or stain-resistant coatings. Unwashed sizing prevents paint from adhering directly to fibers, causing it to wash away later. Once dry, iron out any wrinkles. Next, insert a thick piece of cardboard or a plastic file folder inside T-shirts, tote bags, or pouches to prevent paint from seeping through to the back layer.
Transfer your design using fabric carbon paper or a water-soluble chalk marker. To prevent paint from bleeding along fiber channels, keep your paint consistency close to a thick soup or mayonnaise. Avoid over-diluting paint with water. For fine lines, you can use a clear or colored fabric outliner resin pen along the edges first, filling in the design once the outlines are set.
Use stiff synthetic brushes (flat or round nylon brushes) that can push paint evenly onto fabric fibers. Apply two to three thin coats rather than one thick layer. Let each thin layer air-dry slightly before applying the next. For dark fabrics (like black T-shirts), apply a base coat of white fabric paint first, letting it dry completely before layering bright colors on top. Allow the completed painting to air-dry naturally for a full 24 hours in a well-ventilated area.
Place parchment paper over the fully dried paint and press firmly with a dry iron at medium heat (140–160°C / 284–320°F) for 20 to 30 seconds per section. Let the fabric cool completely before handling. For best results, wait at least 3 days before laundering the finished piece for the first time.
Q: Does adding too much water make paint wash off easily?Yes! Over-diluting with water dilutes the resin binders, weakening adhesion to the fabric fibers and increasing the risk of bleeding. If you need to thin fabric paint for smoother brushstrokes, use clear fabric medium instead of water.
Q: Can I dry-clean or bleach fabric-painted items?No. Dry-cleaning solvents and laundry bleach (chlorine or oxygen-based) break down acrylic resins, causing colors to fade or melt. Wash painted items inside out in a mesh laundry bag using a gentle wash cycle and mild neutral detergent.
Q: How do I fix mistakes or accidental smudges?If the paint is still wet, quickly dab (do not rub) the spot with a damp cloth or cotton swab. If the paint has already dried, paint over the error using a color matching your fabric base (or white fabric paint) and re-apply your design once dry.
Q: How can I keep painted areas as soft as possible?For maximum softness on wearable items, consider using dye-based fabric paints (fabric inks) rather than pigment-based paints. Dye paints soak directly into the fiber structure without creating a surface film layer.
Here is my practical rule of thumb for selecting paint based on how your finished item will be used:
Understanding your materials is the key to successful fabric painting. Let's recap the core takeaways:
With these guidelines in hand, you can confidently turn plain tote bags, plain tees, and canvas goods into one-of-a-kind wearable art!
If you found this guide helpful, please share it with your fellow crafters. See you in the next article—happy crafting from Yassy!






For example, if you are looking for articles about mizuhiki, try searching for "mizuhiki"; if you are interested in tools, try keywords like "nippers" or "pliers."
