Mastering 3D Resin Crafts: How to Choose the Perfect Resin for Flawless Depth and Shape
yassy
Crafters!

Hello, this is Yassy from Crafters! (・∀・)
Whenever I spot adorable fabrics at craft shops or online stores, my heart leaps with excitement, thinking, "I want to make something with this!" I absolutely love browsing and buying fabrics myself, and my room is filled with a huge stash of fabrics waiting to be used.
However, for beginners diving into fabric craft making, fabric selection is often the very first hurdle. Have you ever bought a fabric because it looked cute on screen or on the display shelf, only to find that your pouch turned out wrinkled and flimsy? Or perhaps the fabric was too thick, causing your sewing machine needle to snap?
In fabric crafting, choosing the right fabric determines 80% of both your project's final finish and its ease of making. No matter how meticulously you stitch, selecting an unsuitable fabric for your item leads to poor usability and a cheap appearance.
In this guide, based on my personal experience making various fabric accessories and practical craft knowledge, I will thoroughly explain the best fabric types, ideal fabric combinations by item, and interfacing techniques to prevent sewing failures!
Once you read through this guide, you will no longer get lost or fail when buying fabrics. You will be able to choose the perfect fabric with confidence both in stores and online. Read until the end to dramatically boost the quality of your handmade fabric creations!
When you visit a craft store, you are greeted by an endless array of colorful and attractive textiles. However, every fabric has distinct characteristics: thickness, crispness (stiffness), stretch, and weave structure. If you choose a fabric based solely on design or pattern without understanding these traits, you are bound to face frustration during your project.
Here are three clear reasons why fabric selection is crucial for sewing fabric accessories:
Unlike clothing, fabric items such as pouches and bags often require structural integrity—they need to stand on their own or hold their shape when items are placed inside.
For example, if you make a cosmetic pouch using a soft, thin fabric, the entire structure collapses when you unzip it, making it difficult to reach items inside. The bottom sags under the weight of your cosmetics, ruining the silhouette.
Conversely, selecting a fabric with appropriate thickness and crispness creates a user-friendly, high-quality pouch that maintains a beautiful shape even when empty. A fabric's weight and stiffness directly influence the 3D form and premium feel of your work.
Fabric characteristics directly impact how smoothly your sewing machine operates.
Fabrics that are too thin or stretchy (like knits) can get sucked into the needle plate hole or pucker along the seams. They shift easily during stitching, requiring advanced technique for beginners. On the other hand, layering fabrics that are too thick or stiff can overpower home sewing machines, leading to broken needles or skipped stitches.
For beginners to enjoy stress-free sewing with neat stitches, selecting a fabric with moderate thickness and stability that runs smoothly through a household sewing machine is an absolute requirement.
Handmade fabric accessories are handled daily, carried in bags, and subjected to friction.
If you choose a delicate fabric prone to rubbing or a material that shrinks drastically when wet, your item will look worn out after a few uses or lose its shape entirely upon washing.
To enjoy your creations for a long time—or to delight customers if you sell handmade crafts—you must choose fabrics with durability and washability suited to the item's intended use.
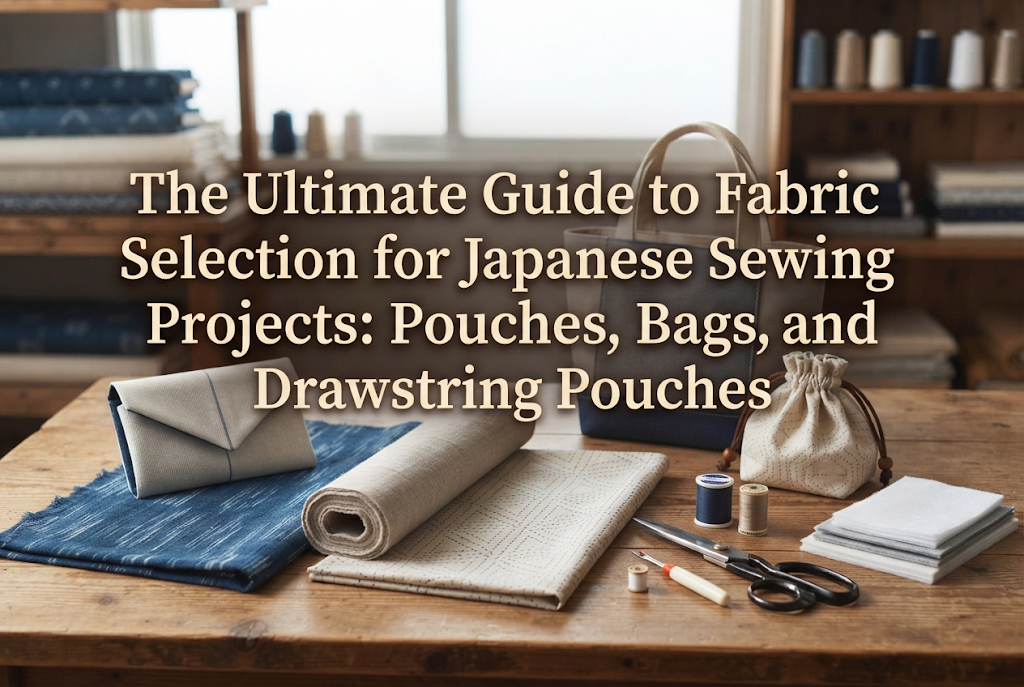
While there are countless fabric names, the standard fabrics used in handmade accessories are relatively limited. Here are five representative fabric types and their key features to keep in mind.
In fabric crafting, Oxford fabric (commonly called "Ox" in Japan) is my ultimate go-to classic. Woven with two warp threads and two weft threads together, it offers moderate thickness and a soft yet crisp body. It is often used for button-down shirts as well.
Why Oxford is ideal for fabric accessories:
It is an all-around fabric suitable for pouches, tote bag exteriors, drawstring bags, pencil cases, book covers, and almost any small fabric item. If you are unsure which fabric to choose, starting with Oxford is a safe bet.
Sheeting and broadcloth are classic plain-weave lightweight fabrics where warp and weft threads alternate evenly. Sheeting has a slightly textured, breathable feel, while broadcloth features finer yarns resulting in a smooth, subtle sheen.
If used alone for the outer shell of a pouch or bag, these lightweight fabrics lack the structure needed for a solid finish. However, they excel in the following uses:
When used as lining, their light weight keeps the interior clean without adding unwanted bulk, making it fun to match colors and patterns for a stylish hidden detail.
Canvas (known as hanpu in Japan) is a dense, durable heavyweight fabric woven with thick threads. In Japan, canvas thickness is indicated by weight numbers (go), where a smaller number means a thicker fabric. The most common canvas used in crafting is No. 11 canvas (11-oz canvas).
The main appeal of canvas lies in its outstanding durability and structure:
Canvas is the top candidate for these items. However, because the fabric itself is thick, areas with multiple overlapping layers (such as handle bases or corner gussets) become difficult for machine needles to pierce. You will need to switch your sewing machine needle to a thicker size (Size 14 to 16 / US 90–100).
Twill is a diagonal-weave fabric frequently used for chinos and aprons. It is thicker than sheeting and offers a supple body similar to or slightly softer than Oxford, with good wrinkle resistance. It feels smooth and has an elegant texture.
Using twill for placemats, aprons, eco-bags, or pouches results in a refined, mature look.
Quilted fabric consists of batting sandwiched between an outer and inner fabric, held together with decorative stitching. It provides cushioning, insulation, and shock absorption, making it perfect for:
When making accessories that protect contents from impact, quilted fabric is an excellent choice. Because the fabric has built-in volume, it creates a sturdy item even without applying interfacing.
Now that you understand individual fabric traits, let's master practical fabric pairings. Matching the outer fabric and lining fabric correctly is the secret to high-quality fabric items. Here are the golden combinations I recommend based on extensive hands-on crafting!
The key feature of a drawstring pouch is that the opening closes smoothly when you pull the strings. If the fabric around the opening is too thick, the top will remain stiff and fail to cinch neatly.
Recommended combinations:
Using Oxford for the outer fabric yields a moderately sturdy drawstring bag that holds its form. Using a lightweight fabric like sheeting for the casing and lining ensures easy cinching and great usability. If making a single-layer unlined pouch, Oxford works great as long as you finish the raw interior edges.
Pouches need enough structure to hold their shape even when jostled in a bag among other belongings. A floppy pouch makes operating zippers frustrating.
Recommended combinations:
Applying interfacing to the back of an Oxford outer fabric gives it ideal crispness and 3D structure. Using sheeting for the lining keeps the interior neat without unwanted stiffness. For frame pouches (gamaguchi), keeping the combined thickness of outer fabric, interfacing, and lining moderate is crucial so it fits smoothly into the metal frame channel.
Bags require strength and stability so the bottom does not sag and handles do not tear under heavy loads.
Recommended combinations:
For a self-standing, sturdy tote bag, No. 11 canvas is the prime choice. Pairing it with an Oxford lining creates a durable interior. If you want to use a cute patterned Oxford fabric for the bag exterior, be sure to apply heavyweight woven interfacing to the back for reinforcement.
Tableware items must lay flat without warping and offer good absorbency or heat resistance.
Recommended combinations:
Linen or cotton-linen blends with natural textures and high absorbency suit coasters and pot holders wonderfully. Inserting quilt batting (domett batting) between the outer and inner layers adds soft thickness and heat insulation, elevating the project to boutique quality.
Here are typical fabric selection pitfalls beginners encounter, along with practical solutions to prevent wasted materials.
Cause: Falling in love with a floral or character print, only to discover later that it was lawn or voile intended for summer blouses. Making a pouch directly from it results in a flimsy product.Solution: Always check the fabric type name and touch the stiffness. If you must use a thin fabric for a pouch, apply medium-to-heavy non-woven interfacing across the entire back to add artificial crispness.
Cause: Using heavyweight No. 8 canvas for the exterior, a thick lining, and heavy interfacing, making seam overlaps nearly 1 cm thick at corners and handle bases.Solution: The limit for smooth home machine sewing is roughly No. 11 canvas combined with Oxford. Balance the layers by choosing a thinner lining like sheeting when working with thick outer fabrics. Also, trim seam allowances diagonally at corners before turning the item right side out to reduce bulk.
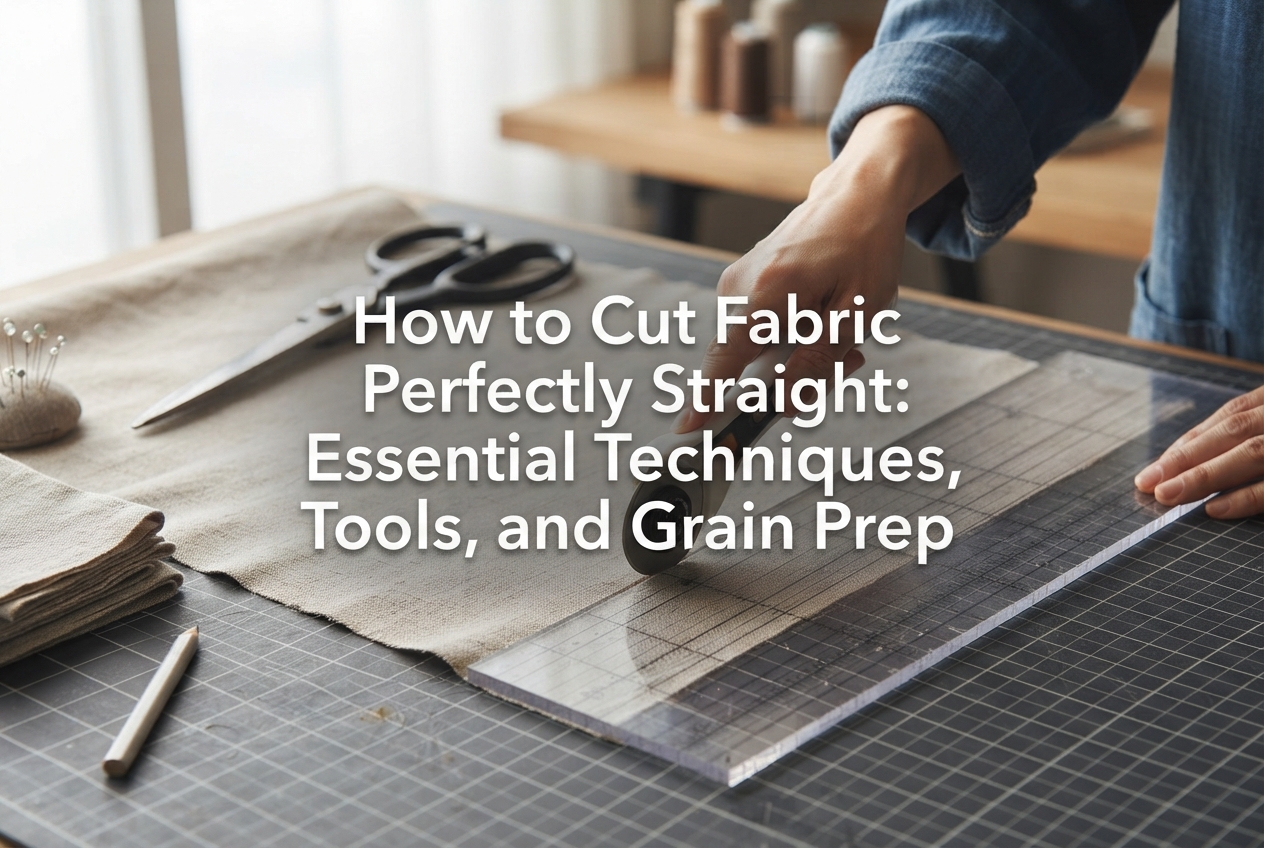
Cause: Natural fibers like cotton and linen shrink by a few percent when washed with water, causing zippers to wave or linings to bunch.Solution: Perform mizutooshi (pre-shrinking) and jiinaoshi (grain straightening) before cutting your fabric. Soak cotton or linen in water for an hour, gently squeeze out moisture, line dry in the shade, and press with an iron while semi-dry to align the grain. This prevents post-wash shrinkage.
Cause: Pairing a thin sheeting exterior with a rigid canvas lining creates an extreme imbalance in stiffness, pulling the outer layer and causing unnatural wrinkles.Solution: Follow the rule of choosing a lining that is equal in weight or slightly thinner than the outer fabric:
Cause: Binding thick fabric edges with narrow bias tape leads to slipping stitches because the fabric layer exceeds the tape width.Solution: Keep fabric layers relatively thin (e.g., Oxford × Sheeting) when finishing edges with bias tape, or use wider bias tape (double-fold 20mm or wider). Use a zipper foot on your sewing machine when attaching zippers to manage zip tape thickness.
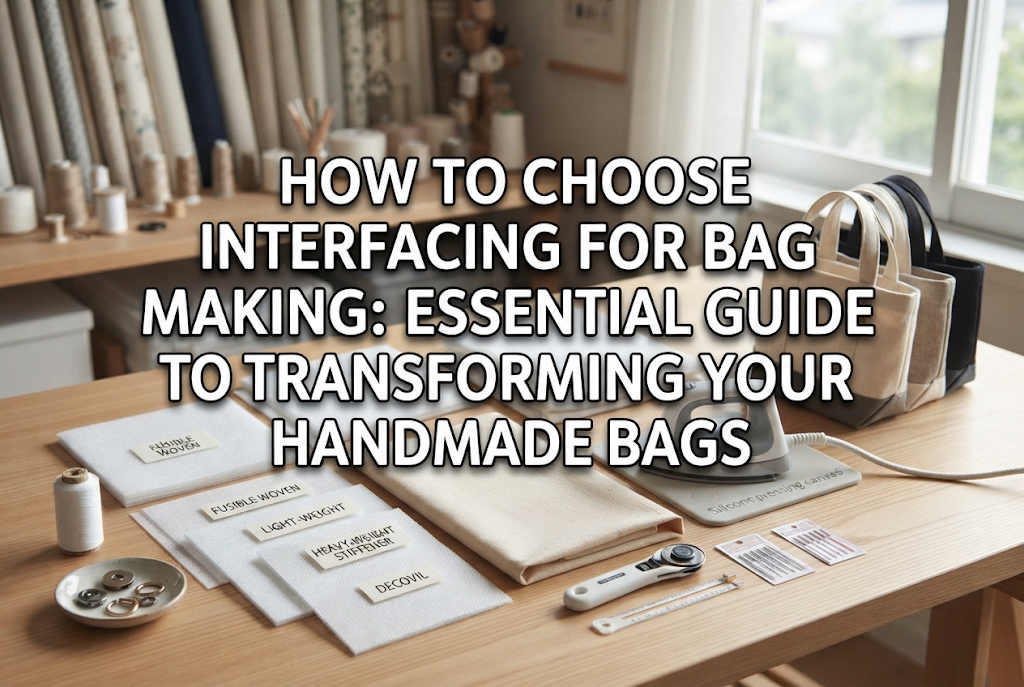
Interfacing (sechakushin) is just as important as fabric selection in crafting fabric accessories. Interfacing is a supportive sheet applied to the wrong side of fabric using iron heat. Mastering interfacing allows you to create structured items from almost any fabric.
My top recommendation is woven interfacing because it preserves the natural textile texture while reinforcing the item without creasing permanently when folded.
Applying heavy interfacing to already thick canvas will make it too hard to sew. Think in terms of adding what the fabric lacks!
Pre-cut cloth bundles (such as 50 cm × 50 cm cuts) are a budget-friendly way for beginners to test different fabric textures!
In this guide, we covered everything from basic fabric characteristics to item combinations, interfacing techniques, and buying advice.
Key takeaways to remember:
By picking the right fabric and interfacing for your project, your handmade fabric creations will achieve a professional, shop-quality finish.
I hope this guide helps you choose wonderful fabrics and enjoy your sewing projects. If you found this article helpful, please share it with your sewing friends on social media!
See you in the next article! This was Yassy from Crafters! (・∀・)


For example, if you are looking for articles about mizuhiki, try searching for "mizuhiki"; if you are interested in tools, try keywords like "nippers" or "pliers."
