Level Up Your Sewing: The Ultimate Upgrade Order for Japanese Sewing Tools
yassy
Crafters!
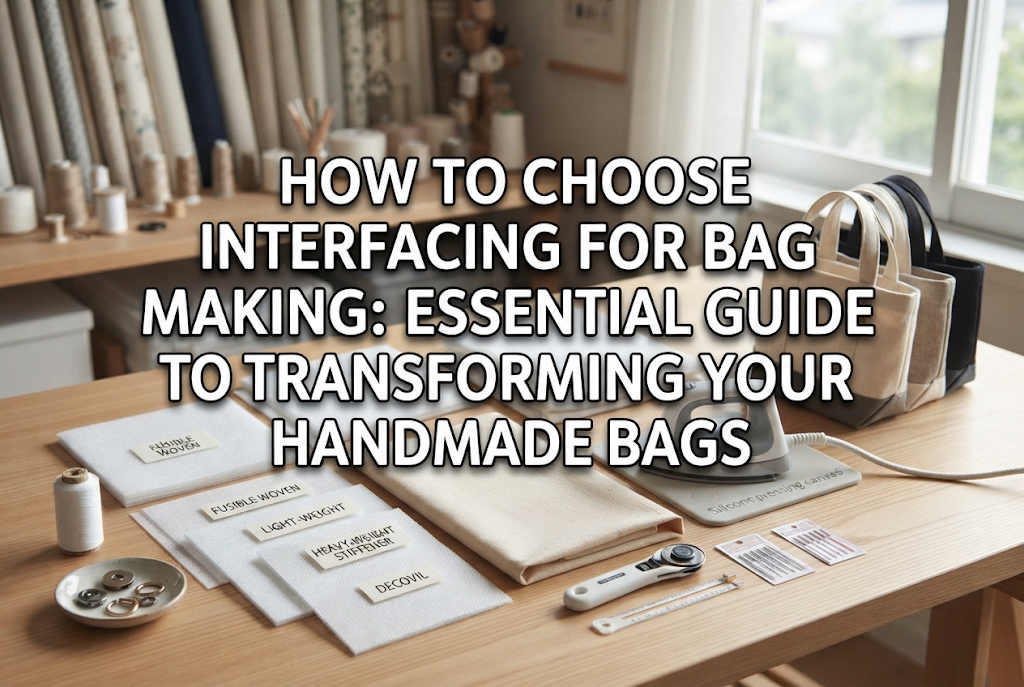

Hello everyone! This is Yassy from Crafters! (・∀・)
Have you ever found a gorgeous fabric, spent time making a bag with it, only to realize when it was finished that it was disappointing, floppy, and couldn't stand on its own? Or perhaps when you put your belongings inside, the bottom stretched out awkwardly and ruined the bag's shape?
In fact, the primary reason for this is rarely the thickness of the fabric itself; it almost always comes down to how you choose your interfacing. In bag making, interfacing acts as the structural "skeleton" of your project. Simply choosing and fusing the right interfacing can transform a slouchy handmade project into a beautifully structured bag that looks like it came straight out of a store!
When you browse craft shops or online supplies, you'll find an overwhelming variety: lightweight, medium-weight, heavyweight, woven, non-woven, fusible quilt batting, hard interfacing, and more. It is completely normal to feel lost and wonder, "Which one should I actually buy?" In this article, I will share everything you need to know—from the basics of bag-making interfacing to material characteristics and how to select the right one for your ideal bag without fail!
Why do we need interfacing in bag making in the first place? You might think, "If I use thick canvas or Oxford fabric, shouldn't it be sturdy enough on its own?" However, interfacing plays three crucial roles that go far beyond just making fabric stiff.
A bag is a three-dimensional object. To help it stand upright when placed on a table, or to maintain a soft rounded balloon shape, the fabric itself needs body and tension. Adding interfacing supports the fabric against gravity, keeping its beautiful silhouette over long-term use.
Bags carry heavy everyday items such as wallets, smartphones, and water bottles. Fabric alone gets pulled downward by weight, which can strain seams or stretch the fabric out of shape. Reinforcing with interfacing significantly boosts durability in load-bearing areas.
Fabrics have natural stretch along the grain and especially diagonally on the bias. When stitching with a sewing machine, the fabric can wave or warp out of dimension. Pre-fusing interfacing stops unnecessary stretch, making both straight lines and curves amazingly easy to sew.
When shopping for interfacing, the first distinction to understand is between woven interfacing and non-woven interfacing. Grasping these two material characteristics is the single biggest key to success in bag making.
Woven interfacing is woven with warp and weft threads just like standard fabric. A heat-meltable adhesive (glue) is applied to one surface, often in a dot pattern.
The biggest advantage of woven interfacing is that it adds crisp body and firm structure without ruining the fabric's natural drape, flexibility, or texture. Furthermore, it resists repeated friction and bending, so your bag won't develop unsightly permanent wrinkles when handled. In Japanese bag crafting, woven interfacing is the most recommended choice as the main interfacing for outer fabrics.
Because it has a grainline (the direction of the woven threads) just like fabric, you must align the grainline of the interfacing with the grainline of your outer fabric when cutting. While it is slightly more expensive than non-woven types, woven interfacing is undeniably the best choice for outer fabrics when considering overall finish quality and durability.
Non-woven interfacing is made by bonding fibers together using heat, mechanical pressure, or chemical processes rather than weaving them. Its structure is similar to paper masks or wrapping sheets.
Since it lacks a grainline, you can cut pattern pieces in any orientation without worrying about thread direction, which minimizes fabric waste. It is also very affordable and widely available at craft stores.
However, there is an important caveat when using non-woven interfacing for bags. Because it shares characteristics with paper, bending it sharply leaves permanent, paper-like creases that cannot be smoothed out. Additionally, frequent washing or rubbing can cause it to tear or delaminate from the fabric.
For these reasons, non-woven interfacing is not suitable for covering the entire outer shell of a bag. It is best used for reinforcing inner linings, pocket facings, or small internal components where heavy bending won't occur.
Now that we understand the material categories, let's explore the specific types of interfacing commonly used in bag making, along with their weight, stiffness, and characteristics.
This is the most versatile and frequently used type in bag making. It consists of woven cotton or polyester-blend fabric coated with heat-activated adhesive.
When your goal is to make a bag stand completely upright on its own, hard interfacing is the answer. Made from densely packed polyester or rayon fibers, this ultra-thick interfacing has strong stiffness similar to thick cardboard or thin plastic sheets.
It is used for structured square totes, Boston bags, or the side gussets of backpacks. However, because it is extremely rigid, turning the bag right-side out can be quite challenging. To prevent harsh wrinkles during turning, a common technique is to cut the hard interfacing slightly smaller so it stays out of the seam allowances.
This type features polyester fleece batting with fusible adhesive applied to one or both sides. It gives your bag a soft, plush volume and protective cushioning.
It is ideal for cosmetic pouches, tablet or laptop clutches, and camera bags where you want to cushion the contents against impact. It's also great for soft, cozy tote bags. When ironing, avoid pressing down too hard, as excessive pressure can flatten the fluffy volume of the fleece.
In Japanese leather craft and high-end cloth bag making, a specialized material known as slicer (thinly sliced foam interfacing) is widely used. It features a thin sheet of sliced foam (similar to urethane) with adhesive applied on one side.
It provides both sponge-like resilience and smooth structure, giving your bags a luxurious, supple feel. It resists creasing and rebounds beautifully even after being turned inside out, making it extremely popular among crafters aiming for a professional finish.
To prevent the bottom of a bag from sagging under weight, rigid plastic-based sheets like Bellporen (polyethylene foam board) are used.
These come in iron-on fusible types or non-fusible versions that you wrap in fabric and lay inside the bottom of the bag. Keeping the base flat sharply enhances the bag's overall silhouette. They are water-resistant and easy to cut to size with household scissors or a craft knife.
Here are specific, recommended interfacing combinations matched to different bag designs and purposes:
If you want a tote bag that stays crisp and stands upright even when completely empty, try this ideal combination:
By applying strong interfacing to both the outer fabric and the lining (a double-reinforcement technique), the inner and outer layers support each other, creating a sturdy tote that won't flop over even with long-term use.
For market totes or shoulder bags where you want to enjoy the relaxed, soft drape of linen or cotton, overly stiff interfacing will ruin the fabric's charm.
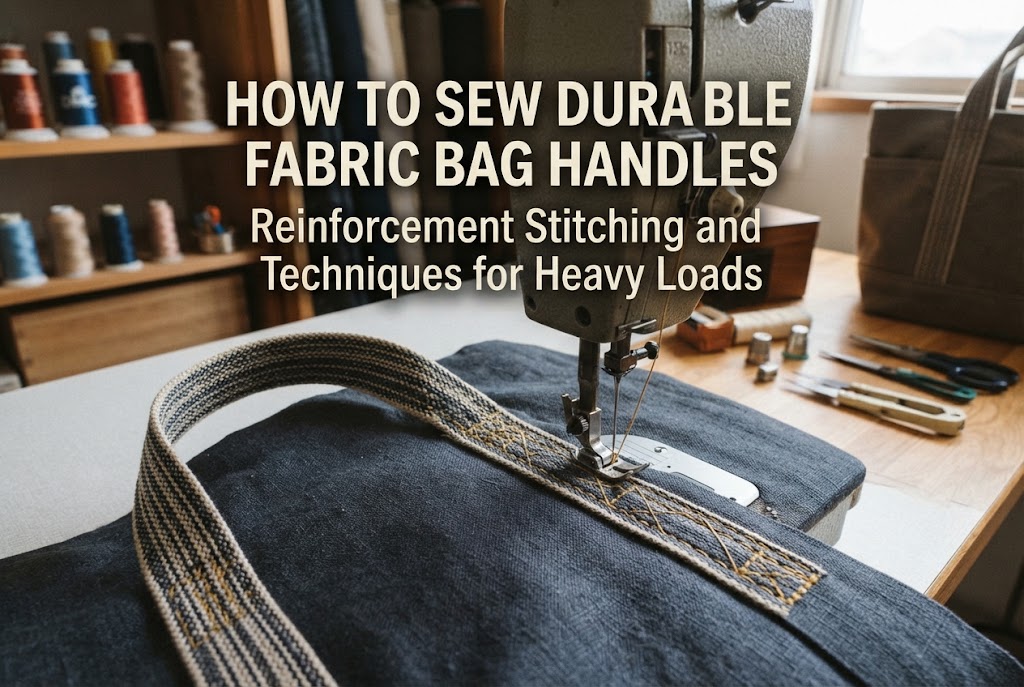
The key here is selective reinforcement: keep the natural drape of the main fabric while reinforcing high-stress areas like handles and base seams so they don't stretch out under heavy loads.
For pouches or small bags prioritizing a rounded shape and soft tactile feel, cushioned interfacing works wonders:
Using quilt batting creates a lovely 3D puffiness on the outer shell while protecting items like smartphones or wallets inside.
Understanding these common pitfalls beforehand will save you from disappointing mishaps!
A very common mistake is using thick non-woven interfacing on the outer fabric simply because it was inexpensive. While it may look smooth right after ironing, handling the bag creates sharp, paper-like creases that lift away from the fabric.
Solution: Always choose woven interfacing for outer fabrics. Woven interfacing moves naturally with the textile, keeping the surface smooth no matter how often the bag is carried.
Eager to make a bag sturdy, beginners sometimes apply heavy hard interfacing over the entire piece of heavy canvas, plus thick interfacing on the lining. When seam allowances overlap at corners or handle attachments, the fabric layer becomes extremely thick (equivalent to 8 to 12 layers!). Sewing machine needles can bend, skip stitches, or break.
Solution: When using hard interfacing, trim the interfacing 1 cm (about 3/8 inch) inside the seam line (seam allowance area). Keeping heavy interfacing out of the seam allowances dramatically reduces stress on your sewing machine.
When applying interfacing to thin white or pastel fabrics, coarse glue dots can show through, or the surface texture can become rough and uneven.
Solution: For sheer or light-colored fabrics, choose an ultra-fine woven interfacing with fine, evenly applied glue coating. Additionally, match black or dark navy interfacing to dark fabrics, and white interfacing to light-colored fabrics.
Even if you choose the perfect interfacing, improper fusing technique will cause it to peel over time, creating unsightly bubbles. Fusing technique is just as important as material selection!
Interfacing glue doesn't stick by heat alone; it requires four elements working together: Heat, Pressure, Time, and Cooling. Follow these steps for a secure bond:
Tip: Always use a press cloth (or parchment paper) over the interfacing to prevent stray adhesive from melting onto your iron's soleplate!
With so many varieties available, you might wonder, "Do I need to stock every single type?" In my studio, I actually keep just three essential interfacings constantly stocked:
You don't need to purchase every thickness right away! Start with a roll of medium-weight woven interfacing. You'll instantly see your bag projects upgrade to a clean, professional standard!
Although interfacing remains hidden inside the finished project, it is the single most important material that defines a bag's shape, feel, and longevity.
Remember the fundamentals: use resilient woven interfacing for outer shells, match hard interfacing or quilt fleece to your desired bag style, and apply thorough heat-pressing technique. With these basics, even sewing beginners can craft beautifully finished bags!
Next time you visit a craft store, take a moment in the interfacing aisle to feel the different textures and weights between your fingers. Crafting becomes so much more enjoyable when you can bring your ideal bag shapes to life!
If you found this guide helpful, please feel free to share it with your crafty friends on social media! See you in the next article! This was Yassy from Crafters! (・∀・)



For example, if you are looking for articles about mizuhiki, try searching for "mizuhiki"; if you are interested in tools, try keywords like "nippers" or "pliers."
