Level Up Your Sewing: The Ultimate Upgrade Order for Japanese Sewing Tools
yassy
Crafters!

Hello, everyone! It’s Yassy from Crafters! (・∀・)
Have you ever carefully followed a pattern, only to find that your straight cuts somehow ended up crooked, or that your pieces didn’t match up when sewing them together? Cutting fabric straight and accurate is one of the most critical foundational steps that directly impacts the quality of any sewing project.
If your cuts are uneven, even the most meticulous sewing can result in twisted seams and a distorted silhouette. Conversely, if your initial cuts are straight and precise, your finished project will look dramatically cleaner and more professional.
In this guide, I will walk you through the primary causes of fabric distortion, essential pre-cutting preparation, how to choose the best tools, and practical cutting techniques that anyone can use to achieve clean, straight lines without frustration. Let's conquer the fear of cutting fabric so you can enjoy stress-free crafting!
Unlike paper or wooden boards, fabric is soft, pliable, and easily deformed. Simply placing a ruler over it and cutting with scissors often leads to skewed lines. To fix this, it helps to understand why fabric shifts in the first place.
Most woven fabrics are made of vertical warp threads and horizontal weft threads interlaced in a grid pattern. The alignment of these threads is known as the fabric grain (called nunome in Japanese). When you purchase fabric off the bolt, the warp and weft threads are often distorted and no longer meet at a perfect 90-degree right angle due to manufacturing processes or how the fabric was rolled.
If you cut along the raw edge of a piece whose grain is distorted, you are effectively cutting across the weave diagonally. As a result, when the finished item is washed or used, the fibers will naturally try to shift back into a right angle, causing the entire finished piece to twist out of shape.
When cutting with scissors, you open the blades wide to slide the lower blade beneath the cloth. At that moment, the lower blade pushes the fabric upward, lifting it off the tabletop.
Once the fabric is lifted, its tension and spatial alignment change compared to when it lies flat. Cutting fabric while it is raised in the air makes it nearly impossible to follow a marked line accurately, leading to jagged edges and drifting cuts.
Working on a small desk often causes excess fabric to drape over the edge. The sheer weight of the hanging fabric pulls on the material on your workspace, stretching it out of shape and making precise cuts impossible.
Without properly supporting and stabilizing the fabric, it shifts away with every snip of the shears, destroying any chance of a straight line.
Accurate cutting begins before you even pick up your cutting tools. The essential first step is known in Japan as jinoushi—the process of restoring the fabric's true structural grain.
If you skip grain straightening, no amount of rulers or cutting guides will help, because the fabric itself is skewed. Common sewing headaches—like side seams on a garment twisting toward the front, or drawstring bags with uneven corners—are almost always caused by cutting fabric with an unaligned grain.
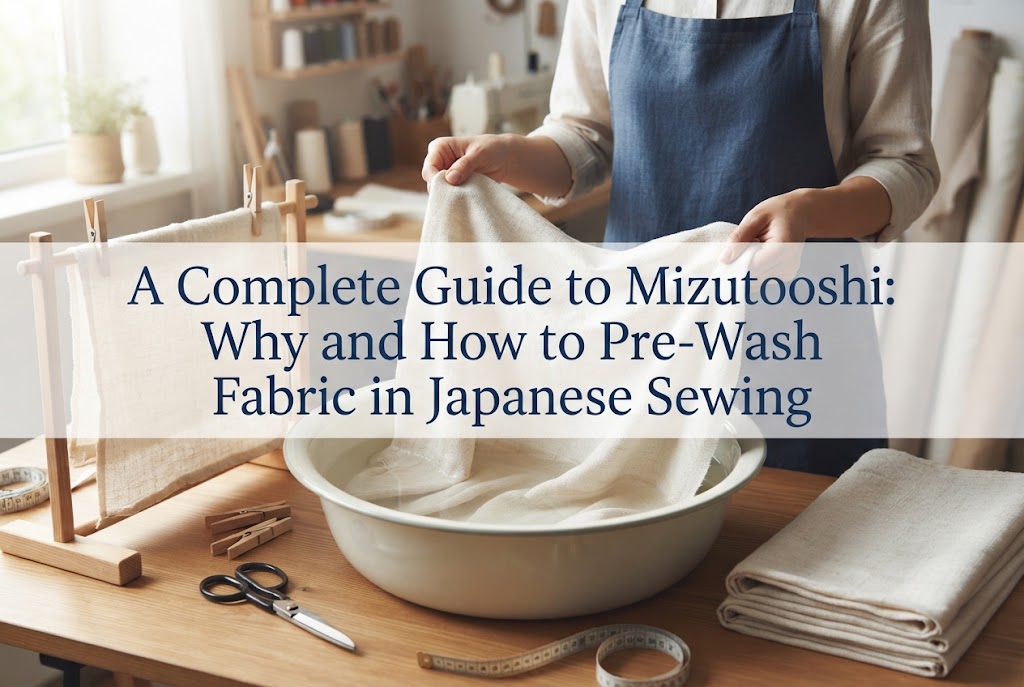
Natural fibers like cotton and linen should always undergo preshrinking (soaking in water) and jinoushi pressing with an iron before cutting:
By completing this process, you restore the fabric's natural right-angled grid, creating a stable foundation for cutting straight edges.
Using the wrong tools makes clean cutting nearly impossible, regardless of your skill level. Here are the essential tools you should have on hand.
Always use dedicated fabric shears (known as tachibasami in Japanese). Stationery or craft scissors have completely different blade grinds, which can snag, chew, or pull the fabric threads.
Tailor's shears feature a flattened lower blade designed to glide smoothly across the tabletop without lifting the fabric. Shears with longer blades are ideal because they can cover more distance in a single, continuous stroke.
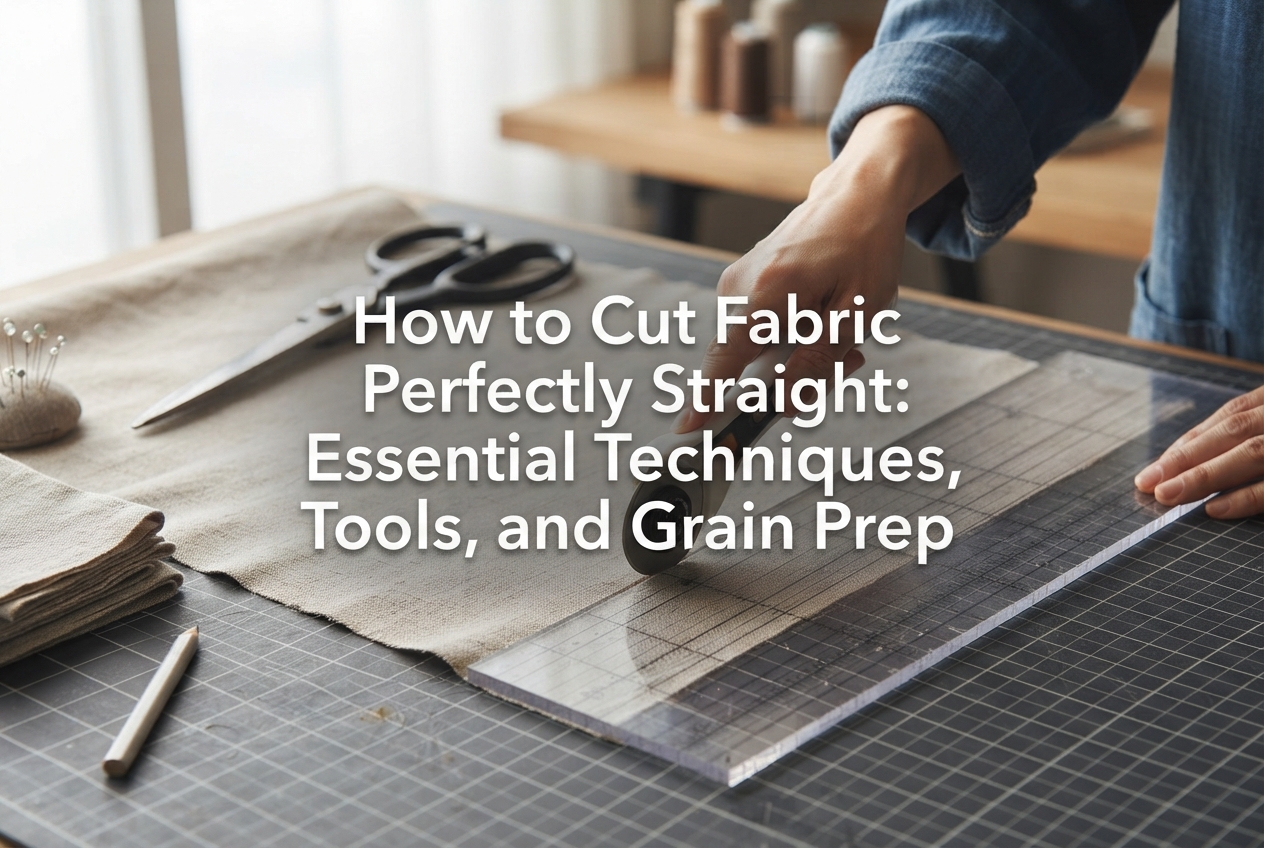
If there is one tool I consider an absolute game changer, it is the rotary cutter. The circular blade slices through the cloth using downward pressure as it rolls, allowing you to cut without lifting the fabric at all.
By running a rotary cutter along an acrylic ruler, you can achieve flawlessly straight lines that are nearly impossible to match with shears. I highly recommend pairing it with a large self-healing cutting mat.
For cutting guides, choose a wide, transparent sewing grid ruler. Rulers marked with a 5 mm or 1 cm grid allow you to easily align your cuts parallel or perpendicular to the fabric's grainline and selvage.
Adding non-slip adhesive grips or applying a non-slip spray to the underside of your ruler ensures it stays firmly in place during cuts, preventing slips and accidents.
Here are four practical cutting techniques you can choose based on your fabric type and the size of the pieces you need.
For fabrics with a distinct weave—such as linen, cotton-linen blends, and oxford cloth—the thread-pull method is incredibly effective. It relies directly on the fabric structure rather than optical estimation or ruler alignment.
The steps are simple:
Because you are following the actual woven thread, the resulting line is guaranteed to be straight without any diagonal deviation. This is also an exceptional method for squaring up raw edges before beginning a project.
For cutting long straight edges or multiple pieces quickly and precisely, using a rotary cutter paired with a thick quilting ruler is unmatched.
The key lies in how you position your non-dominant hand (the hand holding down the ruler):
Marking long lines with fabric chalk or pens can sometimes drag the fabric, causing the drawn line itself to warp. The iron-pressed guide method solves this issue completely.
Measure from the edge at several points and make small marks, then fold the fabric along these marks. Press the fold firmly with an iron to form a crisp, visible crease.
When you unfold the fabric, you will have an ultra-sharp, straight crease line. This crease serves as a much finer and more accurate cutting guide than a thick chalk line, allowing you to cut along it cleanly with tailor's shears.
When cutting out intricate pattern pieces, use sewing weights (often referred to as bunchin in Japan) instead of straight pins.
Inserting pins causes the fabric to buckle and lift slightly around each puncture point, creating small dimensional inaccuracies. By placing heavy sewing weights across your pattern pieces, you hold both the pattern and the fabric completely flat against the table for seamless cutting.
Here are three common pitfalls beginners often encounter, along with the specific adjustments I use in my own sewing practice.
The most frequent beginner mistake is holding fabric shears up in the air like regular scissors. This causes the fabric to flutter and shift, resulting in jagged cuts.
My Solution:Keep the flat side of the lower blade resting firmly against the tabletop at all times. When opening the blades to take the next cut, glide the tip of the lower blade forward without lifting it from the surface. Keep your wrist steady and push the shears forward across the table to maintain stability.
When guiding a rotary cutter, the sideways pressure against the edge of the ruler can easily push it off line.
My Solution:Spread your stabilizing fingers in an open fan shape and apply firm, vertical pressure straight down. Avoid pushing sideways against the ruler. When using long rulers, always apply non-slip adhesive grips to the back.
When cutting fabric on the fold or in double layers for symmetrical parts, the bottom fabric often shifts out of alignment.
My Solution:Place sewing weights right along the inside of your cut line to keep both layers from sliding against each other, or use low-tack masking tape to temporarily secure the fabric edges to your cutting mat. If you are working with slippery synthetic fabrics like polyester, avoid cutting double layers altogether; trace and cut each layer individually.
Different textiles require tailored approaches to maintain control during cutting.
Silky fabrics tend to slide away the moment a blade touches them, making them among the hardest to cut straight.
To tame them, place thin pattern paper (tracing paper, pattern tissue, or newspaper) underneath or over the fabric, and cut through both the paper and the cloth simultaneously using a rotary cutter. The paper acts as a stabilizer and non-slip surface, giving you crisp, beautiful cuts.
Thick fabrics offer significant resistance, which can cause blades to catch and deviate from your line.
When using shears, cut using the base of the blades where leverage is strongest, rather than snipping with the tips. If using a rotary cutter, switch to a larger blade diameter (such as 45 mm) and lean your body weight directly over the cutter to roll through the layers cleanly.
Knits stretch easily when pulled, meaning heavy pressure from a ruler or marker can warp the fabric before you even cut.
Never pull or stretch knit fabric while working. Lay it flat in its relaxed, natural state on your mat, secure it lightly with sewing weights, and use a fresh, ultra-sharp rotary cutter blade to slice through with a smooth, single-direction stroke without dragging the cloth.
Achieving clean, straight cuts comes down to a few key principles:
Taking the extra time for proper preparation may seem like a detour, but it dramatically improves your accuracy. Pieces cut with precision line up effortlessly at your sewing machine, making the construction process far more rewarding.
If you found this guide helpful, please feel free to share it with your fellow sewing friends! Until next time, happy crafting—this is Yassy from Crafters!


For example, if you are looking for articles about mizuhiki, try searching for "mizuhiki"; if you are interested in tools, try keywords like "nippers" or "pliers."
