A Crafter’s Guide to Silicone Molds: Types, How to Choose, and Essential Tips for Resin and Crafts
yassy
Crafters!

Hello, everyone! It’s Yassy from Crafters! (・∀・)
As someone who absolutely loves handmade crafts, my days are filled with the joy of creating my own pieces, admiring the work of other talented artisans, and collecting stunning creations from online shops and craft markets. Whenever I spot a gorgeous resin piece, I cannot resist holding it up to the light to admire its depth. That same excitement always drives me right back to my studio, happily experimenting to bring my own dimensional ideas to life.
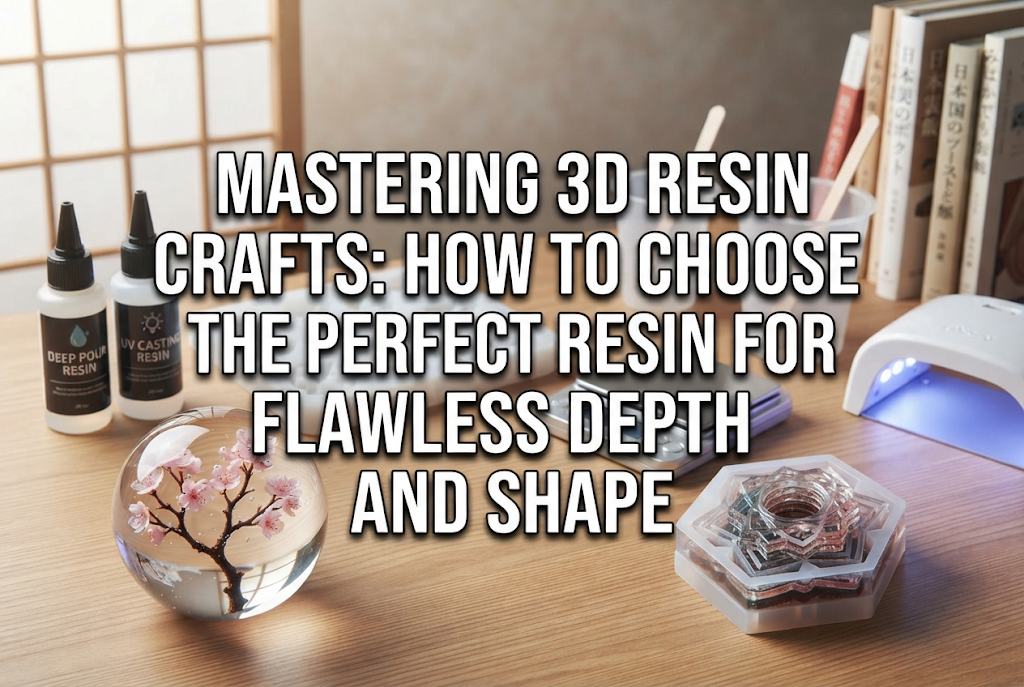
In the world of resin crafting, three-dimensional pieces—such as plump glossy spheres, deep mineral clusters, crystal-clear cubes, and orgonites—possess a magnetic charm. Unlike flat bezel charms or open-frame pendants, 3D resin art can be admired from all 360 degrees, making it one of the most rewarding ways to express your vision as a maker.
However, when crafters take their first steps into 3D pieces, the biggest hurdle they face is choosing the right resin liquid. If you pick a resin haphazardly, approaching it the same way you would a thin accessory, you risk heartbreak: liquid resin trapped inside an uncured core, warped surfaces with unsightly wrinkles, or stubborn clouds of trapped bubbles.
Success in 3D resin crafting comes down to one crucial factor far more than your technical skill: selecting the exact right resin for the shape and thickness of your project. Drawing from my own workshop experience and technical insight, I am breaking down the definitive criteria for choosing resin specifically for 3D creations.
Many crafters make the mistake of pouring the same resin they use for thin charms directly into a deep mold, only to encounter total failure. Dimensional work introduces physical challenges that simply do not exist in flat designs. Understanding these three traps will clarify why your choice of resin is so critical.
UV and LED resins cure when ultraviolet light passes through the liquid to trigger a photochemical reaction. For thin pieces, light penetrates directly to the bottom in an instant, hardening the resin thoroughly in seconds.
However, if you pour resin into a mold that is over 1 cm (about 0.4 inches) thick all at once, the light hits the surface but cannot penetrate into the core or the base. As a result, only an outer shell hardens while the inside remains a sticky liquid. When demolded, the piece may rupture, spilling uncured resin everywhere, or dent permanently under gentle finger pressure.
Resin naturally releases heat as it undergoes its curing reaction (an exothermic process). The greater the volume of resin cured at once, and the faster the cure, the higher that temperature spikes.
When curing a dense 3D piece all in one go, internal temperatures can surge between 80°C and nearly 100°C (176°F to 212°F). This intense heat causes the resin to expand and contract violently, leading to deep wrinkles across the surface or even scorching and damaging your silicone molds.
When you pour a high-viscosity resin into a deep mold, air trapped in the corners and along the bottom cannot easily make its way upward to escape.
If you cure the piece under these conditions, large, unsightly bubbles become permanently frozen right in the middle of your piece. While surface bubbles on flat charms can easily be eliminated with an embossing heat tool, bubbles deep inside a dimensional piece cannot reach the surface in time and remain locked within the cured resin.
For dimensional projects, your choices primarily fall into two categories: single-component UV/LED resin and two-part epoxy resin. One is not inherently superior to the other; rather, picking the right one depends entirely on thickness and overall size.
UV/LED resin is exceptionally convenient, curing within minutes under an appropriate lamp.
If you are crafting compact 3D pieces between 1 cm and 2 cm thick—such as small spheres, dome accents, or delicate dimensional motifs—UV/LED resin is an excellent first choice. However, rather than filling and curing the mold in a single pour, you must build the piece in stages through a layering process.
The major advantage here is speed. Because it sets quickly, it is ideal when you want to produce multiple small items efficiently or when you need to freeze inclusions in specific suspended positions step by step.
Epoxy resin consists of a resin base and a hardener that are precisely measured and mixed to cure slowly through a natural chemical reaction, completely without light.
Whenever your project exceeds 2 cm in depth—such as large cubes, hefty spheres, paperweights, orgonites, or deep gradient designs—epoxy resin is the definitive choice.
While epoxy requires 24 to 48 hours to cure, it hardens 100% uniformly throughout, regardless of how deep or thick the mold is. Because the curing reaction is gradual, heat generation remains very mild, and bubbles have plenty of time to rise to the surface and pop on their own. The result is a glass-like clarity with an impeccably smooth surface.
When buying resin for dimensional art, never decide based solely on cute packaging or low pricing. Always check the following five specifications to ensure success:
Viscosity directly impacts final finish. In 3D work, knowing when to use low viscosity (thin and runny) versus high viscosity (thick and syrupy) is essential.
Always seek resins designed with low exothermic heat generation. Formulations explicitly labeled "low heat," "anti-wrinkle," or "deep pour compatible" have controlled curing speeds that prevent thermal warping and preserve the life of your molds.
Be especially cautious with certain LED resins that cure ultra-fast; formulas made exclusively for flat, thin jewelry can generate extreme temperatures and should never be poured thickly.
All resins undergo slight volumetric shrinkage as they transition from liquid to solid.
If a resin has a high shrinkage rate, it pulls away from the mold walls prematurely while curing. This results in sunken facets, ridges, and severe surface ripples. In extreme cases, a circular mold will produce a deformed, oval piece. Choosing a high-grade formula advertised for low shrinkage ensures an accurate, mirror-image cast of your mold.
In dimensional pieces, light travels through a thick layer of resin before reflecting back to the eye, making base clarity paramount. Cheap resins with a slight tint or cloudiness will make your 3D castings look murky and dull.
Look for ultra-clear formulations that boast active bubble release. A resin with low surface tension allows tiny trapped air pockets to dissipate naturally after pouring, drastically elevating the final aesthetic.
Nothing is more disappointing than seeing a project you poured hours of effort into turn an amber yellow after just a few months. Because 3D pieces have substantial volume, discoloration is far more conspicuous than in thin charms.
Always verify that your resin incorporates UV-inhibitors or specifies non-yellowing (yellowing-resistant) performance. Purchasing reputable formulas from trusted craft brands is the only way to ensure your creations remain crystalline for years to come.
To help you choose quickly, here is my direct recommendation roadmap based on the exact type of piece you plan to make:
Recommended Choice: Low-to-medium viscosity UV/LED resin formulated for 3D/deep pours.
Method: Fill the mold halfway and cure completely under your lamp for the recommended time. Then, fill the remaining half and cure again. This two-stage pour ensures the light reaches the base, guarantees a full cure, avoids heat ripples, and leaves no visible seam lines.
Recommended Choice: Ultra-clear, low-heat two-part epoxy casting resin.
Method: Do not attempt to use UV/LED resin here; pouring dozens of micro-layers will produce visible striations and uneven tension. Instead, weigh your epoxy base and hardener to the 0.1-gram mark using a digital scale. Stir gently for several minutes without introducing air, pour smoothly into your mold, cover with a dust box, and let it cure undisturbed for 24 to 48 hours. The depth, gloss, and clarity will surpass anything achievable with quick-cure resins.
Recommended Choice: Ultra-low viscosity UV/LED resin or low-viscosity epoxy resin.
Method: High-viscosity resin cannot squeeze into tiny tips like angel wings, animal features, or intricate petal tips, leaving hollow air pockets. Pour a runny resin, then run a fine probe or toothpick along every corner and crease to guide trapped bubbles out before curing. This single extra step yields crisp, professional edges every time.
Here are three common misconceptions beginners hold when venturing into dimensional pieces, along with the correct techniques to save you time and materials:
Cranking up the wattage will not magically force UV rays through an opaque or dense volume of resin. Light penetration is physically limited by the resin liquid itself. Blasting a thick mold with intense light simply flash-cures the outer skin, generating intense heat while leaving a soft, uncured center trapped inside a warped shell. When working with powerful lights, split your pours into thin layers and pulse your cure times instead.
While heat tools are great for popping surface bubbles, aiming intense heat into a deep silicone mold filled with resin is risky. The heat accelerates the resin’s chemical reaction prematurely and softens the silicone mold itself, causing your piece to warp out of shape. Instead, gently warm your resin in a mixing cup before pouring to release bubbles, or use a fine pick to lift individual bubbles out once poured.
Many crafters dread measuring scales and waiting a full day for resin to set, attempting to force large 3D projects into UV resin molds. This almost always leads to visible boundary lines between layers or severe internal cracking due to uneven shrinkage. For substantial pieces, embracing two-part epoxy is transformative. Once you master precise measuring, you will find it is actually far more reliable and forgiving than trying to build bulky items layer by layer.
Here are two secret techniques I personally rely on to elevate 3D resin finishes from good to gallery-worthy:
When curing slightly thicker pieces (1 cm to 2 cm) with UV/LED resin, I rest the silicone mold on top of an ice pack for a few seconds right before placing it under the lamp. Pre-cooling the resin dampens the sudden temperature spike during photopolymerization, keeping the surface perfectly smooth, level, and free of wrinkles.
Straight out of the mold, 3D pieces often have tiny mold seam lines (flashing) or slightly matte patches from mold wear. After sanding down any rough seams, brush a thin layer of high-viscosity, ultra-clear UV gloss coating resin over the entire surface and cure it. This single finishing step erases micro-scratches and mold cloudiness instantly, delivering a rich, liquid-glass finish worthy of high-end display.
Creating flawless 3D resin art comes down to matching your materials to your specific design goals. Keep these core principles in mind:
Stepping beyond flat charms into dimensional resin art—where light refracts through depth and suspension—is a magical milestone for any maker. Once you hold a perfectly cured, crystal-clear 3D creation in your palm, you will be hooked by its beauty.
There is no need to fear failure. With the right resin selection and careful process, you can create breathtaking, professional-quality dimensional pieces right from your craft table.
If you found this guide helpful, please share it with your fellow makers on social media! I will see you in the next craft guide—happy making from Yassy!



For example, if you are looking for articles about mizuhiki, try searching for "mizuhiki"; if you are interested in tools, try keywords like "nippers" or "pliers."
