Essential Materials and Tools for Making Japanese Food Replicas: A Guide to Realistic Fake Food Crafting
yassy
Crafters!

Hello everyone! It’s Yassy from Crafters! (・∀・)
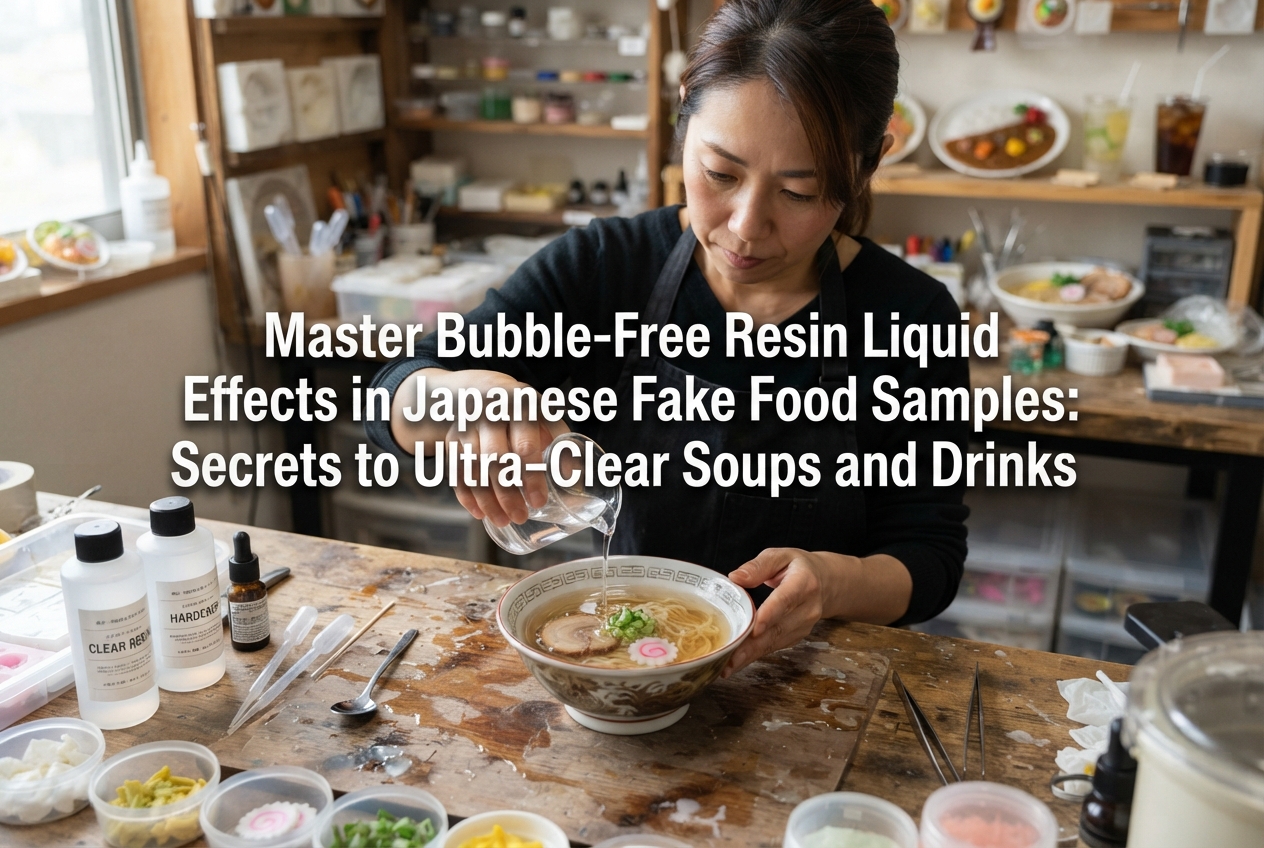
When it comes to shokuhin sampuru—the famous Japanese art of realistic fake food samples—the way you express liquids is one of the most critical elements determining overall quality. Whether it is a fresh glass of iced juice, a rich ramen soup packed with savory realism, or vibrant syrup poured over shaved ice, convincing liquids bring the whole piece to life.
However, when craft lovers try using resin to pour these fake drinks or soups, many run into frustrating failures: "The liquid turned cloudy white because it was packed with tiny micro-bubbles," or "Huge air pockets got trapped around the ice cubes and spoiled the whole look."
To achieve a crystal-clear finish that looks like a real liquid frozen in time, simply mixing resin and dumping it into a cup is not enough. Achieving perfect transparency requires precise techniques at every step—from selecting materials and mixing to pouring methods and bubble removal.
In this guide, I will break down the expert techniques and scientific mechanisms behind creating bubble-free, ultra-transparent resin liquid effects so that even beginner craft enthusiasts can achieve professional results!
In resin crafting, there are two primary types: UV/LED resin and 2-part epoxy resin. Choosing the correct type before you begin is the very first step to success.
To give you the bottom line right away: for liquid effects in Japanese fake food crafts that have a depth of 1 cm (about 0.4 inches) or more—such as drinks in glasses or soup bowls—using 2-part epoxy resin is an absolute rule.
UV/LED resin cures instantly when exposed to ultraviolet or visible light. However, UV rays cannot penetrate deep into thick resin layers, under dark soup pigments, or into shadows cast by food ingredients. As a result, only the top surface hardens while the inside and bottom remain liquid and sticky—a major failure known as incomplete curing.
Furthermore, as UV/LED resin cures rapidly, it generates intense exothermic heat. This sudden heat causes tiny air bubbles or residual moisture trapped inside to expand rapidly into massive bubbles. It can also cause the resin to shrink drastically, creating unsightly rippled waves on the surface.
In contrast, 2-part epoxy resin hardens slowly over several hours to a full day through a chemical reaction between a resin base and a hardener. Because it does not require light and cures gradually, trapped air has ample time to naturally escape to the surface, creating superior clarity.
Even within 2-part epoxy resins, products vary by viscosity (thickness). When crafting liquids for fake food samples, always choose a formula labeled as "low viscosity" (runny/thin) or "high transparency / non-yellowing."
Low-viscosity resin allows bubbles whipped in during mixing to easily rise to the surface and pop on their own—a property known as self-degassing. Additionally, thin resin slides effortlessly into tight gaps around intricate food toppings or ice cubes, preventing air pockets right from the start.
Once you have selected a 2-part epoxy resin, it is time for mixing and coloring. Over 80% of unwanted bubbles are actually introduced during these two steps.
After measuring your base and hardener into a mixing cup, never whisk them rapidly like beating eggs. Rapid stirring traps microscopic air bubbles (micro-bubbles) that become virtually impossible to eliminate later.
The secret to bubble-free mixing is using a flat stir stick (such as a silicone spatula or glass rod). Press the stick gently against the bottom and inner wall of the mixing cup, stirring slowly and smoothly in one direction.
Imagine smoothly sliding the two liquids against each other rather than whipping air into them. Resin tends to cling unmixed to the bottom corners, so scrape the sides and bottom occasionally while gently stirring for 2 to 3 minutes until the liquid becomes completely uniform and clear.
When tinting soups or drinks for fake food crafts, beginners often make mistakes with their choice of dye. Never use water-based paints or colorants containing moisture.
Resin and water do not mix well. Introducing even a tiny drop of moisture will cause the resin to turn milky white or inhibit the chemical curing reaction, leaving your piece permanently sticky.
Always use colorants made specifically for resin (oil-based or liquid solvent dyes) or specialized oil-based pigments. For translucent drinks or clear broth, pick up a tiny speck of colorant on the tip of a toothpick and dissolve it gradually into the mixed resin.
A helpful tip for realistic drinks: tint the liquid significantly lighter than you think it should be. A shade that looks faint in a small mixing cup will appear much darker and deeper once poured into a thick glass due to reduced light transmission.
No matter how carefully you stir, a few micro-bubbles may still form in the liquid. Before pouring the resin into your display glass or dish, perform a pre-degassing step in the mixing cup.
Resin has a physical property where its viscosity drops as its temperature rises, making it thin and watery. Lower viscosity allows trapped air bubbles to float up quickly due to buoyancy.
Float your mixing cup in a bowl filled with warm water at around 40°C (104°F). Within a few minutes of warming, you will actually see tiny micro-bubbles floating up from the bottom to the surface.
However, there is a critical rule: keep water away from the resin! Cover your cup tightly with plastic wrap or seal the entire cup inside a ziplock bag before placing it in the water bath to prevent steam or water droplets from entering.
Avoid using boiling water. Excessive heat accelerates the chemical reaction, causing the resin to flash-cure and harden rapidly, drastically shortening your workable working time. Stick strictly to a comfortable warm bath temperature around 40°C.
After warming the resin, let the cup rest undisturbed for 5 to 10 minutes. Because 2-part epoxy resin has a long pot life before curing, there is no need to rush. This quiet resting period is a secret step for extreme clarity.
To pop bubbles that gather on the surface, quickly pass an embossing heat tool (set to low heat) over the cup from a distance. The surface tension breaks, popping the bubbles instantly.
Always follow safety instructions when working with heat tools and chemicals. Work in a well-ventilated area with regular air exchange, and wear appropriate protective gear such as a dust/gas mask and polyethylene gloves.
Once the resin inside your mixing cup is completely clear and free of bubbles, it is time to pour it into your fake food container (a glass or soup bowl). Here again, avoid pouring heavily straight out of the cup.
When liquid splashes down from a height, the impact drives air under the surface, creating a new flood of bubbles.
To prevent this, use the pro technique of "guide-pouring." Hold a glass rod, metal spatula, or bamboo skewer against the lip of your cup, allowing the resin to slide smoothly down the stick as you pour.
Aim the stream at the inner wall of the container rather than dropping it directly into the center. Allowing the resin to glide gently down the wall and pool softly from the bottom up keeps air entrapment to absolute zero.
Japanese fake food pieces rarely feature plain liquid alone; they often include ice cubes in juice or noodles and toppings submerged in ramen broth.
If you pour resin all at once over toppings, air gets trapped underneath irregular shapes, leaving massive frozen bubbles behind. Floating toppings or ice cubes will also drift out of position.
The solution is a multi-step layering method:
Even if the pour looks flawless at first, hidden bubbles often float up from corners or under toppings a few minutes later. Rescuing your piece at this stage before the resin sets makes all the difference.
Gently tap the bottom of your filled glass or bowl against your work table to create mild vibrations. If you are using real glass, place a soft folded towel underneath for safety before tapping.
These light vibrations help release stubborn bubbles caught in bottom corners or tiny gaps, sending them drifting toward the top surface.
For stubborn surface bubbles or air caught against topping edges, use a fine craft needle or bamboo skewer.
Either pop the bubble directly with the needle tip or drag it gently along the inner wall of the container to pull it out. Avoid swirling the needle vigorously in the center of the liquid, as this creates brand-new bubbles; always guide air gently up along the sides.
After eliminating every bubble, stay vigilant. 2-part epoxy resin takes about 12 to 24 hours to cure completely. Poor environmental conditions during this phase can ruin your hard work.
Resin remains highly fluid until late in its curing process. If your workbench is even slightly tilted, the surface of your drink will cure at an unnatural slant. Use a bubble level to ensure your curing area is completely flat.
Because the resin sits exposed for hours, floating dust and hair can easily fall onto the surface. Immediately cover your poured piece with a deep plastic container, cardboard box, or clean bowl to guard against airborne debris.
Epoxy resin is sensitive to room temperature. The ideal environment during curing is around 20°C to 25°C (68°F to 77°F).
In cold rooms below 15°C (59°F), the chemical curing process stalls, leaving the surface sticky or cloudy. Conversely, extreme heat or direct sunlight can trigger runaway exothermic reactions, causing the resin to yellow or regenerate heat bubbles.
Let's address a common misconception that craft beginners run into when attempting liquid effects in fake food samples, along with my direct advice.
The most frequent mistake beginners make is thinking, "I'll just try making a miniature ramen soup using cheap 100-yen store UV resin and a UV light since it's easy."
While this might work for paper-thin items, soup pigments block the UV light, leaving the bottom layer around noodles sticky and uncured. The sudden flash-curing also shrinks the surface into unsightly wrinkles and freezes trapped bubbles permanently.
If I were a beginner starting out today making fake food liquids, I would skip the shortcuts and invest in a small batch (around 200g–300g) of high-clarity 2-part epoxy resin designed for crafts.
I would also grab a digital scale accurate to 0.1g. Epoxy resin requires exact weight ratios (such as 100:50 base to hardener); missing the ratio by even a single gram can prevent curing entirely.
With the right tools, simply follow two key practices: the 40°C warm water bath de-airing and wall-guided slow pouring. With just these steps, even a first-timer can produce crystal-clear, professional-quality fake food liquids!
Let's review the main takeaways for achieving ultimate clarity in fake food liquid crafting:
There is nothing quite like the feeling of finishing a glass of fake iced juice or a warm bowl of realistic soup with crystal-clear resin depth. Give these techniques a try in your next crafting project!
If you enjoyed this guide, please share it with your craft friends on social media or messaging apps—it truly means a lot to me!
Until next time, happy crafting! This was Yassy from Crafters! (・∀・)


For example, if you are looking for articles about mizuhiki, try searching for "mizuhiki"; if you are interested in tools, try keywords like "nippers" or "pliers."
