Essential Materials and Tools for Making Japanese Food Replicas: A Guide to Realistic Fake Food Crafting
yassy
Crafters!
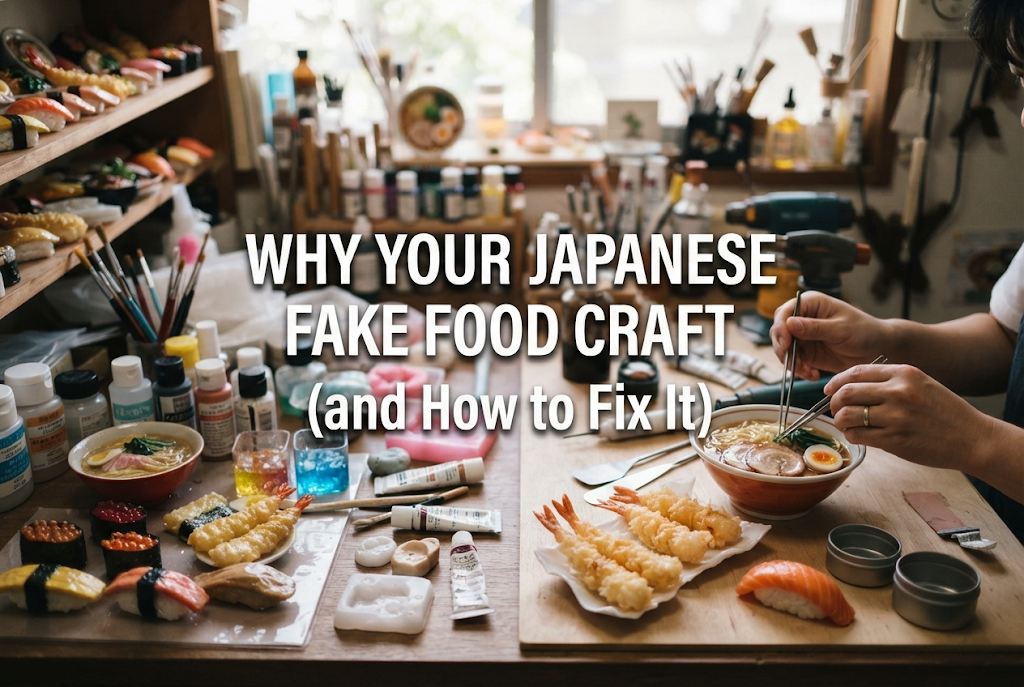

Hello everyone, it's Yassy from Crafters! (・∀・)
Have you ever tried making fake food crafts (shokuhin sampuru) using clay or resin, only to look at your finished piece and think, "It still looks like a basic clay project" or "It looks like a cheap toy and doesn't look appetizing at all"?
When you are trying to recreate real food, there are very specific reasons why a piece ends up looking artificial. Unrealistic craft pieces almost always fall into a few common traps involving sculpting, color choice, surface shine, and material translucency.
In this article, I will dive deep into the core reasons why fake food crafts can fail to look realistic. Let me guide you through the exact points to review so you can instantly elevate your creations to look like actual, delicious food!
The biggest reason a fake food replica fails to look real is that it was made relying solely on the simplified "symbolic image" of food in our minds, omitting the complex details found in nature.
For instance, if you sculpt based only on broad memories like "strawberries are red with seeds" or "lettuce is green and wavy," you end up creating neat, symbol-like shapes. This oversimplification is what triggers an uncanny feeling in our brains—the underlying cause of that artificial, toy-like appearance.
Real food is never as uniform as a factory-molded plastic product. It is filled with random information: slight distortions created during growth, uneven heat spots from cooking, or glistening oil and moisture. When this rich visual information is missing from a craft piece, the human brain instantly recognizes it as fake.
The first thing to re-examine is the physical shape of your food items. The most common trap for beginners is making shapes far too perfect and neat.
When shaping cookies, hamburger patties, or loaves of bread, do you aim for perfectly round circles, flawless ovals, or complete left-right symmetry? In reality, this perfection is a major reason pieces lose their realism.
In nature and in home-cooked dishes, flawless symmetry does not exist. A hamburger patty will have slight variations in thickness, and bread expands unevenly on one side during fermentation and baking. Straight, ruler-like lines belong to manufactured items, so intentionally introducing subtle distortions and asymmetry is essential.
When crafting sliced ingredients, leaving razor-sharp edges right where your cutter or clay tool sliced through will instantly give the item a hard, plastic-like texture.
Even vegetables cut with a sharp kitchen knife develop slightly softened edges due to moisture in the cell tissue or the heat of cooking. Soft foods like tofu or jelly sag under their own weight. Unless you gently soften the edges with a fingertip or wet brush—or crumble the edges for cooked stews—you cannot convey true softness and freshness.
When food rests on a plate or atop other ingredients, it deforms under its own weight. Pasta strands droop downward due to gravity, flattening slightly where they touch the dish. The white of a fried egg spreads outward while the center sinks under the weight of the yolk.
If you sculpt clay in the air and let it dry without accounting for how it settles, it retains an unnatural rigidity, as if floating. Always sculpt with a keen awareness of how the piece rests against its supporting surface.
Color selection and application are just as critical to realism as shape. Unnatural food models usually suffer from two common coloring mistakes.
Applying primary reds, yellows, or greens straight from the tube creates an artificial hue that looks cheap and toy-like. Real food colors are never pure primary colors.
The red of a tomato contains subtle yellow and brown undertones, while the green of leafy vegetables conceals tiny hints of ochre reflecting soil or natural weathering. Instead of using unmixed paint, blend in tiny amounts of brown, yellow, white, or black to create deep, subdued tones with lower saturation.
Painting baked crusts or fruit skins with a single uniform color immediately strips away three-dimensional depth and material texture.
For example, the golden crust on bread transitions through multiple gradient layers—starting from pale dough yellow to warm golden-brown, rich brown, and finally deep charred brown. To recreate the texture of heat-transformed dough, you must layer paint progressively from light to dark shades using brushes or sponges.
Applying dark paint directly over a stark white block of clay produces an unnatural surface-only finish. Real ingredients feature internal flesh colors that subtly bleed through to the surface.
Unless you knead a light base color into the clay itself beforehand or apply a pale undercoat before adding surface details, the paint layer will look thin, prone to chipping, and noticeably fake.
When a food replica looks like a block of dull clay, it is usually because light penetration wasn't taken into account.
Food items made entirely from standard paper clay or lightweight opaque clay bounce all light off their surface, resulting in a powdery, ceramic, or plastic-like look.
Most real food possesses semi-translucent qualities that allow light to pass through slightly. Raw fish slices, juicy fruit pulp, cooked onions, and boiled shrimp all let light penetrate and scatter inside. To capture this quality, you need to use translucent resin clay (such as Sukerukun) or blend transparent clay into standard resin clay to create a structure that permits light diffusion.
When creating cut fruits or sliced meats, simply painting a pattern onto a flat surface will not look realistic. Fruit fibers, vascular bundles, meat grain, and marbled fat exist continuously from deep within the ingredient, not just on the surface.
Unless you build internal components first and wrap them in semi-translucent clay before making the slice, the cross-section will look flat and two-dimensional, like a painting on a board.
The protective topcoat applied during finishing is a decisive step that can make or break your craft piece. Mistakes here often destroy realism in an instant.
Thinking "more shine equals more freshness" and slathering high-gloss varnish uniformly over the entire creation is the most common beginner mistake.
An object that shines uniformly all over looks like a porcelain figurine or a plastic bath toy. Real cuisine features a complex mix of shine intensities: oily sections, sauced areas, dry crusty spots, and naturally moist surfaces. You must strategically apply gloss varnish, semi-gloss varnish, and matte varnish to different components to create clear contrast in light reflection.
Even though both represent gloss, moisture shine and oil shine exhibit completely different visual qualities:
Thickly applying viscous varnish where you meant to show water, or placing clear resin droplets where you meant to show oil, causes subtle visual discomfort. Always select your coating material based on whether you are depicting water or oil.
Whether you work in miniature scale or full size, Japanese food replicas require precise scale consistency. If scale proportions are off, realism drops drastically.
Pay close attention to the proportional scale of small features: strawberry seeds (achenes), bread air pockets, rice grains, and sesame seeds.
If you build a miniature strawberry but make the seeds full-sized, or make rice grains massive relative to the bowl, the fake nature of the piece will be exposed immediately regardless of how good your painting is. Detailed secondary elements must be scaled down meticulously to match the body of the piece.
Food surfaces are rarely smooth. There are countless micro-textures: tiny pores on citrus peels, rough meat fibers, and spiky crispiness on fried batter.
If you skip texturing techniques—such as stippling with a toothbrush or scratching fibers with a needle or toothpick—you will remain stuck with a smooth, plastic-like outcome.
To dramatically raise the quality of your fake food creations, here is the exact process and mindset I always follow in my own workshop!
Never start crafting from memory alone. Place actual food bought from the grocery store right in front of you, or zoom in on high-resolution culinary photos on a phone or tablet while you work.
Focus on these three observation points:
By observing carefully, you will discover countless realistic details you never had in your mental memory, such as "this part is surprisingly yellow" or "the edge has a slight dark stain."
When painting with acrylics, dilute your paints thoroughly with water on your palette and build up color gradually like applying semi-transparent veils.
Trying to cover a piece in one thick layer leads to easy mistakes and cannot be corrected easily. By building up 3 to 5 thin layers while allowing each to dry, you create real depth within the paint film, accurately reproducing the complex coloration of real food.
Resin clay shrinks by about 5% to 10% as moisture evaporates during drying, and the color darkens by about one full tone. If you sculpt and color without factoring this in, your dried piece will turn out smaller than expected and disappointingly dark or muddy.
The secret to achieving your ideal look after drying is to sculpt slightly larger than needed and stop kneading color into your clay when it still looks just a bit too pale.
If your fake food crafts don't look realistic, it isn't due to a lack of artistic talent or dexterity. It simply stems from insufficient observation and missteps in selecting materials or techniques.
Softening perfect shapes to introduce natural distortion, avoiding unmixed primary colors in favor of multi-layered glazes, utilizing translucent clays, and applying contrasting gloss finishes carefully—mastering these fundamentals will make your craft pieces look astonishingly real and mouth-wateringly delicious!
Take a look at your current projects and try fixing these points one by one. Watching your work get closer to real food with every small tweak is the absolute best part of making fake food crafts!
If you enjoyed this guide, sharing it with your craft friends on social media or messaging apps would mean the world to me and keep me inspired!
Until next time, happy crafting! This was Yassy from Crafters!


For example, if you are looking for articles about mizuhiki, try searching for "mizuhiki"; if you are interested in tools, try keywords like "nippers" or "pliers."
