Master Bubble-Free Resin Liquid Effects in Japanese Fake Food Samples: Secrets to Ultra-Clear Soups and Drinks
yassy
Crafters!

Hello! This is Yassy from Crafters! (・∀・)
Don't you get excited whenever you look at those hyper-realistic plastic food replicas displayed in restaurant shop windows across Japan? Known as shokuhin sampuru, making these miniature fake foods, life-sized sweet decos, and faux culinary interior decor has become an incredibly popular handmade hobby!
Many craft enthusiasts ask, "I want to try making them myself, but what kind of materials and tools do I need?" or "Do I need to buy expensive specialized tools?" In reality, the equipment used for Japanese food replica crafting ranges from easily accessible 100-yen shop (dollar store) items to professional-grade craft supplies.
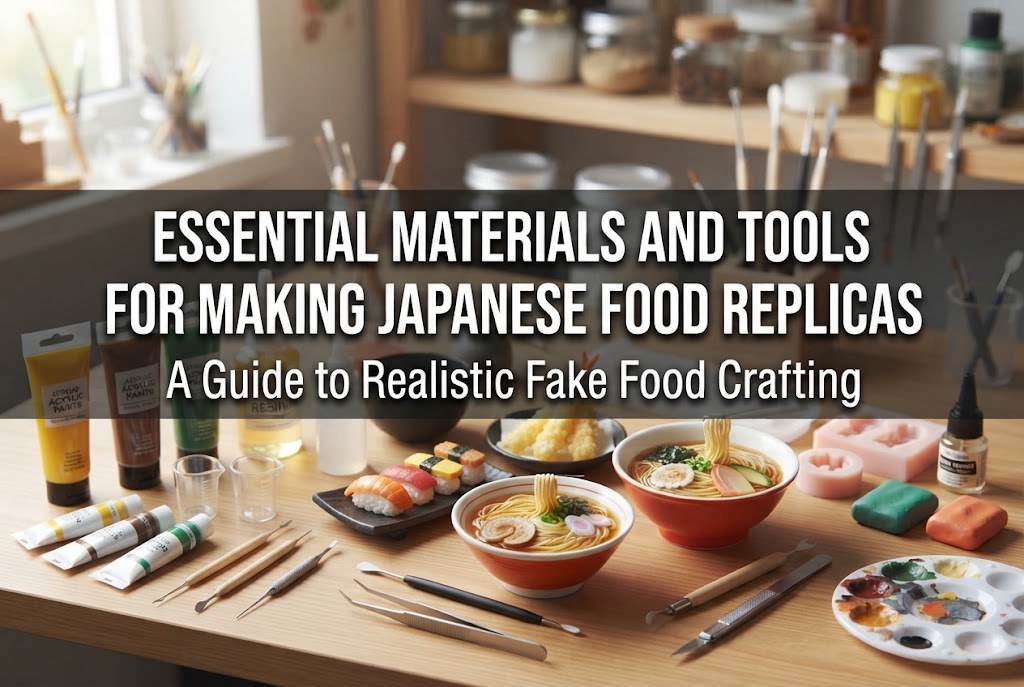
In this article, I will explain the fundamental materials and tools needed for food replica crafting, categorized by their specific roles! I will also share crucial tips to prevent common mistakes, making it easy for beginners to jump right in.
When crafting fake food, choosing the right base material is key. You need to select materials that match the specific texture, opacity, and moisture of the real food or dessert you want to recreate.
Clay is the most fundamental material in food replica crafting. While there are various types, two are predominantly used: resin clay and lightweight clay (paper/air-dry craft clay).
Resin clay (such as Japanese air-dry polymer clay) dries to a smooth finish with moderate flexibility, hardness, and a subtle translucency. It is perfect for replicating the juicy appearance of fruits, fresh meat, smooth cookies, and moist Japanese traditional sweets (wagashi). Because of its durability, it is also ideal for making keychains and accessories.
On the other hand, lightweight clay offers a natural, soft texture with a matte finish once dry. It excels at replicating fluffy bread, sponge cake textures, and the powdery, porous surface of ice cream scoops.
Depending on the project, crafters often mix resin clay and lightweight clay in a 1:1 ratio to combine the best qualities of both materials.
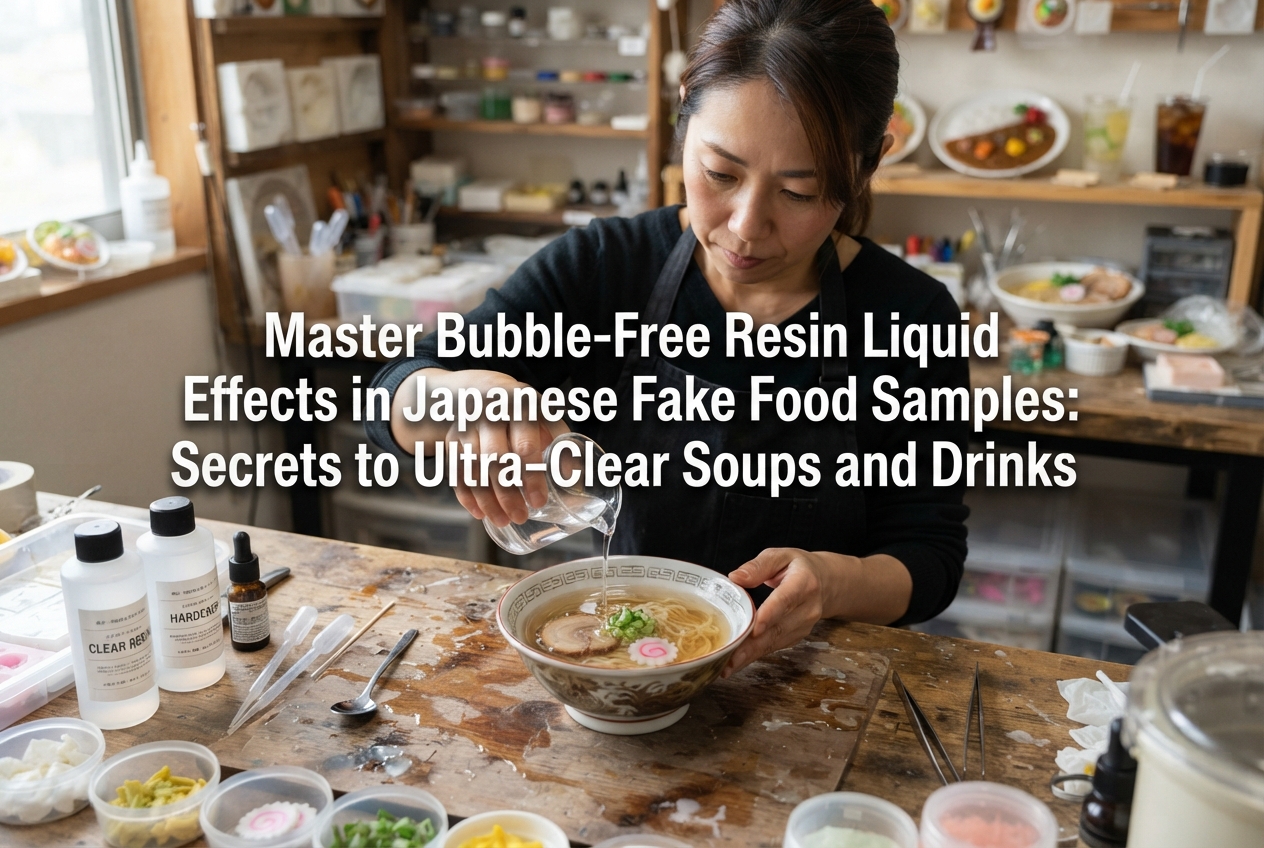
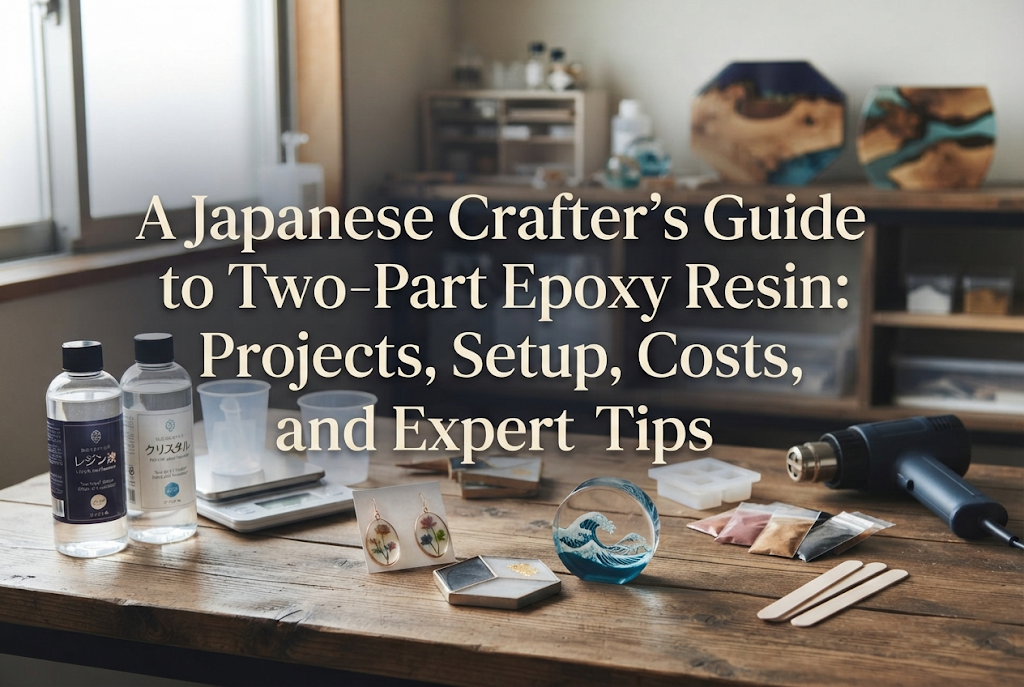
Resin is indispensable for creating liquid or transparent elements like ramen broth, iced drinks in glasses, teriyaki glaze on hamburgers, or ice cubes.
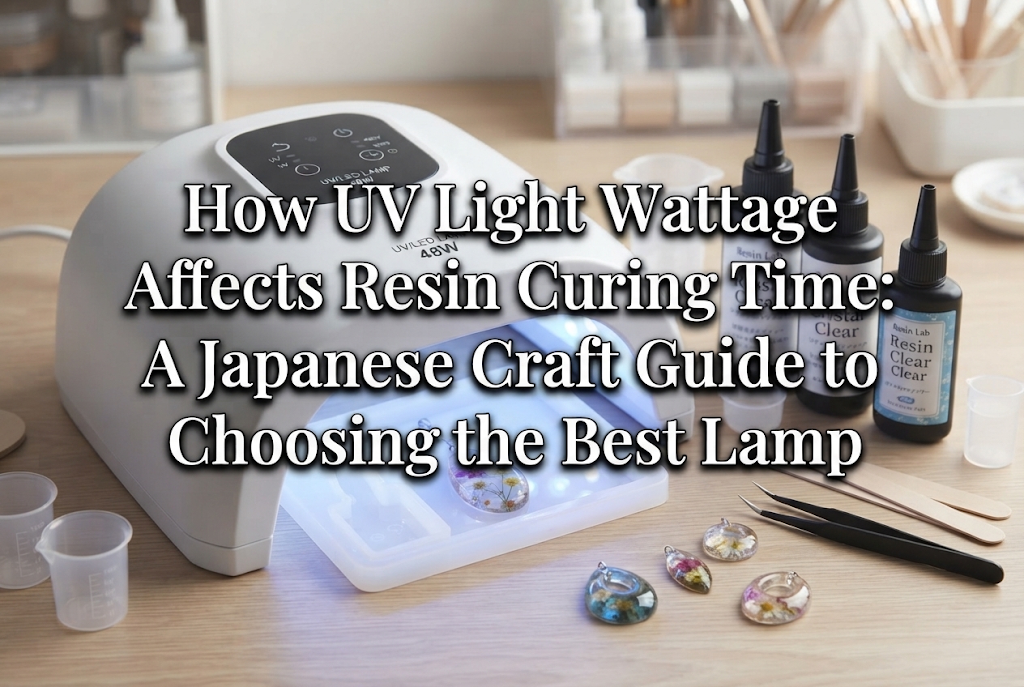
There are two primary types: UV/LED resin, which cures in a few minutes under a UV/LED light, and 2-part epoxy resin, which is mixed with a hardener and cures slowly over time.
For small-scale glazes, sauces, or tiny water droplets, quick UV resin is very convenient. However, when filling a glass with juice or pouring thick ramen soup, use 2-part epoxy resin. It generates less heat and shrinkage during curing, and air bubbles escape much more easily from deep pours.
When you need to make multiples of the same component—such as strawberry slices, mandarin orange segments, or pieces of French toast—or when you want to capture the precise texture of real food, liquid two-part silicone molding rubber is used.
By placing real fruits, vegetables, or snacks inside a mold box and pouring liquid silicone over them, you can create hyper-realistic custom silicone molds. Filling these molds with clay or resin allows you to mass-produce detailed food replica parts effortlessly.
The materials used for full-scale restaurant food displays—like those sold in Tokyo's famous Kappabashi kitchenware district—are professional grade, such as polyvinyl chloride (PVC) paste (sol) and liquid urethane.
PVC paste is poured into silicone molds and baked in high-temperature ovens to cure. It results in extremely durable, flexible, and long-lasting food samples. However, because baking produces fumes requiring specialized ventilation and high-heat ovens, starting with clay and resin is much more practical for home crafters.
The secret to high-quality food replicas lies more in the coloring phase than in the initial shaping! Equipping yourself with the right paints and tools is essential for creating mouth-watering golden-brown crusts and juicy hues.
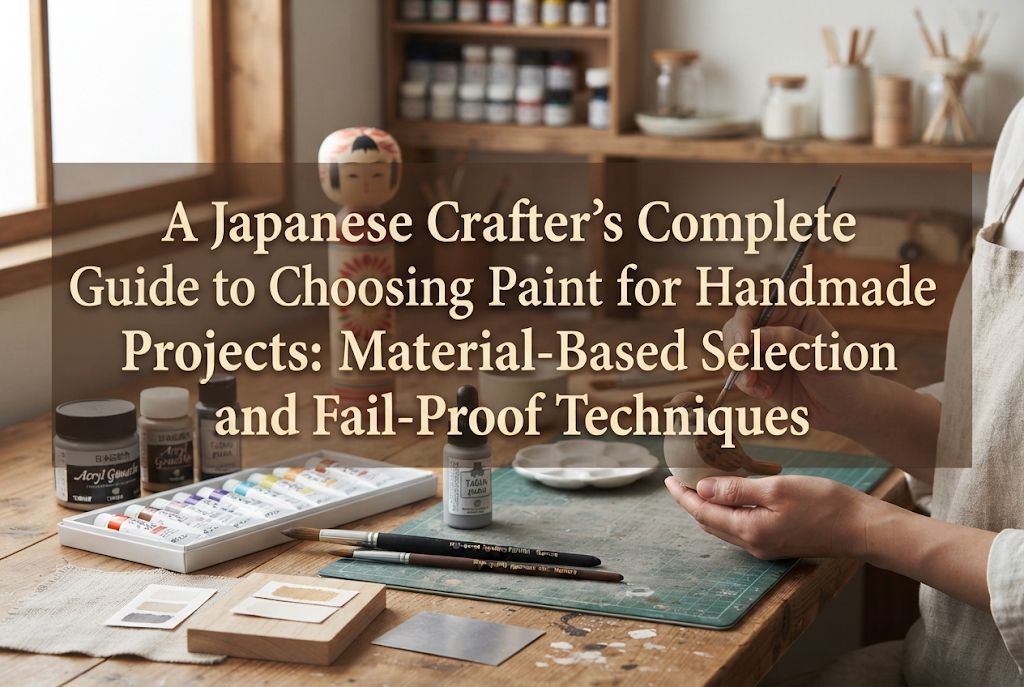
Acrylic paints are the most versatile option for kneading directly into raw clay or painting onto dried surfaces. They dry quickly and become water-resistant, making them a staple in fake food crafting.
When coloring resin, use resin-specific colorants or clear acrylic paints (such as Tamiya Decoration Color series). These allow you to add color while maintaining transparency, perfect for strawberry syrups or soy sauce glazes.
Select your coloring tools based on the texture you want to achieve:
For subtle, natural browning on freshly baked bread or pastry crusts, soft pastels or specialized makeup-style coloring powders (like Tamiya Weathering Master) work wonders.
Shave brown or yellow-ochre pastels into a fine powder with a craft knife, then apply it gently to the clay surface using a sponge or soft brush. This achieves a soft, oven-baked warmth that liquid paint cannot replicate.
Once your painting is complete, seal your work with a protective coat. Choosing between gloss and matte finishes is a crucial key to realism.
For thick glazes, juicy fruit surfaces, raw fish slices, or soup toppings, apply a generous layer of gloss varnish for a gleaming finish. Conversely, apply a matte varnish to bread, baked pastries, lean meat, or fried food coatings to keep them shiny-free and preserve their realistic texture.
Shaping food from clay using only your fingers has its limits. Utilizing specialized shaping tools allows you to instantly produce realistic textures.
Plastic or thin metal spatulas help score lines, create grooves, and press in fine details.
One tool that dramatically elevates your work is the 7-needle texturing tool (a brush-like tool made of multiple fine metal needles). By gently tapping the clay surface, you can instantly mimic the porous texture of bread slices, sponge cakes, or meat fibers!
Tip: If you don't have a 7-needle tool, crumpling a piece of aluminum foil into a ball and pressing it against the clay, or tapping it with a stiff toothbrush, serves as a great substitute.
To roll out pastry dough, cookie dough, or dumpling wrappers to an even thickness, an acrylic roller and press plate are essential.
Rolling clay by hand often results in uneven thickness. By using acrylic guide sticks placed on both sides of the clay while rolling, you can achieve a perfectly uniform thickness like a pro.
When placing tiny miniature toppings like chopped green onions or sesame seeds, fine-tipped precision tweezers are indispensable.
When cutting dried or semi-dried clay, use a sharp design knife (craft scalpel) instead of standard scissors. A clean cut prevents flattening the edges, keeping the cross-sections of sliced fruits or cakes crisp and beautiful.
You might wonder why a scale is needed for craft projects. Weighing your clay down to 0.1 grams ensures that identical components—such as dumpling skins, orange segments, or french fries—are perfectly uniform in size.
Furthermore, when working with 2-part epoxy resin, mixing by accurate weight ratio is critical, making a 0.1g digital scale a must-have tool.
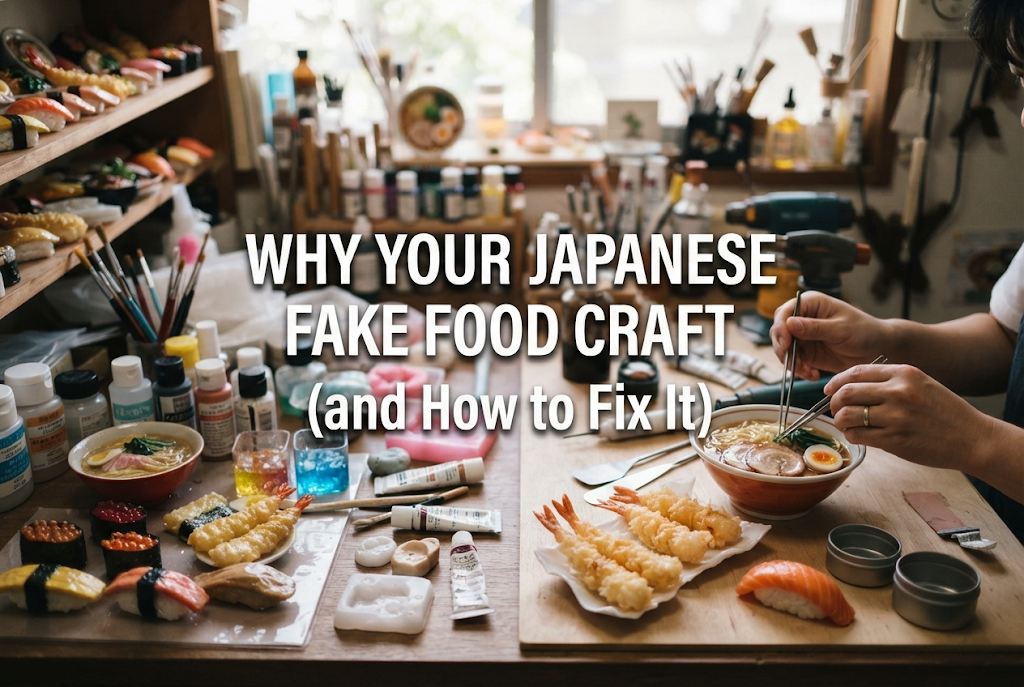
Here are common mistakes beginners make when selecting tools and materials, along with tips on how to avoid them (including a few lessons learned from my own past mistakes!).
Dollar stores and 100-yen shops in Japan offer impressive craft sections filled with clay, acrylic paints, varnishes, and resins. Naturally, many beginners want to start by purchasing everything there.
My answer: For practice or simple craft projects, 100-yen shop tools and materials are perfectly fine and enjoyable! Items like sponges, basic paints, brushes, disposable palettes, foil, and tweezers from these stores work great.
However, I strongly recommend buying three key items from dedicated craft brands (such as Padico or Nisshin Associates): the main resin clay, finishing varnish, and resin liquid.
Budget clays tend to crack or tear easily upon drying, while low-cost varnishes and resin liquids may yellow over time or remain sticky. Using reliable craft-grade brands for your core materials drastically improves the final quality and longevity of your work.
A frequent problem is varnish remaining tacky for days or resin refusing to cure properly.
This usually happens when varnish is applied before the underlying clay or paint has completely dried, or when too much water-based acrylic paint is mixed into resin, interfering with its chemical reaction.
Clay items require 1 to 3 days to dry thoroughly to the core. Always wait until the base is completely dry before painting or varnishing. When tinting resin, use resin-specific oil-based liquid dyes or dry pigments instead of water-heavy acrylics.
Real food is rarely a single, uniform color. For example, a strawberry near its stem has subtle hints of green or yellow before transitioning into red gradient shades. Baked bread features layers of pale yellow, ochre, golden brown, and dark toasted accents.
Instead of applying one coat of paint and stopping, build up colors from light to dark using sponges to blend edges softly. This single technique instantly removes the "cheap plastic look" and adds rich realism.
If you're wondering what to buy first, here is the step-by-step assembly guide I recommend for beginners:
Freshly baked bread, cookies, and simple fake sweets offer the highest success rate for beginners. Start here to get comfortable with the tools!
Once you are comfortable with clay shaping, move on to liquids, iced drinks, and rich sauces using resin!
Adding these tools opens up options like ice cream sodas, ramen bowls, and Salisbury steaks covered in glossy demi-glace sauce!
Creating food replicas sometimes involves resin liquids, silicone rubber, strong adhesives, heat guns, and UV lights. Follow these precautions to stay safe while crafting:
When working with resin, paints, or spray varnishes, keep at least two windows open to maintain strong airflow. Fumes (VOCs) released during resin curing can trigger skin or respiratory allergies in some individuals.
Always wear polyethylene or nitrile gloves to prevent direct skin contact, along with an organic vapor respirator or thick non-woven mask. If liquid resin touches your skin, wash it off immediately with warm soapy water.
Crafters often use heat tools (emboss heaters) to pop resin bubbles or speed up varnish drying. The nozzle becomes extremely hot, so take care to avoid skin burns or scorching your workbench.
Always read the manufacturer's instructions carefully regarding curing times, safety warnings, and mixing ratios. Following the manual is the fastest route to a successful build!
From core sculpting materials to painting techniques and specialized texturing tools, we've covered everything you need to begin your food replica crafting journey.
The greatest charm of Japanese food replica crafting is that with a bit of imagination, you can reproduce any delicious dish in realistic detail with your own hands. You don't need to purchase every high-end tool from day one. Pick up a single pack of good-quality resin clay, a few basic tools, and try crafting a tiny loaf of bread or a cookie!
Watching realistic, cute food creations come to life right in your hands is a truly rewarding experience. Find your favorite tools and jump into the wonderful world of shokuhin sampuru!
If you enjoyed this guide, please share it with your crafty friends on social media or messaging apps—it really encourages me to write more!
Until next time, happy crafting! This was Yassy from Crafters!


For example, if you are looking for articles about mizuhiki, try searching for "mizuhiki"; if you are interested in tools, try keywords like "nippers" or "pliers."
