Essential Materials and Tools for Making Japanese Food Replicas: A Guide to Realistic Fake Food Crafting
yassy
Crafters!

Hello, crafters! It's Yassy from Crafters! (・∀・)
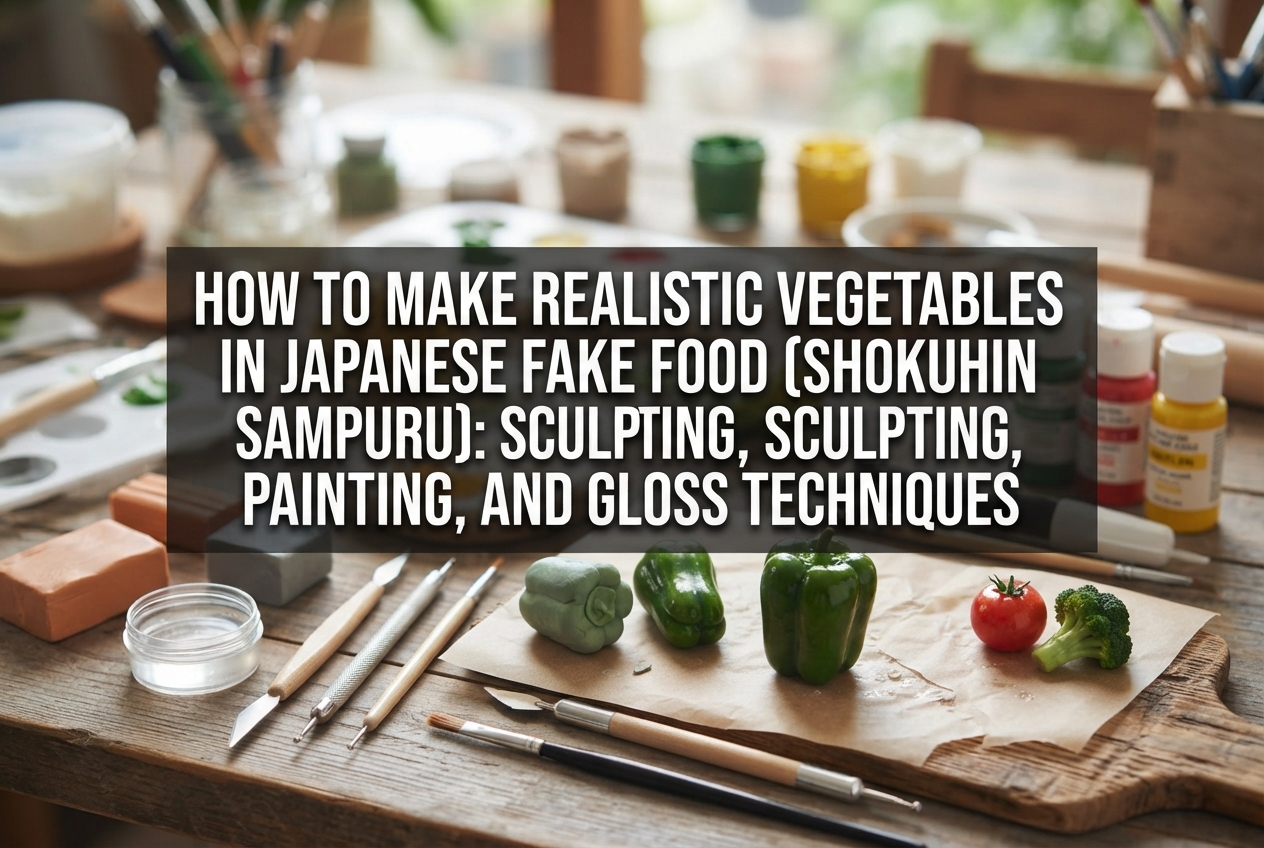
Among all the elements in Japanese food sample making (known as shokuhin sampuru), crafting vegetables is one of the most rewarding and surprisingly complex challenges. Whether it is the crisp, frilly lettuce peeking out of a burger, a dewy fresh slice of ripe tomato, or simmered daikon radish and carrots steeped in savory dashi broth, realistic vegetables instantly elevate the overall quality of your fake food pieces.
However, when making them for the first time, many crafters run into common roadblocks: "It looks too plastic and cheap," "It feels too much like colored play-dough," or "The color is so flat that it just doesn't look real." Real vegetables have subtle translucency, micro-textures, and uneven color variations. If you simply shape clay into a vegetable outline and coat it with a single shade of paint, it will never truly look organic or appetizing.
In this guide, I will share comprehensive techniques for sculpting, painting, and finishing vegetables to make them look strikingly realistic in fake food art. From choosing the right specialty clays to avoiding beginner pitfalls and crafting dewy water droplets, here is everything you need to know to take your miniature and display food creations to the next level!
The fastest route to mastering realistic fake vegetables is to carefully observe why real vegetables look appetizing in the first place. Before touching any materials, keep two fundamental principles in mind.
If you examine fresh produce closely, you will notice that almost nothing in nature is completely opaque. Hold a leaf of lettuce up to the light, slice a cucumber paper-thin, or look through the ruby pulp of a tomato—light passes through them, revealing a distinct semi-translucency.
Furthermore, nature dislikes perfect symmetry. You will never find perfectly straight edges or flawless geometric spheres in real produce. Subtle warping, uneven thickness, natural curls, slight blemishes, and tiny speckles are what convince the viewer's brain that an object is authentic.
The most frequent beginner mistakes are making shapes too neat and painting with flat, uniform colors.
If you measure every clay piece with a ruler so they are strictly identical, or smooth out every surface until it shines like glass, your vegetables will look like mass-produced plastic toys. Similarly, painting green vegetables with a single layer of standard green acrylic immediately flattens the dimensional feel. Achieving hyper-realism requires you to intentionally introduce organic irregularities.
To recreate the rich variety of vegetable textures, understanding the specific properties of Japanese crafting clays and selecting the right medium for each vegetable type is essential.
The primary workhorse for fake food modeling in Japan is resin clay (jushi-nendo, an air-dry polymer-based crafting clay known for fine detail). When dry, resin clay retains slight flexibility and excellent durability, resists snapping even when rolled paper-thin, and yields clean, vibrant pigmentation.
However, for vegetable parts where you need pronounced moisture or semi-translucency—such as tomato pulp, translucent layers of onion, or the pale inner ribs of lettuce—transparent clay (such as Japan's popular air-dry specialty clay Sukerukun) is the ideal choice. Transparent clay cures into a milky, semi-translucent finish. By kneading a tiny whisper of pigment into it before shaping, you can reproduce that authentic, light-filtering quality perfectly.
You don't need to craft every element purely out of resin clay. For example, to reproduce the dry, starchy, and matte texture of a cooked potato or fluffy boiled kabocha pumpkin flesh, blending lightweight clay (keiryo-nendo) into your base resin clay softens the texture and removes any plastic-like sheen.
Additionally, combining clay bases with UV resin or two-part epoxy resin is fantastic for salad dressings or the gelatinous seed pockets of tomatoes. Adding targeted areas of ultra-clear, wet-look resin against matte clay generates a striking tactile contrast that looks convincingly fresh.
Here is a quick reference table showing how I personally select materials when crafting different types of vegetables:
Once your materials are chosen, it is time to sculpt. Instead of relying solely on hand movements, make smart use of simple everyday tools to capture convincing surface textures.
The realism of lettuce and cabbage hinges on two factors: realistic leaf thinness and natural edge ruffles.
Place a small lump of clay between two halves of a clear plastic file folder (or plastic sheeting), and roll it out with an acrylic rolling pin until it is so thin you can practically read text through it. Next, while the clay is still pliable, take a fine modeling spatula, toothpick, or stylus, and rub/stretch the outer edge along its side to stretch the clay into undulating waves and frills.
Avoid making the frills repetitive. Combine small, tight ripples with occasional broad, folded ruffles. While letting the leaf cure, lay it over a sheet of loosely crumpled aluminum foil so it dries holding organic, dynamic curves rather than drying flat.
When vegetables are cut, the cross-section reveals intricate anatomy.
For a sliced tomato, form the outer flesh framework using transparent clay, leaving hollowed indentations where the seed cavities (locules) belong. In advance, prepare tiny teardrop-shaped seeds rolled from resin clay and let them cure. Next, dispense UV resin tinted with a touch of yellow-green into the hollow cavities, drop in your pre-cured clay seeds so they appear suspended in gel, and cure under a UV lamp. This creates an amazingly realistic, glistening core.
For cucumbers, roll a cylinder of resin clay and allow it to dry thoroughly. Slice it diagonally with an utility knife. Then, gently tap and poke the pale central seed core using a stiff toothbrush or a pin to create minute cell-like pores that look packed with natural moisture.
When crafting root vegetables such as carrots and daikon radish, pay attention to knife marks and fibrous growth lines.
If you are making Japanese simmered root vegetables (where edges are traditionally beveled, a technique called mentori), use a blade to slightly tear or nick the beveled corners to replicate edges that have softened and broken down during slow cooking. For raw root crops, press a wire brush or stiff-bristled toothbrush vertically and radially into the raw clay to impress subtle fibrous ridges and growth rings.
Once sculpting is complete, coloring breathes life into your piece. Instead of coating with a single solid paint color, building layers of translucent tone creates authentic visual depth.
High-pigment acrylic paints are ideal for fake food thanks to their water resistance and rich pigmentation once dry. For parts where translucency must be preserved, consider transparent watercolors or resin dye, while opaque acrylics work best for deep skins and peels.
Always knead a small foundation tint into your raw clay before sculpting. If you work with pure white clay and merely paint the outer surface, any scratch or chip later will reveal a glaring white spot. For lettuce, start with clay tinted pale yellowish-green; for carrots, mix a soft light-orange base before applying surface layers.
A defining visual signature of vegetables is that color shifts in a gradual gradient from the dark outer rind toward a pale interior.
Take a cucumber slice: the outermost peel is a deep, dark forest green; the layer just beneath the skin is a bright, fresh green; and the flesh transitions into a delicate, near-white yellowish green at the core. To paint this, apply your shades sequentially from lightest to darkest using a makeup sponge or damp flat brush:
Clean, perfect gradients look pretty, but nature is full of imperfections. Adding controlled irregularities will make your fake food jump to life.
Eggplant skins and tomato rinds frequently carry warm reddish or yellow undertones where the sun hit the fruit unevenly. You can replicate this by washing heavily thinned washes of magenta or warm yellow over random patches of the skin.
For earthy root vegetables like potatoes, burdock root (gobo), or ginger, use a dry-brush technique with brown and grayish pastels or acrylics. Wipe almost all paint off your brush onto a tissue, then lightly scrub the bristles into crevices and depressions to simulate lingering garden soil.
The final step is adjusting surface sheen. How light bounces off your vegetable directly tells the viewer's eye whether the produce is dry, firm, or bursting with juice.
A widespread beginner pitfall is coating the entire piece with high-gloss varnish in an attempt to make it look "fresh." A uniformly shiny surface looks like a cheap, plastic-wrapped toy.
Real vegetables have completely different gloss levels across their surfaces. As a general rule, divide your finishes intentionally:
To convey farm-fresh produce or freshly rinsed greens, adding three-dimensional water droplets is an unbeatable trick.
To create droplets, use high-viscosity clear UV resin or clear glass paint. Dip the tip of a toothpick into the resin, gently touch it down onto the vegetable surface to deposit a tiny bead, and cure it immediately under your UV lamp. Cluster droplets of varying diameters randomly rather than spacing them evenly.
On cut surfaces, laying down a slightly thick layer of gloss varnish so it pools with natural surface tension convincingly recreates the burst of liquid released the moment a vegetable is sliced.
Here are two very frequent issues encountered in fake vegetable crafting and how to solve them.
Both resin clay and transparent air-dry clay shrink by approximately 10% to 20% as moisture evaporates during curing. Furthermore, pigments kneaded into wet clay become substantially darker and more concentrated once dry.
Crafters often find their pieces cure smaller and noticeably darker than expected. To counteract this, always shape your vegetable slightly larger than your target finished size, and stop adding pigment to raw clay when the color still looks significantly paler than your target shade.
If your finished vegetable turned out overly glossy and artificial-looking, don't throw it away. You can tone down excessive sheen by misting it with a matte spray sealant or lightly stippling an ultra-sheer wash of matte acrylic gouache over the surface with a sponge.
If the surface looks unnaturally smooth, gently buffing it with a melamine foam sponge just before a newly applied coat of varnish fully cures creates a microscopic matte texture that mimics real plant skin.
Creating food samples involves sharp blades, UV resins, and vapor-emitting varnishes. Keep these essential workshop safety rules in mind:
Safety Checklist for Crafters:1. Always use a cutting mat when slicing clay with utility or craft knives, and never place your fingers ahead of the blade's cutting path.2. When spraying varnishes or working with solvent-based products, ensure thorough ventilation or work outdoors, and wear an appropriate respirator mask.3. Wear disposable nitrile gloves when handling uncured UV resin to prevent direct skin contact, and always adhere to the manufacturer's curing guidelines.
We've covered the complete process for crafting realistic vegetables in Japanese food sample art:
At first, getting the clay thickness just right or blending seamless gradients can take a little practice. But as you observe real vegetables and experiment with different clays, there will come an exciting moment where your piece suddenly transforms from a clay lump into something that looks mouthwateringly fresh. That breakthrough is the absolute best part of fake food crafting!
Start small by making a single crisp leaf of lettuce or a solitary slice of cucumber. If you found this tutorial helpful, please share it with your fellow crafting and DIY friends on social media!
See you in the next craft guide! This was Yassy from Crafters!





For example, if you are looking for articles about mizuhiki, try searching for "mizuhiki"; if you are interested in tools, try keywords like "nippers" or "pliers."
