Mosaic vs. Tile Craft: Comparing Materials, Techniques, and Appeal
yassy
Crafters!

Hello, everyone! This is Yassy from Crafters! (・∀・)
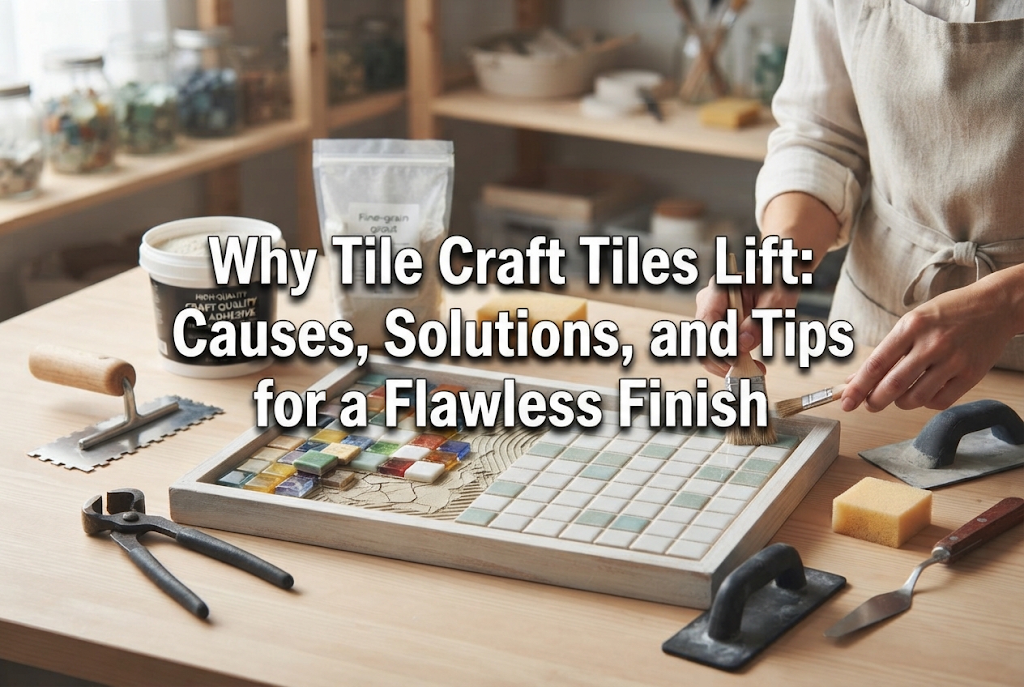
Tile crafting—arranging colorful, adorable tiles to make coasters, trays, and home decor—is a popular handmade craft that beginners can easily enjoy. However, have you ever spent time meticulously laying out tiles, only to find them popping up after drying, or accidentally peeling off right in the middle of applying grout?
It is truly heartbreaking when tiles start lifting on a piece you worked so hard to create. But in reality, there are clear causes for this problem. Once you understand why it happens and follow the proper techniques, anyone can complete strong, beautiful tile projects without any lifting.
In this article, I will explain the main reasons tiles lift in tile craft, specific steps to prevent it, and how to repair them if they do pop up. Whether you are about to start your first tile craft or are currently troubleshooting a project, I hope you find this guide helpful!
In tile crafting, a tile "lifting" or loosening is not always caused simply by using too little glue. It happens due to a combination of factors, including the nature of the base material, drying times, and how grout is handled. Let's first look at the five main causes.
When attaching tiles, using too little adhesive will not provide enough bonding strength, causing the tiles to lift easily. If the glue does not spread across the entire backside of the tile, parts of it remain unbonded, making it prone to popping off from light impacts or the pressure of spreading grout.
On the other hand, applying a huge amount of glue in hopes of making it "extra strong" actually backfires. Excess adhesive creates a thick "cushion layer" underneath. As the adhesive shrinks during drying, it pulls on the tile unevenly, creating uneven heights. Furthermore, thick glue takes an immense amount of time to dry completely inside, leaving the surface dry while the interior remains soft—ultimately causing the tile to lift.
The most common mistake for beginners is applying grout (cement) before the glue has fully cured. Right after laying the tiles, they might look firm on the surface, but the adhesive underneath still retains moisture.
If you spread wet grout over tiles at this stage, the water in the grout penetrates down into the adhesive, re-dissolving and softening the glue that was starting to set. Additionally, the pressing force from your rubber squeegee or trowel pushes down on the tiles, causing weak bonds to give way and tiles to lift.
Tile crafting uses various base materials such as wood, glass, metal, plastic, and ceramics. However, if the adhesive you use is not suited for that specific base material, no matter how carefully you lay the tiles, they will lift and peel away.
For example, standard wood glue works exceptionally well for bonding absorbent materials like wood or paper. However, if you use wood glue on smooth, non-absorbent surfaces like glass, plastic, or metal, it cannot form a proper film and will simply peel off like skin once dry. Choosing an adhesive that matches your base material is essential.
If you attach tiles onto a base surface that still has dirt, dust, oils, or wood shavings on it, the adhesive cannot adhere directly to the base itself. Instead, the glue sticks to the "layer of dust," meaning even slight force will cause the tiles to lift right off.
Moreover, smooth surfaces like plastic or metal lack a physical grip (anchor) for the adhesive to grab onto, leading to weak holding power once hardened. Failing to clean off surface dirt or skipping preparation on slick surfaces leads directly to tile lifting.
Simply setting a tile on the base without pressing down firmly will also cause it to lift. Many craft tiles have textured or ridged backs (keys), and if you don't push them down firmly, the adhesive won't penetrate those grooves.
When pressure is insufficient, air bubbles (voids) get trapped between the tile back and the adhesive. Trapped air drastically reduces the contact area, resulting in insufficient strength after drying and causing the tiles to lift.
Once you know the causes, taking preventive measures is simple. Here are the correct steps and tips for every stage of crafting to ensure your tiles stay firmly in place.
Before starting your project, inspect and prepare your base material. No matter what base you use, always wipe the surface with an alcohol wipe or cleaning sheet to remove all oils and dust completely before starting work.
It is easy to think "any glue works," but compatibility between materials is vital. Choose the right adhesive based on your application and base.
When attaching ceramic tiles to a wooden base, standard multi-purpose wood craft glue or multi-purpose water-based adhesive works fine. Choosing a quick-drying formula improves work efficiency.
When attaching tiles to non-absorbent bases such as glass, metal, or plastic, always use a multi-purpose epoxy adhesive or a flexible multi-purpose adhesive (silicone or modified silicone type). These cure via chemical reaction or moisture in the air, bonding firmly even between smooth materials where moisture cannot evaporate.
When placing tiles, do not just set them down lightly with your fingers. Apply firm, even pressure to each tile from above.
If you are laying tiles over a large area, place a flat wooden board or a thick plastic plate over all the arranged tiles, then press down with the palm of your hand, applying your body weight for "even pressing." This levels out the overall height while ensuring the adhesive spreads across the entire back of the tiles without trapping air, preventing both lifting and unevenness.
When applying adhesive, use a spatula to spread it to an even thickness (about 1 to 2 mm) on the base or tile back. Applying glue in scattered dots makes it hard for beginners to control the volume and often causes lifting, so spreading it flat as a solid coat is recommended.
Once all tiles are placed, it is tempting to apply grout right away to finish the project. However, rushing at this point is the single biggest cause of failure.
Always check the "full curing time" stated on your adhesive package. You must wait for the adhesive to fully cure inside, not just become touch-dry on the surface.
As a rule of thumb, it is best to leave the project to dry for at least one full day (24 hours) after setting tiles before applying grout. Depending on weather, humidity, and room temperature, it may take even longer, so allow plenty of time in your schedule.
There are a few misunderstandings that beginners often have regarding tile lifting and the role of grout.
Some beginners think, "Even if a tile is slightly loose, pouring cement grout over it will lock it in place." This is completely incorrect.
The true purpose of grout is to fill the gaps between tiles to prevent water and dirt from entering, as well as to create a neat, beautiful appearance. Grout itself does not have strong adhesive properties to bind tiles firmly to a base.
If you pack grout over tiles that aren't securely bonded with adhesive, impact or vibration from daily use will crack the grout, eventually causing the tiles to peel off entirely along with the grout. Remember the golden rule: adhesive secures tiles to the base; grout does not.
As mentioned earlier, powdered grout is mixed with water. Therefore, wet grout contains a large amount of moisture while you work.
If you used a water-sensitive wood glue to set your tiles, even if it seemed dry, working too long with wet grout or making the grout mixture too runny can cause water to seep through tile gaps and re-emulsify (soften) the glue underneath.
When mixing grout, be careful not to add too much water. Mix it into a firm paste, roughly the consistency of miso paste. Grout that is too watery not only weakens glue adhesion but also causes cracking and shrinkage after drying.
If your tiles lift during crafting or after grouting, do not give up or throw the project away! Here is how to properly repair them depending on the situation.
If you haven't applied grout yet and only a few tiles are loose or popping up, fixing them is easy.
If tiles lift or come off after the grout has already been applied and dried, a little more careful work is required.
In both cases, the golden rule for repair is to remove the tile and scrape off old adhesive before re-sticking it. Simply adding glue on top of old glue will create uneven height and prevent a clean fix.
Here are some of my personal tricks and recommended tools that I, Yassy, use in my daily tile crafting to guarantee that tiles never lift!
When applying glue over a large surface, I always use a plastic notched spatula (a comb trowel/spatula with serrated edges).
When you spread glue with a flat spatula, the thickness tends to be uneven. Using a notched spatula creates uniform ridges and valleys in the glue bed. When you place tiles on top and press down, the ridges collapse smoothly, pushing out air across the entire back of the tile. This ensures an even thickness with zero air pockets or height variations! You can even make your own by cutting serrated edges into a cheap plastic dough scraper from a 100-yen shop or kitchen store.
When you get immersed in crafting, it's so tempting to jump straight to the next step. In the past, I once rushed the drying process, applied grout too early, and ruined a project when every single tile lifted!
Now, as soon as I finish placing tiles, I set a 24-hour timer or alarm on my phone and move the project to another room out of sight! Creating a physical barrier prevents me from touching it early, eliminating drying-related failures 100% of the time.
Right after setting all tiles, I place a flat board over them, then put heavy items like dictionaries or water bottles on top as weights, leaving them for about 10 minutes. This presses all tiles down evenly without requiring you to hold them by hand.
When you remove the weight, any excess glue that squeezed out between tile gaps should be wiped away immediately using a damp wet wipe or cotton swab before it hardens. Leaving squeezed-out glue leaves no room for grout later, so taking a moment for this cleanup makes a huge difference in the final beauty of your piece.
In this guide, we explored why tiles lift in tile crafting and how to prevent it.
Tiles lift due to improper glue amounts, material incompatibility, lack of pressing pressure, and above all, insufficient drying time. None of these issues require complex professional skills; with the right steps and knowledge, they are easy to avoid.
Let's recap the key points for making strong, durable tile craft projects:
By following these rules, you can create high-quality, gorgeous tile craft pieces that won't lift or detach even with daily use. Gather your favorite colorful tiles and enjoy making one-of-a-kind durable creations!
If you enjoyed this article, sharing it with your crafting friends on social media would mean the world to me!
See you in the next article! This was Yassy from Crafters!


For example, if you are looking for articles about mizuhiki, try searching for "mizuhiki"; if you are interested in tools, try keywords like "nippers" or "pliers."
